How to Change Brakes: The Best DIY Guide to Replacing Brake Pads
Learning how to change brakes is one of the most valuable skills a car owner can pick up. Not only can it save you hundreds of dollars over the life of your vehicle, but it also gives you a deeper understanding of How to Change Brakes and helps you catch potential problems before they become dangerous. Whether you’re searching for how to change brake pads for the first time or looking for a refresher before your next repair, this guide walks through everything you need to know — from recognizing when it’s time for new pads to a full step-by-step walkthrough of how to replace brake pads safely and correctly.
Why Learning How Change Brakes Matters
Learning How Change Brakes are, without question, the most safety-critical system on your vehicle. Yet brake pad replacement is also one of the most beginner-friendly repairs you can tackle at home. Unlike engine or transmission work, changing brakes typically requires only basic hand tools, a few hours of time, and a bit of patience. For many drivers, learning how to change brakes becomes a gateway into broader DIY car maintenance, building confidence for future repairs.
Beyond the cost savings — professional brake jobs can run anywhere from $150 to $300 per axle in labor alone — there’s real value in understanding your car’s braking system. When you know how to replace brake pads yourself, you’re better equipped to notice early warning signs of wear, ask informed questions at the shop when you do need professional help, and avoid being upsold on unnecessary repairs.
Signs It’s Time to Change Brakes
Before diving into the how-to, it’s worth understanding when brake pad replacement is actually necessary. Here are the most common signs.
Squealing or Squeaking Sounds
Most brake pads include a small metal wear indicator designed to create a high-pitched squeal once the pad material wears down to a certain thickness. This built-in warning system is your first cue that it’s time to look into changing brakes soon.
Grinding Noises
If you hear a harsh grinding or growling sound when braking, the pad material has likely worn away completely, leaving metal backing plates grinding directly against the rotor. This causes rotor damage and should be addressed immediately.
Reduced Braking Performance
If your car takes noticeably longer to stop, or the brake pedal feels like it requires more pressure than usual, worn pads may be the culprit.
Vibration or Pulsation
A pulsating brake pedal or steering wheel when braking often points to warped rotors, which can happen alongside or independently of worn pads, especially after long periods of hard braking.
Visual Inspection
You can often see the brake pad through the spokes of your wheel. If the pad material looks thinner than a quarter-inch (roughly 6mm), it’s a good idea to plan for a brake pad replacement soon.
Dashboard Warning Light
Many newer vehicles include a brake pad wear sensor that triggers a dashboard warning light once the pads reach a minimum thickness.
Tools and Materials You’ll Need
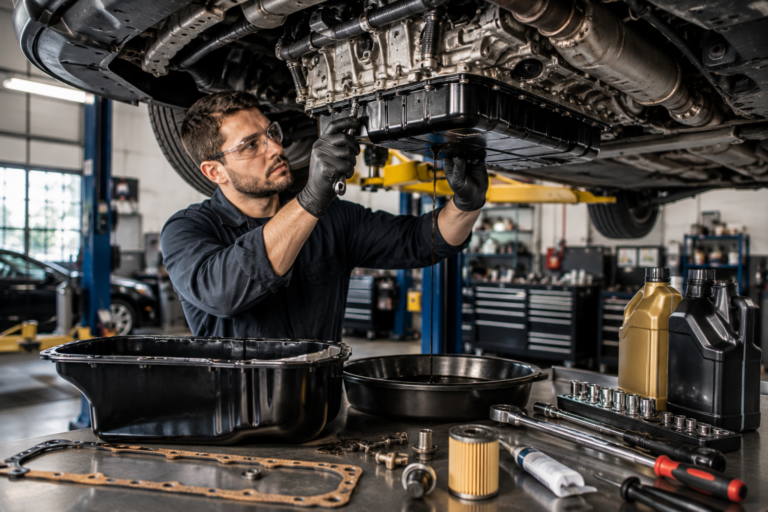
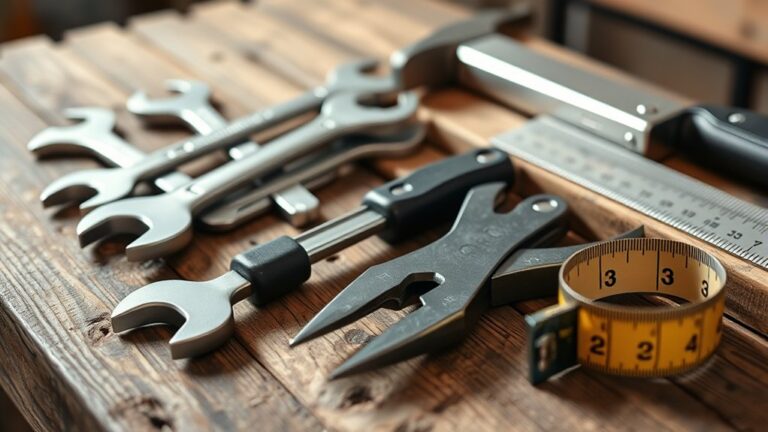
Before learning how to change brake pads, gather the following tools and supplies:
- Jack and jack stands (never rely on a jack alone for support while working underneath the vehicle)
- Lug wrench or impact wrench
- C-clamp or brake caliper piston tool (to compress the caliper piston)
- Socket set and wrenches (sizes vary by vehicle)
- New brake pads (matched to your vehicle’s year, make, and model)
- Brake cleaner spray
- Anti-squeal brake grease or synthetic brake lubricant
- Wire brush (for cleaning rust and debris from caliper brackets)
- Turkey baster or fluid extraction tool (to remove excess brake fluid from the reservoir if needed)
- Gloves and safety glasses
- Torque wrench (for properly tightening lug nuts and caliper bolts)
Having the right tools on hand before you start makes the process of changing brakes significantly smoother and helps avoid mid-repair trips to the auto parts store.
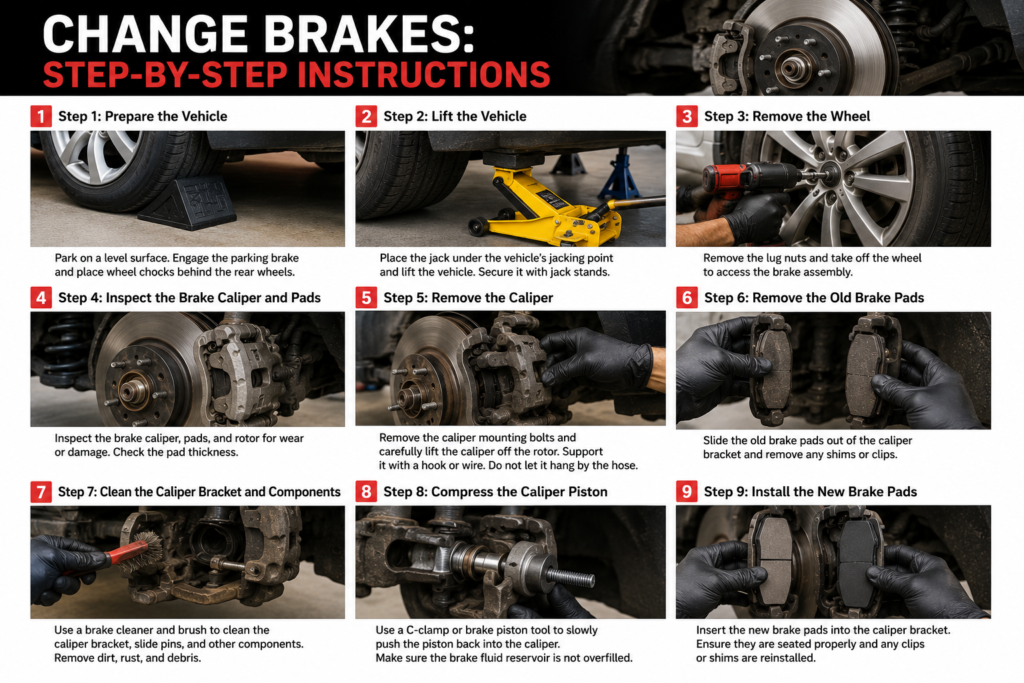
How to Change Brakes: Step-by-Step Instructions
Now let’s walk through the full process of how to replace brake pads. While specific steps can vary slightly by vehicle, this general process applies to the vast majority of disc brake systems found on modern cars, trucks, and SUVs.
Step 1: Prepare the Vehicle
Park on a flat, level surface and engage the parking brake. Loosen (but don’t fully remove) the lug nuts on the wheel you’ll be working on while the vehicle is still on the ground — this gives you more leverage than trying to loosen them once the wheel is off the ground and spinning freely.
Step 2: Lift the Vehicle
Use a jack to raise the vehicle, positioning it at the manufacturer-recommended jacking point (usually indicated in your owner’s manual). Once lifted, place a jack stand underneath a sturdy frame point for safety, then slowly lower the vehicle onto the stand. Never work underneath a vehicle supported only by a jack.
Step 3: Remove the Wheel
Finish removing the lug nuts and take off the wheel, setting it aside in a safe location.
Step 4: Inspect the Brake Caliper and Pads
With the wheel off, you’ll see the brake caliper straddling the rotor. Take a moment to inspect the current brake pads for wear, and check the rotor surface for grooves, cracks, or uneven wear that might indicate a need for resurfacing or replacement alongside the pads.
Step 5: Remove the Caliper
Most calipers are held in place by two bolts on the back side. Using the appropriate socket, remove these bolts and carefully lift the caliper off the rotor. Avoid letting the caliper hang by the brake line, as this can stress and damage the line over time — instead, use a bungee cord, zip tie, or wire hook to suspend it securely from a nearby suspension component.
Step 6: Remove the Old Brake Pads
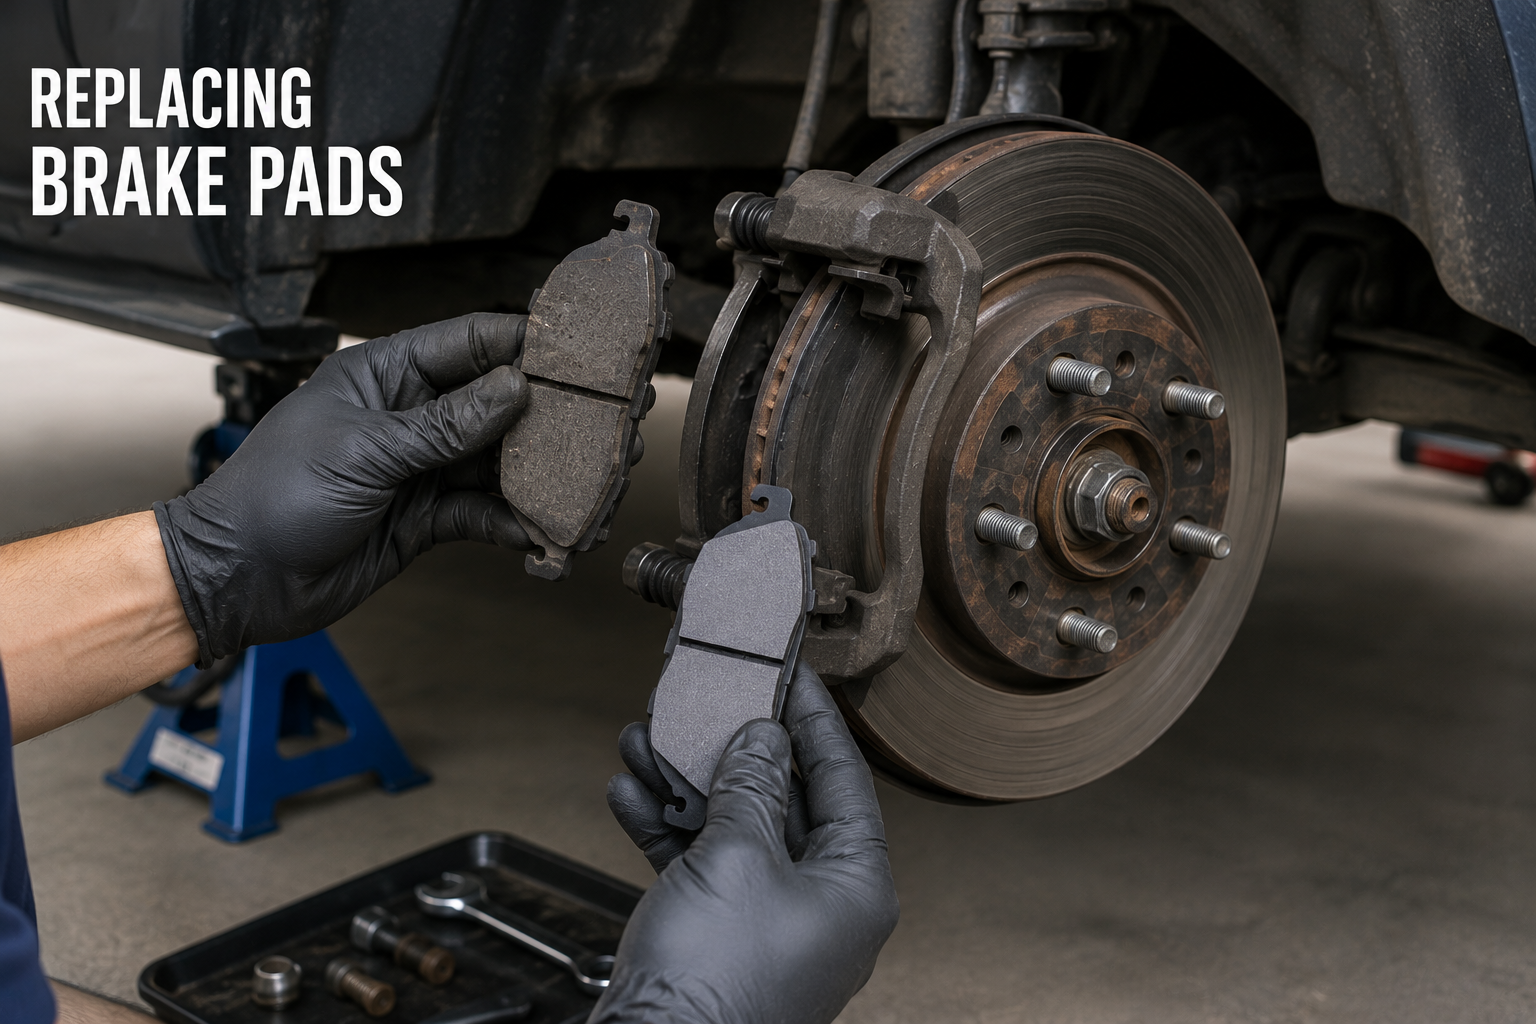
With the caliper out of the way, the old brake pads should slide out easily from the caliper bracket. Take note of how the pads, clips, and any shims are positioned, since you’ll need to reinstall the new pads in the same configuration.
Step 7: Clean the Caliper Bracket and Components
Use brake cleaner spray and a wire brush to clean off rust, dust, and debris from the caliper bracket and slide pins. This step is often overlooked, but a clean, well-lubricated bracket helps prevent uneven pad wear and brake noise down the road.
Step 8: Compress the Caliper Piston
Since new brake pads are thicker than the worn ones you removed, the caliper piston needs to be pushed back into its housing to make room. Use a C-clamp or a dedicated caliper piston tool to slowly compress the piston, being careful not to damage the piston seal. Before doing this, it’s a good idea to check the brake fluid reservoir under the hood, as compressing the piston pushes fluid back into the reservoir and can cause it to overflow if it’s already full — using a turkey baster to remove a small amount of fluid beforehand can prevent this.
Step 9: Install the New Brake Pads
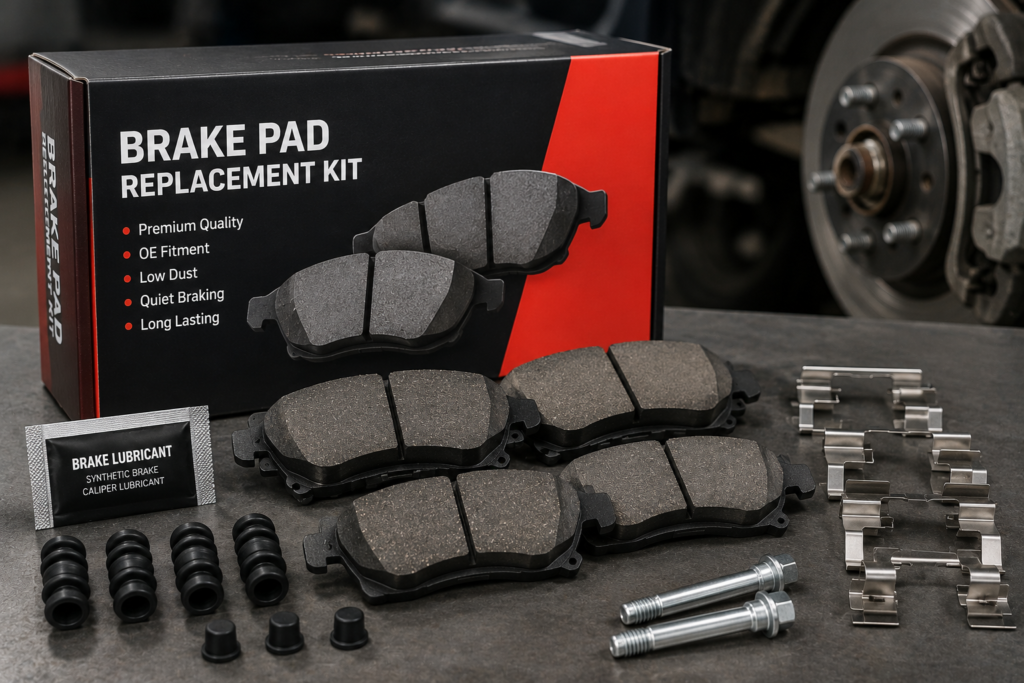
Apply a thin layer of anti-squeal brake grease to the back of the new pads (avoiding the friction surface) and to any contact points on the caliper bracket. Slide the new pads into place, making sure any clips or shims are correctly positioned exactly as the old ones were.
Step 10: Reinstall the Caliper
Carefully lower the caliper back over the rotor and new pads, then reinsert and tighten the caliper bolts to the manufacturer’s specified torque using a torque wrench. Overtightening or undertightening these bolts can cause serious performance and safety issues, so precision matters here.
Step 11: Reinstall the Wheel
Place the wheel back onto the hub and hand-tighten the lug nuts before lowering the vehicle back to the ground. Once the vehicle is fully lowered, torque the lug nuts to the manufacturer’s specification in a star or crisscross pattern to ensure even pressure.
Step 12: Repeat on the Other Side
Brake pads should always be replaced in pairs (both front or both rear) to maintain even braking performance and prevent your vehicle from pulling to one side. Repeat steps 1 through 11 on the opposite wheel of the same axle.
Step 13: Pump the Brakes Before Driving
Before driving, sit in the vehicle and press the brake pedal several times until it feels firm. This reseats the caliper pistons against the new pads and restores normal pedal feel. Skipping this step can result in a soft or unresponsive pedal on your first drive.
Step 14: Check Brake Fluid Levels
After the job is complete, check the brake fluid reservoir one final time and top it off if needed with the correct DOT-rated fluid specified in your owner’s manual.
Step 15: Test Drive Carefully
Take your vehicle for a slow, careful test drive in a safe area, gently applying the brakes at low speed first to confirm everything is functioning properly before returning to normal driving.
Common Mistakes to Avoid When Changing Brakes
Even straightforward repairs can go wrong without attention to detail. Here are some common mistakes to watch for when learning how to change brake pads.
Skipping the Torque Wrench
Improperly torqued lug nuts or caliper bolts can lead to serious safety issues, including wheel separation or caliper failure. Always use a torque wrench and follow manufacturer specifications rather than estimating “tight enough” by feel.
Letting the Caliper Hang by the Brake Line
This seemingly minor shortcut can stress and eventually damage the brake line, leading to fluid leaks or line failure. Always support the caliper securely during the repair.
Forgetting to Clean the Caliper Bracket
Skipping this step can lead to uneven pad wear, brake noise, and reduced performance over time, since rust and debris prevent the pads from moving freely within the bracket.
Mixing Up Pad Configurations
Brake pads, shims, and clips are often specifically shaped for the inner and outer position on the caliper. Installing them in the wrong orientation can cause noise, uneven wear, or reduced braking performance.
Not Bedding in New Pads
Many brake pad manufacturers recommend a “bedding-in” process — a series of gradual, moderate braking stops from higher speeds down to a slow speed — to properly transfer a thin layer of pad material onto the rotor surface. Skipping this step can result in reduced initial braking performance and increased noise.
Ignoring Rotor Condition
Installing new pads onto severely worn, grooved, or warped rotors can significantly reduce braking performance and pad lifespan. If your rotors show significant wear, consider resurfacing or replacing them at the same time as your pads.
When to Leave Brake Repair to a Professional
While changing brake pads is a manageable DIY task for many drivers, certain situations call for professional expertise.
Rotor Resurfacing or Replacement
If your rotors are worn beyond the minimum thickness specification, they’ll need to be resurfaced on a brake lathe or replaced entirely — tools most home garages don’t have.
Brake Line or Hose Issues
Any repair involving the brake lines requires bleeding the system to remove trapped air, which is essential for maintaining a firm, responsive brake pedal. This is best handled by someone experienced with proper bleeding procedures.
Persistent Noise or Vibration After Pad Replacement
If noise or pulsation continues after installing new pads, there may be a deeper issue — such as a warped rotor, a sticking caliper, or a wheel bearing problem — that requires professional diagnosis.
ABS or Electronic Brake System Warning Lights
Modern vehicles with advanced electronic braking systems, including ABS and electronic parking brakes, often require specialized diagnostic tools to properly troubleshoot issues beyond basic pad wear.
Lack of Confidence or Proper Tools
If you’re not fully confident in your ability to safely lift the vehicle, torque components correctly, or complete the repair, it’s always safer to have a professional handle it. Brakes are not the place to cut corners.
How Often Should You Change Brakes?
Brake pad lifespan varies significantly based on driving habits, vehicle type, and pad material, but general guidelines suggest:
- City driving with frequent stop-and-go traffic: 25,000–40,000 miles
- Highway driving with less frequent braking: 40,000–70,000 miles
- Aggressive driving or towing: 20,000–35,000 miles
Regularly inspecting your brake pads — ideally every time you rotate your tires — helps you stay ahead of wear and plan your next brake pad replacement before you’re stuck with grinding noises or reduced stopping power.
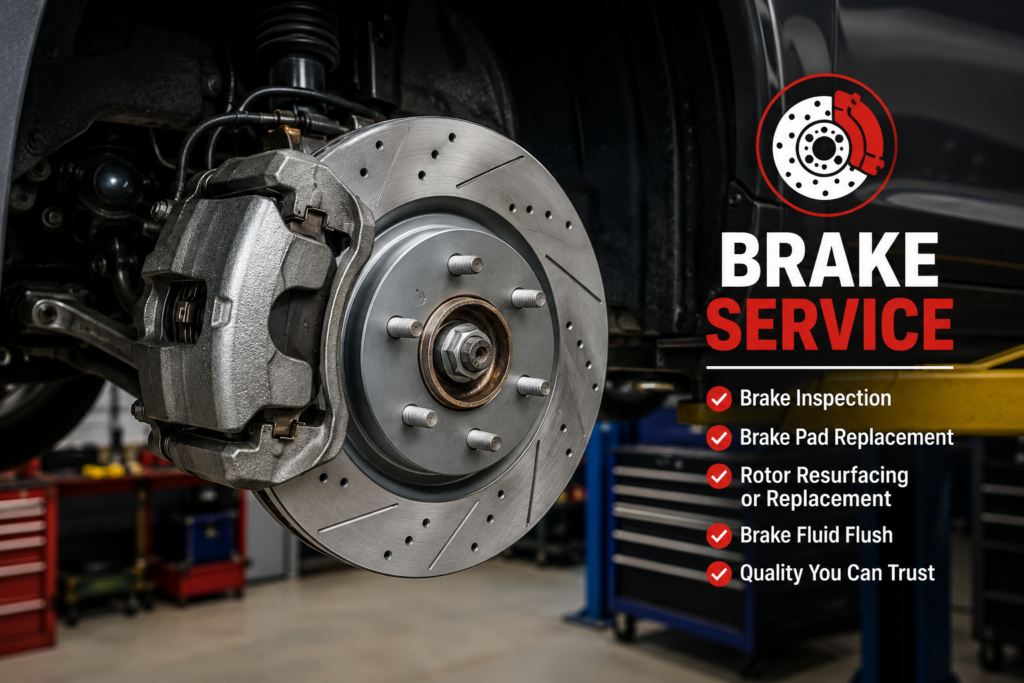
The Cost Savings of DIY Brake Repair
Understanding how to change brakes yourself can lead to significant savings over time. While a professional shop might charge $150 to $300 per axle for pad replacement (parts and labor combined), doing it yourself often costs $30 to $80 per axle for quality pads, plus whatever tools you need to purchase upfront — tools that will pay for themselves after just one or two brake jobs and can be reused for years.
Final Thoughts
Learning how to change brakes is one of the most practical and rewarding skills a car owner can develop. With the right tools, a bit of patience, and careful attention to torque specifications and proper technique, most drivers can confidently handle brake pad replacement at home, saving money while gaining a better understanding of their vehicle. That said, safety should always come first — if you’re ever unsure about a step, or if your repair involves rotors, brake lines, or electronic systems beyond basic pad replacement, don’t hesitate to consult a professional. Brakes aren’t the place to guess, but for a well-prepared DIYer, changing brake pads is a manageable, satisfying repair that keeps you safely on the road.