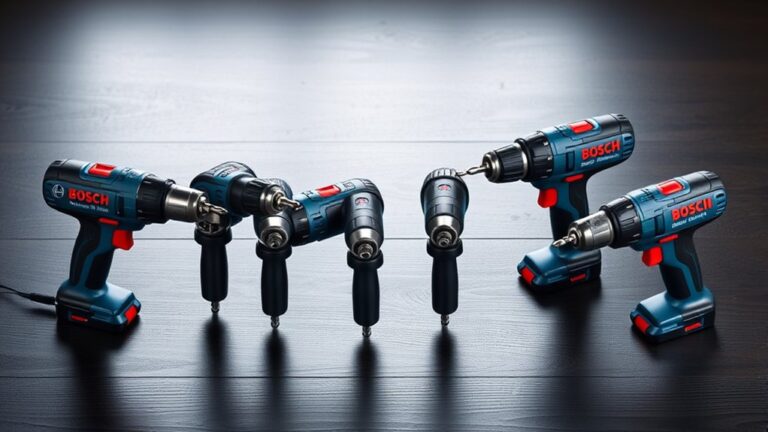
How Do Hammer Drills Work?
Struggling to drill through brick or masonry without burning out your bit? You’re not alone—many people find these tough materials frustrating to work with. Understanding how do hammer drills work can help you choose the right tool and get cleaner results.
A hammer drill spins your bit while a clutch or toothed-disc mechanism produces rapid forward impacts. As the discs ride over one another, they push the spindle ahead and release it repeatedly, combining axial hammering with rotation.
That action breaks through brick, block, masonry, and some concrete more effectively than rotation alone. You can switch hammering off for smooth drilling, choose a compatible carbide-tipped bit, and use steady pressure.
Next, you’ll find out when and how to use it safely.
Key Takeaways
- A hammer drill combines normal rotary drilling with rapid forward-and-backward hammering to penetrate masonry, brick, concrete, and block.
- Its motor spins the chuck and bit, while internal toothed discs or a clutch convert rotation into repeated axial impacts.
- The hammering mechanism is housed in the gearbox and transfers impacts through compatible carbide-tipped masonry bits.
- A mode selector disengages hammering for standard drilling, while the trigger controls rotational speed and operating pressure.
- Effective operation requires the correct bit and steady pressure, with periodic withdrawal to clear dust and prevent overheating.
What Is a Hammer Drill?
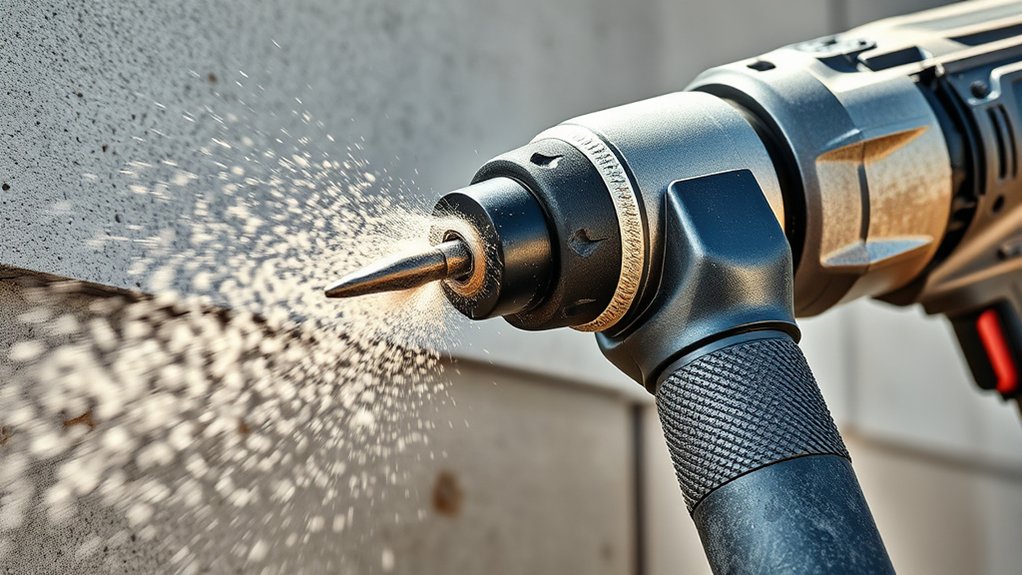
A hammer drill is a power tool that combines rotary drilling with a rapid hammering action. You use it when ordinary drills struggle with masonry, brick, concrete, or other dense materials. Its compact body resembles a standard drill, but its reinforced construction and specialized settings give you greater versatility on demanding jobs.
Hammer drill history began with basic percussion tools designed to improve drilling in hard surfaces. Modern models build on that foundation with innovative features such as variable speed controls, selectable hammer modes, adjustable handles, depth stops, LED work lights, and brushless motors.
These additions help you match the tool to each task, improve handling, and reduce fatigue. You can choose corded models for sustained power or cordless versions for mobility.
Many hammer drills accept common bits and accessories, making them useful for home repairs, renovations, and professional construction. Although they look familiar, they’re built specifically to deliver stronger performance where standard drills may fall short.
Consider one when your project demands reliable masonry drilling and consistent control.
How Does a Hammer Drill Work?
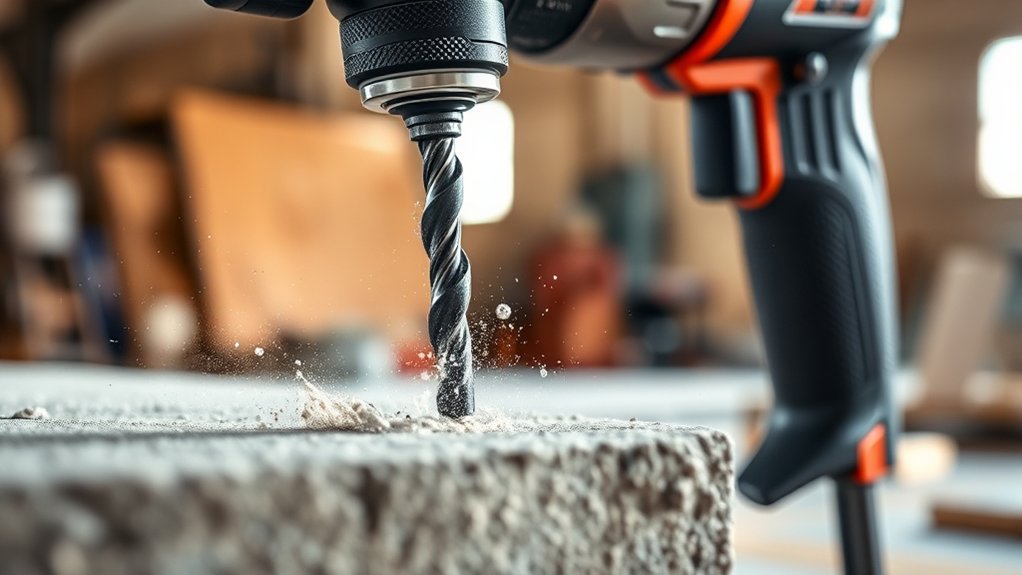
Now that you know what sets a hammer drill apart, it helps to understand how its two actions work together. When you press the trigger, the motor spins the chuck and attached bit, just as it does in a standard drill. At the same time, a clutch-driven mechanism creates rapid, forward-and-back impacts behind the chuck. You can switch this hammering function off when you need smooth rotation for wood, plastic, or metal.
You control the tool’s behavior through its trigger, speed settings, and mode selector. Squeeze gently to start slowly, then increase pressure for faster drilling. Many models include adjustable torque settings, which help you manage screwdriving tasks without overdriving fasteners.
A cordless model gives you Cordless versatility, letting you work without an outlet, although heavier use can shorten Battery lifespan. Keep a charged spare nearby if you’re working away from your charger. Always hold the drill firmly and wear eye protection during operation.
How Hammer Drills Break Through Masonry
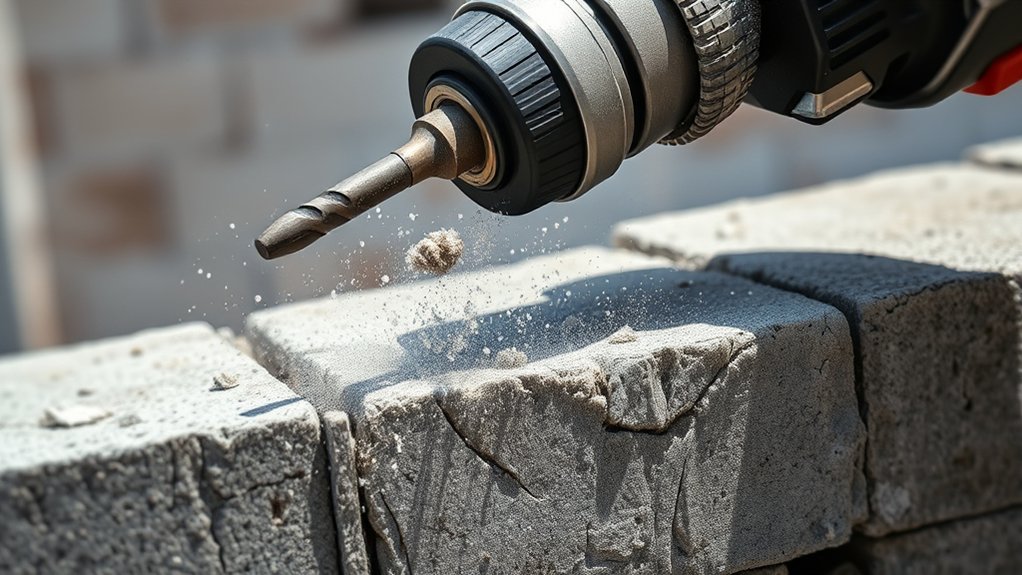
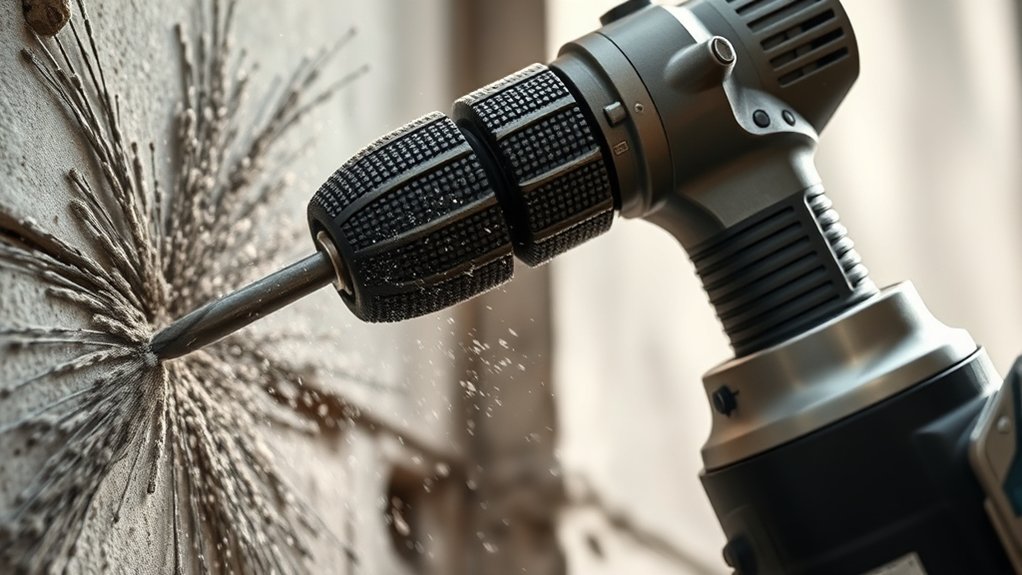
So, how does a hammer drill break through masonry? It combines rotation with rapid, short impacts that drive the bit into hard material. As the motor spins, the hammer mechanism pushes the chuck and bit forward, then retracts it thousands of times per minute.
Each impact delivers focused force to the drilling point, while rotation cuts and clears loosened particles. When you press the bit against a masonry wall, its carbide tip chips the material instead of slicing it like wood.
Hammer drills combine focused impacts with rotation, letting carbide-tipped bits chip masonry while clearing loosened debris efficiently.
The repeated blows create tiny fractures around the tip, gradually forming a hole. On a concrete surface, the bit must also work through dense aggregate, so steady pressure helps maintain contact without forcing the tool.
Flutes along the bit carry dust and debris out of the hole, keeping the tip engaged. This coordinated action lets you penetrate brick, block, mortar, and concrete efficiently while limiting excess strain on the drill and bit.
When Should You Use Hammer Drill Mode?
Use hammer drill mode when you’re drilling into masonry, concrete, brick, or block, where ordinary rotation may not cut through the material efficiently. Choose it for anchors, conduit, shelves, and other tasks requiring holes in hard mineral surfaces.
Don’t use this setting on wood, metal, tile, or delicate materials. Standard drilling offers better control and reduces damage.
| Task | Best setting | Key tip |
|---|---|---|
| Brick anchor | Hammer mode | Use steady pressure |
| Concrete hole | Hammer mode | Clear dust often |
Your Drill bit selection matters. Fit a carbide-tipped masonry bit, and match its diameter and length to the anchor or fastener.
A regular twist bit can overheat or dull quickly. Consider Power source options, too: corded models provide sustained power for repeated concrete work, while cordless drills offer easier movement for occasional holes.
Start slowly to position the bit, then increase pressure without forcing it. Stop hammering when the bit breaks through, and switch to rotation-only mode if you need a cleaner finish at the opening.
Wear eye protection and a dust mask.
Which Parts Create the Hammering Action?
A hammer drill’s impact comes from a motor-driven clutch or pair of toothed discs that briefly separate and re-engage as the chuck rotates. This hammer mechanism sits behind the chuck, inside the drill’s gearbox. One disc connects to the rotating spindle, while the other connects to the drill body or drive assembly.
As the teeth ride over one another, they push the spindle forward, then let it drop back repeatedly. That movement creates the impact action you feel through the tool and bit.
Your drill’s motor supplies rotation, but the clutch surfaces convert that rotation into rapid axial pulses. A selector collar controls whether the discs engage or remain apart, letting you switch the hammering function on or off.
The chuck transfers the spindle’s combined spinning and forward motion to the bit. Grease, bearings, and housing support smooth operation, while springs keep the toothed discs pressed together. Wear, debris, or damaged teeth can weaken the hammering effect.
Hammer Drill or Regular Drill?
Choose a hammer drill when you need to bore into brick, block, or other masonry, because its pulsing action helps the bit break through hard material. You’ll make faster progress and reduce the pressure you need to apply.
Select a regular drill for wood, plastic, metal, or simple driving tasks. Its smooth rotation gives you better control and prevents unnecessary vibration that could damage delicate materials.
Consider your project’s size and frequency, too. A hammer drill can handle ordinary drilling when you switch off its hammer setting, so it offers useful flexibility.
However, it may feel heavier and cost more than a basic model. A regular drill usually weighs less, runs more quietly, and suits everyday household repairs.
Check the power source before buying. Corded tools provide steady output, while cordless models offer convenient movement.
In either design, the drill motor determines available speed and torque. Match those ratings to your materials, bit size, and workload for reliable results.
Hammer Drill or Rotary Hammer?
When you’re drilling larger holes or working through thick concrete, a rotary hammer delivers more force than a hammer drill. Choose a hammer drill for occasional masonry holes, lighter weight, and greater versatility around your home.
Choose a rotary hammer when you need speed, impact power, or extended concrete work.
Hammer drill vs rotary hammer comes down to capacity, control, and workload:
- Hammer drills suit small anchors and routine repairs.
- Rotary hammers handle demanding drilling and chiseling.
- Hammer drills usually accept standard drill bits.
- Rotary hammers use specialized accessories and stronger impact mechanisms.
- Rotary hammers typically cost more but reduce effort.
Consider portability, too. A cordless vs corded hammer drill choice affects runtime, power, and convenience, while rotary hammers often favor corded performance for sustained jobs.
If you’re working overhead or moving between rooms, a cordless model feels easier to manage. For renovations, foundations, or repeated concrete drilling, a corded rotary hammer offers consistent output.
Match the tool to your project, not just its name.
How to Choose Hammer Drill Bits
When choosing hammer drill bits, start by matching the bit to the material you’ll be drilling. Then, choose the right size for the hole and make sure the shank fits your drill’s chuck.
Match Bit To Material
Match the bit to the material before you start drilling, because concrete, masonry, brick, and tile each require a different cutting design. Choose a carbide-tipped masonry bit for concrete and block; its reinforced tip withstands abrasive surfaces and hammer action.
For brick, select a masonry bit suited to softer, variable material, and use controlled pressure to prevent crumbling. Tile needs a specialized carbide or diamond-grit bit, not hammer mode at first, because impact can crack the glaze.
- Concrete: Use a durable carbide-tipped bit.
- Masonry: Choose a reinforced masonry bit.
- Brick: Select a bit designed for softer surfaces.
- Tile: Use carbide or diamond grit.
- Glass: Use a diamond-coated bit carefully.
Keep Tool maintenance in mind by cleaning bits after use and replacing worn tips. Efficient bits also support Battery efficiency, helping your drill work longer.
Choose The Right Size
Choose a bit size that matches the hole’s required diameter and the anchor or fastener you’ll install. Check the anchor’s packaging for the recommended diameter, then select a bit designed to create that opening.
If you need several holes, use a bit set with graduated sizes so you can match each project precisely. Don’t choose an oversized bit; it can loosen the anchor and reduce holding strength.
A bit that’s too small may prevent proper installation or force you to enlarge the hole unevenly. Consider the required drilling depth, and choose a bit long enough to reach it without stressing the tool.
Mark the desired depth with tape for consistent results. Include Tool maintenance in your routine by replacing worn bits.
Power source selection also matters: choose a drill that can sustain the workload.
Check Shank Compatibility
Before buying a hammer drill bit, check that its shank matches your drill’s chuck or tool holder. Shank types determine whether the bit installs securely and transfers impact efficiently.
A standard keyed or keyless chuck accepts smooth, round shanks, while SDS-Plus and SDS-Max tools require matching slotted shanks. Don’t force an incompatible bit into the holder; you could damage the tool, reduce drilling power, or create a safety hazard.
Check your drill’s manual or inspect its chuck before shopping.
- Match SDS-Plus bits with SDS-Plus holders.
- Use SDS-Max bits only in SDS-Max tools.
- Confirm round shanks fit your chuck.
- Avoid adapters unless your manufacturer approves them.
- Inspect the shank for wear or damage.
Resolving compatibility issues before purchase saves time and helps your hammer drill work safely and effectively.
How to Use a Hammer Drill Safely
When using a hammer drill, wear protective gear such as safety glasses, hearing protection, and a dust mask. Hold the drill firmly with both hands and keep your feet planted to maintain better control. Then, follow these safety steps to work confidently and help prevent injuries.
Wear Protective Gear
Protect your eyes, ears, and lungs whenever you use a hammer drill. Proper protective gear shields you from flying chips, harsh noise, and airborne dust.
Follow these safety precautions before switching on the tool:
- Wear impact-rated safety glasses or sealed goggles.
- Use hearing protection, such as earmuffs or earplugs.
- Put on a properly fitted dust mask or respirator.
- Choose durable work gloves that fit snugly.
- Wear sturdy, closed-toe, slip-resistant footwear.
Avoid loose clothing, jewelry, and anything that could catch on the drill. Tie back long hair, and secure dangling straps before you begin.
If you’re drilling masonry, use a respirator rated for fine silica dust, especially indoors. Replace damaged protective equipment immediately, and keep bystanders away from the work area.
Good protective gear won’t substitute for careful operation, but it greatly reduces injuries when unexpected debris or dust appears. Make sure your clothing stays fitted and secure.
Maintain Proper Grip
Keep both hands on the hammer drill to control its torque and impact. Establish a Proper grip before you start drilling: wrap your dominant hand firmly around the main handle, keeping your index finger near the trigger without squeezing it accidentally.
Place your other hand on the auxiliary handle, then tighten that handle so it won’t shift during operation. Maintain balanced Hand positioning, with your elbows slightly bent and your feet shoulder-width apart.
Brace the drill against your body, but don’t lean over it or use excessive force. Let the bit perform the work while you guide it steadily into the material.
If the bit binds, release the trigger immediately and hold the drill securely until it stops. Never operate the tool one-handed, especially at high speed or when drilling hard surfaces.
How to Drill Cleaner Masonry Holes
To drill cleaner masonry holes, mark the location, choose a carbide-tipped bit that matches the anchor, and start at low speed without hammer action to prevent the tip from wandering. Once the bit bites, engage hammer mode and apply steady, moderate pressure.
Keep the drill perpendicular to the surface, and pause occasionally to clear dust from the hole.
- Use masking tape to prevent surface chipping.
- Begin with a smaller pilot hole when precision matters.
- Let the bit do the cutting; don’t force it.
- Withdraw the bit periodically to eject debris.
- Stop at the required depth to protect the anchor’s fit.
For overhead work, wear eye protection and a dust mask. A vacuum attachment or helper with a vacuum can capture masonry dust as you drill.
Select Cordless options when you need mobility, but monitor battery power because slowing can overheat the bit. Good Tool maintenance also improves results: inspect carbide tips, clean vents, and replace worn bits before your next project.
Wipe the hole clean before inserting the anchor.
Frequently Asked Questions
Can Hammer Drills Be Used for Mixing Paint or Mortar?
Yes, you can use a hammer drill for Paint mixing or Mortar blending, but it isn’t ideal for every job. Switch off the hammer action first, then attach a suitable mixing paddle.
Use the drill’s lowest speed and apply steady pressure to reduce splashing, overheating, and strain. For thick mortar, choose a high-torque mixer instead; a standard hammer drill may wear out quickly, overheat, or lose control during extended use.
How Loud Are Hammer Drills During Operation?
You’ll find hammer drills loud enough to command attention, much like a small thunderstorm trapped indoors. Typical noise levels range from 90 to 105 decibels during operation, depending on the model, material, and pressure you apply.
That volume can damage hearing quickly, so you shouldn’t operate one without earplugs or earmuffs. For sound mitigation, choose quieter settings, maintain the tool, limit continuous use, and warn others nearby before drilling.
What Maintenance Does a Hammer Drill Require?
You’ll keep a hammer drill reliable by cleaning its vents, chuck, and exterior after each use. Inspect the cord or battery, tighten loose parts, and replace worn bits promptly.
Apply lubricant where your manual recommends, and store the tool somewhere dry. Manage debris with proper dust management, including vacuuming or brushing away masonry dust.
For cordless models, protect battery life by charging correctly and storing the battery partially charged, away from extreme temperatures.
Can Hammer Drills Drill Through Tile Without Cracking It?
Yes, you can drill through tile with a hammer drill, but you’ll need care to prevent cracking. As luck would have it, the tile may look sturdy until one careless push ruins it.
For tile safety, disable hammer mode, use a carbide-tipped or diamond bit, and apply light pressure. Start slowly, maintaining a low drill speed, then increase gradually.
Keep the bit cool with water, and avoid drilling near edges or grout lines.
Are Cordless Hammer Drills Powerful Enough for Professional Projects?
Yes, cordless hammer drills are powerful enough for many professional projects, especially when you choose a high-voltage model with strong torque. Check battery capacity, because larger packs provide longer runtime and support demanding masonry work.
Evaluate motor durability, too. Brushless motors typically deliver better efficiency, cooler operation, and longer service life.
You’ll still need corded equipment for continuous, heavy-duty drilling where maximum power and uninterrupted runtime matter most on large jobs.
Conclusion
With the right bit and setting, you can use a hammer drill to power through brick, concrete, and block with surprising control. Its pounding action delivers a million tiny impacts, helping the rotating bit remove stubborn masonry efficiently.
Choose a rotary hammer for demanding projects, and always wear eye and hearing protection. By matching your tool, bit, speed, and technique to the job, you’ll create cleaner holes, work more safely, and finish faster with less frustration. Understanding how hammer drills work helps you use them with greater confidence and control.