5 Tips for Using an Oscillating Tool on Drywall
Cutting drywall cleanly can be frustrating, especially when you’re worried about hitting hidden wires or pipes. You’re not alone—many people struggle to make precise openings without creating excess dust, jagged edges, or costly damage. The right oscillating tool can make the job safer and easier.
For cleaner, safer drywall cuts, scan for hidden wires and pipes, shut off nearby power and water, and stop if you’re unsure. Choose a sharp, drywall-specific oscillating blade that fits your tool.
Mark the opening carefully, verify measurements, and set the depth just beyond the drywall.
Cut slowly with both hands, following the line without forcing the blade. Finally, trim rough edges, sand lightly, and vacuum dust.
The steps below will help you master each part of the job.
Key Takeaways
- Check for hidden wires and pipes using a stud finder, building plans, and inspections from the opposite wall side.
- Choose a sharp, fine-tooth drywall blade compatible with your oscillating tool, replacing damaged or clogged blades.
- Mark the opening precisely, verify measurements and fixture fit, and set the cutting depth slightly deeper than the drywall.
- Start slowly with both hands, letting the blade enter gradually while following the marked line without forcing.
- Smooth jagged edges, sand the perimeter, and vacuum or wipe away drywall dust after cutting.
Check for Wires and Pipes Before Cutting Drywall
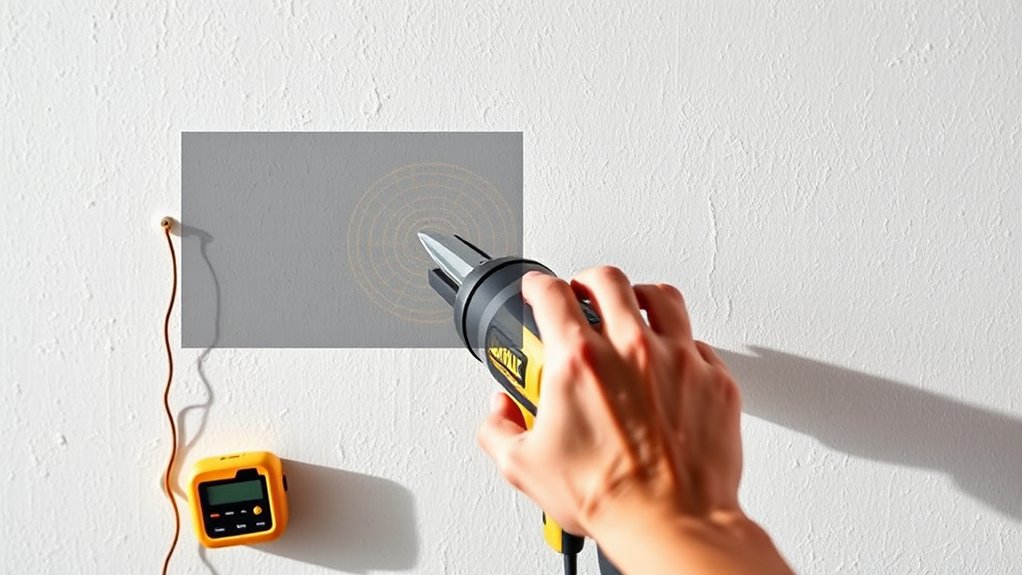
Before cutting drywall with an oscillating tool, check for hidden wires and pipes behind the surface. Scan the area with a reliable stud finder that detects electrical current and metal, then mark every warning point.
Scan for electrical wires and pipes before cutting drywall, and mark every hazard your stud finder detects.
Don’t assume wall cavities are empty, even if you’re working far from outlets or fixtures. Review available building plans, and inspect the opposite side of the wall for switches, receptacles, faucets, radiators, and drain lines.
These steps help you avoid electrical hazards, including damaged cables, shocks, fires, and costly repairs. They also reduce plumbing interference, which can cause leaks, water damage, mold, or loss of service.
Turn off power to nearby circuits before making any cut, but keep in mind that de-energizing a circuit won’t protect you from every hidden line. Shut off water supplies when plumbing may be nearby.
If you can’t confirm what lies behind the drywall, stop and ask a qualified professional to inspect it before you proceed.
Choose the Right Oscillating Tool Drywall Blade
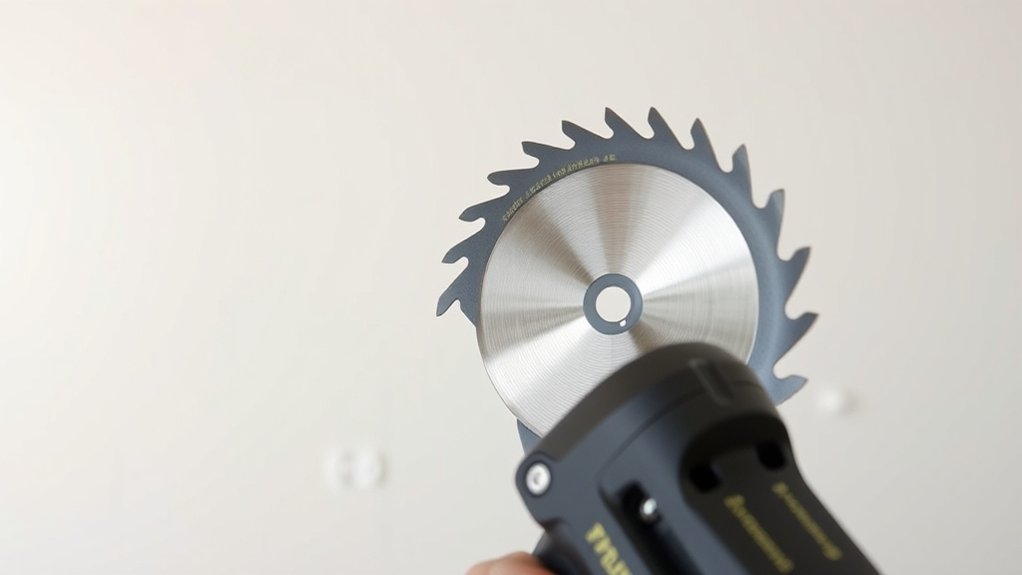
Choose a drywall-specific oscillating tool blade with fine, hardened teeth for clean, controlled cuts. Look for a narrow, pointed blade if you need to enter a panel through a small starter hole, or select a wider blade for longer, straighter openings.
A flush-cut blade can help trim drywall near framing, but use it only when its design matches the task. Check blade compatibility before attaching anything.
Confirm that the blade fits your oscillating tool’s mounting system, and use an adapter only if the manufacturer approves it. Avoid blades designed for wood, metal, or grout unless their labeling specifically supports drywall.
The wrong teeth can tear the paper face and create ragged edges. Inspect the blade before each use, and replace it when the teeth look dull, bent, or clogged with gypsum.
Basic blade maintenance includes brushing away dust, keeping the blade dry, and storing it safely after use. A sharp, compatible blade improves control and reduces unnecessary damage.
Mark the Opening and Set Cut Depth
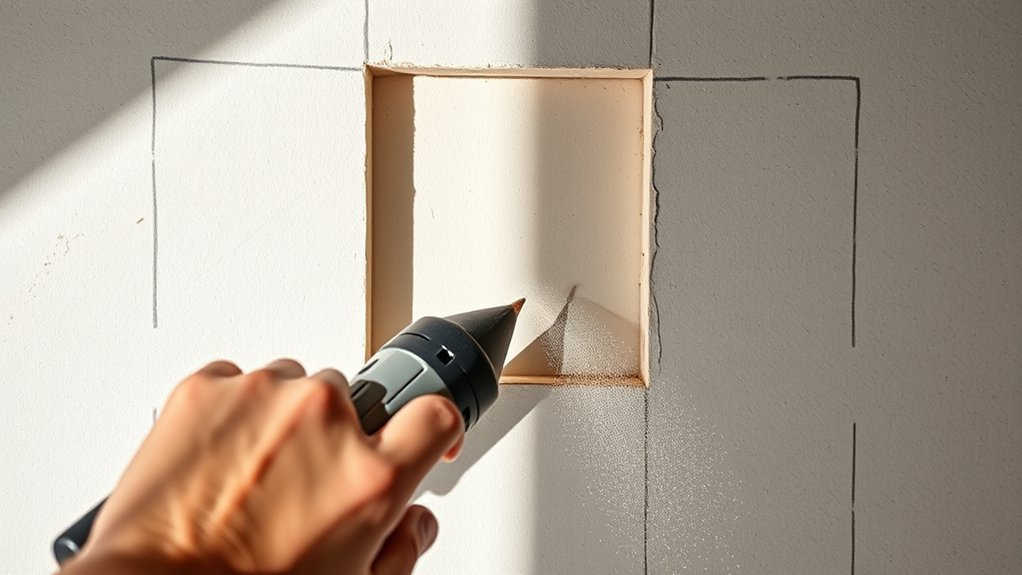
Mark the opening clearly on the drywall, then check its size and position against the fixture or template. Use precise marking techniques: trace the template, confirm level and alignment, and add small reference marks outside the cutout. Measure twice; a misplaced opening can turn a simple project into a costly repair.
| Check | Why it matters |
|---|---|
| Template fit | Prevents an oversized opening |
| Stud location | Avoids hidden framing |
| Utility clearance | Protects you from danger |
Before powering the tool, plan your cut depth adjustment. Set the blade only slightly deeper than the drywall thickness, rather than exposing extra blade that could strike wiring, plumbing, or framing.
If you’re unsure of the wall’s contents, use a stud finder and inspect both sides when possible. Match the depth setting to the panel thickness, and test that setting on scrap drywall.
Secure your measurements and confirm the fixture will cover the marked edges. Careful preparation keeps your opening accurate, your wall safer, and your confidence intact.
Don’t rush this setup. Patience now saves patching later.
Start Slowly and Follow the Cut Line
With the opening marked and the blade set just deeper than the drywall, start the oscillating tool at a low speed. Hold it with both hands, keep your wrists steady, and let the blade enter the surface gradually. Don’t force the tool forward; allow its oscillation to make the cut while you maintain precision control.
Follow one marked line at a time, moving in a smooth, controlled path. Keep the blade aligned with the line, and pause whenever your view becomes unclear. As you approach a corner, slow down and avoid swinging past the endpoint. Use light pressure to prevent the blade from wandering or cutting beyond the opening.
Before you begin, review basic safety precautions: wear eye protection, secure loose clothing, and keep the cord clear of the blade. Watch for hidden wires or pipes, and stop immediately if you feel unusual resistance. Staying patient helps you maintain accuracy and protects the surrounding drywall.
Trim Rough Edges and Remove Drywall Dust
Once the cutout is complete, inspect its edges for jagged sections or small tabs of drywall. Fit a fine-tooth blade on your oscillating tool, then gently shave uneven spots until the opening looks clean and uniform. Keep the tool level, and avoid widening the cut beyond your layout marks. For stubborn bumps, use short passes rather than forcing the blade through the material.
Next, smooth the perimeter with fine-grit sandpaper or a sanding pad. This step supports clean drywall finishing and helps joint compound bond evenly. Wear safety glasses and a dust mask while sanding, especially in enclosed rooms.
For dust cleanup, switch off nearby fans that could spread particles, then vacuum the opening and surrounding floor with a shop vacuum. Wipe remaining residue with a slightly damp cloth, but don’t soak the paper face.
Check the cavity once more, and remove loose debris before installing a patch, box, or fixture. Your final surface should feel firm, smooth, and free of powder.
Frequently Asked Questions
Can an Oscillating Tool Cut Through Multiple Layers of Drywall?
Yes, you can cut through multiple layers of drywall with an oscillating tool, but you’ll need the right blade, patience, and control. Check the combined drywall thickness first, then choose a long, rigid, carbide-grit blade if you’re cutting several layers.
Mark your opening clearly and use shallow passes to avoid damaging studs, wiring, or plumbing. Adjust your cutting angles for clean edges, and wear eye protection and a dust mask throughout.
What Safety Gear Should I Wear While Cutting Drywall?
Wear personal protective equipment before cutting drywall: safety glasses seal out drifting gypsum dust, a properly fitted N95 respirator protects your lungs, and hearing protection reduces the tool’s sharp buzz. Add sturdy work gloves, long sleeves, and closed-toe shoes to guard against blades and debris.
Keep your workspace ventilated, check for hidden wires or pipes, and maintain firm footing. Practice tool maintenance by inspecting the blade, cord, and housing before every cut.
How Do I Cut Drywall Around Electrical Outlets and Switch Boxes?
Turn off the breaker and verify the circuit is dead before cutting around an outlet or switch box. Mark the box’s position precisely, then score or plunge-cut the drywall slightly inside your marks.
Enlarge the opening gradually until the box fits snugly without pressure. Keep the blade shallow to avoid wires, and don’t force it near cables.
For safe drywall repair, prioritize electrical safety, inspect damage, and patch gaps with compound.
Can I Use an Oscillating Tool for Curved Drywall Cuts?
Yes, you can use an oscillating tool for curved drywall cuts, especially around outlets, pipes, or irregular openings. Choose a narrow, fine-tooth drywall blade for better Precision accuracy, and confirm Tool compatibility with your tool’s manufacturer.
Mark the curve clearly, start with shallow passes, and let the blade do the work. Keep the shoe flat, protect wiring and plumbing, and finish rough edges with a drywall rasp or sanding block.
How Should I Maintain My Oscillating Tool After Cutting Drywall?
Treat your oscillating tool like a dusty toothbrush: clean it promptly after each drywall cut. Unplug or remove the battery, then brush or blow dust from the vents, housing, and accessory mount.
Wipe surfaces with a dry cloth; avoid forcing debris inside. For blade maintenance, remove the blade, clean residue, and check for dull or damaged teeth.
Finish with dry tool storage in a case or cabinet, protected from moisture and excess dust.
Conclusion
With these five tips, you’ll use an oscillating tool on drywall more safely, smoothly, and successfully. Check for hidden wires and pipes, choose the proper blade, and mark your opening clearly.
Set the cut depth carefully, then start slowly so your tool stays steady and your line stays true. Finally, trim rough edges and clean away dust.
With patience, precision, and protection, you’ll make cleaner cuts and finish your project with confidence, control, and far less mess.