What Is a Hammer Drill and How to Use It
Struggling to drill clean, accurate holes in concrete or brick? You’re not alone—many people find masonry projects slow, messy, and difficult without the right tool. In this guide, we’ll explain what a hammer drill is and how to use it effectively.
A hammer drill combines rotary motion with rapid impacts, so you can bore through concrete, brick, and other masonry. Choose a carbide-tipped masonry bit, mark the hole, wear eye and hearing protection, and check for hidden wires or pipes.
Secure the bit, select hammer mode, start slowly, and hold the drill squarely with both hands. Apply steady pressure, withdraw the bit periodically to clear dust, and switch to rotary-only mode for wood or metal.
More practical tips follow.
Key Takeaways
- A hammer drill combines rotation and rapid impacts to bore efficiently through concrete, brick, block, and other masonry.
- Choose a carbide-tipped masonry bit, matching its diameter and length to the material and required hole size.
- Wear eye and hearing protection, inspect for hidden wires or pipes, and mark holes away from edges and cracks.
- Select hammer mode for masonry, start slowly, hold the drill squarely with both hands, and apply steady pressure.
- Periodically withdraw the bit to clear debris and cool the hole. Stop immediately if it binds, overheats, sparks, or smells burnt.
What Is a Hammer Drill?
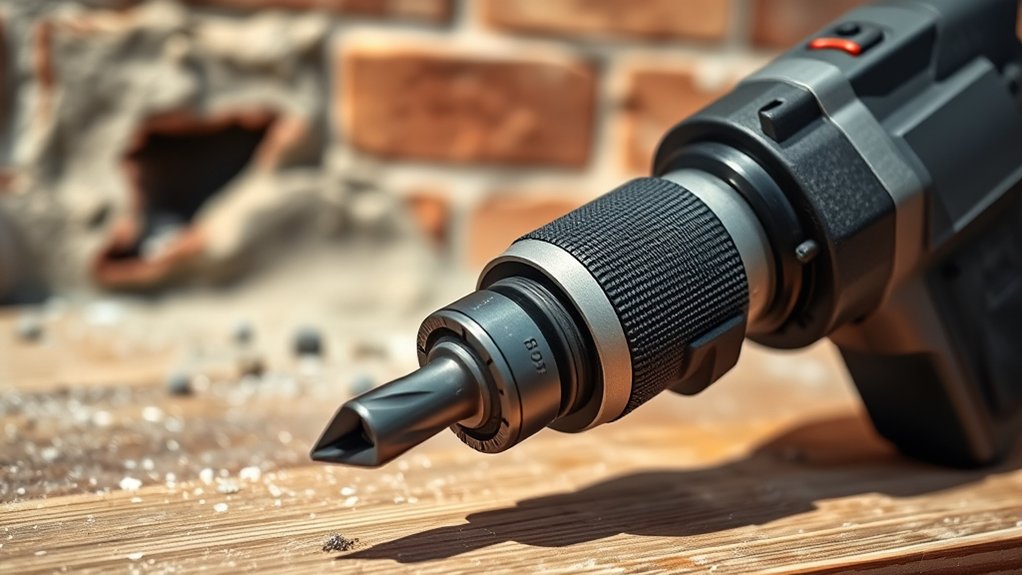
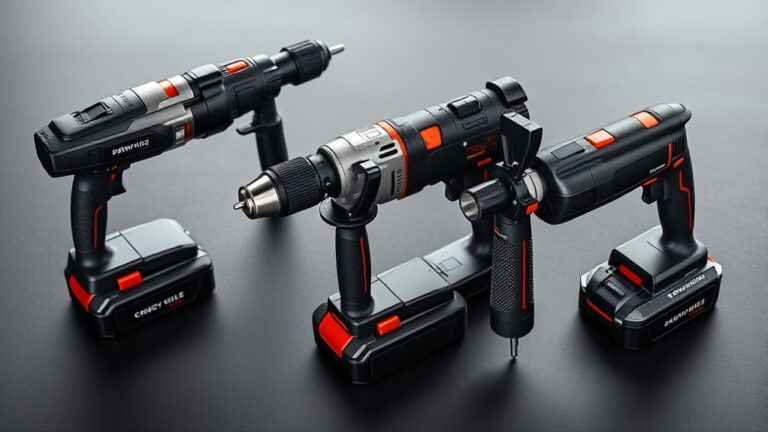
A hammer drill is a power tool that combines rotary drilling with a rapid hammering action to bore into hard materials such as concrete, brick, and masonry. You’ll recognize it by its sturdy body, adjustable handle, chuck, and mode selector.
Unlike a standard drill, it’s designed for demanding construction, installation, and renovation tasks where ordinary bits struggle.
You can use a hammer drill for anchors, fasteners, and holes in dense surfaces, while switching to rotary-only mode for wood, metal, or plastic on many models.
Its versatility makes it valuable for both professionals and serious DIY users, though its heavier build may feel tiring during extended work.
Historical development has taken hammer drills from bulky corded machines to lighter cordless tools with brushless motors, improved batteries, and better vibration control.
When you make Brand comparisons, consider power, speed settings, chuck type, weight, ergonomics, battery compatibility, and warranty. Choose features that match your materials and project frequency.
How Does a Hammer Drill Work?
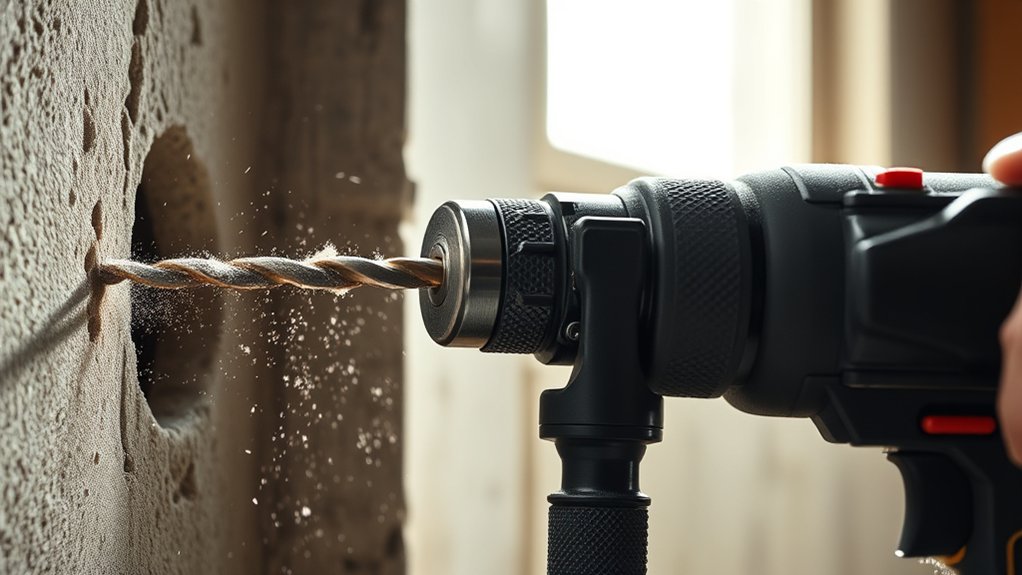
A hammer drill combines a hammering mechanism with rotational force to break through tough materials.
In impact mode, the drill adds rapid forward strikes as it spins. In regular drilling mode, it relies on rotation alone. Knowing the difference helps you choose the right setting for each task.
Hammering Mechanism
When you switch on a hammer drill, its motor spins the chuck while a specialized clutch or pair of ridged discs creates rapid back-and-forth impacts. As you press the tool forward, the mechanism transfers these pulses through the chuck and bit into masonry.
You control impact intensity with the mode selector and trigger, matching pressure to the material. Don’t force the drill; let the hammering action break the surface gradually.
| Part | Function |
|---|---|
| Motor | Powers internal movement |
| Clutch | Generates repeated impacts |
| Chuck | Holds and guides the bit |
These Crafting techniques help you drill cleaner holes, while good tool ergonomics reduce hand fatigue. Keep both hands steady, wear eye protection, and maintain firm footing.
The mechanism works best when you apply consistent pressure and keep the bit aligned. Clean the vents regularly so heat doesn’t weaken performance during extended use.
Rotational Force
Beyond the hammering mechanism, rotational force turns the bit’s cutting edges through the material. Your drill’s motor transfers this spinning power through gears and the chuck to the bit.
As the bit rotates, its flutes remove loosened material and guide debris out of the hole, helping you drill efficiently.
You control performance by matching speed and torque to the material and bit size. Higher torque helps the bit maintain rotation when resistance increases.
Lower torque reduces the risk of stripping fasteners or damaging delicate surfaces. Many hammer drills provide adjustable torque control, allowing you to set the tool’s twisting force before you start.
Hold the drill firmly, keep the bit aligned, and apply steady pressure. Let the tool’s rotational force do the cutting instead of forcing it through the material.
Impact And Drilling Modes
Hammer drills typically offer separate drilling and hammer-drilling modes, so you can match the tool’s action to the material. In drilling mode, the chuck spins the bit without forward impacts.
Choose this setting for wood, metal, plastic, and other materials that need clean rotational cutting. In hammer-drilling mode, the mechanism adds rapid, short impacts as the bit rotates.
These blows help the bit chip masonry while its flutes clear dust from the hole. Select the correct power source for your job, whether you’re using a corded model or a battery-powered tool.
Adjust the speed and pressure gradually. Let the hammer drill’s action do the work instead of forcing it.
An ergonomic design improves control and reduces fatigue, especially during overhead drilling or extended projects. Always wear eye protection when operating your hammer drill.
Choose a Drill for Your Masonry Job
Choose a drill based on the masonry material, hole size, and scope of your project. For occasional anchors in brick or block, a compact hammer drill offers enough power and easy handling.
Choose a heavier model for concrete, deep holes, or repeated work. Check the tool’s chuck size, speed settings, grip, and vibration control before buying.
| Project need | Recommended drill | Key advantage |
|---|---|---|
| Small home repairs | Compact hammer drill | Easy to control |
| Multiple medium holes | Corded hammer drill | Consistent power |
| Heavy construction | Rotary hammer | Faster, deeper drilling |
Think about Cordless vs. corded options. A cordless drill gives you mobility and works well where outlets aren’t available, but batteries add weight and limit runtime.
A corded model supplies steady power for long sessions, though you’ll need an extension cord and nearby outlet. Factor in Drill maintenance, including cleaning vents, inspecting the cord or battery, and checking the chuck regularly.
Choose a comfortable tool you can control safely.
Match the Bit to Your Material
The right bit helps your hammer drill cut cleanly and prevents damage to the material. For concrete, brick, and block, choose a masonry bit with a carbide-tipped head.
Its shape and strength support hammering action while breaking through hard surfaces. Check bit compatibility with your drill’s chuck and operating mode before you begin.
For wood, switch to a brad-point, twist, or spade bit, depending on the hole’s size and depth. Don’t use a masonry bit for wood; it may create rough edges and drill slowly.
For metal, select a high-speed-steel (HSS) twist bit, and choose a bit designed for the specific metal when necessary. Turn off hammer action for wood and metal, since impact can damage both the bit and workpiece.
Use material matching to select the correct diameter, length, and tip style. A longer bit reaches deeper holes, while the right diameter gives you the fit your project requires.
Choose the right diameter, length, and tip style to match your material and achieve clean, properly sized holes.
Inspect the bit for wear, and replace dull or damaged bits before drilling.
Put on the Right Safety Gear
Once you’ve matched the bit to the material, protect yourself from flying debris, dust, and noise. Choose protective gear that fits securely and won’t interfere with your grip or visibility. Start with these essentials:
- Wear safety glasses with side shields to keep chips and dust away from your eyes.
- Use hearing protection, such as earmuffs or earplugs, because hammer drills can produce damaging noise.
- Put on a properly fitted dust mask or respirator when drilling masonry, concrete, or other dusty materials.
Wear sturdy, closed-toe footwear and snug clothing. Tie back long hair, remove dangling jewelry, and avoid loose sleeves that could catch on the tool.
If you’ll drill for an extended period, consider work gloves that improve comfort without reducing control. Follow the manufacturer’s safety protocols, including recommendations for protective equipment and proper tool operation.
Inspect your gear before starting, and replace cracked lenses, worn straps, or damaged respirators. Good preparation helps you work confidently and reduces preventable injuries while using your hammer drill.
Mark the Hole and Check the Area
Before you start drilling, mark the hole’s exact location with a pencil, marker, or center punch, then check both sides of the surface for hidden wires, pipes, and other obstructions. Use a stud finder, electronic scanner, or building plans to identify wiring and plumbing before you mark the area.
If you’re drilling into a wall, inspect the opposite side and consider what may run inside the cavity. For floors, ceilings, and masonry, look for nearby outlets, fixtures, vents, and water lines that could indicate concealed services.
Check the surface for cracks, loose material, or damaged sections that could affect the hole’s position or stability. Make sure your mark sits far enough from edges, corners, and existing holes to prevent chipping or splitting.
If you can’t confirm what lies behind the surface, choose another location or consult a qualified professional. Don’t rely on guesswork, especially in older buildings or remodeled spaces.
Set Up Your Hammer Drill
Set up your hammer drill by choosing a bit that matches the material and hole size. Secure it firmly in the chuck, then adjust the speed and hammer settings as needed. This helps you drill safely and accurately.
Choose the Right Bit
Choose a bit designed for the material you’re drilling and the hole size you need. For masonry, select a carbide-tipped masonry bit that can withstand concrete, brick, or block. For tile, use a tile-specific bit to reduce cracking. A standard twist bit suits wood or metal when you don’t need hammer action.
Check your drill compatibility before inserting the bit. Match the bit’s shank style and diameter to your chuck, and confirm the bit fits securely without wobbling.
Consider these choices:
- Concrete or brick: carbide-tipped masonry bit
- Tile or glass: specialized tile bit
- Wood or metal: twist bit
Choose the correct bit material for durability and clean results. Inspect its tip for wear or damage, and replace it if necessary. A sharp, properly sized bit helps you drill accurately and prevents unnecessary strain on your tool.
Adjust Drill Settings
Adjust your hammer drill’s settings to match the material and bit before drilling. Check drill bit compatibility with your tool and the surface.
Use hammer mode for masonry, such as brick, block, or concrete. Select rotary-only mode for wood, metal, tile, and delicate materials to prevent unnecessary impact.
Set the speed low when starting a hole, then increase it gradually if the bit cuts smoothly. Choose a higher speed for small bits and softer materials, but use slower speeds for large bits, hard surfaces, and metal.
If your drill offers motor power adjustment, set moderate power for routine work and increase it only when resistance demands it. Tighten the chuck securely, install the depth stop if needed, and test the trigger briefly before applying steady pressure.
Drill Into Masonry Step by Step
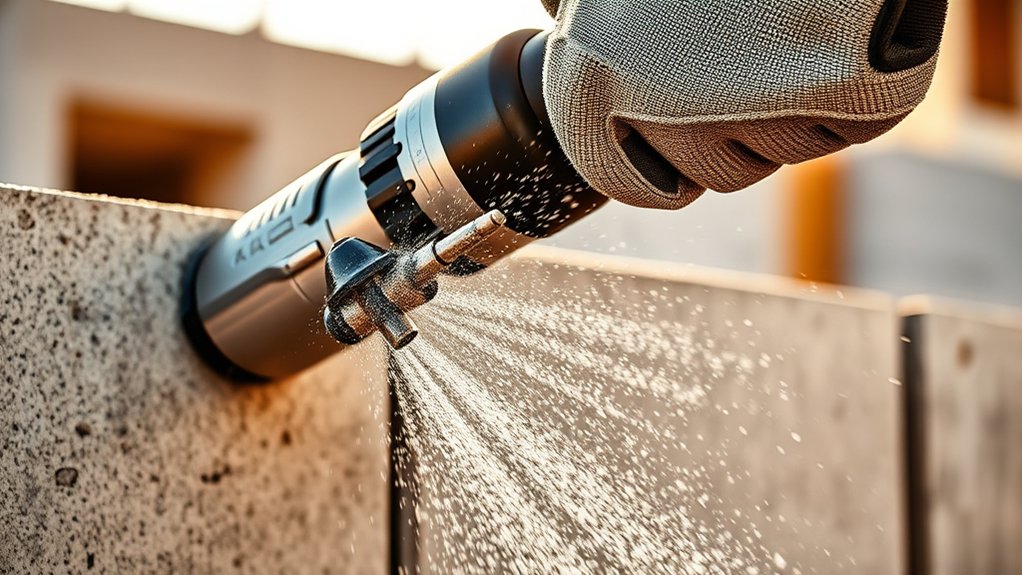
To drill into masonry, mark the hole, fit your hammer drill with a masonry bit, and put on eye and hearing protection. Check that the bit matches the anchor or fastener you’ll install. Select hammer mode and a moderate speed, then brace the tool with both hands.
> Prepare your hammer drill with the correct masonry bit, wear protection, choose hammer mode, and brace the tool securely.
- Place the tip squarely on your mark.
- Squeeze the trigger gently and let the hammer action work.
- Withdraw the bit periodically to clear dust and keep the hole cool.
Maintain steady, forward pressure, but don’t force the drill. An ergonomic grip helps you control vibration, while an elegant design may make extended work more comfortable.
Keep the drill aligned with the surface so the hole stays straight and the bit doesn’t wander. When you reach the required depth, release the trigger before pulling the bit out.
Vacuum or brush away debris, then check the hole’s depth and cleanliness before inserting your anchor. Work slowly around tile, brick, block, or concrete, and keep bystanders clear of flying dust and fragments.
Fix Common Hammer Drill Mistakes
When a hammer drill misbehaves, stop and identify the cause before continuing. If the bit slips, switch off the tool, unplug it, and tighten the chuck securely.
For a keyless chuck, grip the sleeve firmly. For a keyed chuck, use the correct key in each position.
If drilling feels slow, check that you’re using a masonry bit, selecting hammer mode, and applying steady, moderate pressure. Don’t force the tool, because excessive pressure can overheat the motor or stall the bit.
If the drill won’t start, inspect the Power source, plug, outlet, battery, and trigger lock. Test another outlet only after following all Safety precautions.
If the bit binds, release the trigger immediately and reverse it carefully, keeping both hands on the drill. Reduce pressure and clear dust from the hole with the drill stopped.
Stop using the tool if you notice sparks, burning odors, unusual noise, or repeated overheating. Have a qualified technician inspect it.
Clean, Maintain, and Store Your Hammer Drill
Once you’ve fixed a problem or finished a project, clean and maintain your hammer drill before storing it. Unplug the tool, remove the bit, and brush away dust from the chuck, vents, and housing. Use compressed air carefully, then wipe surfaces with a dry cloth. Don’t spray water or cleaner directly onto the drill.
Your cleaning tools should include a soft brush, lint-free cloth, and manufacturer-approved lubricant. Inspect the cord, battery, chuck, and side handle for damage. Replace worn parts, tighten loose screws, and lubricate the chuck only as directed in your manual.
- Clear debris from ventilation openings to prevent overheating.
- Charge batteries properly, and store them separately if recommended.
- Keep bits clean, lightly oiled, and organized by size.
For practical storage tips, place the drill and accessories in their case or a dry cabinet away from moisture, extreme temperatures, and direct sunlight. Don’t wrap the cord tightly or leave the battery connected. A clean, dry drill will perform reliably and last longer.
Frequently Asked Questions
Can a Hammer Drill Be Used for Driving Screws?
Yes, you can use a hammer drill for driving screws, but you’ll need to switch it to standard drilling mode and disable the hammer action. Use a screwdriver bit, choose a low speed, and adjust the clutch to prevent stripping or overdriving.
For smoother screw driving, a regular drill or impact driver usually works better. Still, a hammer drill offers useful drill versatility when you occasionally need to bore into masonry and fasten materials.
How Loud Is a Hammer Drill During Operation?
A hammer drill sounds like a small jackhammer, typically producing 95–105 decibels during operation, louder than heavy city traffic. When you squeeze the trigger, its pounding mechanism creates sharp vibrations that carry through walls and floors.
Wear hearing protection, especially during extended work, and warn anyone nearby before drilling. Noise reduction starts with shorter sessions, firm pressure, and appropriate bits. Add sound insulation, such as temporary barriers or closed doors, to limit echoes and disturbance.
Can Renters Use Hammer Drills Without Professional Experience?
Yes, you can use a hammer drill as a renter without professional experience, but you’ll need to follow rental restrictions and safety precautions. Check your lease and ask your landlord before drilling, especially into concrete, masonry, or structural surfaces.
Rent the right tool, read its manual, and wear eye and hearing protection. Mark utilities beforehand, secure your workpiece, start slowly, and stop immediately if you encounter unexpected resistance, wiring, or plumbing.
What Accessories Improve Hammer Drill Performance?
You’ll improve hammer drill performance with the right accessories. Choose sharp masonry bits matched to your material, and use depth stops for consistent hole sizes.
A side handle gives you better control, while vibration-dampening grips reduce fatigue. Add a sturdy bit case to protect and organize attachments.
Cordless convenience improves mobility, especially in tight spaces. Dust extraction keeps your work area cleaner and helps protect your lungs. Wear eye and hearing protection, too.
How Long Do Hammer Drill Bits Typically Last?
You can expect hammer drill bits to last several hours to several months, depending on the material, workload, pressure, bit quality, and cooling. Masonry bits usually wear faster when you drill concrete continuously, while occasional household use may extend their life for years.
For better Bit durability, use the correct bit, avoid excessive force, and let it cool. Follow these Maintenance tips: clean bits, inspect tips, and replace damaged ones promptly.
Conclusion
A hammer drill looks like a power tool, but it works like a tiny jackhammer, driving and drilling at once. Choose the right model and bit, wear safety gear, and let the tool—not your strength—do the work.
Set it correctly, drill steadily, and avoid forcing it through masonry. When you’re finished, clean, inspect, and store it safely.
Treat this rugged tool with care, and your hammer drill will turn stubborn walls into manageable projects.