The Most Common Use of a Power Drill Is Drilling Holes €“ How to Do It
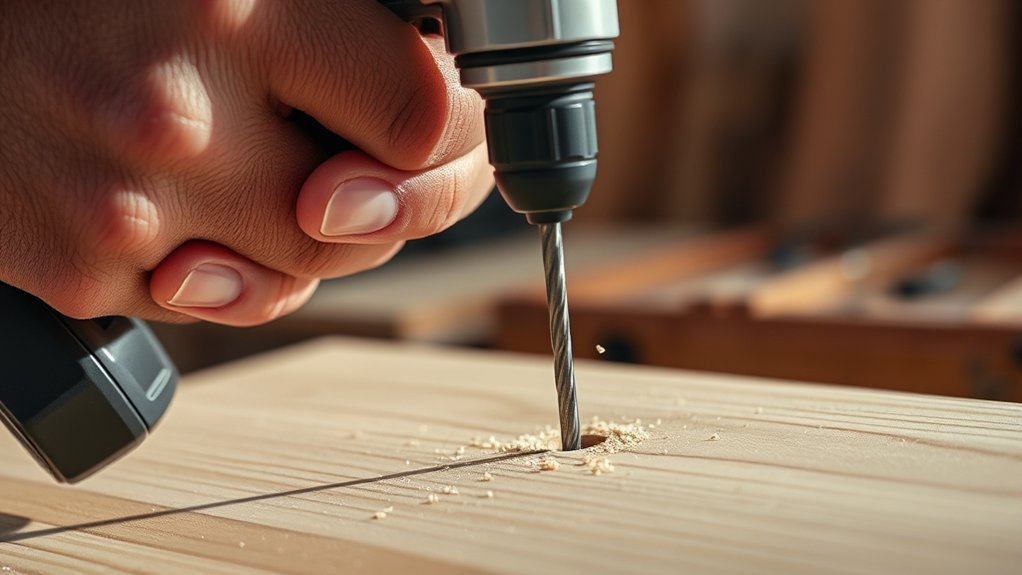
Drilling a clean, accurate hole can be frustrating, especially when the bit slips, the wood splinters, or the hole ends up in the wrong place. You’re not alone—many people struggle to get consistent results. The most common use of a power drill is drilling holes, so choosing the right bit and technique makes a big difference.
To drill a clean, accurate hole, choose a bit suited to your material and hole size. Mark the location clearly, wear safety glasses, and clamp the workpiece securely.
Set a slow speed for metal or large bits and a faster speed for wood or small bits. Hold the drill straight, apply steady pressure, and avoid forcing it.
Use tape or scrap wood to prevent splintering and blowout. The following tips will help you handle different materials and common problems.
Key Takeaways
- Choose a sharp drill bit suited to the material, hole size, and required depth.
- Mark the drilling location precisely, then create a small pilot mark to prevent bit wandering.
- Secure the workpiece with clamps and wear impact-rated safety glasses before drilling.
- Set an appropriate speed, hold the drill perpendicular, and apply steady, moderate pressure.
- Drill in short intervals, clear debris, and use cutting oil on metal to prevent overheating.
Choose the Right Drill Bit
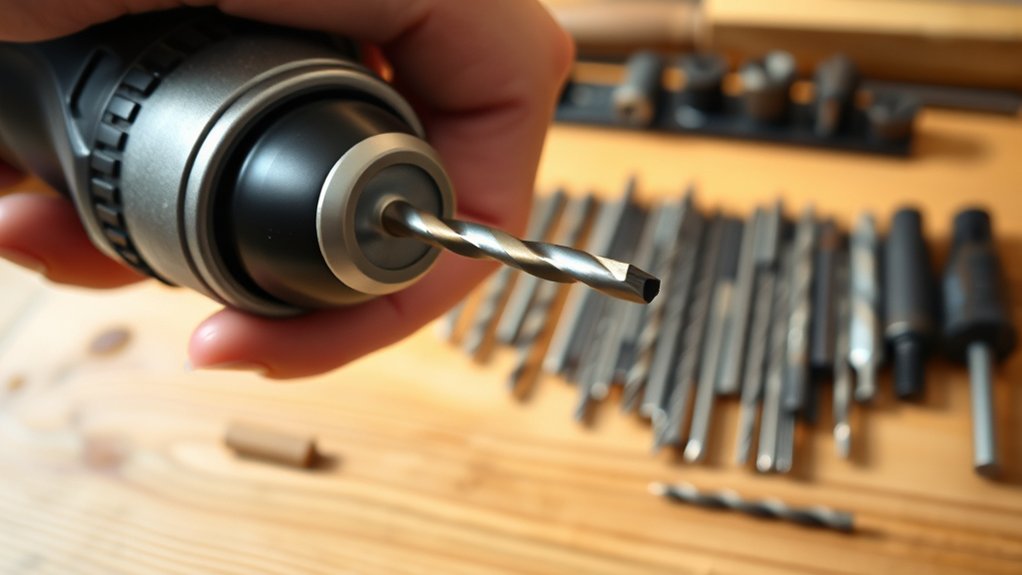
Choosing the right drill bit makes each job easier and helps prevent damage to the material. Start by identifying the hole’s purpose, size, and depth. Select a bit with a suitable diameter, then check its shank to assure it fits your drill chuck.
A round shank works with standard chucks, while a hex shank supports quick changes in compatible drills. For clean results, inspect the bit before use. A dull, chipped, or bent bit can wander, overheat, or break.
Good Drill bit maintenance includes removing debris, checking cutting edges, and replacing worn bits promptly. Keep bits organized so you can find the correct size quickly.
Storage solutions such as labeled cases, wall racks, or compartmented boxes protect edges from impacts and moisture. Secure the bit firmly, but don’t overtighten the chuck.
Let the drill work at a controlled speed, and avoid forcing the tool. Your preparation improves accuracy, safety, and bit life.
Match Drill Bits to Your Material
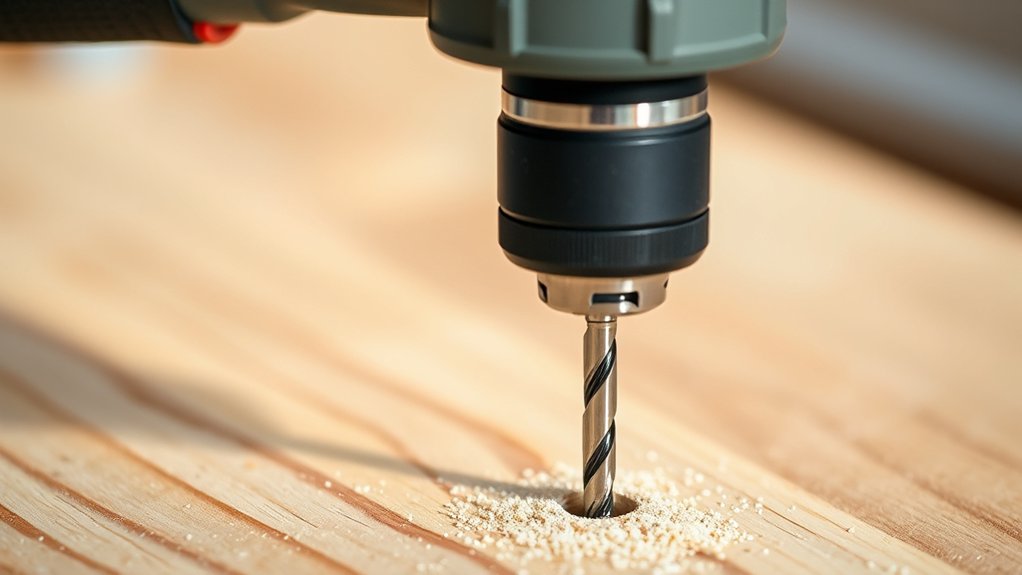
Match the drill bit to the material so it cuts cleanly without excessive heat or damage. For wood, choose a brad-point bit for accurate, clean holes, or use a spade bit for wider openings.
Select a high-speed steel bit for plastic and thin metal. Reduce pressure and speed to prevent melting or distortion. For steel and other hard metals, use a cobalt or titanium-coated bit with cutting oil to control heat.
Masonry requires a carbide-tipped bit, operated with hammer action when your drill supports it. Glass and tile need a specialized carbide or diamond-grit bit, slow speed, and steady cooling.
Check Material compatibility before you start, because the wrong bit can wander, overheat, or break. Apply only enough pressure to maintain progress, letting the bit do the cutting.
Good Drill bit maintenance extends service life. Remove debris, wipe bits dry, inspect cutting edges, and store them separately to prevent damage. Replace dull or cracked bits promptly.
Mark the Hole Location Clearly
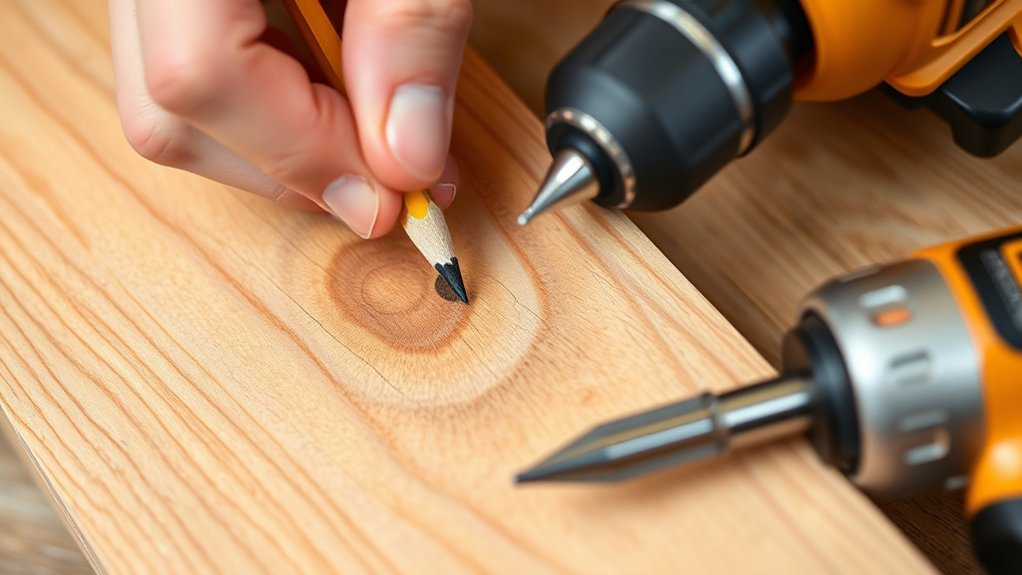
Measure the spot carefully before drilling. Mark it clearly with a pencil or punch so you don’t lose track of it. A visible guide will help keep the bit aligned.
Measure and Mark Precisely
Before you pick up the power drill, measure the location carefully and mark the exact center with a pencil or punch. Measuring accuracy matters because even a small error can misalign hardware, weaken a joint, or damage a finished surface.
Use a tape measure, ruler, or combination square to confirm distances from two edges or reference points. Check your measurements twice before making the mark.
For improved marking techniques, place a small dot at the intersection of your measurements, then enlarge it slightly if needed. A sharp pencil works well on wood, while a fine marker suits metal or plastic.
On glossy surfaces, apply masking tape first and mark on it. Keep your reference measurements visible, and compare the planned location with nearby edges, seams, and obstacles before drilling.
Use a Visible Guide
Once you’ve confirmed the measurements, create a clear visual guide for the drill bit. Mark the exact hole location with a pencil, marker, or small piece of painter’s tape. A visible target helps you position the tool accurately and prevents wandering when the bit first contacts the surface.
- Make a crosshair by drawing one horizontal and one vertical line through the center point.
- Add tape around the mark when drilling a smooth surface. It can reduce slipping and help prevent chipping.
- Check the mark from your working angle, then align the bit tip directly over its center.
Keep the guide visible throughout setup, and don’t rely on memory. Before drilling, review basic safety precautions, secure the material, and inspect your power drill maintenance needs, including a clean chuck and undamaged cord.
Wear Eye Protection and Secure the Material
Wear safety glasses to protect your eyes from flying chips, dust, and broken bits, and secure the material with clamps so it cannot shift while you drill. Safety goggles should fit snugly and cover the sides of your eyes. Choose impact-rated protection, especially when drilling metal, masonry, or brittle surfaces that can send sharp fragments outward.
Wear snug, impact-rated safety glasses to shield your eyes from flying chips, dust, and sharp fragments while drilling.
Material stabilization keeps the workpiece steady, helps you maintain control, and prevents the bit from binding or wandering. Place the material on a firm, level surface, then tighten clamps near the drilling area without crushing delicate edges.
Use two clamps when one cannot prevent twisting or lifting. Keep your hands away from the bit’s path, and never hold a small piece in your palm while drilling. Check that cords, loose clothing, and hair stay clear of the rotating tool.
Before you begin, inspect the clamps and reposition them if they obstruct the hole or create an unstable setup. Pause immediately if the material shifts.
Set the Drill Speed Correctly
Choose a speed that suits the material and bit size. Start slowly, then gradually increase the speed as needed.
Choose the Right Speed
Set the drill’s speed to match the material and bit size before you start. A slower setting gives you better control for large bits, hard materials, and metal.
A faster setting suits small bits and softer materials, such as wood or plastic. Check your drill’s speed chart or the bit manufacturer’s guidance when you’re unsure.
- Wood: Use medium to high speed, depending on the bit diameter. Reduce speed for large spade or auger bits.
- Metal: Choose a low speed and apply steady pressure. Use cutting fluid when appropriate to reduce heat.
- Masonry: Select a moderate speed with a masonry bit, following your tool’s hammer-mode recommendations.
Confirm that your power source can support consistent operation. Include speed controls in regular drill maintenance.
The correct setting helps prevent overheating, wandering, and premature bit wear.
Adjust Speed Gradually
Start the drill at a low speed, then increase it gradually until the bit cuts smoothly without excessive heat or vibration. Use the trigger’s Speed control to make small adjustments as you work.
Apply steady pressure, but don’t force the bit. Excessive pressure can stall the motor, overheat the bit, or damage the material.
If the bit squeals, smokes, or binds, release the trigger and let everything cool before continuing at a slower setting.
For metal, begin slowly and use cutting oil when appropriate. Wood usually allows faster drilling, while masonry requires a moderate speed and a hammer setting if your tool has one.
Maintain good drill ergonomics by standing squarely, gripping the handle firmly, and keeping your wrist straight.
Watch the bit’s progress, and adjust speed whenever resistance or vibration changes.
Start With a Pilot Hole
Before driving the screw, drill a pilot hole slightly narrower than its shaft to guide the bit, prevent splitting, and make fastening smoother. Choose a bit that matches the screw’s core diameter, not its threads.
For softwood, a slightly smaller bit works well. Hardwood may need a closer match.
- Mark the entry point with a pencil or awl. This keeps the bit from wandering when you begin.
- Set the hole depth before drilling. Wrap tape around the bit as a visual stop, or use a depth collar.
- Clear dust from the hole, then test the screw by hand. It should bite firmly without forcing.
Use quality power drill accessories, including brad-point bits for clean starts and countersinks for flush heads. Keep matching sizes together through practical drill bit storage, so you can find the right bit quickly.
Start at low speed, apply gentle pressure, and stop once you reach the marked depth. A pilot hole also helps screws enter more easily and reduces stripped heads.
Keep the Drill Straight and Steady
As you drill, keep the tool aligned with the surface and hold it firmly with both hands. Position your feet shoulder-width apart, relax your shoulders, and keep your wrists straight.
This stance improves drill ergonomics and helps you control the tool without straining your arms.
Apply steady, moderate pressure along the drill’s axis. Don’t push sideways, since that can make the bit wander or bind. Let the bit do the cutting, and ease off as it reaches the desired depth.
If the drill begins to twist, stop, reposition your grip, and restart slowly.
Use your free hand to support the drill body when the design allows it, but keep your fingers away from the chuck and rotating bit. Watch your alignment from the side rather than bending awkwardly over the workpiece.
Good drill maintenance also matters. A clean chuck, sharp bit, and secure attachment help the tool run smoothly and stay easier to control.
Prevent Splintering and Surface Cracks
To prevent splintering and surface cracks, place a strip of painter’s tape over the drilling point and mark the center clearly. The tape supports loose fibers as the bit enters and exits, reducing tear-out and grain separation.
Choose a sharp bit suited to the material, because a dull edge creates excess friction, heat, and rough openings. Set the drill to a moderate speed and let the bit cut rather than forcing it.
For cleaner results, follow these steps:
- Clamp the workpiece firmly on a stable surface, and place scrap wood beneath the exit point.
- Start slowly, keeping the bit centered on your mark. Increase speed gradually once the tip bites.
- Ease off pressure as the bit nears the opposite side, then finish gently to preserve surface smoothness.
After drilling, remove the tape by pulling it back over itself. Lightly sand any raised fibers with fine-grit paper, using minimal pressure to avoid enlarging the hole or damaging the surrounding finish.
Drill Safely Through Wood, Metal, and Masonry
Safe drilling starts with matching the bit and speed to the material. For wood, choose a brad-point or twist bit, mark your depth, and use moderate speed.
For metal, install a cobalt or titanium-coated bit, apply cutting oil, and begin at a slower setting. Wear safety glasses and keep your hands clear of the workpiece.
For masonry, use a carbide-tipped masonry bit with hammer mode only when your drill and bit support it. Put on eye, hearing, and dust protection, and check for hidden wires or pipes before drilling into walls.
Secure loose materials with clamps, and maintain balanced pressure while you work. Power drill accessories, such as depth stops and auxiliary handles, can improve control and accuracy.
Include drill maintenance in your routine: inspect the cord, chuck, battery, and bit for damage, then clean dust and shavings from the tool. Unplug corded drills before changing bits or performing maintenance.
Fix Wandering Bits, Blowout, and Overheating
Mark your drilling point first, then start at a low speed to keep the bit steady. To minimize blowout as the bit exits, place backing material behind the workpiece or apply painter’s tape over the area. Use light pressure, clear away debris, and take regular breaks to keep the drill from overheating.
Prevent Bit Wandering
When a drill bit wanders, start slowly and at low speed to create a small pilot mark before applying firm, even pressure. Keep the drill perpendicular to the surface, and use your free hand to steady the tool body without touching the chuck. Select the correct bit for your material; different Drill bit types require different speeds and pressure.
- Mark the center with a pencil or center punch so the tip has a clear target.
- Hold the handle securely, align your wrist with the bit, and maintain steady pressure.
- Let the bit cut instead of forcing it. Reduce pressure if it binds, chatters, or heats quickly.
Review Cordless drill options for adjustable speed and clutch settings, which help you control starts on wood, metal, and plastic. Pause periodically to keep the bit cool.
Minimize Blowout
Minimize blowout by slowing the drill as the bit exits the material and supporting the workpiece with scrap wood. Clamp the workpiece firmly, then mark the exit point clearly.
When drilling through wood, place a sacrificial board beneath the surface to support fibers and catch the bit. Use a sharp bit suited to the material, and let its cutting edges do the work.
A dull or damaged bit can tear fibers, wander, and reduce drill bit durability. For clean holes, start with light pressure, keep the drill aligned, and ease off as the tip approaches the far side.
Reverse the workpiece when practical and finish from the opposite face. Include checking bits, chucks, and alignment in your power drill maintenance routine to improve hole quality and tool reliability.
Avoid Drill Overheating
Proper technique also helps prevent overheating, especially during long drilling sessions or work in dense materials. Use steady pressure, but don’t force the bit; excessive pressure strains the motor and creates heat.
Follow these practical steps:
- Work in intervals: Drill for several seconds, then release the trigger and let the bit spin down. Pause longer when drilling metal, hardwood, or masonry.
- Use cooling methods: Apply cutting oil to metal, clear dust from masonry holes, and keep vents unobstructed. A sharp bit also cuts faster and stays cooler.
- Practice drill maintenance: Inspect bits for dullness, clean the chuck, and check that vents remain free of debris. Stop immediately if you smell burning, see smoke, or feel unusual heat.
Let the drill cool completely before continuing, and replace damaged bits rather than risking motor failure or injury.
Frequently Asked Questions
How Do I Maintain and Clean My Power Drill After Use?
Unplug your power drill, remove the bit, and wipe its housing with a dry or slightly damp cloth. Use compressed air to clear dust from vents and the chuck, but don’t force debris deeper inside.
Add a drop of lubricant to the chuck occasionally, and inspect the cord, battery, and brushes for damage. Follow a regular maintenance schedule, using these cleaning tips after every project. Store the drill somewhere dry.
Can I Use a Power Drill to Drive Screws?
Yes, you can use a power drill to drive screws, and you’ll often save time when assembling furniture or completing repairs. Coincidentally, the same tool that makes clean holes can also fasten them securely.
Choose a driver bit that matches the screw head, and check screw size compatibility with your material and bit. Use low speed, moderate pressure, and the clutch setting.
Practicing screwdriver techniques helps prevent stripped heads, overdriving, and damaged surfaces.
What Should I Do if My Drill Battery Won’T Charge?
If your drill battery won’t charge, inspect the charger, contacts, and battery for damage, dirt, or overheating. Unplug everything, clean contacts gently, and reseat the battery firmly. Try another compatible outlet, then check whether the charger’s indicator light works.
For effective Battery troubleshooting, consult your manual and test a spare battery if available. Follow Charging safety: don’t use swollen, cracked, wet, or unusually hot batteries; replace them through an approved recycler.
How Do I Choose Between a Corded and Cordless Power Drill?
About 60% of DIY users prefer cordless drills for convenience, while corded models still deliver uninterrupted power. Choose cordless if you value portability, work outdoors, or move frequently; compare Battery life and keep a spare pack available.
Choose corded if you’ll drill for long periods, tackle demanding materials, or want consistent performance without charging. Check Cord length and outlet access before buying.
Your project location, workload, and budget should decide the final choice.
When Should I Replace My Drill’s Chuck or Other Worn Parts?
Replace your drill’s chuck when it slips, wobbles, binds, or can’t grip bits securely, even after cleaning and tightening. Consider chuck replacement if the jaws look damaged, the chuck runs visibly off-center, or you hear grinding.
Inspect worn parts, including brushes, gears, batteries, cords, and triggers. Replace cracked housings, frayed cords, or failing batteries immediately.
If repair costs approach the price of a new drill, replace the entire tool instead.
Conclusion
With the right bit, steady pressure, and proper eye protection, drilling a hole becomes simple and safe. Don’t rush: a wandering bit can turn a five-minute repair into a frustrating mess.
Think of your drill like a compass. When you guide it calmly, it takes you exactly where you need to go. One homeowner avoided cracking a shelf by slowing down and backing the bit out twice.
Follow these steps, and your next hole will be clean, straight, and ready. With the most common use of a power drill, drilling holes, a careful approach makes all the difference.