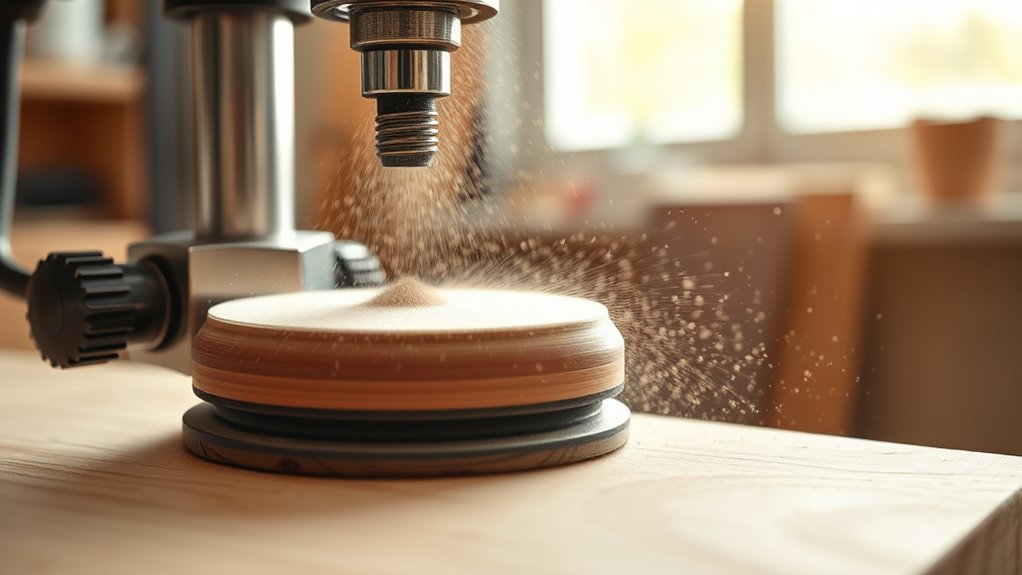
Using a Drill Press Sanding Drum for Smooth Finishes
Sanding curved edges and small openings smoothly can be frustrating, especially when hand sanding leaves uneven spots or takes too long. You’re not alone—many woodworkers struggle to get consistent results without burns, gouges, or flat areas. The right drill press sanding drum can make the job faster and more controlled.
Use a properly sized sanding drum with an aluminum oxide sleeve suited to your material. Install it securely, unplugging the drill press while checking for wobble, then clamp your workpiece firmly.
Choose a moderate speed, using slower settings for larger drums, and apply light, even pressure. Keep the drum moving to prevent burns, gouges, and flat spots.
Progress from coarse to fine grits, inspecting between stages. Clean and maintain the drum regularly for safer, smoother results—more practical tips follow.
Key Takeaways
- Choose a sanding drum and sleeve diameter suited to the curve, material, and drill press chuck capacity.
- Securely clamp the workpiece, install the arbor fully, and check for wobble before operating.
- Select moderate RPMs and reduce speed for larger drums to prevent burning, melting, and vibration.
- Use light, steady pressure while continuously moving the drum to avoid gouges, flat spots, and uneven surfaces.
- Progress from coarse to fine grits, replacing clogged sleeves and inspecting the finish between sanding stages.
Choose the Right Drill Press Sanding Drum
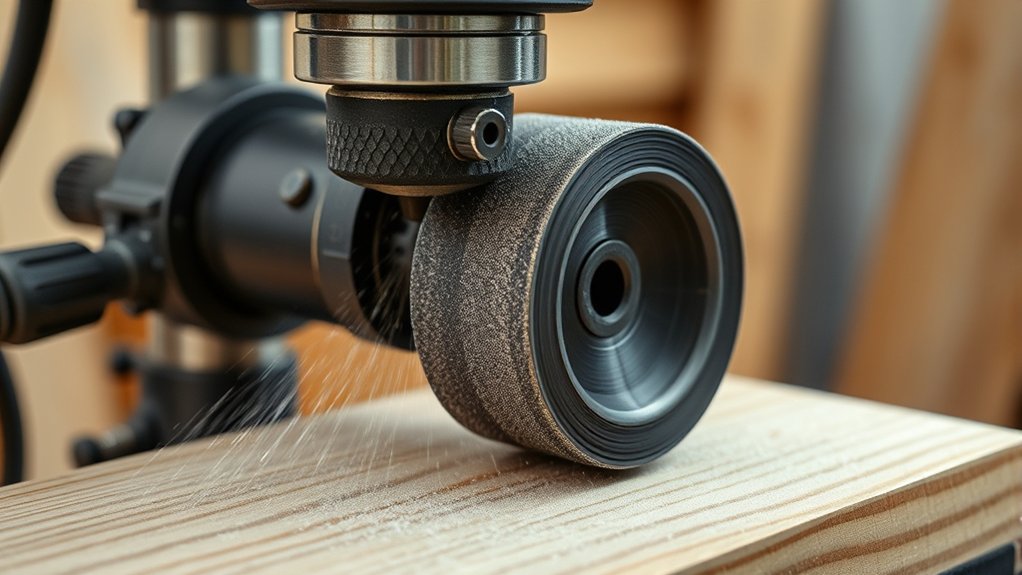
Choose a sanding drum that matches your drill press, the material you’re shaping, and the finish you want. Check your drill press chuck’s capacity and choose a drum shank that fits securely.
Confirm the drum’s maximum rated speed, then keep your machine within that limit to reduce vibration and improve control.
Match the drum’s diameter to your project. A larger drum covers broad curves efficiently, while a smaller one reaches tight openings and detailed contours.
Consider the drum’s construction, too. Rubber drums flex slightly and follow curved surfaces, while rigid drums provide steadier support on flatter edges.
Alternative drum materials, such as aluminum or steel, can offer added durability for demanding work, but they may require more careful handling.
Choose custom drum sizes when standard options don’t fit your workpiece or when you need a precise radius.
Also, inspect the drum for cracks, uneven surfaces, or loose hardware before use. A balanced, compatible drum helps you sand smoothly and safely.
Select the Best Sanding Sleeve and Grit
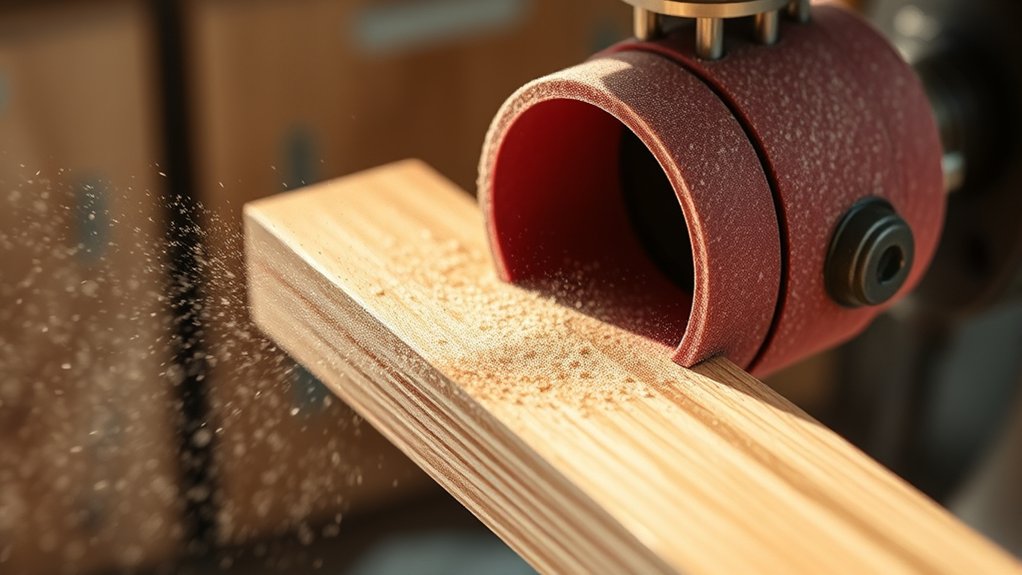
Once you’ve selected a compatible drum, pair it with a sanding sleeve suited to your material and desired finish. Choose aluminum oxide for general woodworking because it cuts consistently and lasts well.
Select zirconia alumina when you need aggressive stock removal on hardwood or other demanding materials. For softwood, a flexible sleeve helps prevent gouging, while a stiffer sleeve supports flatter surfaces and edges.
Match the grit to your sanding stage. Start with 60- or 80-grit to remove saw marks, reshape edges, or smooth rough contours.
Move to 120- or 150-grit for refining the surface, then finish with 180- or 220-grit when you want a smoother feel. Don’t jump too far between grits; each step should erase the scratches left by the previous one.
Consider the abrasive material, sleeve diameter, and available sanding techniques before buying. Keep several grits nearby so you can progress efficiently and avoid forcing the sleeve against your workpiece during finishing tasks.
Install the Sanding Drum Securely
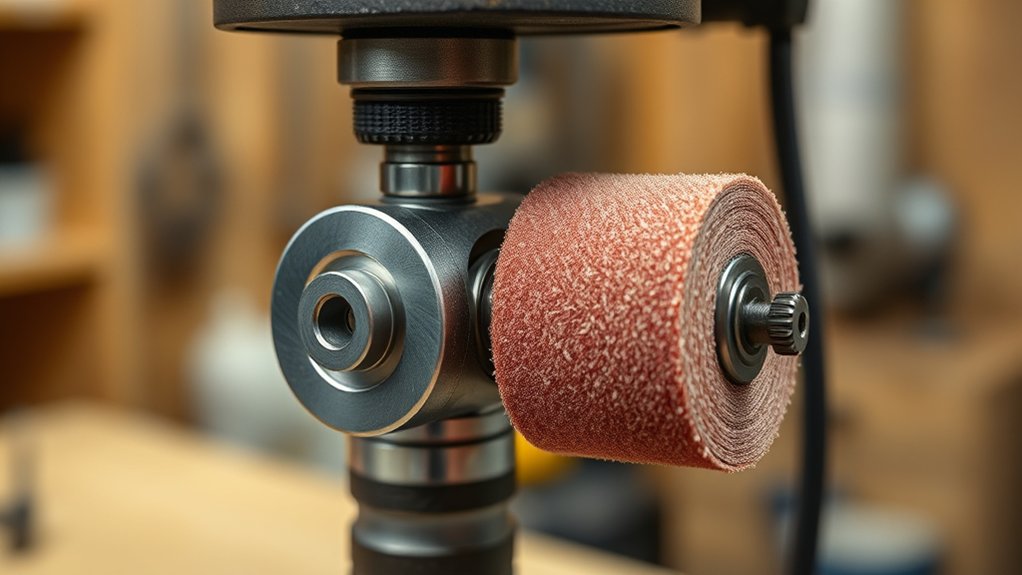
Secure the sanding drum in the drill press chuck, tightening it firmly so the arbor sits straight and won’t slip during use. Open the chuck fully, insert the arbor to the proper depth, and tighten each chuck position evenly. Remove the key before you continue.
Check sanding drum compatibility before installation. Confirm that the arbor diameter matches your chuck’s capacity and that the sleeve, sanding band, and retaining hardware fit the drum correctly. Inspect the arbor for bends, rust, or damaged threads, and replace questionable parts.
For drill press safety, unplug the machine while you install or adjust the drum. Rotate the chuck by hand after tightening, watching for wobble or contact with nearby components. If the drum runs unevenly, remove it, clean the chuck jaws and arbor, then reinstall it.
Keep the drum’s retaining screw, nut, or clamp secure, and verify that no loose hardware remains on the table. A firm, centered installation helps you sand smoothly and protects your workpiece.
Set the Right Drill Press Speed
Set the drill press to a moderate speed before sanding, then adjust it for the drum’s diameter and the material you’re working on. Smaller drums can handle higher speeds, while larger drums need slower rotation to prevent excessive heat and vibration.
Start at a moderate speed, then adjust for drum size and material to prevent heat, vibration, and surface damage.
Check your drill press manual for the recommended revolutions per minute, and use those figures as a starting point.
Consider the sanding drum materials, too. Coarse sleeves usually work well at moderate speeds, but fine sleeves may perform better slightly slower to reduce loading and scorching.
Softwood often allows faster sanding, whereas hardwood, plastic, and painted surfaces require more caution. If you notice burning, melting, excessive dust, or harsh vibration, stop and lower the speed.
Keep your adjustments gradual rather than changing settings dramatically. Accurate drill press calibration helps the speed indicator match actual performance, so verify the machine periodically for consistent, controlled results during every sanding session.
Secure the Workpiece Before Sanding
Clamp the workpiece firmly to the drill press table before sanding, and keep your hands clear of the rotating drum. Secure workpiece stability before you start, because vibration or movement can cause uneven sanding and damage the material. Choose clamping techniques that match the workpiece’s shape, size, and thickness.
Place clamps where they won’t interfere with the sanding path, and tighten them enough to prevent shifting without crushing fragile edges. Use two or more clamps for long boards, positioning them on opposite sides to distribute pressure evenly.
For small pieces, attach a sacrificial backing board or use a vise to provide a broader, steadier grip. Check that the workpiece sits flat against the table and that the drum can reach every intended area.
Before powering the drill press, test the setup by applying gentle pressure to the workpiece. If it moves, stop and reposition the clamps. Recheck the setup whenever you adjust the sanding height or change material.
Wear Protection and Keep Hands Clear
Once the workpiece is stable, protect yourself before starting the drill press. Choose protective gear that shields you without creating loose edges that could catch the spindle. Your clothing should fit closely, and you should remove rings, watches, bracelets, and dangling cords. Tie back long hair and secure sleeves.
Wear snug clothing, remove jewelry, tie back hair, and secure sleeves before operating the drill press.
- Wear safety glasses or a face shield to block sanding dust and flying fragments. Use hearing protection if the machine sounds loud, and wear a dust mask suited to the material.
- Keep both hands away from the rotating sanding drum. Never reach beneath it, brush away dust, or adjust the table while the drill press runs.
- Switch off and unplug the machine before changing the drum, checking the abrasive, or clearing debris. Wait until every moving part stops completely.
Maintain hand safety by standing where you can reach the power switch quickly without leaning across the drum. Stay alert, and don’t let distractions pull your attention from the spinning tool.
Sand Curves in Light, Even Passes
Use gentle pressure as you guide the workpiece along the curve. Follow the curve steadily, and let the sanding drum remove the material without forcing it. Keep each pass light and even to achieve a smooth, consistent finish.
Use Gentle Pressure
Apply only light, even pressure as you guide the workpiece around the sanding drum, letting the abrasive remove material gradually. Gentle pressure helps you prevent gouges, scorching, and uneven edges while preserving your intended shape.
Don’t force the wood into the abrasive. Let the rotating drum do the cutting. Use controlled pressure, especially when sanding end grain or thin sections, because these areas can disappear quickly.
- Keep both hands steady, but maintain a relaxed grip.
- Take brief passes, then pause to inspect the surface.
- Reduce pressure immediately if you notice heat, vibration, or dark marks.
A light touch also extends the sanding sleeve’s life by preventing premature loading and wear. Keep your attention on the contact area, and remove only enough material to smooth the surface.
When the finish looks consistent, stop rather than over-sanding. This approach gives you cleaner results and better control.
Follow The Curve
With your pressure under control, guide the workpiece along the curve in light, even passes. Keep the sanding drum moving so it follows the curved surface instead of cutting a flat spot.
Match your hand motion to the workpiece’s shape, and let the abrasive remove material gradually. Rotate or reposition the piece as needed to maintain a comfortable angle and clear view of the contact area.
Don’t force tight bends into one pass. Several gentle passes will produce a smoother, more consistent result.
Check the profile frequently by sight and touch, especially near gradual shifts where uneven pressure can create dips.
For precise contour shaping, sand across the curve’s length, then blend the surrounding area with overlapping strokes.
Slow, controlled movement helps you preserve the intended form while minimizing scratches and ridges.
Prevent Burns, Gouges, and Uneven Sanding
Keep the sanding drum moving to prevent heat buildup and avoid sanding burns. Use light pressure and make steady passes so you don’t create gouges. For a smooth, consistent finish, overlap each pass evenly.
Prevent Sanding Burns
Prevent sanding burns by moving the workpiece steadily and avoiding prolonged contact between the drum and one spot. Keep the feed light; forcing wood against the abrasive creates friction and heat faster than it removes material.
Use these practical habits:
- Choose moderate speed: Match the drill press setting to the drum and wood, since excessive speed can scorch the surface.
- Make brief passes: Lift or shift the workpiece often, allowing both surfaces to cool before continuing.
- Check the abrasive: Replace clogged or worn sleeves promptly. Fresh abrasive cuts efficiently, while packed dust generates heat.
Good Sanding safety includes wearing eye protection, securing loose clothing, and keeping your hands clear of the rotating drum.
For Drum maintenance, brush away dust, inspect the sleeve for glazing, and keep the mandrel tight. If smoke or darkening appears, stop immediately, let everything cool, and reduce pressure.
Avoid Gouges
Avoid gouges by keeping the workpiece moving smoothly and applying even, light pressure as it passes the sanding drum. Don’t pause over one spot, twist the stock into the abrasive, or force edges against the drum.
Support small pieces securely, and keep both hands positioned so you can guide the work without reaching near the rotating surface. Choose a grit that removes material gradually; coarse abrasive and excessive pressure can dig trenches quickly.
Inspect the sleeve before use, replacing torn, clogged, or uneven abrasive. Good Sanding drum maintenance also means cleaning dust from the drum and checking that it runs true.
If the drum is too large for the profile, consider Custom drum sizes that match the curve. Stop immediately if you feel catching, then identify the obstruction or misalignment before continuing.
Ensure Even Finishes
A smooth feed protects more than the workpiece’s edges. It also helps produce an even finish without burns or visible sanding bands. Keep the drum moving steadily, and don’t press hard; excessive pressure creates heat and can flatten curves.
- Control your passes: Overlap each pass slightly, maintain consistent speed, and lift the drum before stopping. This approach prevents grooves and dark spots.
- Choose the right grit: Begin with surface preparation using a coarse enough abrasive to remove marks, then progress through finer grits. Skipping grits can leave scratches that finishing techniques won’t hide.
- Monitor the drum: Replace clogged or worn sleeves promptly. A clean, fresh abrasive cuts efficiently, reducing friction and uneven sanding.
Test your settings on scrap first. Keep the workpiece supported, inspect it under strong light, and change direction between grits to reveal remaining imperfections before applying your final finish.
Move Through Grits for a Smooth Finish
Start with coarse-grit sandpaper to remove scratches and shape the edge, then switch to progressively finer grits to refine the surface. Your grit progression might begin at 80, move to 120, then finish at 180 or 220, depending on the material and desired sheen.
Let the drum do the work, using light pressure and steady passes. Don’t linger in one spot, or you’ll create grooves and uneven areas.
Change grits when the previous scratches disappear, and sand with each finer abrasive until only its marks remain. These finishing techniques give you control without removing unnecessary material.
| Grit | Purpose |
|---|---|
| 80 | Shape and level |
| 120 | Remove coarse marks |
| 180 | Smooth the surface |
| 220 | Prepare for finish |
Keep the drum moving consistently, and check the edge under good lighting between stages. If deep scratches remain, return to the earlier grit briefly rather than forcing a finer abrasive to correct them.
This method produces a cleaner, more uniform result.
Clean and Maintain the Sanding Drum
Once you’ve finished sanding, unplug the drill press and remove dust from the drum with a brush or compressed air. Wipe the sleeve and arbor with a dry cloth, then inspect the abrasive for clogged areas, tears, or uneven wear.
Effective cleaning tools include a soft brush, vacuum nozzle, and lint-free rag. Avoid soaking the abrasive, which can loosen its adhesive.
- Tap the drum gently to release packed dust, then vacuum remaining particles from grooves and vents.
- Replace a worn sleeve promptly. A fresh abrasive surface cuts cleaner and reduces heat buildup during your next project.
- Check the arbor, bearings, and chuck for residue. Apply only a small amount of manufacturer-approved lubricant to moving points, using proper lubrication techniques.
Keep oil away from the sanding surface because it attracts dust and can stain wood.
Store the drum in a dry cabinet, protected from moisture and impact. Before sanding again, spin it briefly at low speed and confirm that everything runs smoothly and securely.
Frequently Asked Questions
Can a Sanding Drum Be Used on Materials Besides Wood?
Yes, you can use a sanding drum on materials besides wood, provided you check sanding drum compatibility first. You can smooth plastics, fiberglass, soft metals, rubber, and composites with the right abrasive sleeve and speed setting.
Alternative materials often require lighter pressure, slower rotation, and frequent cooling to prevent melting, clogging, or discoloration. You shouldn’t sand hardened steel unless the drum and abrasive specifically support it.
Always wear eye protection and secure your workpiece firmly.
How Do I Replace a Worn-Out Sanding Sleeve?
Replacing a worn-out sanding sleeve is a piece of cake: switch off and unplug the drill press, then remove the sanding drum from its spindle. Loosen the retaining screw or nut, slide off the old sleeve, and inspect the drum for damage.
Follow proper sanding drum maintenance by cleaning dust and checking the rubber surface. For choosing the right sanding sleeve, match its diameter, length, grit, and material to your project before installation.
What Drill Press Size Is Suitable for Sanding Drum Projects?
Choose a drill press with at least a 10-inch swing and variable speeds for sanding drum projects. Verify that its chuck accepts the drum’s shank and that the motor can handle continuous sanding without overheating.
Consider your workpiece dimensions, drum diameter, and available table space. A benchtop model suits small projects, while a 12- to 17-inch floor model offers greater capacity, stability, and control for larger pieces.
Can Sanding Drums Smooth Inside Holes and Tight Spaces?
Yes, sanding drums can smooth inside holes and tight spaces, especially when you choose a drum smaller than the opening. A typical 1-inch drum can reach many curved interiors while removing material evenly.
For inner surface finishing, insert the drum gradually and keep the workpiece secure. Tight space sanding requires light pressure, moderate speed, and frequent checks.
Use a smaller diameter drum or abrasive sleeve for narrow passages, corners, and detailed shaping.
How Should I Store Sanding Drums Between Uses?
Store sanding drums in a clean, dry place away from moisture, heat, and direct sunlight. Remove dust and residue after each use, then let the drums cool completely before putting them away.
Keep abrasive sleeves flat or upright in a container so they don’t bend, tear, or collect debris. Separate different grits to prevent damage.
These simple Storage solutions support consistent drum maintenance and extend each drum’s useful life.
Conclusion
With the right drum, sleeve, speed, and setup, your drill press can turn rough curves into smooth, polished surfaces. Secure the workpiece, sand with light passes, and let each grit do its job before moving finer.
Watch for heat, gouges, and buildup, and clean the drum when you’re finished. Treat the process like guiding a steady stream over stone: patience and control shape the best results.
Soon, your drill press sanding drum routine will feel safe, consistent, and effortless.