How to Remove an Engine From a Car in 5 Easy Steps
If you’ve ever tried to remove an engine from your car, you know it can quickly become overwhelming. You’re not alone—many people struggle with the complexity and the fear of making costly mistakes. Whether you’re a DIY enthusiast or just tackling your first engine removal, having a clear, simple guide can make all the difference.
To remove an engine from your car in five easy steps, first prepare your workspace by cleaning and organizing tools within reach. Next, disconnect electrical wiring and fuel lines safely to avoid hazards. Then, remove engine accessories like belts, alternator, and hoses.
After that, detach the engine from its mounts and transmission carefully. Finally, use a hoist to lift and extract the engine slowly, ensuring nothing’s still connected. Keep following along to uncover all the essential tips and precautions.
Key Takeaways
- Prepare a clean, organized workspace and gather all necessary tools within reach.
- Disconnect the negative battery terminal, electrical connectors, and relieve fuel system pressure safely.
- Remove engine accessories, including coolant hoses, alternator, belts, and power steering components.
- Detach the engine mounts and unbolt the transmission from the engine bell housing carefully.
- Use an engine hoist to lift and extract the engine slowly, making sure all connections are fully detached.
Prepare Your Workspace and Tools for Engine Removal
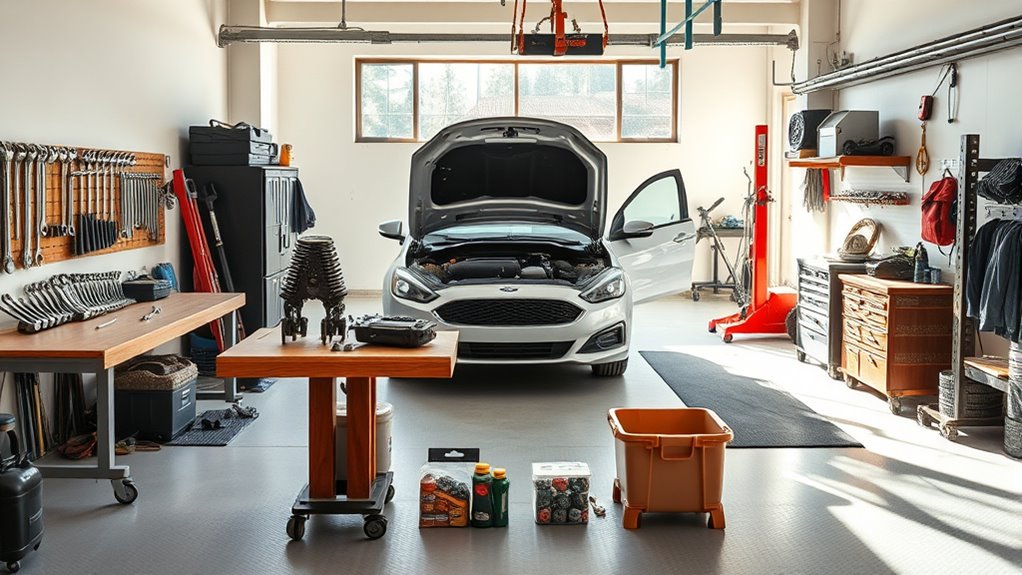
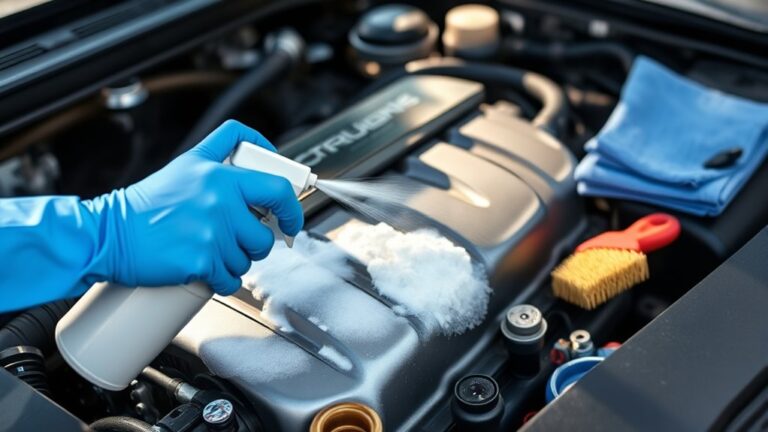
Before you begin removing the engine, make sure your workspace is clean, well-lit, and organized. Prioritizing workplace safety will help prevent accidents and make the process smoother. Clear away any clutter that could trip you up or get in the way. Good lighting ensures you won’t miss critical details while working on tight spots.
Next, focus on tool organization. Gather all necessary tools like wrenches, screwdrivers, engine hoist and arrange them within easy reach. Labeling or grouping tools by function reduces the time spent searching for the right one. Keep a magnetic tray or container nearby to hold bolts and small parts so they don’t get lost.
Disconnect Electrical and Fuel Lines
Once you’ve prepared your workspace and tools, start by disconnecting the electrical and fuel lines to guarantee safety and prevent damage. First, verify battery safety by disconnecting the negative terminal to avoid electrical shocks or short circuits. Use a wrench to loosen the terminal clamp, then carefully remove the cable.
Next, identify all electrical connectors attached to the engine, pressing tabs or releasing clips to unplug them without forcing. For the fuel system, relieve pressure by locating the fuel pump fuse and running the engine until it stalls or using the fuel pressure relief valve if available.
Once pressure is released, disconnect the fuel lines using appropriate tools or quick-connect fittings, and be ready with rags or a container to catch any residual fuel. Take care to cap or plug the lines promptly to prevent contamination and fuel leaks. Following these steps guarantees you safely isolate the engine’s electrical and fuel connections before moving on.
Remove Engine Accessories and Connecting Parts
After disconnecting the electrical and fuel lines, you’ll need to remove the engine accessories and connecting parts to free the engine from the vehicle. Start by draining the engine coolant to prevent spills when you detach the radiator hoses connected to the engine. Carefully remove the hoses and set them aside.
Next, disconnect the power steering pump and its lines; you don’t need to remove the pump entirely, just loosen the hoses and secure the unit out of the way. Then, remove the alternator by unbolting it from its bracket and disconnecting its wiring.
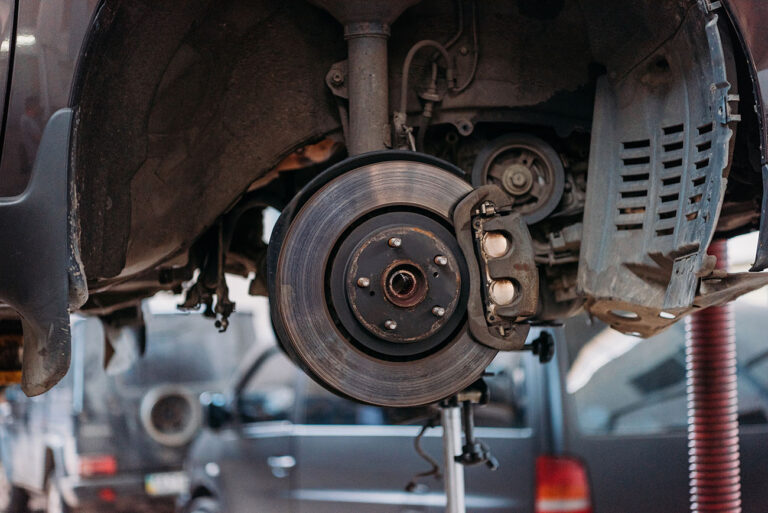
Don’t forget to detach the air conditioning compressor if it’s mounted on the engine. Unbolt it but leave it hanging to avoid straining the refrigerant lines. Also, remove the serpentine or drive belts by loosening the tensioner. Clearing these accessories and connections lets you access the engine mounts and transmission for the next step without interference.
Detach the Engine From Its Mounts and Transmission
Although it might seem intimidating, detaching the engine from its mounts and transmission is a crucial step that requires careful attention. First, confirm your engine hoist is properly positioned and ready to support the engine’s weight once detached.
Before loosening the mount bolts, double-check all wiring, hoses, and linkages are fully disconnected to avoid damage. Then, remove the bolts securing the engine mounts to the frame and the transmission bolts connecting the engine to the transmission bell housing.
Keep track of bolt sizes and locations for reassembly. Throughout this process, follow strict safety precautions: wear protective gear, work on a stable surface, and never place any body part under the engine unsupported.
The engine hoist should take on the engine’s weight gradually as you loosen mounts, preventing sudden shifts. Taking these careful steps ensures a seamless shift to the next phase without risking injury or damage.
Lift and Extract the Engine Carefully From the Car
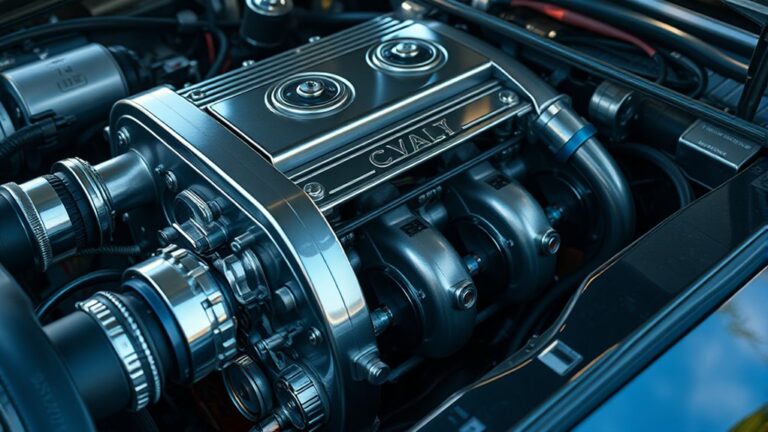
Before you begin lifting, make sure the engine hoist is securely attached to all designated lifting points on the engine. Double-check that all bolts, hoses, and wiring related to the engine oil and cooling system are disconnected or safely moved aside to prevent damage.
Slowly start lifting the engine, watching closely for any resistance or unexpected catches. Keep an eye on the cooling system components like the radiator hoses and coolant lines to avoid tearing or spilling fluids.
As you raise the engine, move it steadily to avoid sudden shifts that could strain the mounts or hoist. Once the engine clears the car frame, carefully tilt or maneuver it to ensure it doesn’t hit any nearby parts.
Have a clear path to place the engine on a secure stand or surface. Taking your time during this step helps prevent costly damage and keeps you safe throughout the extraction process.
Frequently Asked Questions
What Safety Gear Should I Wear During Engine Removal?
You should always wear safety gloves to protect your hands from sharp edges and hot surfaces. Also, wear safety goggles to shield your eyes from debris or fluids. Sturdy, closed-toe shoes will protect your feet if anything drops.
When using an engine hoist, make sure you’re also wearing a hard hat to guard against any falling parts. Don’t forget to wear long sleeves and work in a well-ventilated area to stay safe throughout the process.
How Do I Dispose of Old Engine Oil Properly?
Think of old engine oil as a dark river that must be redirected to nourish, not poison, the earth. You should never pour it down drains or on soil.
Instead, collect it in a clean, sealed container and take it to a local recycling center or automotive shop that accepts used oil. Engine oil recycling helps prevent pollution and conserves resources.
Proper disposal methods keep the environment safe and make sure your work leaves a positive mark.
Can I Remove an Engine Without Professional Help?
Yes, you can remove an engine without professional help if you’re prepared. You’ll need an engine hoist to safely lift the engine out of the car.
Before that, perform a thorough engine teardown, disconnecting all hoses, wires, and mounts. It’s essential to follow safety precautions and have a solid workspace.
If you’re confident with tools and mechanical work, this DIY task is doable but requires patience and care.
What Are Common Signs My Engine Needs Removal?
You’ll know your engine needs removal if you notice persistent overheating despite proper engine cooling, or if oil leaks signal poor engine lubrication. Other signs include knocking noises, excessive smoke from the exhaust, or a dramatic drop in power.
If your engine’s performance is consistently failing and repairs aren’t fixing issues related to cooling or lubrication, it’s time to think about removing the engine for a thorough inspection or replacement.
How Long Does the Entire Engine Removal Process Take?
You know what they say: “Measure twice, cut once.” The entire engine removal process usually takes between 6 to 10 hours, depending on your experience and tools.
You’ll spend a good chunk of time on fluid drainage to avoid messes. Using an engine hoist properly speeds things up and keeps you safe.
If you’re careful and methodical, you’ll save time and prevent costly mistakes along the way.
Conclusion
Removing an engine might seem intimidating, but by following these five straightforward steps, you’ll find it’s totally doable. Preparing your workspace and tools, disconnecting lines, removing accessories, detaching mounts, and carefully lifting the engine guarantees a smooth process.
Contrary to popular belief, you don’t need to be a pro mechanic to tackle this. Patience and the right approach are key. So, take your time, stay safe, and you’ll enjoy a rewarding hands-on experience removing an engine from a car.