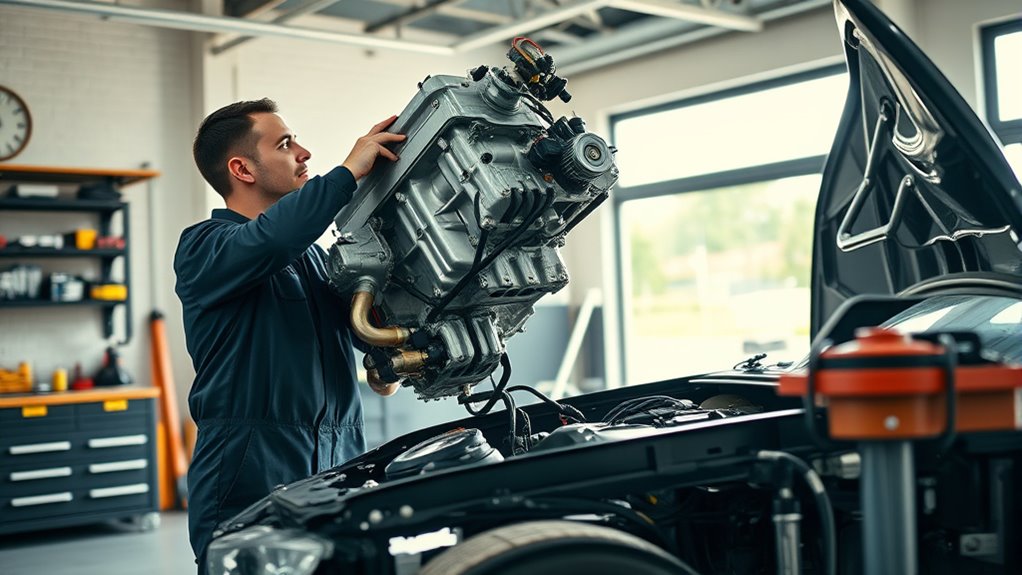
How to Remove the Engine From a Car in 7 Easy Steps
If you’ve ever thought about removing your car’s engine, you’re not alone. Many people struggle with where to start or worry about making costly mistakes. It can feel overwhelming, but with the right guidance, it’s totally doable—even if you’re a beginner.
To remove your car’s engine in 7 easy steps, start by preparing your workspace and gathering tools. Disconnect the battery and drain all fluids safely.
Next, remove peripheral components like belts, radiator, and exhaust, then detach all electrical connections and hoses.
Support and unbolt the engine mounts and transmission links. Use a hoist to carefully lift the engine out, then inspect and store it properly.
Follow these steps, and you’ll master the full process with confidence.
Key Takeaways
- Prepare your workspace, gather necessary tools, and disconnect the car battery to ensure safety and organization before starting engine removal.
- Drain all engine fluids, including oil and coolant, and properly dispose of them to prevent spills and hazards.
- Remove peripheral components such as belts, radiator, exhaust parts, and electrical connections. Be sure to label wires for easier reassembly.
- Support the engine with a hoist, then unbolt engine mounts and transmission links carefully. Keep track of all bolts and connections.
- Lift the engine steadily using an engine hoist, making sure no cables or hoses remain attached. Place the engine securely on a support platform.
Prepare Your Workspace and Gather Tools
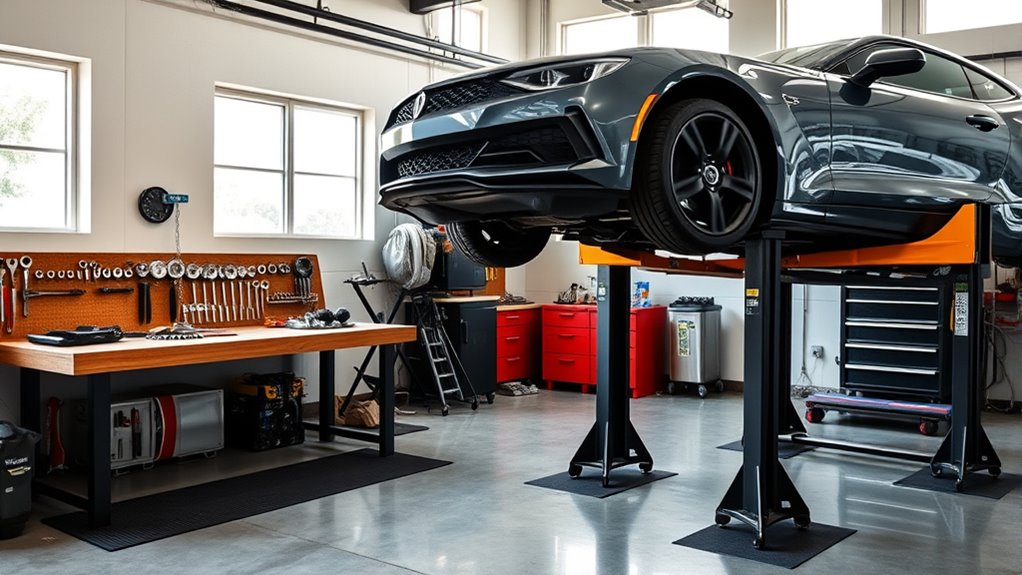
Before you begin removing the engine, make sure you have a clean, well-lit workspace where you can move freely. Workspace organization is vital. It helps you find tools quickly and reduces the risk of accidents.
Clear away clutter and set up a sturdy workbench nearby for parts and tools. Group your tools by type and size so everything is easy to reach.
Tool maintenance is just as important. Inspect your wrenches, sockets, and screwdrivers to guarantee they’re in good condition. Dull or damaged tools can slow you down or cause injury.
Lubricate moving parts on your tools if needed, and keep your toolset complete with essential items like engine hoists, jack stands, and pliers. Taking these preparation steps seriously will make the engine removal process smoother and safer, saving you time and frustration later on.
Disconnect the Battery and Drain Your Car’s Fluids
Since working with the engine involves electrical components and hazardous fluids, you should disconnect the battery and drain all the car’s fluids to guarantee safety and prevent damage. Start by removing the negative terminal first to follow proper battery safety protocols and avoid sparks or short circuits. Then, disconnect the positive terminal. Secure the cables away from the battery to prevent accidental contact.
Next, drain the engine oil, coolant, transmission fluid, and brake fluid using appropriate containers. Fluid disposal is essential. Never pour these fluids down drains or onto the ground. Instead, take them to a certified recycling center or hazardous waste facility. Use gloves and eye protection throughout the process to protect yourself from harmful chemicals.
Remove Engine Peripheral Components (Belts, Radiator, Exhaust)
Now it’s time to remove the engine’s peripheral components. First, start by disconnecting the belts. Once that’s done, carefully take out the radiator. After that, go ahead and detach the exhaust components. This will free up the engine for removal.
Disconnecting Engine Belts
Start by locating all the engine belts, including the serpentine and timing belts, which connect various peripheral components to the engine. Before you disconnect, release the tension on each belt using the belt tensioners. These usually have a square hole or bolt head to insert a wrench or ratchet.
Carefully rotate the tensioner to relieve pressure, then slide the belt off the pulleys. Pay close attention to pulley alignment to make sure you don’t damage any components during removal. Keep track of each belt’s routing by taking photos or drawing diagrams. This will make reassembly easier.
Once all belts are off, inspect them for wear or damage before setting them aside. Properly disconnecting the belts is essential for a smooth engine removal process without harming other peripheral parts.
Removing The Radiator
How do you safely remove the radiator without damaging nearby components? First, ensure the engine is cool to avoid burns from hot coolant. Drain the coolant into a suitable container to prevent spills and prepare for coolant replacement later.
Disconnect the radiator hoses by loosening the clamps and carefully pulling them off, avoiding force that could damage fittings. Remove any electrical connections, like the fan wiring, and unbolt the radiator mounting brackets.
Handle the radiator gently, as it’s fragile and essential for radiator maintenance. Once free, lift it out straight to avoid snagging hoses or wires. Proper radiator removal sets you up for effective coolant replacement and keeps your engine bay intact for the next steps.
Detaching Exhaust Components
With the radiator safely out of the way, you can focus on detaching the exhaust components. Start by locating the exhaust pipe connected to the engine’s manifold. Use penetrating oil on any rusty bolts to make removal easier.
Carefully unbolt the exhaust pipe from the manifold, then move along the exhaust system toward the catalytic converter. Disconnect the catalytic converter by loosening its mounting bolts and clamps, making sure you support it properly to avoid damage.
Once the catalytic converter and exhaust pipe are free from the engine, you can lift them aside. Detaching these components clears space and prevents damage during engine removal. Take your time to avoid breaking any sensors or brackets connected to the exhaust system.
Detach Engine Electrical Connections and Hoses
Where do you begin when detaching the engine’s electrical connections and hoses? Start by identifying all sensor connections and coolant hoses attached to the engine. These are critical for engine management and cooling, so handle them carefully to avoid damage.
Follow these steps:
- Disconnect sensor connections: Carefully unplug all sensor wires by releasing their clips or tabs. Label each connector to ensure proper reassembly.
- Remove coolant hoses: Use pliers or a hose clamp tool to loosen clamps, then gently twist and pull the hoses off the engine fittings. Keep a drain pan handy for any residual coolant.
- Check for other electrical plugs and vacuum lines: Disconnect any remaining plugs or lines that link the engine to the car’s electrical and vacuum systems.
Unbolt Engine Mounts and Transmission Connections
Alright, the next step is to unbolt the engine mounts that hold the engine to the frame. Make sure you don’t miss those. At the same time, you’ll want to disconnect the transmission linkages so the drivetrain is free. If you take your time with these, removing the engine will go a lot more smoothly.
Engine Mount Removal
Before you can fully detach the engine, you’ll need to unbolt the engine mounts and disconnect the transmission connections. Start by performing an engine mount inspection to identify any worn or damaged mounts that may need replacement. Follow these steps:
- Support the engine securely with a jack or engine hoist to prevent shifting.
- Locate and unbolt each engine mount carefully, keeping track of bolt positions for reassembly.
- Gently separate the engine from the transmission connections, ensuring no components are strained.
If any mounts show excessive wear during your inspection, consider engine mount replacement before reinstalling the engine. Proper removal and replacement ensure engine stability and reduce vibrations when you put everything back together. Take your time to avoid damage and make the process smoother.
Disconnect Transmission Linkages
With the engine mounts unbolted and the engine supported, you can move on to disconnecting the transmission linkages. Begin by locating all the connection points between the engine and transmission. Carefully unbolt these connections, making sure to keep track of each bolt and linkage for reassembly.
Pay close attention to the transmission compatibility, especially if you plan to replace or upgrade parts later. Disconnecting the shift linkage and any wiring harnesses is essential to prevent damage. As you work, verify the engine alignment remains stable to avoid unnecessary strain on components.
Taking your time here will make reinstalling the engine much smoother. Once all linkages and mounts are free, you’re ready to proceed with safely lifting the engine from the car.
Lift the Engine Out Using a Hoist
Once you’ve securely attached the hoist to the engine, you’ll need to carefully lift it out while ensuring all connections are clear. Using the right lifting technique is essential to avoid damaging components or injuring yourself. Here’s how to proceed:
- Double-check connections: Make sure all wires, hoses, and mounts are disconnected to prevent snags during the lift.
- Lift slowly: Use the engine hoist’s controls to raise the engine gradually. Watch for any resistance or unexpected tension.
- Guide the engine: As the engine rises, gently guide it with your hands or a helper to keep it balanced and prevent it from swinging.
Keep a steady pace and stay attentive throughout the process. By following these steps, you’ll safely lift the engine out with your engine hoist, preparing it for removal without causing damage or delays.
Check and Store Your Engine Safely
How should you handle your engine after lifting it out? Prioritize engine safety by inspecting for leaks, loose parts, or damage. Clean the engine to prevent dirt buildup during storage.
Follow strict storage precautions to keep your engine in peak condition and avoid costly repairs.
Use the table below to guide your storage steps:
| Step | Action |
|---|---|
| 1. Drain fluids | Remove oil, coolant, and fuel |
| 2. Seal openings | Cover intake and exhaust ports |
| 3. Protect surfaces | Apply rust inhibitor on metal parts |
| 4. Choose location | Store in dry, ventilated area |
| 5. Support engine | Use sturdy stand or pallet |
Frequently Asked Questions
What Safety Gear Should I Wear During Engine Removal?
You should always wear protective gear like safety goggles to shield your eyes, heavy-duty gloves to protect your hands, and steel-toed boots to guard your feet. Don’t forget a long-sleeve shirt and pants to prevent cuts and burns.
Safety precautions also include using a hard hat and ear protection if you’re working in a noisy environment. Wearing the right gear keeps you safe and helps you focus on the job without worrying about injuries.
How Long Does the Entire Engine Removal Process Typically Take?
The entire engine removal process typically takes between 4 to 8 hours, depending on your experience and the car’s condition. Using an engine hoist speeds things up, but rusted bolts can slow you down and require extra time for loosening or cutting.
If you prepare well and have the right tools, you can avoid major delays. Just be patient and methodical, and you’ll get the engine out safely and efficiently.
Can I Remove the Engine Without an Engine Hoist?
You might think you can skip the engine hoist when the old car sits quiet in your driveway, but don’t rush it. Removing an engine without an engine hoist is possible, but it demands serious safety precautions.
You’ll need strong jacks, sturdy stands, and plenty of help to avoid injury or damage. Without the hoist, the risk rises, so plan carefully and prioritize safety every step of the way.
What Should I Do if Bolts Are Rusted or Stuck?
If bolts are rusted or stuck, start by applying a penetrating oil or bolt lubricant to loosen them up. Let it sit for at least 15-30 minutes to break down rust and corrosion. Use a wire brush to clean the threads if possible.
When reassembling, apply bolt lubrication to prevent future rust. For long-term rust prevention, keep bolts clean and dry. Also, consider using anti-seize compounds to make removal easier next time.
How Do I Dispose of Old Engine Fluids Properly?
Don’t just dump old engine fluids like you’re watering your lawn unless you want a garden full of angry, toxic frogs. You’ve got to treat those fluids like the hazardous waste they are.
Take them to an engine fluid recycling center or a hazardous waste disposal facility. They’ll handle it safely and keep your car repairs from turning into an environmental disaster.
Trust me, the planet (and your conscience) will thank you.
Conclusion
Removing your engine is like peeling back the layers of your car’s soul. With patience and the right tools, you’ll reveal its heart and give it new life.
Follow these seven steps carefully, and you’ll lift that engine out smoothly, like a dancer gliding off the stage. Remember, preparation and caution are your best allies.
Treat your engine with respect, and you’ll be ready for whatever repair or upgrade lies ahead. Proper care and attention make removing the engine from a car a manageable and rewarding task.