How Does a Hammer Drill Work?
Drilling into concrete or brick can be frustrating when a standard drill stalls, overheats, or barely makes progress. You’re not alone—many people struggle to choose the right tool for tough masonry. That’s where understanding how a hammer drill works can help you find the best option for your projects.
A hammer drill spins your bit while delivering rapid impacts that break through masonry. Its motor turns the chuck and drives ridged clutch plates or a similar hammer mechanism, creating repeated tapping forces.
You can switch between drill mode for rotation only and hammer-drill mode for concrete, brick, and block. Use a masonry bit, steady pressure, and a controlled speed; let the tool do the work.
You’ll also learn how to use, maintain, and troubleshoot it safely.
Key Takeaways
- A hammer drill combines a rotating drill bit with rapid forward impacts to penetrate hard materials such as concrete, brick, and masonry.
- Its motor drives the chuck and a hammer mechanism, commonly using ridged clutch plates that repeatedly engage and separate to create impacts.
- Gears transfer motor power by reducing speed and increasing torque, while bearings keep internal components aligned during operation.
- A selector switches between drill-only, hammer-drill, and sometimes hammer-only modes for different materials and tasks.
- Using the correct masonry bit, steady pressure, low starting speed, and periodic dust removal improves performance and prevents overheating.
How Does a Hammer Drill Work?
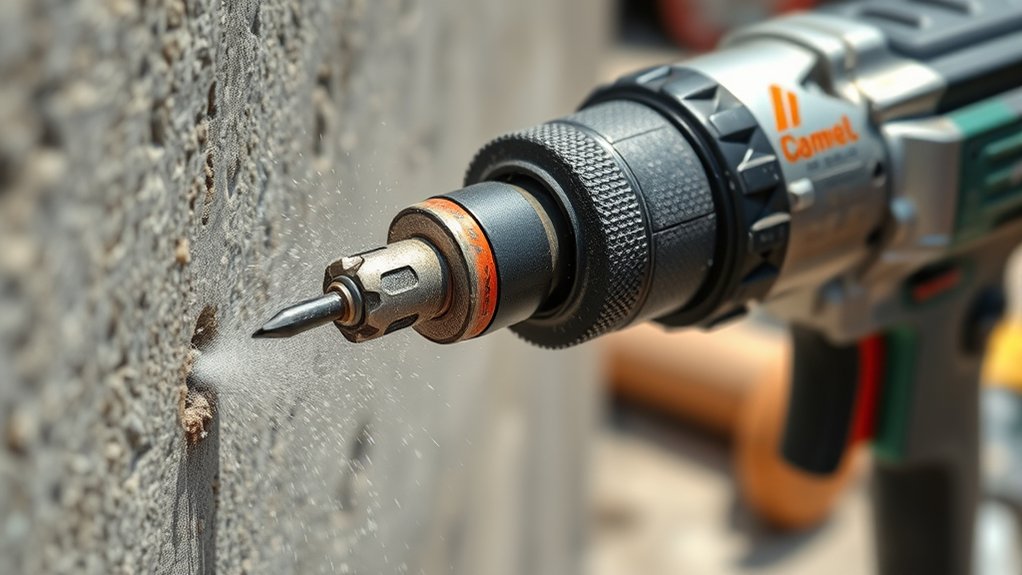
A hammer drill combines the spinning action of a regular drill with rapid forward-and-back impacts. When you press the trigger, the motor turns the chuck and attached bit while the tool delivers repeated tapping force.
This combined motion helps you bore through brick, concrete, masonry, and other hard materials more effectively than rotation alone.
You choose the operating mode with a selector switch. In hammer mode, the drill applies impacts as the bit rotates.
In standard drilling mode, it spins without hammering, helping you work safely with wood, metal, or plastic. Some models also offer a driving setting for screws.
Your technique affects performance. Hold the drill firmly, keep the bit aligned, and apply steady pressure without forcing it.
A variable-speed trigger gives you better control, while Battery efficiency determines how long a cordless model works between charges. An ergonomic design reduces hand strain, especially during extended drilling.
Select the correct bit and let the tool maintain its working rhythm.
What Happens Inside a Hammer Drill?

Inside a hammer drill, the motor spins a set of gears that transfer power to the chuck and bit. At the same time, an internal hammer mechanism turns that rotation into rapid forward impacts. Together, these parts help the drill power through tough materials.
Internal Hammer Mechanism
When you switch on a hammer drill, its motor drives a rotating shaft that powers both the chuck and the internal hammer mechanism. Inside, two ridged discs, called clutch plates, press together and slide over one another.
Their angled teeth create rapid forward-and-back movement, pushing the chuck and bit against masonry. You control this action with the hammer-mode selector, which engages or disengages the plates.
- Engagement: The selector locks the plates together for impact drilling.
- Impact: Ridges generate repeated pulses that break hard material.
- Release: Disengaging the selector stops impacts for ordinary drilling.
The mechanism transfers force directly to the bit, so you’ll feel vibration through the housing. Good Hammer drill ergonomics, including a padded grip and balanced design, improve user comfort and help you maintain steady pressure during extended work.
Motor And Gear Movement
Power from the motor travels through a set of gears that increases torque and controls the chuck’s speed. As you squeeze the trigger, electricity energizes the motor, making its rotor spin rapidly.
Motor mechanics convert this electrical energy into rotational force, which moves through the transmission. Smaller drive gears engage larger gears to slow rotation and multiply torque, giving you the power needed for masonry.
When you select a lower setting, the Gear operation prioritizes torque. A higher setting allows faster chuck rotation for drilling softer materials.
The gears also redirect force smoothly toward the chuck while bearings keep everything aligned. As you press the bit against a surface, this system maintains steady rotation, helping you drill efficiently without overloading the motor or damaging internal components.
How Do Hammer Drill Settings Work?
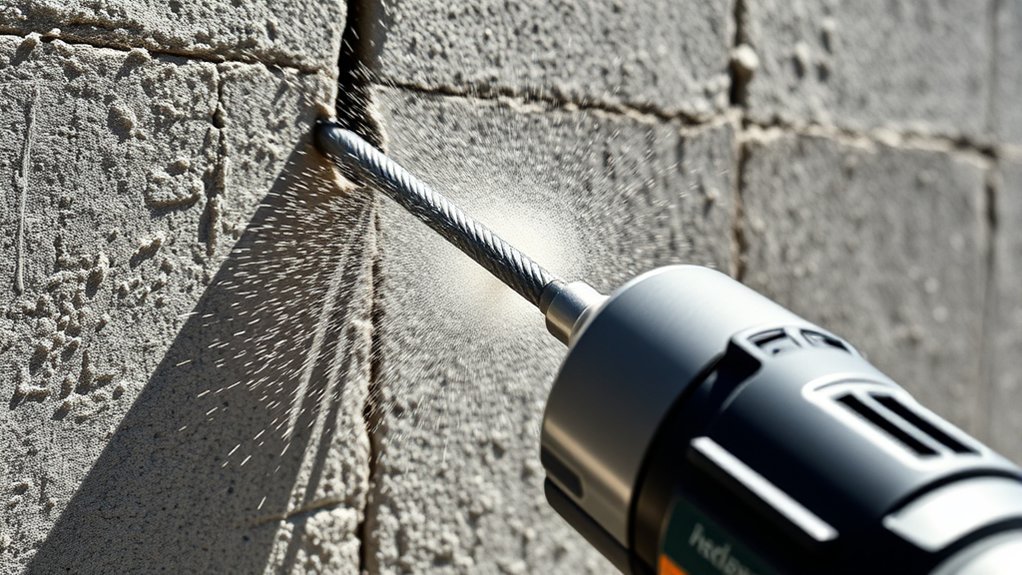
Hammer drill settings control how the tool delivers force, letting you choose rotation only, hammering with rotation, or—on some models—hammering without rotation. You select these modes with a collar, switch, or electronic control, depending on the drill’s design.
Each setting changes how the motor’s rotation reaches the chuck and how the internal mechanism produces impacts.
Each mode changes how the motor transfers rotation and impacts, shaping the drill’s performance for different materials and tasks.
- Drill mode: The chuck spins without impact, giving you controlled boring in wood, metal, plastic, or other suitable materials.
- Hammer-drill mode: The chuck rotates while the tool adds rapid forward impacts, combining cutting and chipping action.
- Hammer-only mode: The chuck stops rotating while the impact mechanism drives compatible chisels or other Tool accessories.
A variable-speed trigger helps you adjust rotation, while a torque clutch can limit twisting force.
Your drill’s power source also affects performance: corded models provide steady output, whereas battery models may reduce force as charge falls.
Check the symbols and manual before changing settings, and stop the tool before switching modes.
When Should You Use Hammer Mode?
Use hammer mode when you need to drill into hard, brittle materials such as concrete, brick, block, or stone. Choose it when steady rotation alone makes little progress.
The pulsing impact helps the bit break through dense surfaces, so you’ll finish holes faster with less pressure.
| Situation | Setting | Tip |
|---|---|---|
| Anchors or plugs | Hammer mode | Use a masonry bit |
| Occasional drilling | Hammer drill | Let the tool work |
| Delicate surfaces | Rotation only | Reduce impact |
Don’t use hammer mode for ordinary drilling, driving screws, or finishing work. Its impacts can damage bits, fasteners, and surfaces.
Switch it off when you reach the desired depth, then clear dust before installing an anchor.
Your tool’s Battery technology affects convenience. A higher-capacity battery supports longer sessions, while a corded model suits repeated drilling.
An ergonomic design also matters when you’re working overhead or making several holes. Grip the drill firmly, keep both hands engaged, and maintain a square angle to prevent wandering.
Which Materials Can a Hammer Drill Handle?
A hammer drill can handle concrete, brick, cinder block, mortar, and many types of stone when you pair it with the right masonry bit. It’s also useful for drilling into some tile, though delicate surfaces require reduced pressure and careful control.
Material compatibility matters because each surface responds differently to impact and rotation.
> Material compatibility matters: match hammer action, pressure, and speed to each surface for cleaner, safer drilling.
- Concrete: Use hammer action for anchors, sleeves, and mounting hardware.
- Brick and block: Apply steady pressure to prevent cracking or crumbling.
- Stone and tile: Work slowly, monitor heat, and stop if the surface begins to chip.
Your drill’s power rating, speed settings, and clutch also affect performance. Dense concrete may demand a stronger tool, while softer brick usually needs less force.
Avoid using hammer mode on wood, metal, glass, or fragile ceramic. Impact can damage both the material and the bit. For those surfaces, switch to rotation-only drilling.
Good drill bit selection supports safe, efficient work, while proper material compatibility helps you avoid broken edges, overheating, and unnecessary wear.
Which Drill Bit Should You Use?
Choosing the right bit helps your hammer drill work efficiently and prevents damage. For concrete, use masonry bits. For brick, carbide-tipped bits are usually the best choice. Matching the bit to the material gives you cleaner holes and helps the bit last longer.
Masonry Bits for Concrete
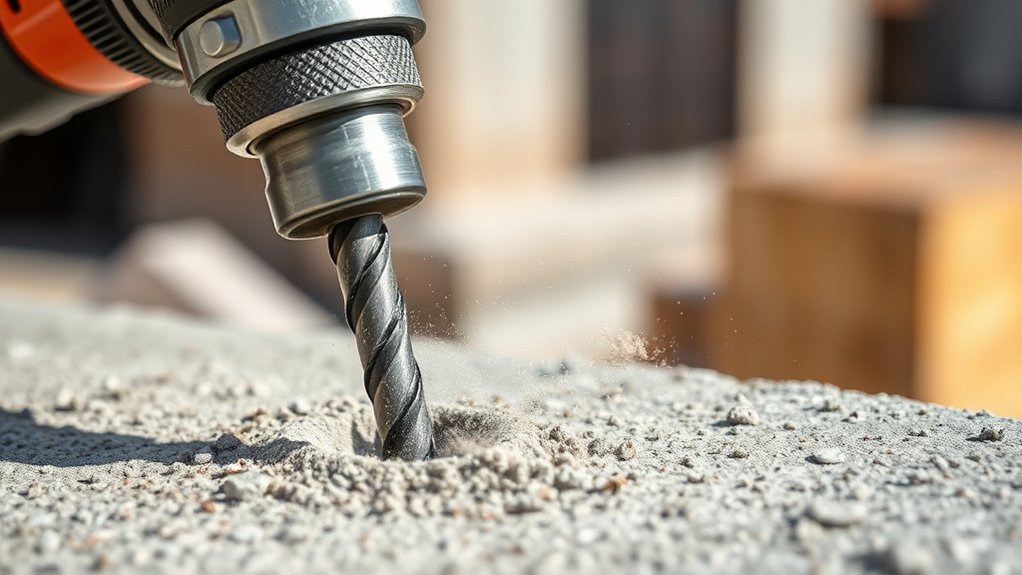
For concrete, reach for a carbide-tipped masonry bit designed for hammer drills. Masonry bits have a reinforced cutting tip that breaks through aggregate while the fluted shaft clears dust.
For efficient concrete drilling, match the bit’s diameter to your anchor or fastener, then choose a length that reaches the required depth.
- Check compatibility: Use a bit rated for hammer-drill impact, not a standard twist bit.
- Mark your depth: Wrap the bit with tape so you don’t drill farther than necessary.
- Control the cut: Start slowly to establish the hole, then engage hammer action and apply steady pressure.
Pull the bit out occasionally to clear dust and prevent overheating. Keep the drill aligned with the surface, since angled holes can weaken anchors.
Replace the bit when its tip becomes rounded, chipped, or unusually slow.
Carbide-Tipped Bits for Brick
Which drill bit should you use for brick? Choose a carbide-tipped masonry bit for clean, controlled holes. Its hardened tip withstands brick’s abrasive surface while the hammer drill’s pulsing action breaks through efficiently.
Match the bit’s diameter to your anchor or fastener, and select a length that reaches the required depth without excessive flexing. Start slowly to prevent the tip from skating, then increase pressure as the hole develops.
Don’t use a standard twist bit. It can overheat, dull quickly, or fail to penetrate. For larger openings, use carbide-tipped core bits rather than diamond blades, which suit smoother cutting applications.
Keep the bit cool by pausing periodically, and clear dust so the flutes don’t clog. Cordless variations work well, but use a fully charged battery and hammer mode.
How Do You Use a Hammer Drill?
To use a hammer drill, select the correct bit, mark the drilling point, and wear eye and hearing protection. Insert the bit into the chuck, then tighten it securely.
Set the drill to hammer mode for masonry, or rotation mode for wood and metal. Choose a low speed to begin, place the bit squarely on your mark, and squeeze the trigger gradually.
- Start steadily: Apply firm, controlled pressure without forcing the bit. Let the hammer action and cutting edges do the work.
- Clear the hole: Withdraw the bit occasionally to remove dust, especially when drilling deep holes. Increase speed only after the bit tracks smoothly.
- Finish cleanly: Release the trigger before lifting the tool, then brush away debris and inspect the hole.
Good tool ergonomics help you maintain balance and control, so keep both hands on the drill and use a comfortable stance.
Regular drill maintenance, including cleaning vents and checking the cord, keeps performance consistent.
How Do You Use a Hammer Drill Safely?
Safe hammer-drill use starts with wearing safety glasses, hearing protection, and a dust mask when drilling masonry. Wear sturdy shoes, avoid loose clothing, and tie back long hair. Before plugging in, inspect the cord, bit, chuck, and side handle for damage. Follow the manufacturer’s instructions, and choose a bit designed for your material.
Mark the drilling location, check for hidden wiring or plumbing, and secure the workpiece. Hold the drill with both hands, keep your stance balanced, and maintain a firm grip. Start slowly to prevent bit wandering, then apply steady pressure without forcing the tool. Keep your hands away from the rotating bit, and don’t touch it immediately after use because it may be hot.
Good tool maintenance improves safety. Unplug the drill before changing bits, clearing dust, or making adjustments. Let the motor cool, clean ventilation openings, and store the tool dry. These safety precautions help prevent injuries and extend reliable operation.
How Does a Hammer Drill Compare With Other Drills?
A hammer drill combines regular rotary drilling with a rapid forward-pulsing action, so you can bore into masonry more efficiently than with a standard drill. Compared with other drills, it offers a useful middle ground: more impact than a standard drill, but less force than a dedicated rotary hammer.
Hammer drills deliver more masonry-driving force than standard drills while remaining lighter and more versatile than rotary hammers.
- Standard drill: Choose it for wood, metal, screws, and occasional light masonry. Its smooth rotation gives you better control for delicate materials, but it won’t efficiently penetrate concrete or brick.
- Hammer drill: Select it for routine holes in brick, block, and mortar. You can switch off the hammer function and use it like a regular drill, increasing versatility.
- Rotary hammer: Use it for frequent, large, or deep concrete work. Its stronger impact mechanism removes material faster, though the tool weighs more and costs more.
Your power source affects portability and runtime. Corded models deliver steady power, while cordless versions improve mobility. Good tool maintenance supports dependable performance across every drill type.
How Can You Prevent Common Hammer Drill Problems?
How can you prevent common hammer drill problems? Start with regular Tool maintenance. Before each job, inspect the cord, battery, chuck, side handle, and housing for damage. Clean dust from air vents, and remove debris from the chuck so bits seat securely. Choose the correct bit for masonry, concrete, wood, or metal, and tighten it properly to reduce wobble and overheating.
Use steady pressure rather than forcing the drill through tough material. Let the hammer mechanism work, and pause periodically during long tasks to prevent heat buildup. Don’t operate the tool in wet conditions unless it’s specifically rated for them. Store it in a dry case away from extreme temperatures.
For cordless models, improve Battery efficiency by charging packs with the manufacturer’s charger, avoiding complete discharges, and keeping batteries cool. Replace worn bits promptly, and stop immediately if you notice unusual noise, burning smells, vibration, or reduced power. Prompt servicing can prevent minor faults from becoming expensive failures.
Frequently Asked Questions
How Much Does a Hammer Drill Typically Cost?
You’ll typically pay $50–$150 for a basic corded hammer drill and $100–$300 for a cordless model. Professional-grade tools can cost $300–$600 or more, especially when they include batteries, chargers, and cases.
Compare battery life before choosing a cordless option, since replacement batteries can add $50–$150. For power comparison, corded models usually deliver consistent performance, while cordless drills offer greater convenience for occasional projects and remote job sites.
Which Brands Make the Most Reliable Hammer Drills?
Which brands make the most reliable hammer drills? You’ll generally find dependable performance from Bosch, DeWalt, Makita, Milwaukee, and Hilti. Your choice should reflect Brand reputation, battery ecosystem, intended workload, and ergonomics.
Milwaukee and DeWalt suit demanding construction jobs, while Makita and Bosch offer excellent balance and durability. Hilti stands out for professional use and service support.
Compare product warranties, replacement-battery costs, and local repairs before buying to guarantee long-term value.
How Long Does a Hammer Drill Battery Usually Last?
A hammer drill battery usually lasts 30 minutes to several hours per charge, depending on voltage, capacity, material, bit size, and workload. You’ll get longer runtime from higher amp-hour batteries and lighter drilling tasks.
Battery lifespan typically reaches three to five years, or roughly 500 to 1,000 charge cycles, when you store and charge it properly. Your charging frequency increases with heavy use, cold conditions, and aging cells.
Can You Rent a Hammer Drill Instead of Buying One?
Yes, you can rent a hammer drill from many home-improvement stores, tool-rental centers, and equipment suppliers. You’ll typically choose daily, weekend, or weekly rates, then provide identification and a deposit.
Rental benefits include accessing professional equipment without storage, maintenance, or a large upfront purchase. For an occasional project, compare the rental fee, insurance, accessories, and transportation costs with purchase prices.
A cost comparison helps you decide whether renting or buying offers better value overall.
What Accessories Are Useful for Storing a Hammer Drill?
You’ll find several accessories useful for storing a hammer drill safely and conveniently. A hard carrying case protects the tool from dust, moisture, and impacts, while molded compartments keep batteries, chargers, and bits organized.
Add labeled pouches or a small organizer for accessory organization, and use wall hooks or a sturdy shelf as practical storage solutions. You’ll also appreciate a padded bag when transporting the drill between job sites or rental locations.
Conclusion
A hammer drill is your steadfast guide through stubborn walls. In rotation mode, it travels like a careful scout, fastening screws and boring into wood or metal.
Engage hammer mode, and it becomes a tireless mountain climber, combining spinning motion with rapid taps to conquer masonry. Choose the right bit, setting, and safety gear, then let the tool work steadily.
With proper care, you’ll prevent common problems and finish each project confidently. Understanding how a hammer drill works helps you use it safely and effectively.