5 Easy Steps for Using a Cordless Drill
Many people struggle to use a cordless drill confidently, especially when choosing the right settings or keeping screws straight. You’re not alone—small mistakes can damage materials or leave you with loose hardware. These simple cordless-drill tips will help you work more safely and get better results.
Choose the right bit for your material and match its size to the hole, screw, or anchor. Charge the battery, insert it securely, and set forward direction, speed, clutch, and hammer mode as needed.
Clamp your workpiece firmly, then hold the drill with both hands and start slowly with steady, moderate pressure. When finished, wait for the bit to stop before removing it, battery, and debris.
Keep going for more cordless-drill tips and safety guidance.
Key Takeaways
- Choose the correct drill bit for your material and match its diameter to the hole, screw, or anchor.
- Charge and securely insert the battery, then set forward direction, speed, clutch, and hammer mode if needed.
- Clamp the workpiece firmly to a stable surface, keeping your hands and loose objects away from the drilling area.
- Hold the drill with both hands, start slowly with the bit perpendicular, and apply steady, moderate pressure.
- Release the trigger before removing the bit, then lock the controls, remove the battery, clean, and store the drill safely.
Choose a Bit for Your Cordless Drill
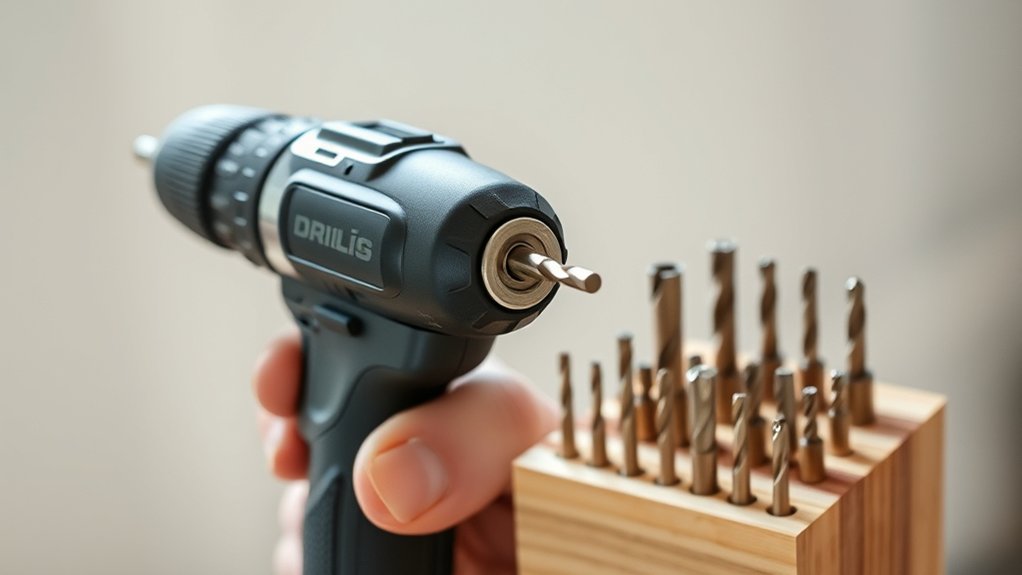
Choose a bit that matches both the material and the task. For wood, select a brad-point or standard twist bit for clean, accurate holes. Use masonry bits with carbide tips when you’re drilling brick, concrete, or stone.
Choose the right bit for your material—brad-point for wood and carbide-tipped masonry bits for brick, concrete, or stone.
For metal, choose a high-speed steel (HSS) twist bit. Use a spade bit or hole saw when you need a wider opening in wood. Specialized bit types, such as countersink, step, and driver bits, help you complete specific jobs neatly.
Check drill bit sizes before you start. Match the bit’s diameter to the screw, anchor, or hole you need. If you’re making a pilot hole, choose a bit slightly narrower than the screw’s solid shaft, not its threads.
For anchors, follow the package’s size recommendation. Inspect each bit for dull edges, cracks, or damage, and replace worn bits. A sharp, suitable bit cuts efficiently, reduces slipping, and gives you better results.
Charge the Battery and Set Drill Controls
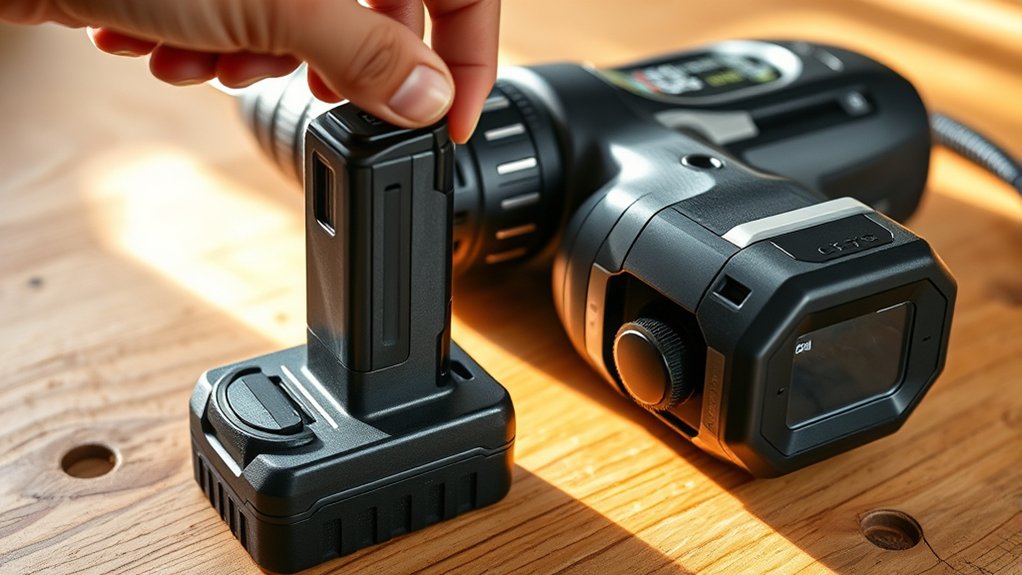
Charge the battery fully before you begin, then slide it into the drill until it clicks securely. Check the charge indicator and inspect the pack for cracks, swelling, or damaged contacts.
Battery maintenance helps your drill deliver consistent power, so store the pack in a cool, dry place and recharge it according to the manufacturer’s instructions.
Set the drill’s controls for your task before squeezing the trigger:
| Control | Setting |
|---|---|
| Direction | Forward for driving or drilling |
| Clutch | Low for screws; higher for drilling |
| Speed | Low for control; high for fast drilling |
| Hammer mode | On only for masonry |
Keep the direction switch centered while adjusting controls, and remove your finger from the trigger.
Choose a low clutch setting when driving screws, then increase it gradually if the drill stops too soon. Select the correct speed for your bit and material.
For drill safety, confirm every control before you start, and keep the battery contacts clean.
Secure the Material Before Drilling
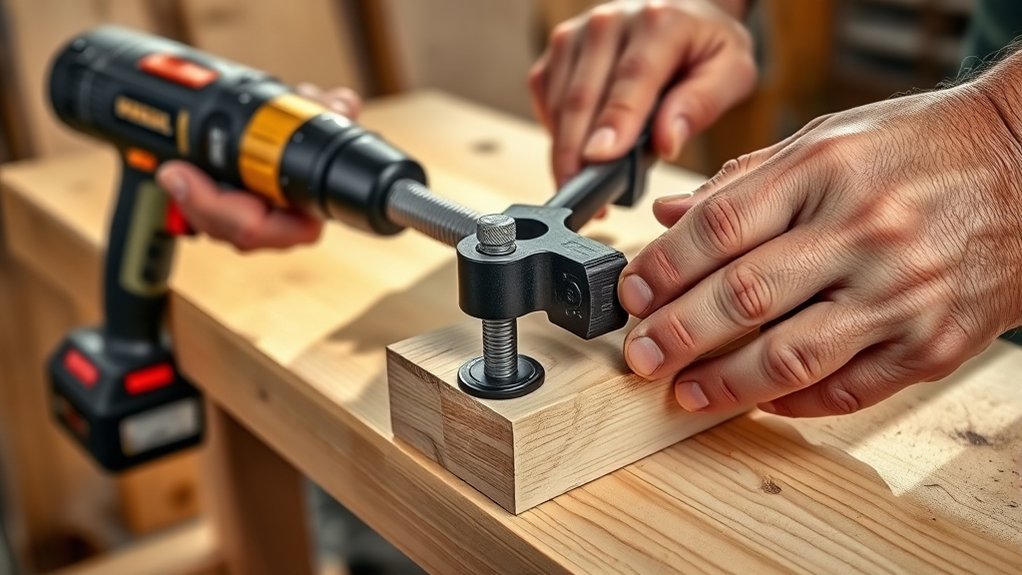
Before drilling, clamp the material securely to a stable workbench or support it on a firm, level surface. Proper material stabilization keeps the workpiece from shifting, spinning, or lifting when the bit contacts it.
Choose clamps that fit the material without blocking your drilling area, and tighten them enough to hold everything firmly without crushing delicate surfaces. For small pieces, use a vise, but place protective pads between the jaws and the material to prevent scratches.
Don’t hold the workpiece in your hand while using the drill. Keep cords, loose clothing, and nearby objects away from the work area, and remove anything that could interfere with the clamp.
Check that the bench won’t wobble and that the material lies flat. These safety precautions help you maintain control and protect your hands.
If the surface is slippery, add a non-slip mat or a sacrificial board beneath it. Recheck the setup before you begin.
Drill Slowly With Steady Pressure
Start the drill at a slow speed, keeping the bit perpendicular to the material as you apply steady, moderate pressure. Let the bit’s cutting edges do the work instead of forcing it through the surface.
Maintain consistent drill speed, especially as you begin the hole, to prevent wandering or slipping. If the bit struggles, ease off briefly, then continue with controlled pressure rather than pushing harder.
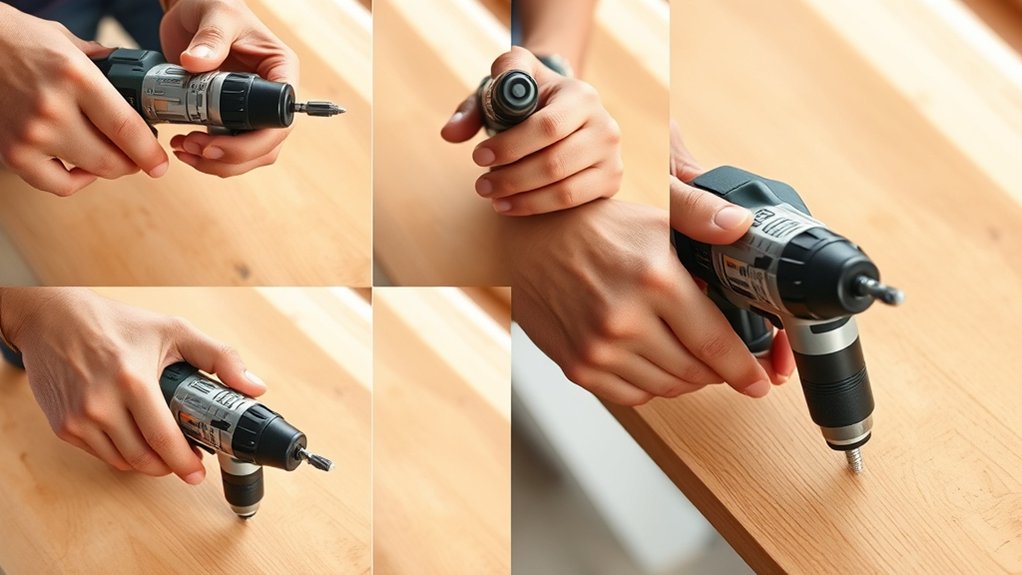
Pay attention to hand positioning throughout the operation. Hold the drill’s main handle firmly with your dominant hand and support the front with your other hand, keeping your fingers clear of the rotating bit.
Stand comfortably so you can guide the tool without twisting your wrist or leaning excessively. Increase speed gradually only after the bit has created a stable starting point.
Keep your shoulders relaxed and your arms aligned with the drill. If the tool vibrates, wobbles, or strains, reduce pressure and realign it before continuing.
Remove the Bit, Battery, and Debris
Once the hole is complete, release the trigger and wait for the bit to stop spinning. Keep your fingers away from the chuck and cutting edges while you loosen the chuck by hand or use the drill’s release setting.
Pull the bit straight out, then place it in a case or holder so it won’t get damaged or cause an injury.
For important safety precautions, set the drill’s forward/reverse switch to the center lock position before handling the battery. Press the battery-release buttons and slide the pack out without forcing it.
Store the battery in a cool, dry place, away from metal objects that could short its contacts.
Finish with basic Tool maintenance. Brush or wipe dust from the chuck, vents, and drill body. Don’t use water or compressed air that could drive debris deeper inside.
Clear loose material from the hole and work surface, then inspect the bit and tool for damage before storing them.
Frequently Asked Questions
How Do I Maintain My Cordless Drill for Long-Term Performance?
Maintain your cordless drill by cleaning vents, chuck, and controls after each use. Remove dust with a soft brush, and inspect cords, bits, and battery contacts for damage.
Store the battery partially charged in a cool, dry place, and follow the manufacturer’s Battery calibration guidance. Don’t overload the motor or leave the battery attached during long storage.
Practice good Cordless drill ergonomics by gripping comfortably, balancing the tool, and avoiding excessive force.
What Safety Gear Should I Wear While Operating a Cordless Drill?
Wear Safety goggles to shield your eyes from flying chips, dust, and broken bits. Choose Protective gloves that fit snugly and improve your grip without catching on rotating parts.
Add hearing protection when drilling creates loud noise, and wear sturdy, closed-toe, slip-resistant shoes to protect your feet. Secure loose clothing, jewelry, and long hair before you start.
You’ll work more safely when you inspect your gear and keep bystanders clear.
Can I Use a Cordless Drill for Driving Screws?
Yes, you can use a cordless drill to drive screws; roughly 70% of common household fastening jobs involve screws, making this tool especially useful. Choose the correct driver bit and check Drill bit compatibility with your chuck.
Set the Torque adjustment low at first, then increase it until the screw seats flush without stripping. Keep the drill aligned with the screw, use steady pressure, and stop when it’s secure.
How Do I Troubleshoot a Cordless Drill That Won’T Start?
Check the battery first: reseat it firmly, inspect its contacts, and confirm battery charging with the manufacturer’s charger. Try a different charged battery if available.
Set the direction switch fully forward or reverse, then squeeze the trigger. If you hear motor noise but the chuck doesn’t turn, release the trigger and inspect for a jam or damaged gears.
If nothing happens, check the trigger, charger, and battery for damage, and contact service.
When Should I Replace My Cordless Drill Battery?
Replace your cordless drill battery when it’s nearing its final chapter: it won’t hold a charge, powers your tool briefly, or takes unusually long to recharge. Compare its Battery lifespan with the manufacturer’s estimate, usually two to five years or several hundred cycles.
Watch the Power indicators; sudden drops, inaccurate readings, swelling, leaks, heat, or physical damage mean immediate replacement. Don’t keep using a compromised battery, and recycle it through an approved facility.
Conclusion
With these five steps, you’ll use your cordless drill safely and confidently. Choose the right bit, charge the battery, set the controls, secure your material, and drill with steady pressure.
When you’re finished, remove the bit, battery, and debris, just as a modern craftsperson should. Don’t rush the process. Your drill isn’t a magic wand, and it won’t fix careless work.
Follow this routine every time, and you’ll get cleaner holes, better results, and fewer surprises with your cordless drill.