7 Essential Accessories for Your Oscillating Tool
Choosing the right oscillating tool accessory can be frustrating, especially when one attachment works well for a task but struggles with another. You’re not alone—many DIYers deal with rough cuts, slow sanding, or damaged materials when using the wrong blade.
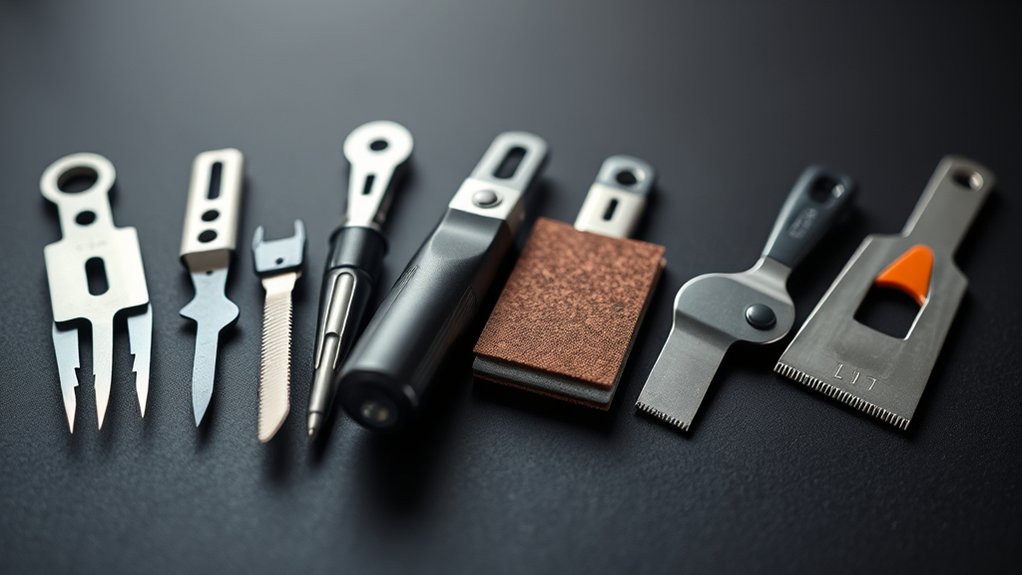
This guide covers seven essential oscillating-tool accessories: fine-tooth wood blades, plastic-cutting blades, bi-metal metal blades, carbide grout blades, carbide mortar rasps, sanding pads, and rigid scraper blades.
Match each attachment to your material and task, then secure it firmly before use. Let the accessory work without forcing it, keep the tool moving, and wear eye, hearing, hand, and dust protection.
Choose the right blade for cleaner results and longer life. The details below will help you use each accessory safely and effectively.
Key Takeaways
- Fine-tooth wood blades deliver precise cuts in trim, plywood, and finished wood surfaces.
- Bi-metal blades cut metal, nails, and mixed materials while resisting wear and heat.
- Carbide grout-removal blades efficiently clear narrow or wide joints without damaging nearby tiles.
- Rigid scraper blades remove adhesive, paint, caulk, and other stubborn surface residues.
- Triangular sanding pads and abrasive sheets smooth edges, contours, and tight spaces with controlled finishing.
Cut Wood and Plastic With Oscillating Blades
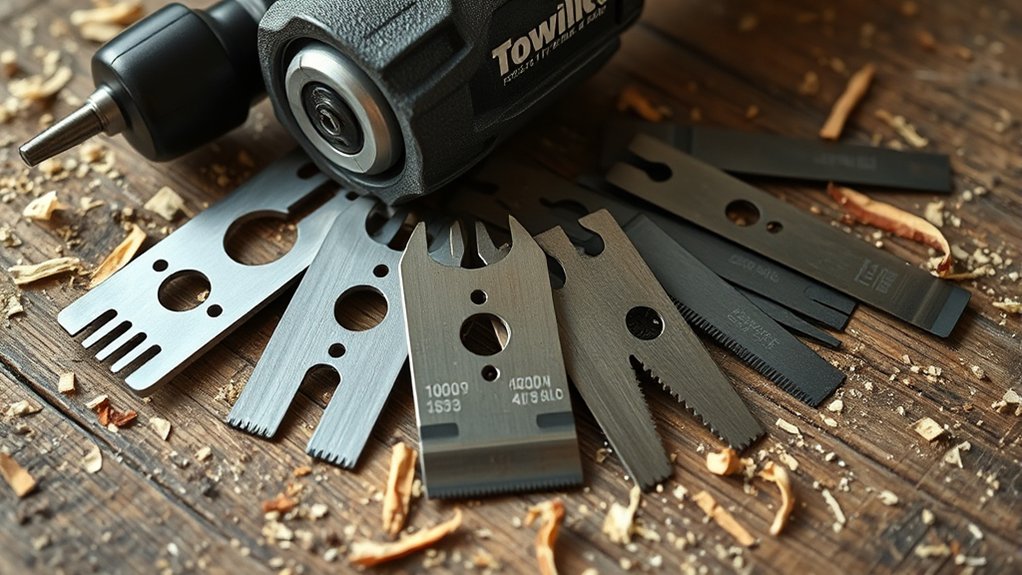
Oscillating blades cut wood and plastic cleanly for tasks such as trimming doorjambs, shortening pipes, and making plunge cuts. Choose a blade designed for your material and task.
Choose the right oscillating blade for clean cuts when trimming doorjambs, shortening pipes, or making plunge cuts.
A fine-tooth blade gives you cutting precision on trim, plywood, and other finished surfaces, while a wider tooth pattern removes material faster from thicker wood.
For plastic, select a blade that limits heat buildup so the edge won’t melt or smear the workpiece.
Secure your material before cutting, then mark your line clearly. Start at a low speed to control the tool, and increase speed only when the blade tracks smoothly.
Let the accessory do the work. Excessive pressure can bend teeth, scar surfaces, and reduce blade durability.
Keep the blade aligned with your mark, especially during plunge cuts, and withdraw it occasionally to clear debris.
Replace a dull or damaged blade promptly. The right accessory helps you make cleaner cuts with less effort and better control.
Cut Metal With Bi-Metal Blades
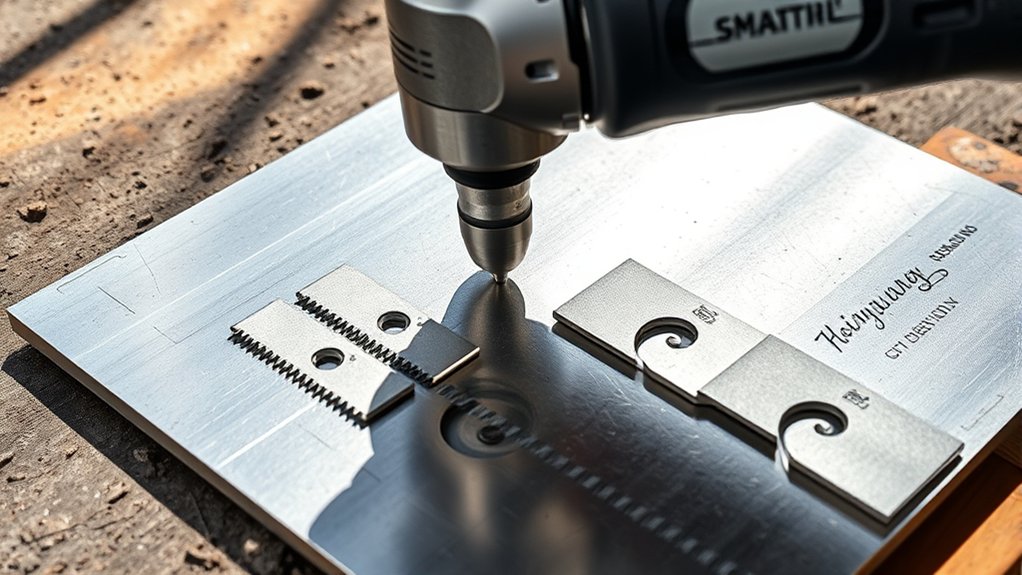
Use the right bi-metal blade for the metal’s thickness and type. Before you start, put on eye protection and secure the workpiece. Cut at a controlled speed, keep the blade cool, and avoid forcing it so it lasts longer.
Choose the Right Blade
When you need to cut metal with an oscillating tool, choose a bi-metal blade designed for the job. Its high-speed steel teeth resist wear, while the flexible carbon-steel body handles vibration and demanding cuts.
Match the blade’s tooth pattern to your material: fine teeth suit thin sheet metal, and coarser teeth work better on thicker stock or fasteners. Check the manufacturer’s specifications for the recommended metal type and thickness before you begin.
Consider blade durability if you’ll make repeated cuts, since a longer-lasting accessory saves time and replacement costs. You’ll also need accessory compatibility, so confirm that the blade’s mounting interface fits your oscillating tool.
A universal-fit blade may work across brands, but always verify the connection. Choose the narrowest blade that provides adequate reach and control for your project.
Cut Metal Safely
Before cutting, secure the metal firmly and put on safety glasses, gloves, and hearing protection. Safety gear protects you from sharp fragments, sparks, and loud vibration.
Mark your cut clearly, then fit a bi-metal blade designed for metal and check that it’s locked in place. Choose a moderate speed and let the tool do the work; forcing it can cause the blade to bind or kick back.
Keep both hands on the tool, maintain a balanced stance, and start with the blade clear of the workpiece. Use controlled, steady cutting techniques, guiding the blade along your mark without twisting it.
Pause if the metal shifts, overheats, or produces unusual vibration. Keep bystanders away, and unplug the tool before changing blades or clearing debris.
Extend Blade Life
To extend a bi-metal blade’s life, match it to the metal’s thickness and hardness, set the oscillating tool to a moderate speed, and let the teeth cut without force.
Keep the blade aligned with your cut, and avoid twisting or prying, which can bend teeth and shorten blade durability. Apply light, steady pressure; if cutting slows, check for a dull blade rather than pushing harder.
Use cutting oil on thicker steel when the manufacturer permits it, reducing heat and friction. Clear metal chips regularly so they don’t clog the teeth or scratch your workpiece.
After cutting, remove the blade, wipe it clean, and inspect it for cracks or missing teeth. This accessory maintenance routine helps you identify damage early and keeps your bi-metal blades ready for accurate cuts.
Remove Grout With Carbide Blades
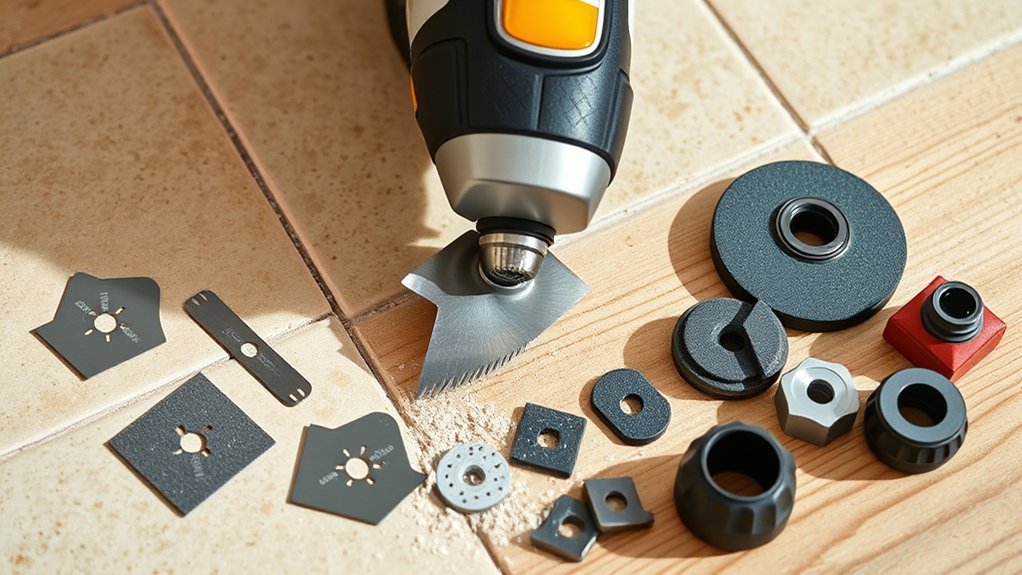
Remove grout quickly with a carbide blade designed for oscillating tools, which cuts through hardened joints without damaging nearby tile when handled carefully. For controlled grout removal, choose carbide blades with a narrow profile and abrasive edges.
Set your tool to a moderate speed, hold it steadily, and follow the joint rather than forcing the accessory.
| Task | Blade choice | Technique |
|---|---|---|
| Thin joints | Narrow carbide blade | Center the cut |
| Wide joints | Wider carbide blade | Make several passes |
| Corners | Small carbide blade | Work slowly |
| Deep grout | Gritted carbide blade | Increase depth gradually |
Wear eye protection and a dust mask, since old grout can release irritating particles. Start with a shallow groove, then deepen it until you reach the desired removal level.
Keep the blade aligned with the joint to reduce tile damage. Pause often to clear dust and check your progress.
Replace worn carbide blades when cutting slows or the edge looks smooth. You’ll get cleaner results and better control.
Remove Mortar With Carbide Accessories
When mortar needs to come off a surface, a carbide accessory can grind through hardened material and give you precise control in tight areas.
For effective mortar removal, choose a carbide rasp or triangular blade suited to your oscillating tool. Fit the accessory securely, set a moderate speed, and let the abrasive teeth do the work.
Keep the tool moving steadily instead of forcing it into the joint. This helps prevent overheating and protects nearby tile, brick, or masonry.
Carbide durability makes these accessories useful for stubborn thin-set, dried mortar, and repair work that would quickly wear down standard blades.
Work in short passes, stop often to inspect your progress, and clear dust so you can see the remaining material.
Wear eye protection, a dust mask, and gloves, especially when you’re grinding brittle mortar.
Replace the accessory when its teeth become dull or removal slows noticeably. This approach saves time while preserving control over the repair.
Sand Edges and Tight Corners
Use sanding pads to shape edges cleanly and finish narrow surfaces. When sanding in corners, choose a small pad that can reach tight spaces without damaging nearby areas. You can also smooth curved surfaces by matching the accessory to the contour.
Sanding Pads for Edges
Sanding pads for edges help you smooth narrow surfaces and tight corners that standard orbital sanders can’t reach. Attach a triangular or narrow sanding pad to your oscillating tool, then choose the grit that matches your project.
Start with coarse paper to remove roughness, and switch to finer grits for a clean, even surface. Keep the tool moving gently to prevent gouges, especially on soft wood, painted trim, or laminate.
Match the pad’s shape to the edge so you can maintain steady contact without overworking adjacent areas. Use light pressure and let the abrasive do the work.
For edge finishing, these pads help you sharpen profiles, soften splintered edges, and prepare surfaces for paint or stain. Their controlled movement also supports precise detail refinement during repairs and remodeling.
Replace worn abrasive sheets promptly.
Detail Sanding in Corners
For detail sanding in corners, fit your oscillating tool with a fine-grit triangular pad to reach edges and tight spaces with control. This accessory makes corner sanding precise, especially around trim, cabinet joints, and recessed panels.
Keep the pad flat, use light pressure, and let the tool’s motion remove material without gouging the surface.
- Start with low speed to improve control.
- Guide the pointed tip into each corner carefully.
- Move steadily along adjoining edges for an even finish.
- Check your work often and replace clogged abrasive paper.
Choose a finer grit for detail finishing after removing scratches or old coating with a coarser pad. Avoid forcing the tip into a joint, which can round sharp lines or damage delicate material.
Wear eye protection and a dust mask, and secure small workpieces before sanding.
Smooth Curved Surfaces
When smoothing curved surfaces and tight edges, fit your oscillating tool with a flexible sanding pad that follows the contour without flattening it. Choose fine-grit abrasive sheets for final smoothing and coarse grit for removing rough spots.
Secure the sheet firmly, then guide the tool with light, steady pressure. Let the accessory do the work; pushing too hard can create flat patches, gouges, or uneven edges.
For narrow corners, use a pointed sanding attachment to reach recessed areas without forcing the tool sideways. Keep the pad moving to prevent heat buildup and swirl marks.
Ergonomic grips help you maintain control during detailed work, while safety gloves protect your hands from splinters and abrasive surfaces. Check your progress often, wiping away dust before each inspection.
Sand with the grain whenever possible, and finish with a clean, smooth transition.
Scrape Adhesive, Paint, and Caulk
Scraper blades turn an oscillating tool into a precise way to remove adhesive, paint, and caulk from hard surfaces. Choose a rigid blade for stubborn residue, then hold the tool nearly flat and let controlled vibration do the work.
You’ll reduce gouging when you keep steady pressure and avoid forcing the accessory.
- Adhesive removal: Slide the blade beneath carpet glue, stickers, flooring residue, or dried construction adhesive.
- Paint stripping: Lift loose coatings from trim, doors, and other surfaces without swinging a hand scraper.
- Caulk cleanup: Cut through old silicone or acrylic beads along sinks, tubs, windows, and joints.
- Surface protection: Work in short passes and stop when the blade reaches the underlying material.
Wear eye protection and gloves, especially when brittle coatings can chip. Keep the blade sharp; a dull edge makes you press harder and increases slipping.
Wipe away loosened debris as you go, so you can see remaining buildup and maintain accurate control. Don’t rush corners or delicate edges.
Match Accessories to Materials and Jobs
Choose each oscillating-tool accessory based on the material and the job. The right blade cuts cleaner, works faster, and reduces surface damage.
Match fine-tooth blades with wood, carbide blades with grout, and bi-metal blades with metal or nail-embedded lumber. Use sanding pads for smoothing edges, removing finish, or preparing surfaces.
| Material or job | Recommended accessory |
|---|---|
| Wood cuts | Fine-tooth wood blade |
| Metal or nails | Bi-metal blade |
| Grout removal | Carbide-grit blade |
For delicate trim, select a narrow blade that improves control and limits accidental marks.
When you need to remove adhesive, paint, or caulk, choose a rigid scraper rather than a cutting blade. Customizing accessories to each task helps you work efficiently and protect the surface.
Consider ergonomic design, too. A balanced tool, comfortable grip, and properly sized attachment reduce fatigue during extended projects.
Before cutting, check the accessory’s rated materials and secure the workpiece. Replace dull or damaged attachments promptly because they create heat, vibration, and uneven results.
Let the tool’s speed and accessory do the work.
Frequently Asked Questions
How Do I Safely Change Accessories on an Oscillating Tool?
Unplug your oscillating tool or remove its battery before changing accessories. Let the blade cool, then press the release lever or loosen the retaining bolt, following your manual’s instructions.
Remove the old attachment with gloves, and inspect the mount for damage. Check accessory compatibility before installing the new piece, ensuring its teeth or holes seat securely.
Tighten everything firmly, but don’t overtighten. Store unused attachments safely using accessory storage to prevent damage.
What Safety Gear Should I Wear When Operating an Oscillating Tool?
Wear protective gloves and safety glasses whenever you operate an oscillating tool. Choose snug, cut-resistant gloves that improve your grip without restricting movement.
Use safety glasses with side protection to shield your eyes from dust, chips, and debris. Add a face shield for heavy-duty cutting or grinding.
Wear hearing protection during extended use and choose sturdy, closed-toe footwear. Secure loose clothing, tie back long hair, and use a dust mask when materials create fine particles.
How Do I Maintain and Clean Oscillating Tool Accessories?
Maintain and clean accessories by brushing away dust, wiping surfaces with a dry cloth, and removing stubborn residue with mild soapy water. Dry every piece completely before storage to prevent rust.
Check blades, sanding pads, and scrapers for cracks, warping, or excessive wear, and replace damaged parts promptly. Use blade sharpening only for compatible, reusable blades.
Keep organized accessory storage in a dry case, separating sharp edges and avoiding moisture, heat, and impact.
Can Oscillating Tool Accessories Fit Different Brands and Models?
Yes, oscillating tool accessories can fit different brands and models, but you must check the attachment system first. Brand compatibility depends on whether your tool uses a universal interface, proprietary mount, or adapter.
Accessory versatility improves when you choose blades and sanding pads labeled for multiple systems. Before buying, compare the manufacturer’s specifications, connection shape, and size.
Don’t force an incompatible accessory, because it can slip, damage your tool, or create a safety hazard.
How Do I Reduce Vibration and Noise During Oscillating Tool Use?
You can turn your oscillating tool from a buzzing hornet into a calmer whisper by using proper Vibration dampening and Noise reduction techniques. Grip the tool lightly, keep both hands steady, and let the accessory do the work.
Choose sharp, balanced blades, tighten attachments securely, and use lower speeds when practical. Add anti-vibration gloves, wear hearing protection, and place rubber pads beneath nearby workpieces.
Maintain the tool regularly to prevent rattling, looseness, and unnecessary noise.
Conclusion
With the right accessories, your oscillating tool can tackle far more than quick cuts. Choose wood and plastic blades for clean slices, bi-metal blades for metal, and carbide options for stubborn grout or mortar.
Sanding pads reach edges and corners, while scrapers lift adhesive, paint, and caulk. Match each attachment to the material and task, and you’ll work faster, cleaner, and safer.
Once you’ve got the basics covered, you’ll be ready to get the most from these essential oscillating tool accessories.