Top 10 Essential Machinist Equipment for Every Workshop
Every workshop needs the right tools to produce accurate parts efficiently, but choosing essential machinist equipment can be overwhelming. You’re not alone—many machinists struggle to balance precision, productivity, and safety when building or upgrading their workshop.
Every workshop needs precision measuring tools, such as calipers, micrometers, and dial indicators; setup hand tools; secure workholding equipment; carbide or HSS cutting tools; a drill press; an engine lathe; a milling machine; a grinder; deburring tools; and proper safety gear.
You’ll produce more accurate parts when you secure workpieces, maintain machines, inspect tools, and follow safe operating practices. The sections below explain how each essential item improves efficiency, accuracy, and shop safety.
Key Takeaways
- A precision measuring set should include calipers, micrometers, bore gauges, height gauges, and dial indicators.
- Secure workpieces with bench or machine vises, chucks, collets, soft jaws, and adaptable clamping fixtures.
- Essential cutting equipment includes carbide tooling, high-speed steel cutters, roughing tools, finishing tools, and abrasive wheels.
- Core machinery should include a drill press, engine lathe, milling machine, and grinder for versatile workshop operations.
- Deburring tools, files, scrapers, inspection lighting, eye protection, respirators, and protective clothing support safe, quality work.
Machinist Measuring Tools for Precise Results
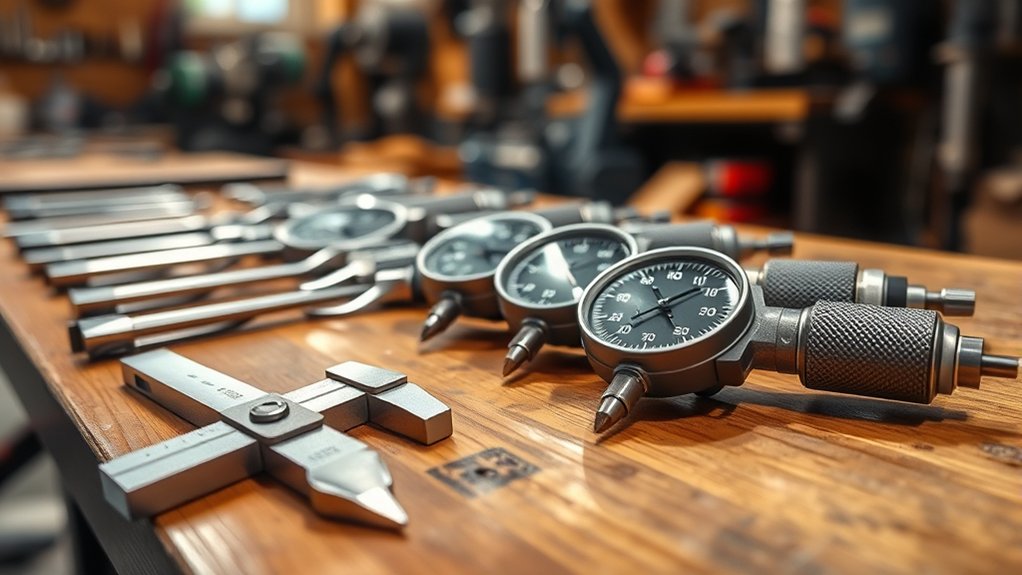
Accurate measurements form the foundation of every successful machining project. You’ll rely on precision equipment to verify dimensions, tolerances, and alignment before, during, and after cutting operations.
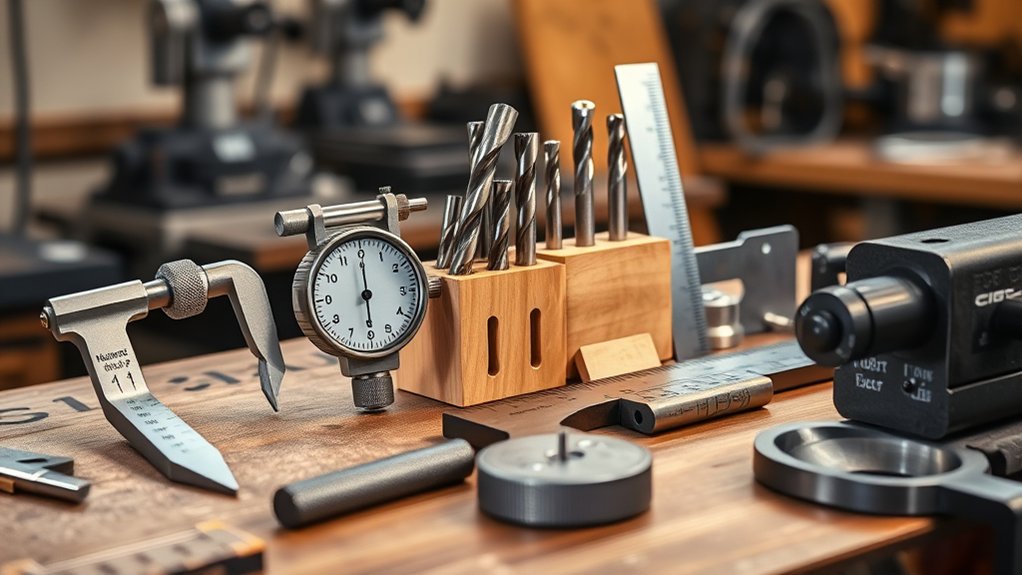
Digital and vernier calipers help you measure outside, inside, and depth dimensions quickly. Micrometers provide finer readings for shafts, thicknesses, and other critical features.
For holes and bores, use telescoping gauges with a micrometer, or choose dedicated bore gauges when you need repeatable results.
A height gauge paired with a surface plate lets you locate features and compare elevations accurately. Dial indicators reveal runout, concentricity, and subtle positioning errors during inspection.
Choose tools with suitable resolution and range for each job, and keep measuring surfaces clean to prevent false readings. You’ll also need traceable calibration standards and a consistent verification schedule.
Handle instruments carefully, protect them from temperature changes, and record results. These habits preserve measurement accuracy and help you produce interchangeable, reliable parts.
Regularly inspect tool condition, replace damaged instruments, and train everyone to read scales consistently.
Hand Tools for Setup and Inspection
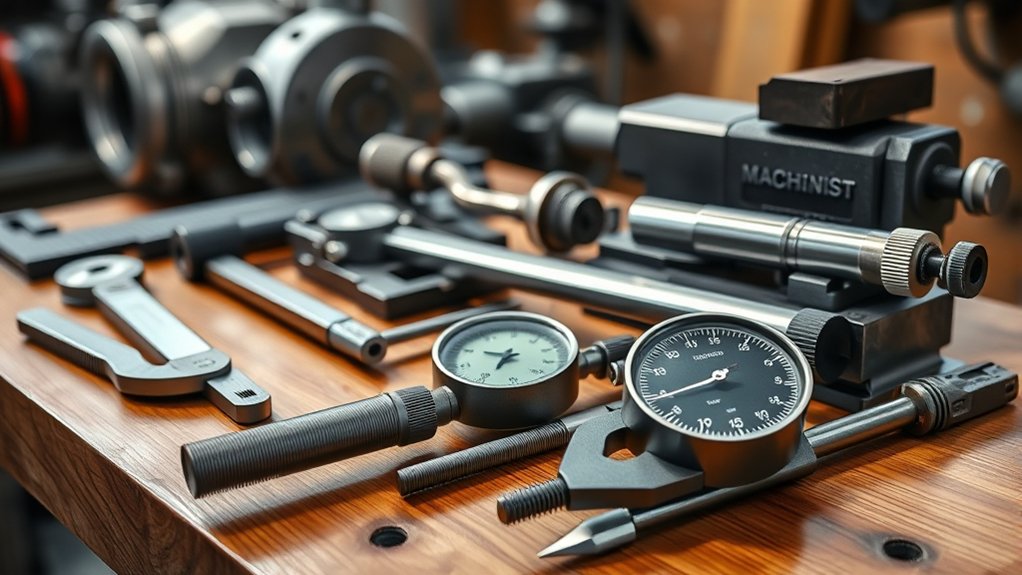
Once you’ve confirmed dimensions with measuring instruments, use hand tools to position, secure, and inspect workpieces during setup. Choose tools that let you work accurately without damaging finished surfaces or tiring your hands.
Choose hand tools that position and secure workpieces accurately while protecting finished surfaces and reducing fatigue during setup.
- Use deburring tools, files, and scrapers to remove sharp edges and clean mating surfaces.
- Reach for machinist squares, straightedges, and thread gauges to check alignment, flatness, and fit.
- Keep screwdrivers, hex keys, pliers, and soft-face hammers nearby for adjustments and light corrections.
Ergonomic hand tools improve control, especially during repeated setup tasks. Select comfortable grips and appropriate sizes so you won’t over-tighten fasteners or slip while making adjustments.
Use a flashlight and inspection mirror to reveal burrs, chips, or hidden damage. Marking tools, such as layout dye, scribes, and center punches, help you transfer locations and identify reference points clearly.
Support workshop organization by returning each tool to a labeled drawer or shadow board after use. Clean tools before storage, and replace worn edges or damaged handles promptly.
A consistent inspection routine helps you catch errors before machining begins.
Workholding Tools That Keep Parts Secure
Choose workholding tools that keep each part rigid, aligned, and accessible throughout machining. Start with a sturdy bench vise for general jobs, then select a machine vise when you need repeatable positioning on a mill.
Use soft jaws to protect finished surfaces, and machine them to match unusual profiles when necessary. Clamping devices, including strap clamps, toggle clamps, and step blocks, let you secure large or irregular workpieces without blocking access.
For turning operations, use a three-jaw chuck for speed or a four-jaw chuck when you need independent adjustment and precise centering. Collets provide excellent grip on round stock while minimizing runout.
Fixture setups can improve repeatability across batches, especially when you combine locating pins, stops, and replaceable wear plates. Before machining, tighten every fastener evenly, verify that the workpiece sits against its locators, and check clearance around moving components.
A secure setup protects you, your equipment, and your finished parts.
Cutting Tools for Precise Stock Removal
Select cutting tools based on the material, operation, and finish you need. Your choices directly affect accuracy, tool life, and productivity. Match carbide inserts, high-speed steel cutters, or abrasive wheels to the workpiece and task. Proper Material selection helps you avoid premature wear, chatter, and rough surfaces.
Choose tools according to these priorities:
- Use roughing cutters to remove stock quickly, then switch to finishing tools for cleaner surfaces.
- Set Cutting speed and feed rate for the tool diameter, material hardness, and machine capability.
- Inspect edges regularly, and replace dull or damaged tools before they compromise dimensions.
Keep end mills, face mills, turning tools, parting blades, and deburring tools organized and accessible. Select flute counts and geometries that suit chip evacuation and the cut’s depth.
Apply coolant or cutting fluid when heat control and surface quality demand it. Secure each tool correctly in a rigid holder, minimize overhang, and verify clearance before starting.
With disciplined setup and measured adjustments, you’ll remove stock efficiently while maintaining tight tolerances and consistent finishes throughout your workshop.
Drill Presses for Accurate Holemaking
Choose among benchtop, floor, and radial drill presses based on the space you have and the kind of work you do. To keep holes aligned accurately, secure the workpiece firmly and adjust the spindle carefully. It’s also worth looking for useful features like variable-speed control, depth stops, and sturdy tables.
Drill Press Types
Drill presses provide the controlled spindle movement, rigid support, and repeatable alignment needed for accurate holemaking. Choosing among the types of drill presses helps you match capacity, power, and flexibility to your workshop’s work.
- Benchtop models: You’ll save floor space while handling light- to medium-duty drilling, tapping, and countersinking.
- Floor-standing models: You’ll gain greater throat depth, spindle travel, and motor power for larger workpieces and tougher materials.
- Radial-arm models: You’ll position the spindle across wide or awkward workpieces without repeatedly repositioning them.
Consider quill travel, speed ranges, chuck capacity, and table size before buying. Variable-speed controls let you adjust cutting speed quickly, while a tilting or rotating table expands your options.
Useful drill press accessories include a vise, depth stop, table extensions, tapping attachments, and a quality chuck. Select a machine that supports your tooling and expected workload.
Precision Hole Alignment
Beyond selecting the right drill press type, you’ll need to control how the workpiece, table, and spindle align. Start by leveling the table, checking spindle squareness, and securing material against movement.
Use a dial indicator to reveal runout before you begin cutting. Follow calibration standards that match your shop’s tolerances, and record results so you can spot drift early.
For repeated jobs, alignment fixtures guide each piece consistently, saving time and preventing costly rework.
| Check | What You’ll see | Why It matters |
|---|---|---|
| Table level | Even contact | Builds confidence |
| Spindle runout | Wandering tip | Protects accuracy |
| Fixture fit | Stable placement | Prevents frustration |
Mark reference points on the table and workpiece, then verify them before every batch.
When alignment stays true, holes land where you planned, assemblies fit smoothly, and your finished work earns lasting trust.
Essential Press Features
The right drill press features give you control over speed, depth, and alignment for accurate holemaking. Choose a variable-speed motor so you can match cutting speed to each material and bit.
A rigid column, stable table, and low runout keep holes straight, while a laser guide helps you position work quickly. Look for these practical features:
- An adjustable depth stop prevents overdrilling and creates consistent hole depths.
- A tilting table supports angled drilling and improves setup flexibility.
- A keyed chuck grips larger bits securely and reduces slippage.
Use clamps or a vise to hold every workpiece firmly; never rely on your hands. Although hydraulic presses and pneumatic presses serve forming and assembly tasks, a drill press remains your best choice for controlled holemaking.
Keep belts, bearings, and chuck jaws clean, and inspect alignment regularly to preserve accuracy.
Engine Lathes for Turning and Threading
Engine lathes let you perform precise turning operations by securing the workpiece and guiding the cutting tool accurately. They also support thread cutting, so you can create consistent internal or external threads.
For clean, accurate results, choose the appropriate cutting speed, feed rate, and tooling for the material and operation.
Precision Turning Operations
When you need accurate diameters, smooth finishes, or precisely cut threads, an engine lathe gives you controlled, repeatable turning operations. Secure your workpiece firmly, align the cutting tool on center, and set the spindle speed for its diameter and material.
Your results improve when you balance feed rate, depth of cut, and tool geometry.
- Match tool material and nose radius to the workpiece.
- Use Material selection to guide speed, tooling, and finishing choices.
- Apply coolant application consistently when heat, friction, or built-up edge threatens accuracy.
Measure critical features with micrometers between passes, and leave a small finishing allowance for the final cut.
Keep the carriage, ways, and chuck clean so movement stays smooth and dependable. You’ll produce straighter surfaces, tighter tolerances, and more consistent finishes by combining careful setup with disciplined inspection.
Thread Cutting Capabilities
Accurate thread cutting builds on the same careful setup used for precision turning. It also requires synchronized movement between the spindle and lead screw.
Choose an engine lathe with a rigid bed, reliable gearbox, and properly aligned tooling. Select the thread pitch, install the matching change gears or gearbox setting, and make light, consistent passes.
Check your work with a thread gauge, nut, or mating part.
| Feature | Benefit |
|---|---|
| Lead screw | Synchronizes tool travel |
| Quick-change gearbox | Simplifies pitch selection |
| Threading tool | Forms accurate profiles |
Keep cutting fluid available to reduce heat and improve the finish. For internal threads, bore accurately before engaging the tool.
Although gear manufacturing demands specialized equipment, a capable lathe supports prototypes, repairs, and custom threaded components in your workshop.
Always disengage safely and verify clearance before each pass.
Milling Machines for Versatile Machining
Milling machines give you the flexibility to cut, drill, and shape metal with precision using rotary cutters and adjustable worktables. You can machine slots, pockets, contours, and flat surfaces by selecting the right cutter, speed, and feed.
A rigid machine helps you maintain accuracy, while variable controls let you match performance to each material.
Choose features that fit your workshop:
- Use a vertical mill for general fabrication, prototyping, and repair work.
- Select a horizontal mill when you need rigidity for deeper cuts and production tasks.
- Add a digital readout to track movement and improve repeatability.
You’ll also expand your capabilities with milling machine accessories, including vises, rotary tables, collets, boring heads, and clamping kits.
Secure every workpiece firmly, verify tool clearance, and measure your setup before cutting.
Regular milling machine maintenance keeps ways clean, lubrication consistent, and alignment reliable. Inspect belts, cutters, and fasteners routinely, and replace worn components before they affect accuracy.
With proper setup and care, one milling machine can handle countless workshop projects.
Grinders for Sharpening and Surface Finishing
Grinders help you sharpen cutting tools, remove excess material, and create smooth, accurate finishes. In your workshop, a bench grinder handles routine tool sharpening, while an angle grinder reaches welds, edges, and tight areas.
Choose the grinder according to the material, required finish, and amount of stock you need to remove.
Select abrasive discs designed for your application. Aluminum oxide works well on steel, while diamond or silicon carbide suits harder materials and specialized tasks.
Check the disc’s speed rating, inspect it for damage, and secure your work before grinding. Use light, controlled passes to prevent overheating, distortion, or unwanted grooves.
For precise results, consider a belt grinder or surface grinder. These machines help you maintain consistent angles, flatten faces, and prepare components for surface polishing.
Keep tool rests properly adjusted, replace worn wheels, and wear eye, hearing, and respiratory protection. With the right setup, you’ll improve tool life, dimensional accuracy, and finish quality.
Deburring Tools for Clean, Finished Parts
Use manual deburring tools to remove burrs and create clean, finished parts. Choose scrapers, files, or blades based on the material and the shape of the edge. Then, use controlled finishing techniques to produce smooth, consistent results.
Manual Deburring Tools
Manual deburring tools help you remove sharp edges, burrs, and excess material from machined parts without altering their critical dimensions. You can use them on aluminum, steel, plastics, and other materials where controlled removal matters.
Select a blade, scraper, countersink, or abrasive pad that matches the part’s geometry and burr size.
- Use a swivel-blade tool for holes, slots, and irregular contours.
- Choose a hand scraper for accessible edges and stubborn burrs.
- Keep replacement blades available to maintain clean, consistent cuts.
With steady pressure and short strokes, you’ll gain better control than power equipment provides. Inspect each part under good lighting, and clean away chips before measuring.
Proper hand deburring techniques protect delicate surfaces and help you catch remaining burrs early. Store tools securely, keep blades sharp, and wear eye protection throughout the process for safer, more reliable results.
Edge Finishing Techniques
Clean, finished edges start with choosing a deburring tool that matches the part’s material, shape, and burr size. Use a carbide scraper for small metal burrs, a countersink for holes, or abrasive pads for delicate surfaces.
Keep the tool moving lightly to avoid gouging edges or changing critical dimensions. After removing burrs, inspect each part under bright light and run a gloved finger along the edge.
| Tool | Best use |
|---|---|
| Scraper | Small, accessible burrs |
| Countersink | Hole edges and bevels |
For consistent results, secure the workpiece and maintain a steady angle. Apply beveling techniques when you need a controlled chamfer, then use Edge polishing with progressively finer abrasive media to improve appearance and handling safety.
Clean away abrasive residue before measuring. Your final inspection should confirm smooth progressions, accurate dimensions, and no sharp projections that could affect assembly or safety.
Safety Gear for a Safer Machine Shop
A safer machine shop starts with the right safety gear, including protective eyewear, hearing protection, sturdy footwear, and properly fitted work clothing. You’ll reduce injuries when you choose Personal protective equipment (PPE) suited to each machine and task.
Wear cut-resistant gloves for handling stock, but remove them near rotating spindles to prevent entanglement.
- Use a face shield when grinding, cutting, or turning materials that may eject chips.
- Select respirators when coolant mist, dust, or fumes exceed safe exposure limits.
- Keep high-visibility clothing, aprons, and fitted sleeves clean, intact, and secure.
You’ll also need to inspect your gear before every shift. Replace cracked lenses, worn soles, damaged gloves, or compromised hearing protection immediately.
Learn emergency safety procedures, including machine shutdown, first-aid response, spill control, and fire extinguisher use.
Keep emergency stops accessible, mark clear evacuation routes, and report hazards before work begins.
Don’t rely on gear alone: secure workpieces, maintain guards, and stay alert around moving equipment. A disciplined routine protects you and your entire team.
Frequently Asked Questions
How Should Machinist Equipment Be Maintained to Extend Its Service Life?
You should maintain machinist equipment through regular cleaning, inspection, calibration, lubrication, and timely repairs. Wipe away chips, coolant, and dust after each use, then check moving parts for wear, damage, or looseness.
Schedule Tool calibration to preserve accuracy and prevent defective work. Apply equipment lubrication according to the manufacturer’s recommendations, avoiding excess that attracts debris.
Replace worn components promptly, store tools in dry conditions, and document maintenance so you don’t miss recurring service needs.
What Factors Determine the Right Machine Size for a Workshop?
Choosing the right machine size is like fitting a key to a lock: you’ll need enough capability without wasting resources. Evaluate your expected workpiece dimensions, material types, production volume, and required tolerances.
Match Machine capacity to your largest jobs, allowing room for future growth. Review Space requirements, including operator access, material handling, ventilation, and maintenance clearance.
Also consider electrical supply, floor strength, budget, and whether your workflow demands multiple machines or one versatile unit.
How Much Should a Beginner Budget for Essential Machinist Equipment?
You should budget roughly $1,500–$3,000 for essential beginner machinist equipment, depending on whether you buy new or used. Reserve $800–$1,500 for basic machines, such as a drill press, bench grinder, or compact mill, and $400–$900 for measuring tools, cutting tools, vises, and workholding.
Set aside $150–$300 for safety gear and tool calibration. Start with versatile equipment, buy quality measuring tools, and expand as your projects demand.
Which Workshop Layout Improves Workflow and Reduces Setup Time?
A U-shaped workshop layout improves workflow and reduces setup time by keeping machines, inspection areas, and supplies within easy reach. You’ll move efficiently between cutting, drilling, deburring, and measuring stations without crossing busy paths.
Place frequently used equipment along the inner perimeter, with raw materials near the entry and finished parts near dispatch. Strong Workshop organization depends on clear zones, while accessible Tool storage keeps tools visible, protected, and ready for immediate use.
Where Can Machinists Find Reliable Replacement Parts and Accessories?
You can find reliable replacement parts and accessories through manufacturer websites, authorized distributors, industrial supply houses, and reputable online marketplaces. Compare supplier options by checking compatibility, material specifications, return policies, delivery times, and customer reviews.
Prioritize vendors that publish clear quality assurance standards, provide traceable part numbers, and offer technical support. You’ll reduce downtime when you keep commonly replaced items in stock and confirm measurements before ordering.
Conclusion
With these essential machinist tools, you’ll build a workshop that’s accurate, efficient, and ready for demanding projects. Measuring equipment guides every cut, while hand tools, workholding gear, and cutting tools keep operations controlled.
Drill presses, mills, and grinders expand what you can create, while deburring tools deliver polished results. Don’t overlook safety gear—it’s your first line of defense.
Together, these essential machinist tools form the backbone of a shop that runs like a well-oiled machine.