How to Wash a Car Engine at the Carwash in 10 Essential Steps
Washing your car engine can feel intimidating, especially if you’re worried about damaging sensitive parts or making a mess. You’re not alone—many people struggle with finding the right way to clean under the hood safely and effectively.
If you’ve ever wished for a simple, foolproof method to get your engine looking great without stress, you’re in the right place.
To wash your car engine at the carwash, start by choosing a shaded spot and gathering soft brushes, degreaser, and plastic covers. Remove loose debris and engine covers carefully.
Protect sensitive parts with plastic bags and tape before applying degreaser evenly. Rinse gently with low pressure, avoiding electrical areas.
Inspect seals and hoses for damage, then dry the engine thoroughly. Finally, remove coverings and wipe remaining grime.
Following these steps guarantees a safe, effective clean. Keep going to uncover expert tips and maintenance advice.
Key Takeaways
- Ensure the engine is cool and cover sensitive electrical parts with plastic bags and waterproof tape before cleaning.
- Remove loose debris and detach engine covers carefully to expose critical components for thorough cleaning.
- Apply a safe, automotive-grade degreaser evenly on greasy spots and let it sit for 5-10 minutes before scrubbing.
- Rinse gently with low-pressure water, avoiding battery terminals and air intake to prevent water damage.
- Dry the engine thoroughly using microfiber towels or compressed air, then reinstall covers and inspect for leaks or damage.
Why Clean Your Car Engine? Benefits and Safety Tips
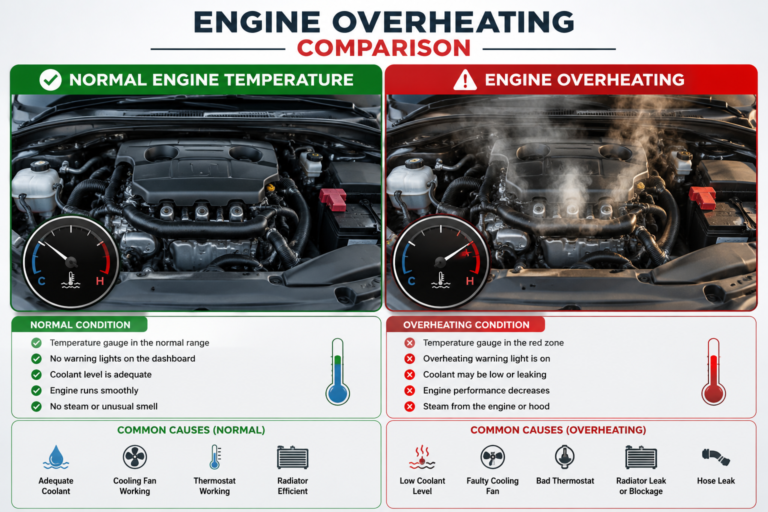
Although cleaning your car engine might seem unnecessary, it actually offers several significant benefits. When you keep your engine clean, you help maintain ideal engine performance by preventing dirt and grime buildup that can cause overheating or reduce efficiency.
A clean engine runs cooler and smoother, which can extend its lifespan and save you money on repairs. Beyond function, cleaning also boosts your engine’s aesthetic appeal. If you take pride in your vehicle, a spotless engine bay shows attention to detail and care, especially if you plan to sell your car or display it.
However, safety is essential. Before you start, make sure your engine is cool to avoid burns and protect electrical components by covering sensitive parts. Using the right cleaning products and techniques prevents damage while ensuring a thorough clean.
Taking these precautions will help you enjoy the benefits of a clean, well-maintained engine without risking harm.
Choose the Right Spot and Equipment for Engine Cleaning
Now that you understand the benefits and safety precautions of cleaning your engine, it’s important to set yourself up for success by choosing the right spot and equipment. Pick a shaded, well-ventilated area to avoid direct sunlight, which can dry cleaning agents too quickly and potentially harm delicate parts like the coolant system. Make sure the surface is level to prevent spills of engine oil or other fluids.
Here’s a quick guide to help you get the right gear and location:
| Spot Choice | Equipment Needed |
|---|---|
| Shaded, ventilated | Soft brushes |
| Level ground | Engine degreaser |
| Near water source | Low-pressure hose |
| Away from electrical | Microfiber towels |
| Covered area if rain | Plastic covers |
Using the correct spot and tools guarantees you protect sensitive components and get your engine sparkling clean without damage.
Remove Loose Debris and Engine Covers to Prepare
First, clear away any loose debris like leaves or dirt from the engine bay. This helps prevent your cleaning tools from getting clogged. Then, gently remove any engine covers so you can reach all the surfaces that need washing. Doing this prep makes it easier to clean thoroughly and ensures you don’t miss any hidden spots.
Clear Loose Debris
How do you guarantee your engine is prepared for a thorough cleaning? Start by clearing loose debris like leaves, twigs, and dirt. These can trap moisture and promote battery corrosion or damage engine oil seals. Use a soft brush or compressed air to gently remove buildup without pushing debris into sensitive parts. This step prevents clogging and ensures cleaning agents reach all surfaces.
| Debris Type | Common Location | Risk if Left Untouched |
|---|---|---|
| Leaves | Air intake, vents | Battery corrosion |
| Dirt & Dust | Around engine block | Engine oil contamination |
| Twigs & Small Debris | Near wiring and sensors | Electrical shorts |
Clearing debris keeps your engine safe and ready for the next cleaning steps.
Detach Engine Covers
After clearing away loose debris, the next step is to detach the engine covers. Start by locating the fasteners securing the covers. These could be clips, screws, or bolts. Use the appropriate tools to carefully remove them without damaging any parts.
Engine cover removal improves engine compartment access, allowing you to reach areas that need cleaning. Be sure to keep track of all fasteners so you can reinstall the covers properly later.
If the covers feel stuck, gently wiggle them free instead of forcing them. Removing these covers exposes critical components and prevents water from getting trapped beneath, which can cause damage.
Taking this step guarantees a thorough cleaning and protects your engine during the wash.
Protect Engine Components With Plastic Bags and Tape
Before you begin rinsing the engine, you’ll want to shield sensitive components like the air intake, electrical connections, and exposed filters with plastic bags and tape. These parts can easily be damaged if water seeps in, causing costly repairs or malfunctions. Wrap plastic bags tightly around the air intake to prevent water from entering the engine’s breathing system. Secure electrical connections with waterproof tape to avoid shorts or corrosion.
Also, avoid covering areas related to the engine oil or coolant system too tightly, as these need ventilation to prevent pressure buildup. However, be cautious not to spray water directly on the oil cap or coolant reservoir to prevent contamination. Properly protecting these components ensures the engine stays safe while you clean, preventing water damage and maintaining your car’s performance. Taking these precautions will make the washing process smoother and help you avoid potential issues later on.
Apply Engine Degreaser to Remove Grime
You’ll want to pick an engine degreaser that’s effective but also safe for your engine’s materials. Go for something that gets the job done without causing damage. Then, apply it evenly to those stubborn grime spots. Just be sure to follow the instructions carefully—it really makes a difference.
Also, don’t forget to wear gloves. And try to avoid inhaling the fumes while you’re working. Safety first!
Choosing The Right Degreaser
Look for a degreaser specifically formulated for automotive use, as these are designed to dissolve oil and grease without causing damage. Avoid harsh chemicals that can strip seals or corrode metal.
Water-based degreasers are a great choice since they’re effective and environmentally friendly. Also, check if the product is safe for plastic and rubber parts, which are common around your engine bay.
Picking the right degreaser guarantees you remove grime efficiently without risking leaks or harming your car’s indispensable fluids.
Proper Degreaser Application
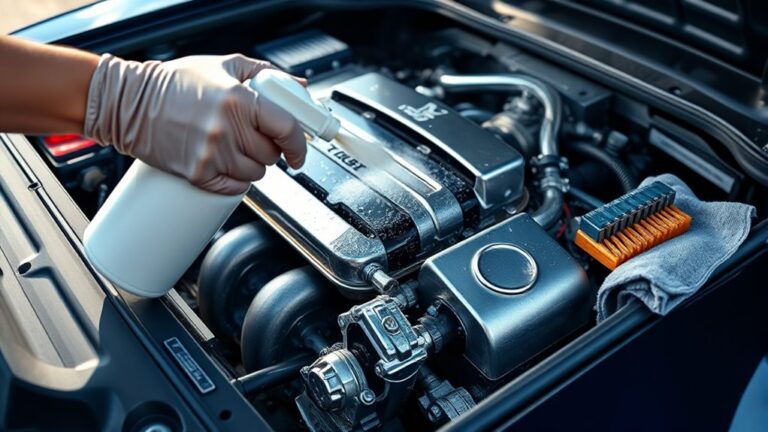
Once you have the right degreaser, apply it carefully to target the grimy areas of your engine. Focus on spots with built-up engine oil and dirt without soaking sensitive parts like the coolant system. Follow these steps for proper application:
- Spray the degreaser evenly on greasy areas, avoiding electrical components and the coolant system to prevent damage.
- Let the degreaser sit for 5-10 minutes to break down the oil and grime effectively.
- Use a soft brush to gently scrub stubborn spots, helping lift grime without harming delicate engine parts.
This method guarantees grime is removed efficiently while preserving your engine’s essential components. Proper application maximizes cleaning power and keeps your engine running smoothly after the wash.
Safety Precautions When Applying
Although engine degreasers are powerful cleaning agents, you must handle them with care to avoid injury or damage. Before applying, verify the engine is cool to prevent burns and avoid triggering unexpected engine noise from moving parts.
Disconnect the battery to reduce electrical risks. Check coolant levels beforehand, as splashing degreaser on a compromised radiator or reservoir can cause leaks or corrosion.
Wear gloves and eye protection to shield your skin and eyes from harsh chemicals. Apply the degreaser carefully, avoiding sensitive components like electrical connectors and air intakes.
After application, rinse gently to prevent damage. Following these safety steps helps you clean effectively while protecting yourself and your engine from harm.
Rinse the Engine Gently to Avoid Flooding
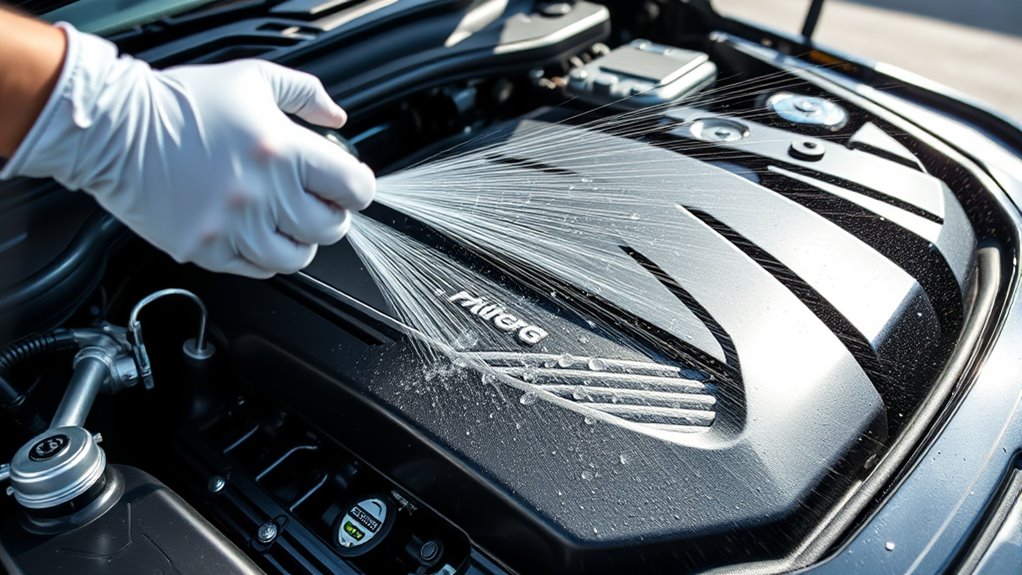
When you rinse the engine, you’ll want to use a gentle spray to prevent water from seeping into sensitive areas. Flooding the engine can compromise engine oil quality and cause electrical issues, so controlling the water flow is essential.
Use a gentle spray when rinsing to protect engine oil quality and avoid electrical problems.
To rinse safely, follow these steps:
- Use a low-pressure hose or nozzle to avoid forcing water into the battery terminals or engine oil fill cap.
- Keep the spray directed away from the battery and air intake to maintain proper battery maintenance and avoid short circuits.
- Rinse just enough to remove soap and grime without soaking the engine bay.
Inspect Seals and Hoses for Damage or Leaks
Now’s a good time to check your engine’s seals and hoses for any signs of damage or leaks. Take a close look for cracks, brittleness, or any fluid buildup that might be a warning sign. Also, give the hoses a little squeeze to make sure they still feel flexible and haven’t stiffened up or become brittle from wear. Keeping an eye on these can help you catch problems before they turn into bigger issues.
Identify Common Seal Issues
Before you start washing your car engine, you should carefully inspect all seals and hoses for any signs of damage or leaks. Identifying common seal issues early can save you from costly repairs down the road.
Here’s what to look for:
1. Seal corrosion
Check for rust or buildup around metal seals. This can weaken the seal and cause leaks.
2. Cracks or splits
Examine rubber seals closely. Cracks mean the seal is compromised and needs attention.
3. Seal replacement signs
If you notice oil or coolant leaks near seals, it’s time to think about replacing them to prevent further damage.
Check Hose Flexibility
Although seals are essential, hoses also play a critical role in your engine’s performance, so you should check their flexibility regularly. When inspecting the engine compartment, gently squeeze and bend each hose.
If you notice cracking, stiffening, or brittleness, it’s a sign that the hose pliability has diminished, increasing the risk of failure. Replacing worn hoses ensures your engine runs smoothly and prevents unexpected breakdowns.
| Feeling | Reason |
|---|---|
| Relief | Knowing hoses are intact |
| Confidence | Engine compartment is secure |
| Concern | Detecting stiffness |
| Urgency | Finding cracks or brittleness |
| Satisfaction | Maintaining hose flexibility |
Look For Fluid Leaks
Since fluid leaks can lead to serious engine damage, you should carefully inspect all seals and hoses for any signs of leakage or wear. Performing a thorough fluid inspection before washing your engine helps prevent worsening existing issues.
Focus on these key steps for effective leak detection:
- Examine seals: Look closely at areas around the valve cover, oil pan, and radiator for wet spots or crusty residue.
- Check hoses: Squeeze hoses gently to feel for brittleness or soft spots that indicate potential leaks.
- Spot puddles: Inspect the ground under your car for fresh fluid, noting colors that correspond to oil, coolant, or brake fluid.
Dry the Engine Thoroughly to Prevent Moisture Damage
Once you’ve rinsed the engine, you’ll need to dry it thoroughly to prevent moisture from causing damage. Skipping this step can lead to corrosion, electrical issues, or even engine failure. Don’t fall for engine cleaning myths that suggest letting it air dry is enough. Actively removing moisture is essential.
Use microfiber towels or compressed air to reach tight spots. Combining these with engine polishing techniques afterward can restore a sleek finish and protect surfaces.
Here’s a quick guide to drying emotions and outcomes:
| Feeling | Action Taken | Result |
|---|---|---|
| Relief | Thorough drying | Prevents costly repairs |
| Satisfaction | Using polishing techniques | Engine looks like new |
| Confidence | Busting cleaning myths | Trust in proper care |
| Caution | Avoid air-drying alone | Stops moisture buildup |
| Pride | Completing the job well | Extends engine life |
Dry carefully to keep your engine healthy and shining.
Remove Protective Covers and Wipe Away Remaining Dirt
After drying the engine, carefully remove any protective covers you placed to shield sensitive components. This guarantees no moisture is trapped underneath, which could cause damage.
Once dried, remove protective covers to ensure no moisture remains trapped beneath sensitive engine parts.
Next, take a microfiber cloth and gently wipe away any remaining dirt or grime. Pay close attention to areas around the engine oil cap and battery terminals, as these spots are vital for engine performance and battery maintenance.
Here’s what to focus on:
- Inspect the engine oil cap area for any dirt buildup that could contaminate your oil.
- Wipe the battery terminals carefully to prevent corrosion and maintain good electrical connections.
- Check around wiring and sensors to ensure they’re clean and dry for peak engine function.
Keep Your Engine Clean With a Regular Schedule
Removing protective covers and thoroughly wiping down your engine prevents dirt and moisture buildup, but keeping your engine clean doesn’t stop there. You should establish a regular cleaning schedule to maintain your engine’s performance and longevity.
Dirt and grime can hide issues like leaks or low engine oil and coolant levels, so frequent checks help you catch problems early. Aim to wash your engine every few months, depending on your driving conditions.
After each cleaning, inspect the engine bay carefully, ensuring hoses, belts, and electrical connections stay dry and intact. Regular cleaning also prevents corrosion and overheating caused by debris blocking airflow.
Frequently Asked Questions
Can I Use a Pressure Washer on All Types of Car Engines?
You shouldn’t use a pressure washer on all types of car engines because pressure washer risks include damaging sensitive components like electrical connections or sensors. To guarantee engine cleaning safety, you need to know your engine’s design and avoid high-pressure settings near delicate parts.
Always cover vulnerable areas and use low pressure or alternative cleaning methods if you’re unsure. Being cautious helps prevent costly damage and keeps your engine running smoothly.
How Long Should I Wait to Start the Engine After Washing?
You shouldn’t rush like a race car driver off the starting line. Wait at least 30 minutes before firing up your engine. Use engine drying techniques like wiping down with microfiber towels or letting it air dry to avoid water sneaking into sensitive parts.
Keep your engine cleaning frequency moderate. Washing too often can cause damage, but too little leaves grime to build up. Patience here protects your ride’s heart and soul.
Are There Any Engine Cleaning Products to Avoid?
You should avoid engine degreasing products that contain harsh acids or bleach, as they can damage your engine components and wiring. Always prioritize chemical safety by choosing cleaners labeled safe for automotive engines.
Avoid using generic household degreasers; they’re often too strong and not formulated for engine use. Stick to specialized engine degreasing sprays designed to break down grease without harming sensitive parts, ensuring a thorough yet safe clean every time.
Can Engine Cleaning Improve Fuel Efficiency?
Imagine engine grime like a thick fog smothering your car’s heart. When you clean it away, you let your engine breathe better, which can improve fuel consumption.
While engine cleaning won’t drastically boost mileage, removing grime helps your engine run cooler and more efficiently. So, by keeping your engine clean, you’re giving your car a clearer path to burn fuel effectively, helping you save a bit at the pump over time.
Is It Safe to Clean an Engine During Winter?
Yes, you can clean your engine during winter, but you need to take winter precautions seriously. Cold temperatures can cause water to freeze, so make sure your engine insulation is intact to protect sensitive components.
Avoid using excessive water and clean on a warmer day if possible. Taking these steps helps prevent damage and keeps your engine running smoothly despite the cold weather. Don’t rush; be careful and thorough.
Conclusion
Keeping your engine clean not only improves performance but can also extend its lifespan. Studies show that regular engine cleaning can reduce overheating issues by up to 30%.
By following these 10 essential steps at the carwash, you’ll protect crucial components and maintain your car’s efficiency. Make it a habit to schedule engine cleanings regularly, and you’ll enjoy a smoother, more reliable ride while avoiding costly repairs down the road.
Remember, washing your car engine at the carwash is a smart way to keep your vehicle running strong and efficient for years to come.