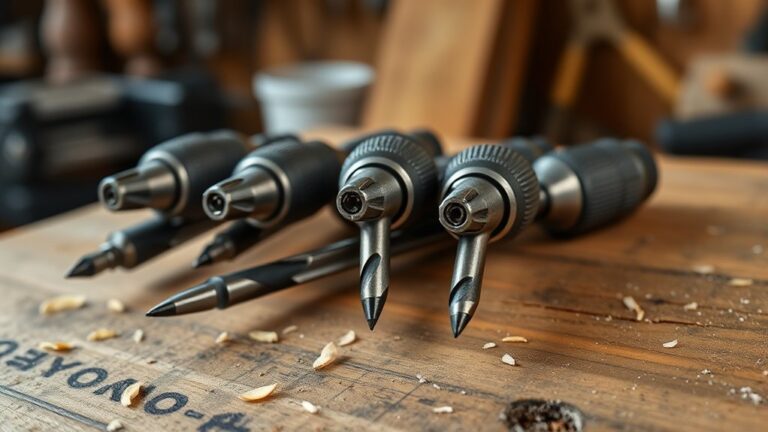
Top 10 Attachments for Oscillating Tools in 2027
Finding the right attachment for every job can be frustrating, especially when one tool needs to handle wood, metal, grout, and delicate finishing work. You’re not alone—many people struggle to choose attachments that cut cleanly without damaging the material.
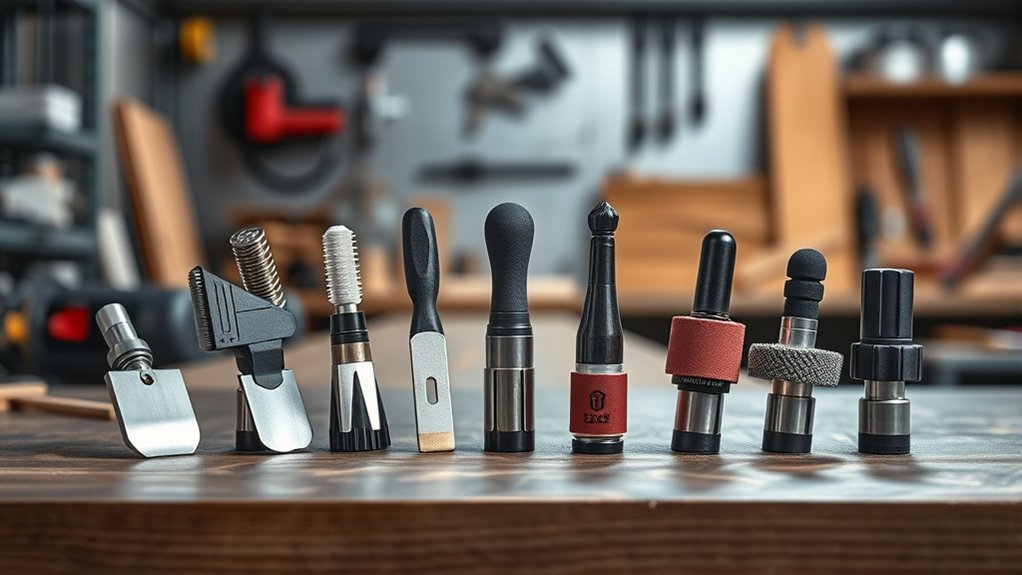
The top 10 oscillating-tool attachments for 2027 include wood-cutting plunge blades, bi-metal metal blades, flush-cut blades, sanding pads, rigid scraper blades, flexible sealant-removal blades, carbide grout blades, diamond mortar-grinding blades, polishing pads, and specialty plastic or drywall blades.
Choose attachments that fit your tool, match the material, and suit the cut or finish. Wear eye protection, support your workpiece, and replace worn blades promptly.
Keep exploring to find the best attachment for each project.
Key Takeaways
- Wood-cutting blades deliver precise plunge cuts for outlets, jambs, cabinets, plywood, pine, and hardwood.
- Bi-metal blades efficiently cut sheet metal while variable tooth patterns balance speed, control, and finish.
- Flush-cut blades neatly trim door jambs, baseboards, casing, plastic, and composite materials for seamless installations.
- Sanding and polishing attachments smooth corners, edges, metal, stone, and tight spaces with progressively finer abrasives.
- Scraper, sealant-removal, grout, and mortar attachments prepare surfaces by removing adhesives, caulk, silicone, and hardened joints.
Wood-Cutting Blades for Precise Plunge Cuts
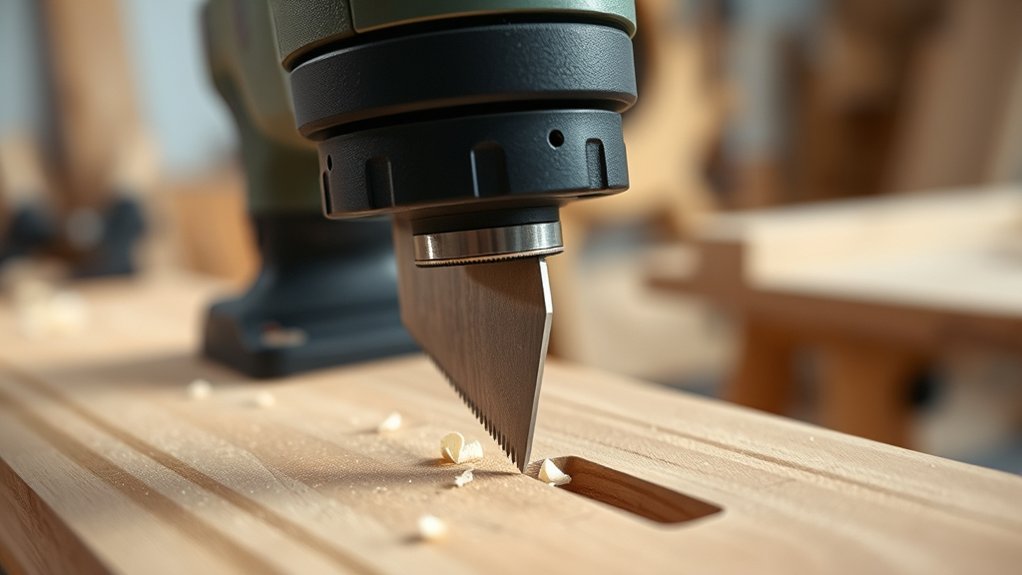
Wood-cutting blades let you make clean, controlled plunge cuts for tasks such as installing outlets, trimming door jambs, or cutting openings in cabinets. Choose a blade with fine, hardened teeth when you need smooth edges in plywood, pine, or hardwood.
Fine-toothed wood-cutting blades deliver controlled plunge cuts and smooth edges for outlets, door jambs, cabinets, and more.
Mark your cut lines clearly, then rest the attachment’s flat side against the workpiece before starting. This approach improves plunge accuracy and helps you enter the material without wandering.
Match the blade width to your opening. A narrow blade suits tight corners, while a wider one removes material faster across longer cuts.
Keep the tool moving at a steady speed, and let the teeth do the work instead of forcing the housing forward. Support the panel near the cut to reduce vibration and improve blade stability.
Check the cutting depth before you begin, especially near hidden wiring or plumbing. Replace dull blades promptly; sharp teeth reduce scorching, splintering, and unnecessary strain on your tool.
Bi-Metal Blades for Cutting Metal
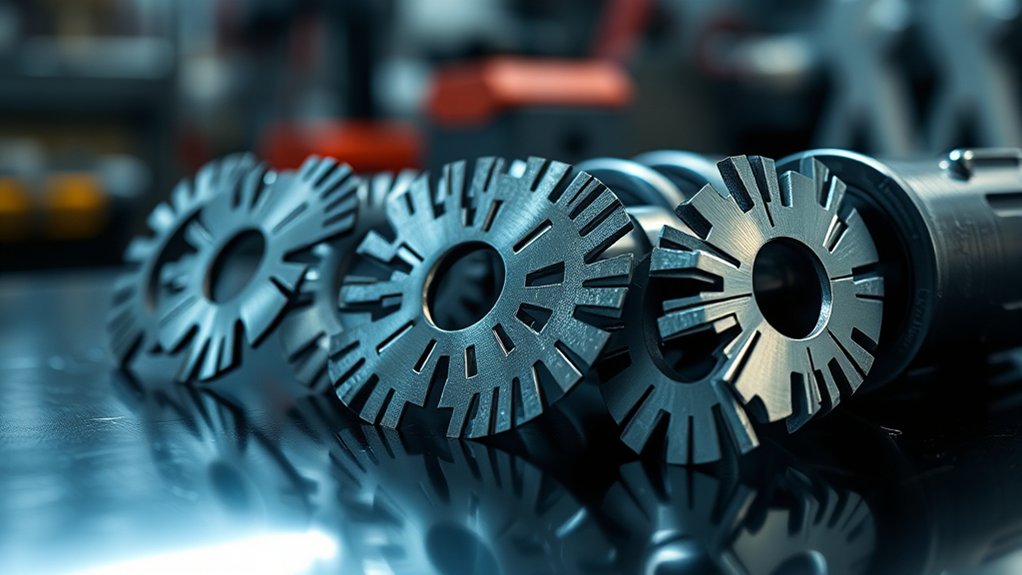
Bi-metal blades help you cut metal efficiently when you choose a tooth configuration that matches the material. Before you start, check the blade’s maximum cutting thickness. Use steady pressure and short passes to help control heat and sparks.
Blade Tooth Configuration
When cutting metal with an oscillating tool, choose a bi-metal blade whose tooth configuration matches the material and task. Fine, closely spaced teeth create smoother cuts in thin sheet metal and reduce snagging. Coarser teeth remove material faster and suit tougher stock, but they can vibrate more during use.
Variable-pitch teeth combine closely spaced and wider sections, helping you balance cutting speed, control, and finish. Match the pattern to your goal: select fine teeth for clean edges, coarse teeth for aggressive removal, or variable teeth for general-purpose work.
Tooth configuration also affects blade durability. Appropriate spacing limits heat buildup and tooth stress, while forcing a fine blade through stubborn metal can dull it quickly. Keep the blade moving steadily, and let its teeth do the work.
Cutting Thickness Limits
How thick can you cut with a bi-metal blade before performance and control suffer? For most oscillating tools, you’ll get the best results cutting metal up to about 1/8 inch thick. Some heavy-duty blades can handle 1/4-inch stock, but you’ll need steady pressure, a suitable speed, and patience.
Check your blade’s specifications before exceeding its recommended cutting thickness. Thicker material can force the teeth to bind, slow progress, and reduce control, especially when you’re making plunge cuts.
Match the blade length and tooth pattern to the material, keeping enough exposed teeth engaged for a clean cut. Don’t twist the tool or push aggressively. Those habits shorten blade durability and can damage the attachment.
Replace a blade when its teeth dull, bend, or begin skipping across the metal.
Heat And Spark Control
Control heat and sparks by using a moderate speed, light pressure, and short cutting passes. Bi-metal blades cut steel, screws, and thin tubing, but friction can quickly overheat teeth or discolor the workpiece.
Prioritize heat management by pausing between passes and letting the blade cool naturally. Don’t force the attachment; replace it when teeth dull, because excessive pressure increases vibration and sparks.
For safer spark suppression, clear flammable materials from your workspace and wear eye, hearing, and hand protection. Keep the blade aligned, and use a compatible guard when your tool supports one.
- Start with a sharp bi-metal blade.
- Mark the cut line clearly.
- Secure metal firmly before cutting.
- Inspect the blade after every job.
Direct sparks away from people, finishes, and wiring. Never touch the blade immediately after cutting; it may retain dangerous heat.
Flush-Cut Blades for Trim and Jambs
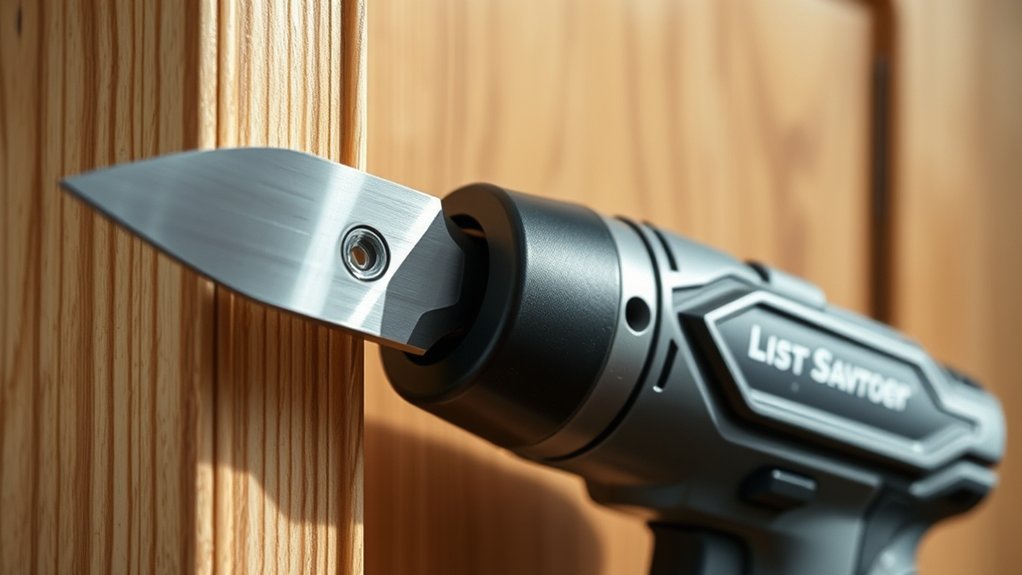
Flush-cut blades let you trim door jambs, baseboards, and casing neatly so flooring or other materials can slide beneath them without visible gaps. Choose a blade with fine teeth for clean cuts in wood, composite trim, or plastic. A wider blade helps you make stable, straight passes, while a narrow blade reaches tight corners and detailed areas.
Choose fine-toothed flush-cut blades for clean, precise trimming, using wider blades for stability and narrow blades for tight spaces.
Before cutting, mark the material’s height and place a flooring offcut beside the jamb as a depth guide. Hold the tool level, keep the blade flat against the guide, and let its teeth cut at a controlled pace.
Don’t force the tool, since pressure can bend the blade or damage nearby surfaces. Check your Trim accuracy as you work, then test the piece for proper jamb fitting before applying adhesive or fasteners.
Bi-metal blades handle occasional nails better than standard carbon-steel versions. Unplug the tool before changing blades, and wear eye protection while cutting.
Clean edges make installation faster and give your finished project a professional appearance.
Oscillating Tool Attachments for Sanding
Oscillating sanding attachments help you smooth corners, edges, and tight spaces that larger sanders can’t reach. Choose a triangular sanding pad for detail work around molding, cabinet frames, and stair parts. Hook-and-loop designs let you change sheets quickly, while flexible pads follow gentle curves without gouging surfaces.
Use these tips to improve control:
- Start with coarse grit to remove uneven areas.
- Switch to finer grits for a smooth finish.
- Keep the tool moving to prevent swirl marks.
- Match your pad and paper to the surface.
Effective Sanding techniques depend on light pressure and steady passes. Let the attachment do the work, and check your progress often.
For wood, begin with 80- or 120-grit paper, then finish with 180 or 220 grit. For painted surfaces, use finer abrasive materials and avoid cutting through the coating.
A dust-extraction accessory or vacuum-compatible pad can improve visibility and reduce cleanup. Before sanding, secure the workpiece firmly and test your chosen grit on an inconspicuous spot. You’ll get cleaner results with less effort.
Rigid Scraper Blades for Adhesive and Caulk
Rigid scraper blades help remove stubborn adhesive from floors, walls, and other surfaces. They’re also useful for scraping away old caulk along seams and around fixtures. Next, learn techniques that protect the surface while delivering better removal results.
Adhesive Removal Techniques
When old adhesive or caulk resists ordinary scraping, a rigid scraper blade on an oscillating tool gives you controlled advantage without relying on excessive force. Choose a blade width that matches the residue, then hold it nearly flat to protect the surface. Start at a corner and use short, steady passes rather than forcing the tool.
- Warm stubborn residue slightly before scraping.
- Keep the blade moving to prevent gouging.
- Wipe loosened material away between passes.
- Wear eye protection and work gloves.
For chemical adhesives, check the manufacturer’s guidance before applying removal solvents. Test any solvent on an inconspicuous area, provide ventilation, and let it soften the bond without soaking nearby materials.
Clean the blade regularly so buildup doesn’t reduce control. Reduce speed around delicate finishes, and inspect the surface frequently as you work. This method keeps pressure predictable and helps you remove residue efficiently.
Caulk Scraping Applications
Need to remove old caulk cleanly? Fit your oscillating tool with a rigid scraper blade and tackle stubborn beads around sinks, tubs, windows, and countertops. The blade’s firm edge slices through aged silicone, acrylic, and construction adhesive, helping you lift long sections instead of picking at fragments by hand.
Keep the tool at a low angle and use controlled passes to protect surrounding finishes. Don’t force the blade into delicate surfaces; let its oscillation loosen the material gradually. For tight corners, choose a narrow blade that improves access without gouging the substrate.
After scraping, inspect the joint and remove remaining residue. Thorough surface preparation improves new Caulk adhesion, so wipe away dust, grease, and moisture before applying replacement sealant. Replace worn blades to maintain clean, consistent results on every project.
Carbide Blades for Removing Grout
Carbide grout-removal blades give your oscillating tool a durable, precise edge for cutting through old, hardened grout. You can target cracked joints around tiles, sinks, and backsplashes without removing surrounding ceramic surfaces.
Carbide grout-removal blades cut hardened grout precisely, helping protect surrounding tiles during repairs.
Choose a blade width that matches the joint, then set a moderate speed to maintain control and limit dust.
For effective grout removal, keep the blade aligned with the joint and let its teeth do the work. Don’t force the tool, because excessive pressure can damage tile edges or overheat the attachment.
Wear eye protection and a respirator, and ventilate the room before cutting.
- Select a narrow blade for tight joints.
- Mark nearby fixtures before starting.
- Make shallow passes instead of one deep cut.
- Vacuum debris frequently for clearer visibility.
Carbide durability helps these blades handle abrasive cement-based grout and repeated projects. Inspect the teeth after each job, and replace the blade when cutting slows or vibration increases.
With steady movement and careful positioning, you’ll prepare clean joints for fresh grout efficiently and confidently. Keep the tool moving evenly to avoid gouging the substrate beneath the joint.
Diamond Blades for Grinding Mortar
Diamond blades for grinding mortar give your oscillating tool an abrasive edge for removing hardened joints, excess mortar, and thin-set residue. You can guide the narrow blade into corners, control material removal, and protect surrounding surfaces better than with larger grinders. Choose a segmented or continuous diamond edge according to the joint’s width and hardness.
| Feature | Best use | Benefit |
|---|---|---|
| Segmented edge | Deep mortar joints | Faster removal |
| Continuous edge | Thin-set residue | Smoother control |
Check the attachment’s fit, speed rating, and cooling requirements before starting. Let the diamonds do the work because excessive pressure overheats the blade and strains your tool.
Wear eye, hearing, and respiratory protection, and secure loose tiles or workpieces. Durability testing can reveal whether a blade withstands repeated masonry cuts without losing its edge.
Clean the attachment after use, inspect it for cracks, and replace it when segments wear unevenly. Blade sharpening generally isn’t practical for diamond attachments, so select a quality replacement instead.
Test your technique on a hidden area first to confirm cutting depth and control.
Polishing Pads for Metal and Stone
Polishing pads for metal and stone smooth scratches, remove light oxidation, and refine edges where a cutting attachment would be too aggressive. Choose a pad that matches your material, finish, and tool speed.
Start with a coarse grade for visible marks, then progress through finer grades to build an even sheen. Keep the oscillating tool moving, apply light pressure, and let the abrasive do the work.
For reliable results, remember these essentials:
- Use metal-rated compounds for stainless steel, aluminum, or brass.
- Select diamond-infused pads for stone polishing on granite, marble, or engineered surfaces.
- Test your chosen pad on an inconspicuous area first.
- Wipe away residue between stages to prevent fresh scratches.
Metal polishing benefits from short passes and frequent inspections, especially around corners and decorative details. For stone polishing, control heat and dust with suitable ventilation and manufacturer-approved methods.
Replace worn pads promptly. A clogged or uneven surface can produce inconsistent results. Clean the attachment after each project and store it flat to preserve its shape and performance.
Specialty Blades for Plastic and Drywall
When you need clean, controlled cuts in plastic or drywall, choose a specialty oscillating blade designed for the material. Fine-tooth blades help you trim PVC, acrylic, and other plastics without excessive chipping or melting.
Use steady pressure and moderate speed, letting the teeth do the work. For plastic welding projects, a narrow blade can open precise grooves, remove damaged sections, or shape edges before joining pieces.
Drywall blades feature coarse teeth that clear gypsum quickly while limiting dust and snagging. Their slim profiles let you plunge-cut openings for outlets, vents, and recessed fixtures, or follow marked lines during drywall repair.
Keep the blade shallow near wiring, pipes, and studs, and stop often to inspect your progress. A flush-cut version helps you remove protruding drywall, trim shims, or cut around obstacles.
Select a blade with the right tooth pattern and width for each task. Then work patiently to protect finished surfaces and produce edges that need less cleanup before installation or patching.
Check Oscillating Tool Attachment Compatibility
Before buying an attachment, check that its mounting interface matches your oscillating tool. Compare the manufacturer’s compatibility chart, model number, and attachment system. Universal-fit blades may work across brands, but some tools require proprietary mounts or adapters. Don’t assume similar-looking slots guarantee a secure connection.
Confirm these details before checkout:
- Match the blade or accessory’s mount to your tool’s interface.
- Verify the attachment suits your tool’s speed range and power.
- Check whether an adapter is approved for your specific model.
- Inspect reviews for fit, vibration, and release-button problems.
Install the attachment with the tool unplugged or its battery removed. Tighten the clamp fully, then test it at low speed while keeping your hands clear.
Stop immediately if you notice wobbling, slipping, or unusual noise. Proper tool maintenance protects the mounting mechanism and improves cutting accuracy.
After use, clean debris from both surfaces and store each accessory in labeled attachment storage. Keep incompatible parts separate so you won’t grab the wrong one during a rushed project.
Frequently Asked Questions
How Do You Safely Change Attachments on an Oscillating Tool?
Unplug the oscillating tool or remove its battery before changing attachments. Let the blade or accessory cool, then press the release lever or loosen the retaining bolt according to your model’s instructions.
Check Attachment compatibility, and inspect the new accessory for damage. Seat it fully and tighten it securely.
Use proper Tool adjustment techniques, including the correct angle and speed setting. Reinstall the battery only after confirming everything’s secure and clear.
What Safety Gear Should You Wear When Using Oscillating Tool Attachments?
Protective gear is your first line of defense, so wear safety glasses, hearing protection, a dust mask or respirator, and snug work gloves when using oscillating tool attachments.
Choose Personal protective equipment suited to your material and task. Wear sturdy, non-slip footwear and avoid loose clothing or jewelry.
Keep your face shield ready for flying debris. Use ergonomic grips, maintain a balanced stance, and secure the workpiece before cutting, sanding, or scraping.
How Can You Reduce Vibration and Noise During Extended Oscillating Tool Use?
Reduce vibration by choosing a sharp, balanced attachment, maintaining a firm but relaxed grip, and letting the tool’s speed and weight do the work. Apply only moderate pressure, keep both hands positioned securely, and replace worn accessories promptly.
For effective Vibration dampening, use anti-vibration gloves and take frequent breaks. Improve Noise reduction by wearing hearing protection, selecting quieter settings when practical, and avoiding prolonged operation against resonant surfaces.
Maintain the tool regularly to prevent extra noise.
How Should Oscillating Tool Attachments Be Cleaned and Stored?
Treat each attachment like a trusted instrument: clean it promptly and store it safely. After use, brush away debris, wipe surfaces with a slightly damp cloth, and dry everything thoroughly to prevent rust.
Match your cleaning frequency to the material and workload. Inspect blades and pads regularly for buildup or damage.
Check attachment compatibility before using solvents or water. Store accessories in labeled cases, separated by type, with sharp edges covered.
When Should Worn or Damaged Oscillating Tool Attachments Be Replaced?
Replace an oscillating tool attachment immediately when you notice cracks, bent edges, missing teeth, excessive rust, loose connections, or reduced cutting performance. Don’t keep using an attachment that vibrates unusually, slips, overheats, or requires excessive pressure.
Attachment durability depends on workload, material, cleaning, and storage conditions, so inspect each piece before use. For safe replacement timing, follow the manufacturer’s wear indicators and discard any attachment that compromises control, accuracy, or safety.
Conclusion
Choosing the right oscillating tool attachment can turn a frustrating repair into a surprisingly smooth win. Match wood, metal, sanding, scraping, masonry, polishing, plastic, or drywall attachments to your project, and always check compatibility before you start.
You might even find that the blade you bought for one small fix solves tomorrow’s bigger problem, too. With the right accessory secured, you’ll cut cleaner, work faster, and see why the best oscillating tool attachments earn a permanent place in your toolbox.