How Does a Wood Hand Drill Work?
Struggling to drill clean, accurate holes by hand? You’re not alone—many people find it difficult to control pressure, keep the tool steady, and avoid damaging the wood. The best wood hand drill can make the process smoother and more precise.
A wood hand drill turns your cranking motion into controlled bit rotation through gears. As you turn the handle, the gears spin the spindle and chuck, which holds the bit securely.
You guide the sharp bit into the wood, applying steady pressure as it cuts fibers and removes chips. Choose the right bit, keep the drill square, and clear shavings regularly for clean holes.
With proper technique, maintenance, and safety habits, you’ll master every step that follows.
Key Takeaways
- Turning the handle drives gears that rotate the spindle and chuck, spinning the drill bit smoothly.
- The chuck securely holds interchangeable bits selected for the desired hole size and wood type.
- Steady, moderate pressure lets the sharp bit cut wood fibers while clearing chips through the flutes.
- Keeping the drill perpendicular and starting slowly helps produce straight, clean holes without wandering or splintering.
- Securing the workpiece, wearing eye protection, and maintaining clean, lubricated parts ensure safe, effective operation.
How Does a Wood Hand Drill Work?
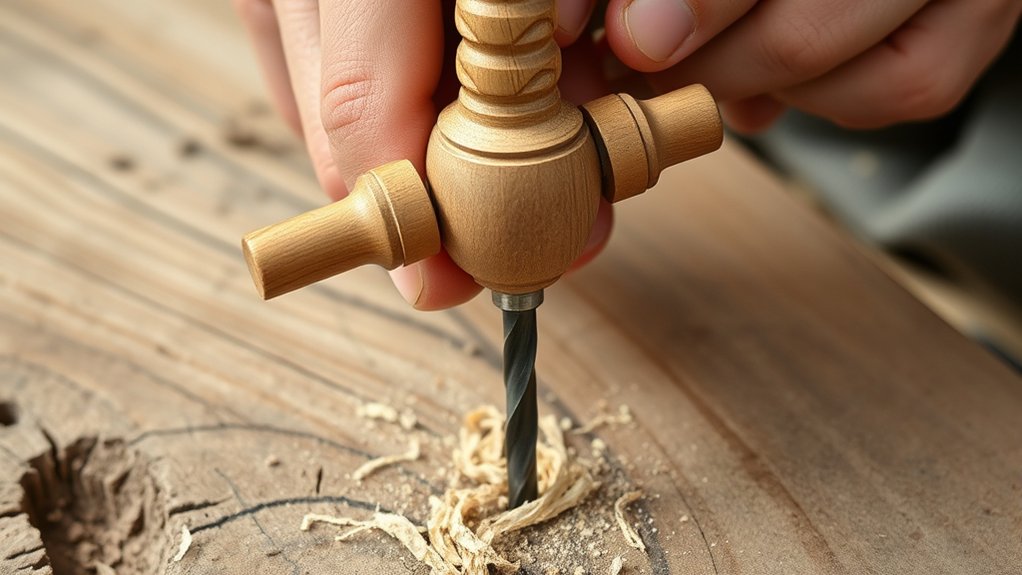
A wood hand drill works by turning a manually operated handle, which rotates a gear and chuck to spin a drill bit. When you hold the frame steady and turn the handle, the gearing transfers your effort into smooth, continuous rotation.
You press the bit against the wood, and its cutting edges scrape away fibers to create a clean hole. Your pressure controls the drilling speed: gentle force suits delicate work, while firmer pressure helps the bit advance through tougher boards.
You can reverse the handle briefly to clear shavings, then continue forward.
This simple action reflects important Historical context. Before electric drills became common, craftspeople relied on hand-powered drilling for furniture, joinery, and repairs.
You’ll still find a wood hand drill useful when you need quiet operation, precise control, or portability. Although alternative tools, such as braces, awls, and powered drills, can also bore holes, the hand drill gives you a practical balance of speed and accuracy.
What Parts Make Up a Wood Hand Drill?

A wood hand drill consists of a frame, handle, gear, spindle, chuck, and bit, with each part contributing to controlled rotation. You grip the frame, which supports the tool and keeps its components aligned. The handle gives you advantage and comfort as you turn the drill.
Inside, the gear connects your hand motion to the spindle, the shaft that carries rotation forward. The chuck holds the bit securely, allowing you to fit different sizes and styles for various woodworking projects.
The gear drives the spindle, while the chuck secures interchangeable bits for versatile woodworking applications.
The bit cuts into wood as you guide the tool, while its sharp edges determine the hole’s size and finish. Some models include a breastplate or additional side handle for steadier pressure.
You’ll find these straightforward parts in many historical tools, though designs and materials vary. By identifying each component, you can assemble, inspect, and use your hand drill confidently without confusing its basic structure with its operating performance.
How Do Wood Hand Drill Gears Boost Power?
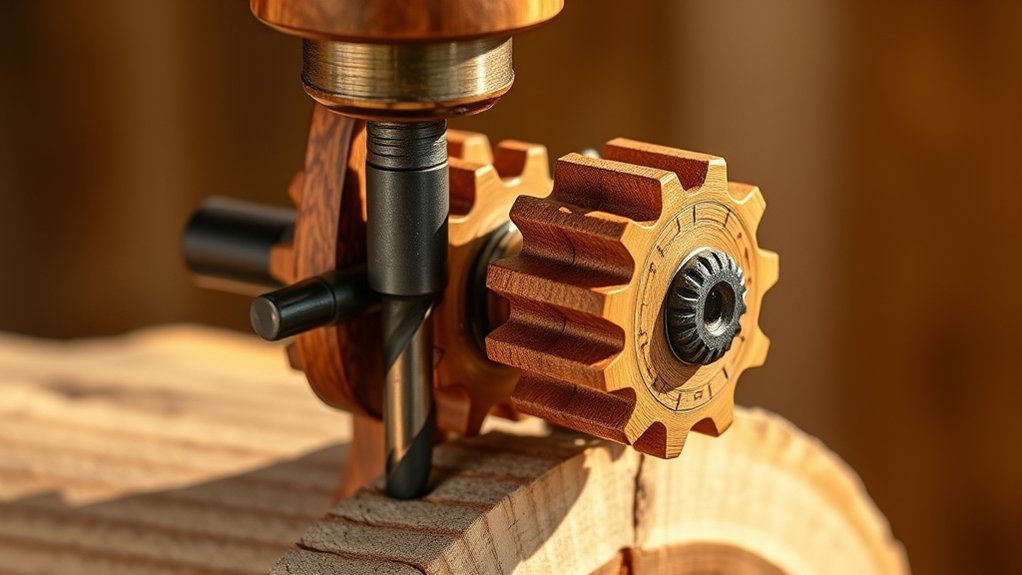
When you turn the handle, the wood hand drill’s gears multiply your effort by converting a slow, powerful rotation into faster spindle movement. The large driving gear turns a smaller gear, increasing speed at the spindle while preserving useful torque.
This mechanical advantage helps you bore holes with steady hand pressure instead of tiring your wrist through rapid cranking.
Gears efficiency depends on clean teeth, firm alignment, and light lubrication. When the parts mesh smoothly, less energy disappears as friction, so more reaches the cutting tool.
You’ll also notice that a balanced gear ratio gives you practical control. Too much speed can reduce torque, while too little speed makes drilling unnecessarily slow.
- Power transfer: Interlocking teeth carry your motion directly from the handle to the spindle.
- Mechanical advantage: Gear size differences trade speed for manageable effort.
- User control: Smooth gearing lets you maintain an even, predictable rhythm.
How Do You Install and Secure the Bit?
Choose a bit that matches your type of wood and the size of the hole you need. Insert the shank fully into the chuck, then tighten it firmly to keep the bit from slipping. Before you start drilling, turn it briefly to make sure it spins straight.
Choose the Right Bit
To install and secure the bit, loosen the hand drill’s chuck, insert the bit’s shank straight and deep enough for a firm grip, then tighten the chuck by hand until the jaws hold it evenly. Before choosing, match the bit to your wood and task.
Use a small twist bit for pilot holes, a brad-point bit for clean starts, or a countersink bit for flush screws. Check the bit’s diameter against your fastener or project plan, and choose a sharp, undamaged edge.
- Match the bit type to the wood’s hardness.
- Choose the diameter before you begin drilling.
- Keep specialty bits labeled for easy selection.
A suitable bit improves control, reduces splintering, and supports cleaner Wood finishing. Wipe bits after use and inspect them during Hand tool maintenance.
With the right choice ready, you can work efficiently and accurately.
Secure the Bit Firmly
How you secure the bit affects both control and safety.
Open the hand drill’s chuck by turning it counterclockwise, then insert the bit’s shank fully. Keep the shank centered and straight so it won’t wobble during use.
Tighten the chuck clockwise by hand until the jaws hold the bit firmly. If your drill has a keyed chuck, fit the key into each hole and tighten evenly.
Don’t leave the key in the chuck, and don’t grip the cutting edges while installing the bit.
Test the fit by pulling the bit gently and turning the handle slowly. If it slips, stop and tighten it again.
A secure bit improves your hand grip, limits vibration, and supports noise reduction. Wear eye protection, and keep your fingers clear of the rotating bit.
How Do You Choose a Drill Bit for Wood?
Choose the right bit type for your project. For example, use a brad-point bit when you need clean, precise holes. Match the bit size to the diameter of the hole you want, and consider the wood’s hardness when choosing the bit’s design.
Choose the Right Bit Type
The right bit depends on the hole you need, the wood’s hardness, and the drill you’re using. Choose a twist bit for general-purpose drilling, especially in softwood or when you’re working with mixed materials.
Select a brad-point bit when you want a clean entry and precise control. Its center point follows the wood grain and reduces wandering.
Use a spade bit for fast, rough holes where a polished edge doesn’t matter. For deep, clean holes, an auger bit pulls itself through the timber and clears chips efficiently.
Consider drill ergonomics, too. A bit that cuts smoothly requires less force and gives you better control with a hand drill.
- Twist bits: versatile and accessible
- Brad-point bits: accurate, clean starts
- Auger bits: deep, efficient boring
Match the bit’s design to your task, not just its appearance.
Match Bit Size
Once you’ve selected the right bit type, match its size to the hole you need. Measure the fastener, dowel, or shaft that will enter the opening, then choose a bit with a diameter that provides a snug, usable fit.
For a clearance hole, select a slightly larger bit than the fastener’s shaft. For a pilot hole, choose a bit close to the screw’s core diameter, not its threads.
Check the bit’s markings or measure it with a ruler, caliper, or sizing gauge. Confirm bit compatibility with your hand drill’s chuck before starting; the shank must fit securely and remain centered.
Consider drill ergonomics, too: a smaller bit usually requires less force and gives you better control. Keep a few common sizes organized for quick, accurate selection.
Consider Wood Hardness
Wood hardness should guide your bit choice and drilling pressure. For softwood, choose a sharp twist or brad-point bit and use gentle force to prevent splitting. Hardwood needs a tougher, sharper bit, steady pressure, and slower turns, especially near the end of the hole. Check the Wood grain before drilling; following its direction can reduce tear-out, while crossing knots may demand extra care.
- Softwood: use moderate speed and light pressure.
- Hardwood: use slower speed and a sharp, durable bit.
- Dense knots: drill a pilot hole first.
Watch your Drill ergonomics as you work. Keep your wrist straight, brace the hand drill securely, and maintain even pressure rather than squeezing the handle. If the bit binds, stop turning, withdraw it, and clear chips. Let the bit cut; forcing it only dulls the edge and damages your project.
How Do You Drill a Clean Hole by Hand?
To drill a clean hole by hand, mark the center precisely and secure the wood so it cannot shift. Use a sharp bit suited to the wood and match its diameter to your project.
Create a small starter dimple with an awl, which helps the cutting edge bite cleanly. Choose a comfortable hand grip: hold the handle firmly, but don’t squeeze so tightly that you lose control.
Maintain a relaxed drill posture, with your shoulders loose and your wrist aligned with the tool. Turn the crank steadily rather than forcing it.
Apply light, consistent pressure, and let the bit’s cutting edges remove the material. For a through-hole, slow down as the tip nears the opposite surface.
You can also clamp a scrap board beneath the workpiece to reduce breakout. Withdraw the bit occasionally to clear chips, especially in deep holes.
Check the opening, brush away debris, and lightly sand rough fibers if necessary. Practice on scrap wood first to refine pressure and rhythm.
How Do You Keep a Hand Drill Straight?
To keep a hand drill straight, line up the bit squarely with the wood before you start drilling. Hold the drill steady, and if you need extra support, use a guide block.
Maintain Proper Alignment
Keep the drill aligned by holding its body firmly with both hands and positioning the bit perpendicular to the workpiece. Keep your shoulders square and apply steady, even pressure rather than forcing the tool.
Watch the bit’s entry point as you begin, then maintain the same wrist angle throughout the cut. Let the drill’s body guide your hands. Don’t twist to compensate for resistance or changing wood grain.
Good drill stability helps the bit cut cleanly and prevents an angled hole. Pause briefly if your grip shifts, then reset your posture before continuing.
- Check the bit’s tip against your mark before turning.
- Keep both elbows close to your sides for control.
- Reduce pressure when the bit starts to wander.
You’ll create straighter holes, protect the bit, and reduce splintering by maintaining alignment from entry to exit.
Use a Guide Block
A guide block gives your hand drill a physical reference when you need straighter holes than steady posture alone can provide. Choose a hardwood block with a face square to its edges.
Drill a hole through the block using a drill press, matching your bit’s diameter as closely as possible. Clamp the block firmly over your mark, then guide the bit through its opening as you turn the brace or handle.
Keep the drill centered and apply steady pressure. Don’t force the bit, which can widen the guide hole or damage the workpiece.
For woodworking safety, secure the material and keep your hands clear. Inspect the block regularly, remove splinters, and replace it when the opening enlarges.
Good hand tool maintenance keeps both the drill and guide working accurately.
Why Do Speed and Pressure Matter?
Speed and pressure determine how smoothly a wood hand drill cuts and how much control you maintain. Use steady speed control to match the bit, wood, and hole size.
Start slowly as the point contacts the surface, then increase your pace once the bit tracks cleanly. Excessive speed can heat the bit, scorch wood, or widen the hole.
Your pressure application matters just as much. Press firmly enough to keep the cutting edges engaged, but don’t force the drill.
Let the bit remove material while you guide the tool straight. Too little pressure may cause slipping or uneven cutting; too much can stall the drill, damage the bit, or split the workpiece.
- Slow starts help the bit bite accurately.
- Moderate pressure keeps cutting consistent.
- Smooth rhythm improves control and hole quality.
Listen and feel as you work. A steady rotation and even resistance usually indicate proper technique.
Adjust gradually rather than changing speed or pressure suddenly. Keep your grip relaxed so you can respond to the wood’s changing resistance.
How Do You Fix Common Hand Drill Problems?
When a hand drill slips, binds, or cuts unevenly, stop turning and identify the cause before continuing. Check the bit first. A dull, bent, or clogged bit needs sharpening, straightening, or replacement.
If the brace’s jaws don’t grip firmly, clean their teeth and tighten the chuck. Lubricate stiff gears sparingly, then turn the handle to distribute the oil.
| Problem | Fix |
|---|---|
| Bit slips | Tighten chuck; clean jaws |
| Handle squeaks | Add a drop of oil |
| Hole wanders | Sharpen bit; mark center |
Clear wood chips from the bit and wipe moisture from every metal surface. This simple drill maintenance routine prevents rust and keeps the mechanism smooth.
Store the tool dry, with its bit removed or protected, and inspect the wooden handle for cracks. Sand rough spots lightly and apply a suitable finish to support wood preservation.
Replace damaged parts rather than forcing them to work. If gears remain gritty or the chuck won’t hold a bit after cleaning, take the drill to a repair specialist.
Keep each repair focused on restoring accurate cutting and dependable operation.
How Do You Use a Wood Hand Drill Safely?
Before you start drilling, secure the workpiece, choose a sharp bit, and keep both hands positioned safely on the tool. Wear Safety gear, including eye protection, to shield your eyes from chips.
Keep loose clothing, hair, and fingers away from the rotating bit. Stand balanced, apply steady pressure, and turn the handle smoothly rather than forcing it.
Let the bit cut at its own pace. Excessive force can cause slipping or breakage.
Use these habits to reduce risk:
- Clamp small or irregular pieces instead of holding them by hand.
- Mark the drilling point and check behind the material for hidden obstacles.
- Slow down as the bit exits to prevent splintering and sudden grabbing.
Keep your workspace bright, clean, and free of cords or clutter. After use, remove the bit carefully and store the drill securely.
Regular drill maintenance matters, too. Clean wood dust from moving parts, inspect the chuck and handle, and replace damaged components before your next project.
Never leave a loaded drill unattended.
Frequently Asked Questions
Can a Wood Hand Drill Be Used on Materials Besides Wood?
Yes, you can use a wood hand drill on materials besides wood, including soft plastic and thin metal. For metal drilling, choose a sharp, suitable bit, apply steady pressure, and use cutting oil to reduce heat.
Plastic work requires a slower speed and gentle force to prevent cracking or melting. Avoid hardened steel, masonry, and thick materials, which can damage the drill or produce unsafe results. Always secure your workpiece and wear eye protection.
How Do You Clean and Lubricate a Wood Hand Drill?
Keep your hand drill turning like a well-tuned clock: start with Proper cleaning. Brush away sawdust, then wipe the frame, chuck, spindle, and gear teeth with a dry cloth. Use a slightly damp cloth for stubborn grime, but dry every part immediately.
Apply one or two drops of light machine oil to moving joints, gears, and the spindle. Maintenance tips: don’t over-oil, remove excess lubricant, and store your drill somewhere dry.
Where Can You Find Replacement Parts for an Old Hand Drill?
You can find replacement parts for an old hand drill through antique tool dealers, hardware stores, online marketplaces, and specialty woodworking suppliers. Search using the manufacturer’s name, model, and measurements, then compare photos and specifications carefully.
For reliable vintage repair, contact a tool-restoration shop or collectors’ forum. Check part compatibility before buying, because chucks, gears, handles, and screws often vary between models.
You might also salvage matching components from another damaged drill.
How Should You Store a Wood Hand Drill Between Uses?
Store your wood hand drill in a dry, cool place away from direct sunlight and moisture. Wipe off dust and wood shavings after each use, then apply a light coat of oil to metal parts to prevent rust.
Keep the drill in a padded drawer, toolbox, or wall rack where it won’t fall. These storage tips support simple maintenance routines.
Don’t leave bits installed if they could bend or cause injury during handling.
What Are the Advantages of a Hand Drill Over a Power Drill?
You’ll gain better control and precision with a hand drill than with a power drill, especially on delicate projects. Its manual operation lets you feel material resistance and adjust pressure instantly, reducing the risk of damage.
You won’t need batteries, cords, or charging, so it’s always ready and operates quietly. An ergonomic design makes extended use comfortable, while its lighter weight improves portability. You’ll also spend less on maintenance and equipment.
Conclusion
A wood hand drill turns your steady cranking into controlled cutting: gears multiply force, the chuck grips your chosen bit, and pressure guides it through timber. If the bit slips or wanders, slow down, realign, and check the chuck before continuing.
Coincidentally, the same simple tool that helps you restore an old chair can build your next project from scratch. Keep your hands clear, wear eye protection, and let patience, not muscle, make each hole clean, straight, and safe.
Understanding how a wood hand drill works helps you use it with greater control and confidence.