How to Master the Difference Between Drill and Hammer Drill in 5 Steps
Choosing the right tool can be frustrating, especially when a regular drill and hammer drill seem so similar. You’re not alone—many people struggle to know which one to use for each project. Learning how to master the difference between drill and hammer drill can make drilling easier, safer, and more effective.
Master the difference between a drill and hammer drill in five steps. First, use a standard drill for wood, plastic, metal, and screws; choose a hammer drill for brick, block, or concrete.
Second, fit the correct bit, such as twist, brad-point, or carbide-tipped masonry bits.
Third, adjust speed and torque for control.
Fourth, activate hammer mode only for masonry.
Finally, secure your workpiece, wear eye protection, and use steady pressure.
The following tips will sharpen your technique.
Key Takeaways
- Understand that standard drills rotate smoothly, while hammer drills combine rotation with rapid impacts for masonry.
- Choose standard drills for wood, plastic, and metal; use hammer drills for brick, block, and concrete.
- Match each material with the correct bit, such as brad-point, twist, or carbide-tipped masonry bits.
- Adjust speed, torque, and hammer settings gradually, using steady pressure without forcing the tool.
- Work safely by securing materials, wearing eye and hearing protection, and switching off hammer mode when unnecessary.
Drill vs. Hammer Drill: What’s the Difference?
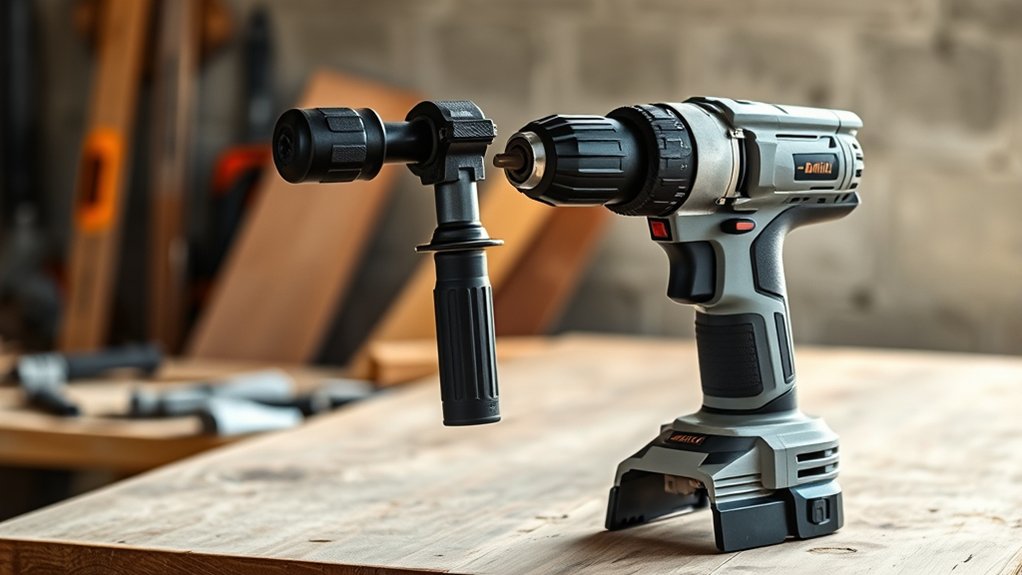
A standard drill rotates a bit to bore holes and drive screws, while a hammer drill combines rotation with rapid forward impacts. You’ll notice the standard drill feels smoother and quieter because it applies steady torque without striking.
A hammer drill adds a pulsing action that helps the bit break through masonry, concrete, and brick. That impact mechanism also creates more vibration, so you’ll need a firmer grip and hearing protection during extended use.
Your choice affects handling and runtime. A standard drill typically delivers longer Battery life when you use it for light fastening or ordinary drilling.
A hammer drill may consume power faster because its impact function works continuously, though you can switch that feature off on many models.
Noise levels also differ. Standard drills suit indoor work more comfortably, while hammer drills sound harsher and transmit stronger vibrations.
In short, you’ll gain smoother control with a drill and extra impact force with a hammer drill.
Choose the Right Drill for Your Material
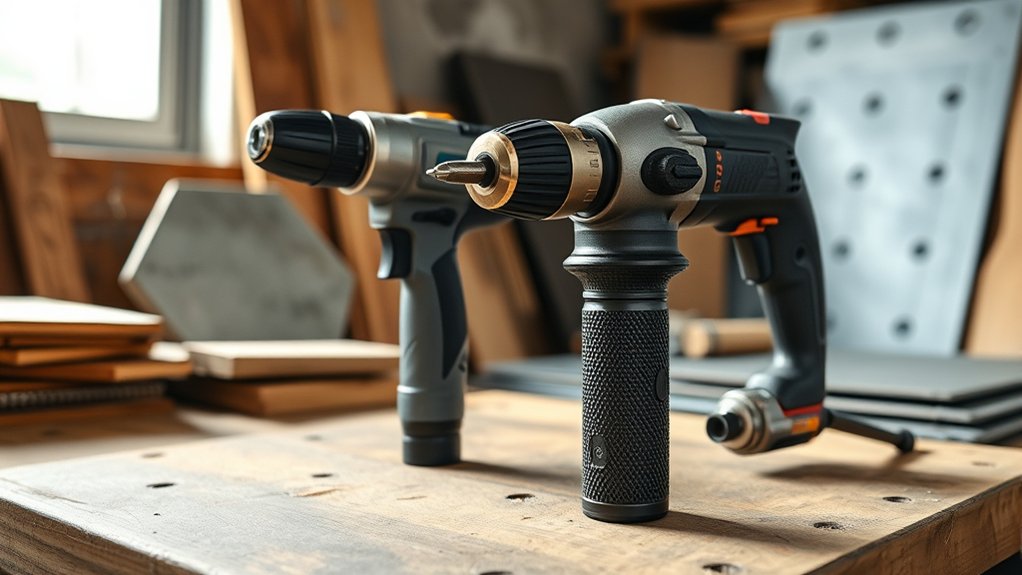
Match the drill to the material before you start: use a standard drill for wood, plastic, and metal, and choose a hammer drill for brick, block, or concrete.
A standard drill gives you cleaner control on softer surfaces and works well for general household projects. Select a hammer drill when you need to penetrate masonry; its hammering mechanism helps break through dense, brittle material.
Check bit compatibility before you begin. Wood and metal require different bits, while masonry needs carbide-tipped bits designed for concrete or brick.
Using the wrong bit can damage the surface, dull the edge, or create an unsafe situation. Confirm that the chuck accepts your chosen bit and that the bit suits the material’s thickness.
You’ll also want an ergonomic design, especially for overhead work or extended projects. Look for a comfortable grip, balanced weight, and easy handling.
Match the tool and bit to your material, and you’ll achieve cleaner holes with less strain.
Compare Power, Speed, and Impact Action
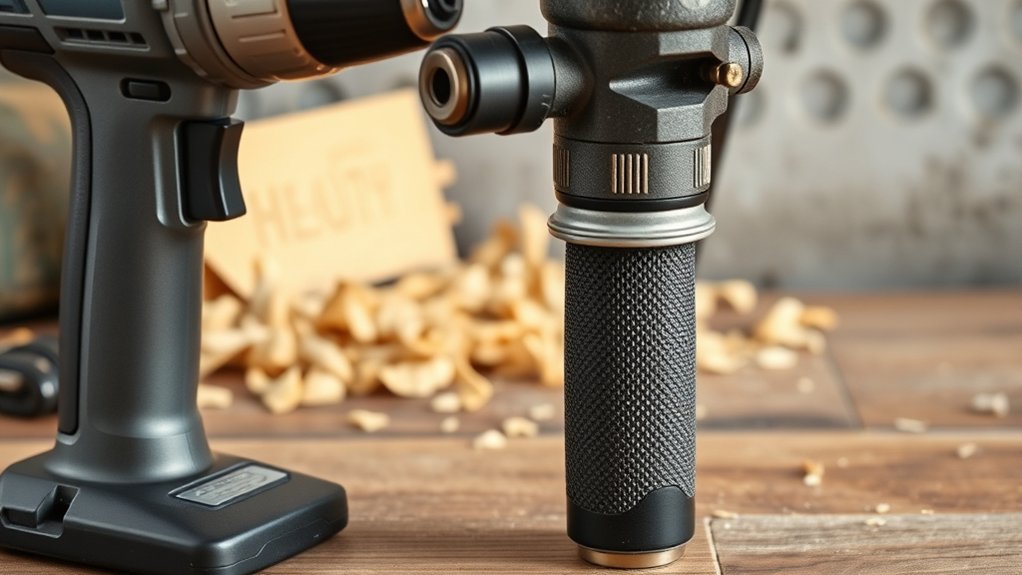
Once you’ve matched the drill and bit to the material, compare how much power, speed, and impact action the job requires. A standard drill delivers smooth rotation for everyday fastening and clean holes. A hammer drill adds rapid forward strikes, helping you work through masonry faster.
More power doesn’t always mean better results. Excessive force can cause fatigue, damage, or poor control.
More power isn’t always better—choose enough strength for the task to maintain control, prevent damage, and reduce fatigue.
Consider these performance factors before you start:
- Higher torque handles demanding resistance but drains batteries faster.
- Variable speed lets you balance control with productivity.
- Hammer action increases drilling progress in brick and concrete.
- Battery efficiency matters when you’re working away from outlets.
- Noise levels rise when impact mechanisms engage.
Pay attention to how the tool feels under load. If the motor bogs down, you’re demanding more power than it can comfortably provide.
If vibration becomes distracting, pause and reassess your approach. Choose a drill whose power and impact capacity match the task, so you can work efficiently without unnecessary strain.
Select the Right Bit and Drill Setting
Choose a bit designed for your material, then set the drill for the job. Match masonry bits with brick, concrete, or stone; use twist bits for metal and plastic; and choose brad-point or countersink bits for wood. Bit compatibility matters because the wrong tip can slip, overheat, or damage your workpiece.
For wood and metal, select drill mode and adjust the clutch or speed to suit the material. Start slowly, then increase speed when the bit tracks cleanly.
For masonry, switch to hammer mode only when your bit and drill support impact action. Use a carbide-tipped masonry bit, and choose a standard twist bit for nonmasonry surfaces. Select the correct shank type and diameter for your chuck, too.
An ergonomic design can make precise bit control easier, especially during longer tasks. Check the manufacturer’s recommendations for bit size, speed, and mode before drilling.
The right combination improves accuracy, preserves your bit, and helps your drill perform efficiently.
Use Either Drill Safely and Effectively
Before you start, secure the workpiece, wear eye protection, and keep both hands on the drill for control. Choose the correct speed, then squeeze the trigger gradually to prevent bit wandering. Keep your stance balanced, and apply steady pressure without forcing the tool. Let the bit cut; excessive force can damage it, overheat the motor, or cause kickback.
> Secure your workpiece, wear eye protection, and let the drill cut with steady pressure—never force the tool.
- Check Battery compatibility before installing a replacement pack.
- Enjoy Cordless convenience, but monitor charge levels during extended jobs.
- Keep cords, loose clothing, and fingers away from rotating parts.
- Use hammer mode only on masonry, and switch it off for wood or metal.
- Release the trigger before setting the drill down.
Clear chips frequently, especially when drilling deep holes. If the bit binds, stop immediately, disconnect power, and remove it safely.
For corded models, inspect the cable and keep it away from water. For cordless tools, remove the battery before changing bits or performing maintenance. Store either drill dry, clean, and locked away from children.
Frequently Asked Questions
Can a Hammer Drill Function as a Regular Drill?
Yes, you can use a hammer drill as a regular drill by switching off its hammer function. You’ll then drill into wood, metal, plastic, or other materials like you would with a standard model.
Choose suitable drill bit types for each surface, and adjust speed and torque appropriately. Check battery compatibility before buying cordless accessories, because batteries may not fit across brands or tool systems.
Avoid hammer mode on delicate materials to prevent damage.
How Long Do Drills and Hammer Drills Typically Last?
Like a trusty medieval squire, your drill can serve you for years. A standard drill typically lasts five to ten years with regular home use, while a hammer drill often reaches seven to fifteen years because it’s built for tougher work.
Your maintenance, workload, and storage strongly affect tool lifespan. Battery life usually spans two to five years, though you can extend it by avoiding heat, overcharging, and complete discharges.
Are Cordless Drills as Powerful as Corded Models?
Yes, cordless drills can match corded models for many household and professional tasks, especially with modern brushless motors and high-voltage batteries.
However, corded drills deliver consistent power without interruptions, making them better for prolonged, demanding work. You’ll need to take into account battery life, charging time, and available spare packs.
Cordless models offer greater tool versatility because you can work anywhere without an outlet, while corded tools remain dependable for continuous, heavy-duty drilling and mixing applications.
What Maintenance Does a Hammer Drill Require?
You should maintain a hammer drill by cleaning dust from its vents, chuck, and housing after every use. Follow a regular Lubrication schedule for the chuck and moving parts, using the manufacturer’s recommended grease. Inspect cords, plugs, bits, and brushes for damage, and replace worn components promptly.
For cordless models, practice proper Battery care: charge batteries correctly, store them cool and dry, and remove them when you won’t use the tool for extended periods.
Can I Use a Hammer Drill for Mixing Paint?
You can use a hammer drill for paint mixing, but it’s usually overkill and may damage your container or create excessive splatter. Choose the regular drill setting, disable hammer action, and use a compatible mixing paddle.
Check tool compatibility, including chuck size, speed range, and power rating. Start slowly, wear eye protection, and keep the paddle submerged.
For thick paint, mix in short bursts to prevent overheating and maintain control safely.
Conclusion
Choosing between a drill and hammer drill doesn’t have to be confusing. Use a standard drill for wood, metal, and everyday fastening; choose a hammer drill for masonry and concrete.
You might think a hammer drill is always more powerful, but its impact action can damage delicate materials and won’t replace a regular drill’s precision. Match your bit and setting to the job, wear eye protection, and let the tool do the work.
You’ll drill safer and smarter when you understand the difference between a drill and hammer drill.