How to Attach a Sander to a Drill Step by Step
Sanding by hand can be slow, tiring, and frustrating, especially when you need smooth, even results. You’re not alone—many people struggle to find the right tool and setup.
This guide to how to attach a sander to a drill will help you get started safely and confidently.
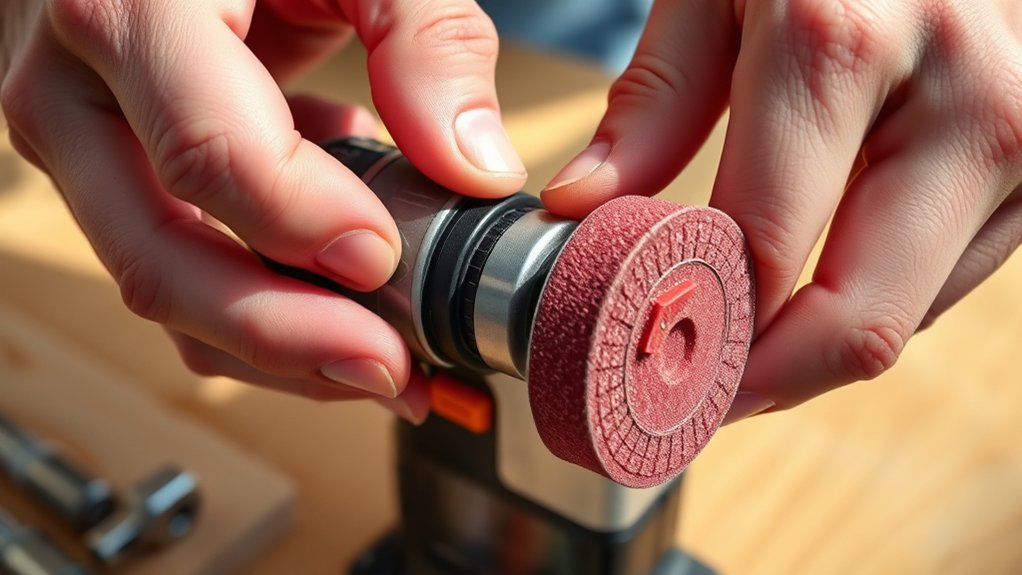
Choose a drill-compatible sanding pad with the correct shank and grit. Unplug the drill, remove the bit, and open the chuck. Insert the pad’s shank fully, then tighten the chuck securely.
Attach the sandpaper firmly, keeping it centered and flat. Wear eye, hearing, and dust protection before plugging in the drill.
Start at low speed and test for wobbling. Sand with light, overlapping passes, keeping the pad moving.
You’ll find additional tips below for safer, smoother results.
Key Takeaways
- Unplug the drill, remove its bit, and open the chuck fully by turning the chuck sleeve counterclockwise.
- Choose a compatible sanding pad, mandrel, or drum that matches the drill chuck and sanding attachment.
- Insert the attachment’s shank into the chuck, center it, and tighten the chuck securely to prevent wobbling.
- Attach the correct sandpaper grit, then run the drill briefly at low speed to check stability and vibration.
- Wear safety gear, keep the drill moving with light pressure, and increase speed gradually only when sanding smoothly.
Choose the Right Drill Sanding Attachment
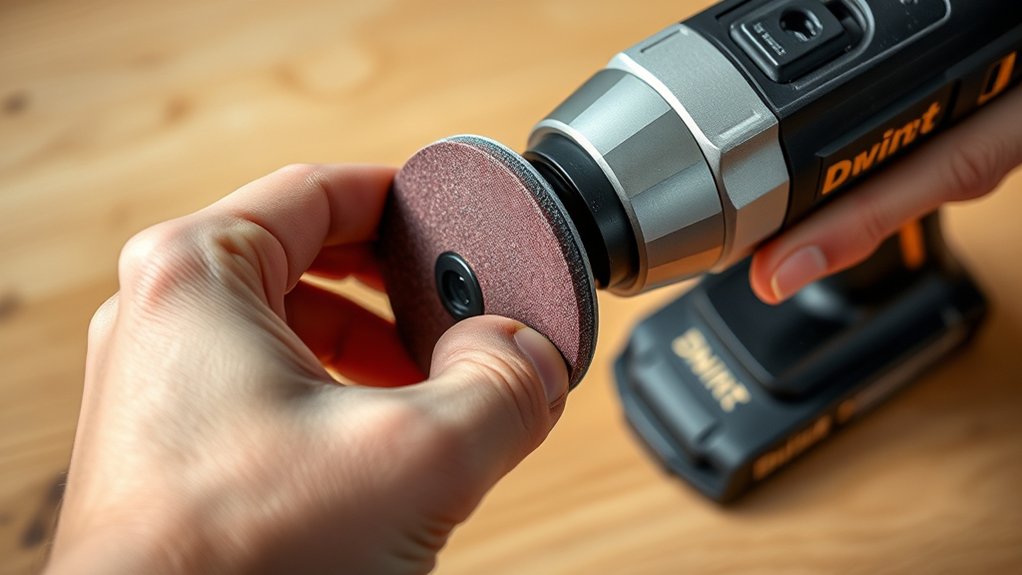
Choose an attachment designed for your drill and the material you’ll sand. For flat surfaces, select a sanding pad with a hook-and-loop face or adhesive backing. A flap wheel or sanding drum suits edges, curves, and narrow areas.
If you need to remove rust or paint, choose a wire wheel, but confirm that the surface can withstand its more aggressive action.
Check sanding attachment compatibility before you buy. Match the shank size to your drill’s chuck capacity, and choose a securely retained design that won’t wobble during use.
Review the manufacturer’s speed range, too, because some pads and wheels require slower operation than others.
Consider drill motor power when selecting the attachment. A small cordless drill may handle light sanding but struggle with a large disc or coarse abrasive.
A higher-powered drill can drive bigger attachments, though excessive torque may damage delicate surfaces. Choose an attachment that matches both your drill’s capabilities and your project’s demands.
Gather the Drill, Pad, and Sandpaper
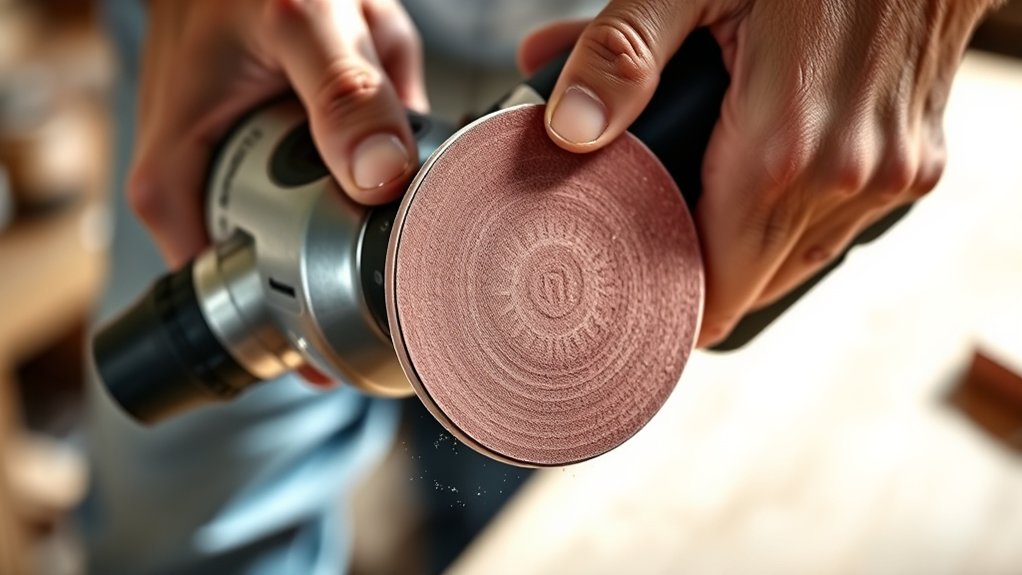
Before attaching anything, gather the drill, sanding pad, and sandpaper suited to your project. Choose a drill with a charged battery or a nearby power source, and confirm that its chuck accepts the attachment’s shaft. Inspect the tool for damage, then wipe away dust and check the chuck for smooth operation. Good drill maintenance helps prevent wobbling and interruptions during sanding.
Gather compatible tools, inspect the drill, and ensure smooth chuck operation before assembling your sanding setup.
Select a compatible backing pad that matches your drill and the surface you’ll sand. Pick abrasive sheets or discs according to the material and finish: coarse grit removes material quickly, while finer grit smooths scratches.
Check each piece for tears, worn edges, or clogged abrasive before use. Keep multiple grits organized so you can change them efficiently. Proper Sandpaper storage in a dry, labeled container protects abrasive surfaces from moisture and bending.
Set the drill, pad, fastener, and chosen sandpaper on a stable workbench, leaving room to assemble them without losing small parts.
Put on Eye, Ear, and Dust Protection
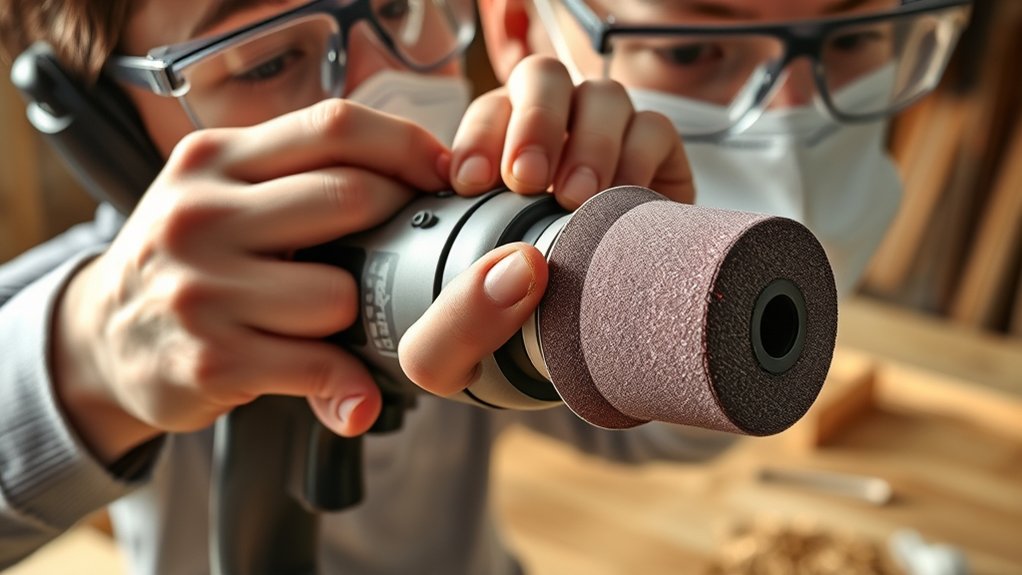
Once you’ve gathered the tools, put on safety glasses, hearing protection, and a properly fitted dust mask or respirator. Choose glasses that seal around your eyes to block sanding dust from every angle. If you wear prescription lenses, use certified over-glasses or sealed goggles instead of relying on regular eyewear.
Wear hearing protection before you start the drill. Earplugs reduce noise, while earmuffs add coverage. Using both helps during longer sanding sessions. Check that your dust mask fits snugly around your nose and mouth. Facial hair or gaps can reduce its effectiveness, so adjust the straps and perform a fit check.
Your protective gear should remain comfortable enough to keep on throughout the task. Follow these safety tips: secure loose hair, remove dangling jewelry, and avoid loose sleeves that could catch on rotating equipment. Work in a ventilated area, but don’t substitute airflow for respiratory protection.
Keep your protective equipment on until the dust settles and you’ve cleaned the workspace.
Remove the Bit and Open the Chuck
Unplug the drill, then remove the bit from the chuck. Turn the chuck counterclockwise to open the jaws, and keep turning until they’re wide enough to fit the sanding attachment.
Remove the Drill Bit
Remove the drill bit by releasing the chuck’s grip on it. Unplug the drill or remove its battery before handling the bit.
Hold the drill with the chuck facing upward, then support the bit with your free hand so it doesn’t fall. If you’ve used the drill recently, wait for the bit to cool; metal can retain heat.
Pull the bit straight out once the chuck releases it, and place it in a secure container. Don’t twist or force it, since a bent bit can damage the chuck.
Inspect the removed bit for wear, cracks, or discoloration, then set it aside for sharpening or replacement. These drill maintenance tips help preserve accuracy and safety.
With the bit removed, you’re ready to contemplate alternative attachment types for sanding.
Open the Chuck Jaws
With the drill unplugged or its battery removed, open the chuck jaws by turning the chuck sleeve counterclockwise. Hold the tool firmly and keep your fingers clear of the jaws as they loosen.
Remove the drill bit completely, then place it somewhere clean so you won’t lose it.
- Continue turning the sleeve until the jaws open wide enough for the sander’s shaft or adapter.
- Inspect the jaws for dust, metal shavings, or damage, and wipe them clean with a dry cloth.
- Check the attachment’s shaft size against the chuck’s capacity to confirm drill compatibility before installation.
Don’t force the sleeve if it resists. Use the chuck key if your drill has a keyed chuck, turning it counterclockwise in each opening.
Clean, smooth jaws support safer sander maintenance and help prevent slipping during operation.
Attach the Sanding Pad Securely
Attach the sanding pad to the drill’s adapter, aligning the pad’s holes or backing plate with the attachment points. Press the pad firmly against the adapter, then tighten the retaining screw, nut, or hook-and-loop connection according to your attachment’s design. Hold the adapter still while you tighten it so the pad doesn’t shift off-center.
Check that every fastener sits flush and that the pad spins freely without wobbling. If the attachment uses a screw, snug it securely, but don’t overtighten it and damage the threads. Give the pad a gentle pull to confirm it won’t separate during use.
Before connecting the drill to power, review the manufacturer’s instructions for tool compatibility. A mismatched adapter can loosen or break under load. For sanding safety, keep your fingers clear of the rotating pad and wear eye protection.
Run the drill briefly at low speed, watching for vibration. Stop immediately if you notice uneven rotation, noise, or movement, and reseat the pad.
Secure the Correct Sandpaper Grit
Choose the right grit for the job. Use coarse sandpaper on rough surfaces, and switch to a finer grit for smoothing or finishing. Matching the sandpaper to your material will help you get better results.
Choose the Right Grit
Start with coarse-grit sandpaper, such as 60–80 grit, to remove material or smooth rough surfaces. Then switch to medium or fine grits to refine the finish.
Thoughtful grit selection helps you control material removal and create an even result while using a drill sander.
- Begin strategically: Use coarse paper only when you need substantial leveling or residue removal.
- Refine gradually: Move through medium grit before finishing with fine grit, rather than making a drastic jump.
- Inspect frequently: Stop the drill, wipe away dust, and check the surface under good lighting before changing discs.
For effective surface prep, secure each sheet firmly to the sanding attachment and keep spare grits nearby.
Don’t press hard. Let the abrasive work while you guide the drill steadily.
Replace clogged or worn paper promptly, since it can scratch unevenly and reduce control.
Match Grit to Material
Match the sandpaper grit to the material and the task: use coarse grit for removing paint or leveling rough wood, medium grit for general smoothing, and fine grit for finishing metal, wood, or previously sanded surfaces.
Consider grit compatibility before attaching the sanding disc to your drill. Coarse abrasive can gouge soft pine, while fine paper may clog quickly on painted surfaces.
For effective material matching, check the surface hardness and condition, then choose the least aggressive grit that completes the job.
Start with coarse paper only when necessary, and progress through medium and fine grits to remove scratches. Use light pressure and keep the drill moving steadily.
On metal, select abrasive paper rated for metalwork, and avoid using a clogged disc, which can generate heat and leave uneven marks.
Choose a Safe Sanding Speed
Before you begin sanding, set your drill to its lowest speed and increase it only if the attachment cuts smoothly without excessive heat or vibration. Match the speed to your drill’s sanding accessory, material, and pad diameter.
Larger pads create more surface speed, so they generally require a slower setting. Keep firm control, but don’t force the tool. Excessive pressure can stall the motor, damage the workpiece, or loosen the attachment.
Use these checks for reliable sanding safety:
> Follow these essential checks to maintain control, prevent overheating, and sand safely with your drill attachment.
- Watch for burning, melting, or discoloration. Stop immediately if you notice any of these signs.
- Keep the drill’s vents clear, and pause periodically to prevent the motor and pad from overheating.
- Wear eye protection, a dust mask, and hearing protection, especially when sanding for extended periods.
Good tool maintenance supports safer speed control. Inspect the backing pad, shaft, and fasteners before each session, and replace worn components promptly.
Keep your hands away from the rotating pad, secure the workpiece, and unplug the drill before making adjustments.
Test the Attachment at Low Speed
Set the drill to its lowest speed and briefly run the attachment without touching the workpiece. Watch the pad, drum, or disc as it spins. It should turn smoothly without wobbling, slipping, or making unusual noises.
If the attachment shakes, stop the drill immediately, unplug it, and check that the backing plate, mandrel, and locking nut sit securely. Keep your fingers away from the rotating accessory while you inspect it.
Next, hold the drill firmly with both hands and run it for a few seconds longer. Listen for grinding, clicking, or surging sounds that could indicate a loose part or strained electric motor.
Check whether the accessory remains centered and whether the drill’s housing becomes hot quickly. If you notice a problem, correct it before continuing.
Use this brief test to confirm stable operation and build control. Don’t increase speed yet, and don’t press the attachment against any material.
Practice smooth trigger control and steady positioning before applying your sanding techniques.
Sand Wood and Remove Paint Safely
Once the attachment runs smoothly at low speed, bring it lightly against the wood and guide it with steady, overlapping passes. Keep the drill moving so you remove finish evenly without cutting grooves.
Begin with medium-grit paper, then switch to finer grit for a smoother surface. For paint removal, confirm the coating doesn’t contain lead, especially on older furniture or trim.
If you’re unsure, stop and use a certified testing kit or hire a professional.
- Wear safety glasses, a fitted respirator, hearing protection, and clothing that covers your skin.
- Connect Advanced dust collection before sanding, and empty the container regularly to maintain airflow.
- Choose Eco friendly sanding methods, such as reusable abrasives and a vacuum with a washable filter.
Work in a ventilated area, but contain dust rather than sweeping it into the air. Hold the drill comfortably, use light pressure, and inspect the surface frequently.
Wipe away residue with a clean, slightly damp cloth before applying filler, stain, or paint. Dispose of paint dust according to local hazardous-waste rules.
Solve Wobbling, Tearing, and Overheating
Keep the sanding attachment centered and tighten it securely to prevent wobbling. If the sandpaper tears, replace it promptly and attach it evenly to prevent further damage. Use light pressure, clear away dust, and take breaks to keep your drill from overheating.
Prevent Sander Wobbling
Prevent wobbling by tightening the drill’s chuck around the sander’s shaft and checking that the sanding pad sits centered before you start. A stable connection protects your surface, tool, and hands while improving control.
- Check compatibility: Confirm the attachment matches your drill’s chuck size, speed range, and power. Proper drill compatibility reduces vibration and helps the accessory run smoothly.
- Inspect the shaft: Look for bends, dents, or debris before inserting it. Clean contact surfaces, then tighten the chuck evenly until the shaft can’t slip.
- Test gradually: Run the drill at low speed while holding it firmly. Stop immediately if you notice shaking, unusual noise, or heat. Recenter the pad and retighten the chuck before continuing.
Include these checks in regular sander maintenance. Keep the drill aligned with the workpiece and apply light, even pressure. Forcing the tool can worsen vibration and strain the chuck.
Stop Sandpaper Tearing
Sandpaper usually tears when the pad wobbles, catches an edge, or overheats from excessive pressure. Secure the drill attachment, center the disc, and tighten its backing plate evenly.
Start at low speed, keep the pad flat, and use light, steady pressure. Let the abrasive do the work rather than forcing it into the surface.
| Problem | Quick fix | Result |
|---|---|---|
| Wobbling pad | Recenter disc | Smoother contact |
| Caught edge | Keep pad flat | Fewer tears |
| Clogged grit | Brush surface | Better cutting |
| Loose paper | Press edges firmly | Greater Sandpaper durability |
Replace torn or glazed discs promptly. Damaged abrasive can scratch your project.
Improve Dust collection by connecting the drill sander’s port to a compatible extractor. You can also pause regularly to clear packed dust.
Inspect the backing pad between discs. Worn foam or hook-and-loop material can cause uneven contact and premature tearing.
Avoid Tool Overheating
A stable, centered pad protects the drill as well as the abrasive. To prevent overheating, keep the sanding surface moving and apply light, even pressure. Let the abrasive do the work instead of forcing the drill against the material.
Follow these Tool safety steps:
- Select a moderate speed, especially with coarse discs or dense wood. Higher speed creates friction and heat quickly.
- Sand in short passes, then pause to inspect the pad, chuck, and drill housing. If any part feels unusually hot, stop and let everything cool.
- Keep ventilation openings clear, and don’t run the drill continuously for long periods. Replace clogged or worn abrasive, which increases resistance.
This overheating prevention routine also reduces wobbling and tearing. Secure your workpiece, hold the drill squarely, and unplug it before adjusting the attachment.
Wear eye protection and a dust mask throughout sanding.
Frequently Asked Questions
Can I Use a Drill Sander on Metal, Plastic, or Automotive Surfaces?
Yes, you can use a drill sander on metal, plastic, and automotive surfaces, but choose the right abrasive and speed. For metal, use sanding discs rated for metal and wear eye protection.
For plastic, select fine-grit sandpaper and low speed to prevent melting. On automotive surfaces, start gently to avoid removing excessive paint or damaging panels.
Check tool compatibility before attaching accessories, and follow sanding safety practices, including secure clamping and dust protection.
How Often Should I Replace Sanding Discs or Pads?
Replace sanding discs or pads when they stop cutting efficiently, clog repeatedly, tear, curl, or leave uneven scratches, like a dull blade dragging through wood. Heavy metal or automotive work may require replacement after one project, while light plastic or wood sanding can let a pad last several sessions.
Check sanding disc compatibility before installation and follow attachment safety precautions. Don’t force worn abrasives. Inspect the backing, secure the attachment, and replace damaged pieces immediately.
Can Cordless Drills Power Sanding Attachments Effectively?
Yes, cordless drills can power sanding attachments effectively for light- to medium-duty tasks. Check Battery compatibility before starting, since higher-voltage packs usually provide longer runtime and stronger performance. You’ll also want good Power efficiency: use a fully charged battery, moderate speed, and the correct sanding pad to reduce strain.
Don’t force the attachment, because excessive pressure drains power quickly and may overheat your drill or damage the workpiece.
What Maintenance Does a Drill Sanding Attachment Require?
You’ll keep a drill sanding attachment working by cleaning dust after every use and checking pads, backing plates, threads, and fasteners for wear. Confirm attachment compatibility before installation, since mismatched parts can loosen or damage your drill.
Apply tool lubrication sparingly to moving joints or threaded connections, following the manufacturer’s instructions. Replace worn abrasive discs and warped components promptly. Store the attachment dry, protected from moisture, heat, and impact between projects.
Is a Random Orbital Sander Better for Large Projects?
Yes, a random orbital sander is usually better for large projects because sanding faster and more evenly beats doing it the hard way. You’ll cover broad surfaces efficiently, reduce visible swirl marks, and work more comfortably than with a drill attachment.
Check tool compatibility before buying discs or accessories. Prioritize sanding safety with eye protection, hearing protection, dust collection, and a respirator.
Choose variable speed for greater control over delicate materials and finishes during extended jobs.
Conclusion
With the right attachment, your drill can become a handy sander instead of just a hole-maker. Secure the pad, protect your eyes and lungs, and start slowly; rushing creates wobbling, torn paper, and damaged surfaces.
Keep the tool moving, let the abrasive do the work, and pause if heat builds. A careful setup takes minutes, while repairing mistakes takes much longer.
Follow these steps for how to attach a sander to a drill, work safely, and get smoother results with less effort.