
5 Essential Dewalt Oscillating Tool Uses Every DIYer Should Know
Taking on DIY projects can be frustrating when one tool can’t handle every job. You’re not alone—many people struggle with tight corners, stubborn adhesive, and precise cuts. That’s where the best DeWalt oscillating tool uses can save time and effort.
A DeWalt oscillating tool helps you cut wood, plastic, and drywall when you choose the right blade for the material. You can sand tight corners with a triangular detail pad and remove paint with suitable grits.
Use a rigid scraper for adhesive and caulk, or a carbide blade for grout without chipping tile.
Finally, undercut door jambs for flooring with a flush-cut blade and height guide.
Keep going for practical techniques, safety tips, and attachment advice.
Key Takeaways
- Cut wood, plastic, and metal with the correct DeWalt-compatible blade and tooth pattern for clean, controlled results.
- Sand tight corners, edges, and contours using a triangular detail pad and progressively finer grits.
- Scrape adhesive, caulk, and grout with a rigid blade at a shallow angle to prevent surface damage.
- Remove grout safely using a carbide blade, moderate speed, shallow passes, and careful alignment within joints.
- Undercut door jambs for flooring by guiding a flush-cut blade with a flooring scrap as a height reference.
Cut Wood, Plastic, and Drywall With the Right Blade
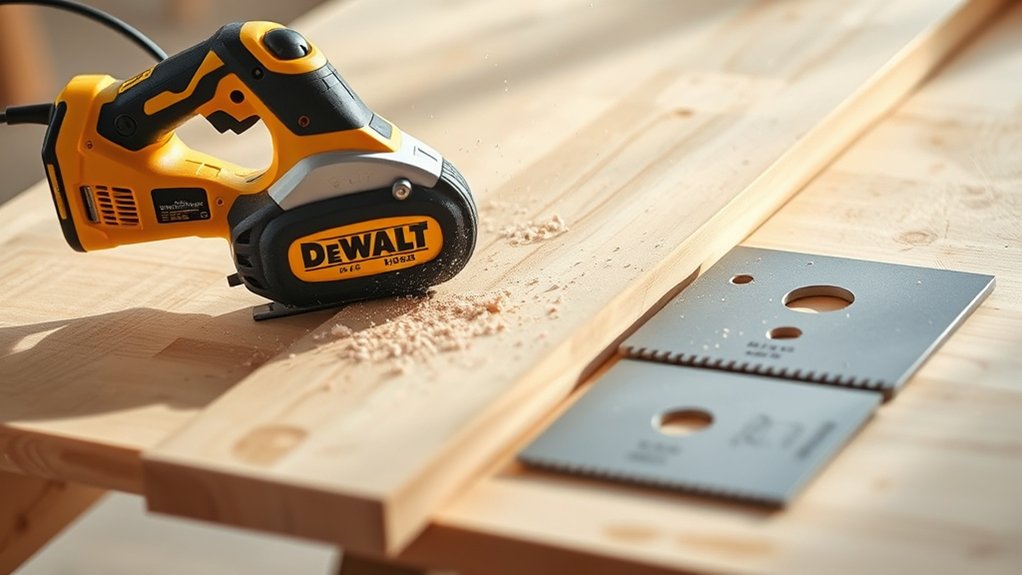
A DeWalt oscillating tool can make quick, controlled cuts in wood, plastic, and drywall when you pair it with the right blade. For wood, choose a bi-metal or high-carbon steel blade rated for the material and thickness.
Use a fine-tooth blade for clean cuts in trim or plywood, and a coarse blade for faster cuts in framing lumber. Select a flush-cut blade when you need to trim dowels, doorjambs, or protruding fasteners.
For plastic, use a blade with fine teeth to reduce chipping and melting. A drywall blade typically features larger teeth that remove material efficiently without unnecessary pressure.
Check blade compatibility before installing any accessory, and confirm that it fits your DeWalt model. Mark your cut line, secure the workpiece, and let the tool reach full speed before entering the material.
Follow safety precautions by wearing eye and hearing protection, keeping both hands clear, and avoiding hidden wires or pipes. Don’t force the blade; guide it steadily for better control.
Sand Tight Corners With a Detail Pad
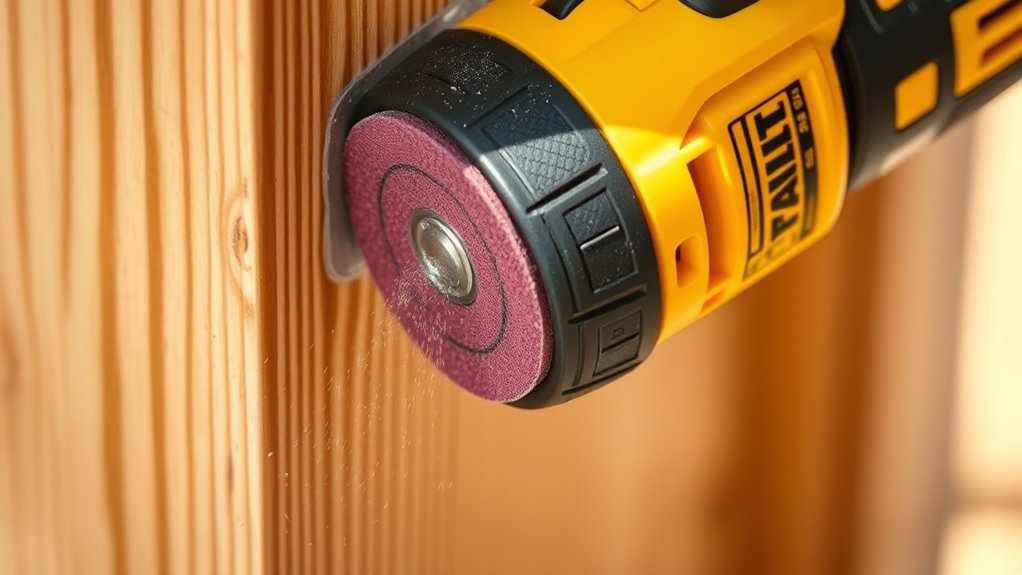
When cutting tasks are complete, fit your DeWalt oscillating tool with a triangular detail pad to sand tight corners, narrow edges, and contoured surfaces. Choose sandpaper that matches your material and start with a medium grit to remove marks without gouging.
Keep the tool moving in short, controlled passes, and let the abrasive do the work. Don’t press hard; excessive force can flatten edges and wear the pad unevenly.
| Task | Suggested grit | Technique |
|---|---|---|
| Paint removal | 80–120 | Use light, steady passes |
| Smoothing wood | 120–180 | Follow the grain |
| Final finish | 180–240 | Reduce pressure |
The detail pad reaches spaces a standard sander can’t, making it useful for cabinet corners, trim profiles, window frames, and small repairs.
Fold or replace worn abrasive sheets promptly so you maintain consistent results. Before sanding, secure the workpiece and wear eye protection and a dust mask.
You’ll get cleaner tight corners and a smoother surface with less effort.
Scrape Adhesive and Caulk With a Rigid Blade

For dried adhesive, old caulk, or stubborn grout residue, attach a rigid scraper blade to your DeWalt oscillating tool and work along the surface at a shallow angle. Keep the blade flat enough to avoid gouging, and let its oscillation loosen the material instead of forcing it through the surface.
Use short passes, especially near painted trim, countertops, glass, or finished wood. For effective Adhesive removal, start with the lowest speed and increase it only when the residue resists.
Hold the tool with both hands when you need extra control, and clear loosened scraps frequently so you can see your progress. When tackling a caulked joint, score thick beads first with a utility knife, then guide the blade beneath the remaining strip.
This approach supports clean Caulk smoothing afterward because it leaves fewer ridges and chunks behind. Wear eye protection, keep the cord clear, and test an inconspicuous spot before scraping the entire area.
Remove Grout Without Chipping Tile
Removing grout with a DeWalt oscillating tool works best with a carbide grout blade and a steady, controlled approach. Set the tool to a moderate speed, then position the blade in the existing grout line.
Keep it centered and let the teeth do the work; don’t force the tool into the joint. Make shallow passes, especially near tile corners, where excessive pressure can cause chips or cracks.
Protect your eyes and wear a dust mask, since old grout creates fine debris. Use a vacuum attachment or pause often to clear dust and check your progress.
For narrow joints, choose a blade that fits without rubbing the tile edges. If the blade wanders, stop and realign it rather than correcting the path aggressively.
After removing the grout, vacuum the joints and wipe the surface with a damp sponge. Careful grout cleaning prepares the area for fresh grout, while gentle tile polishing restores a clean, finished appearance.
Undercut Door Jambs for New Flooring
Undercut door jambs with a DeWalt oscillating tool so new flooring can slide neatly underneath. Place a flooring scrap beside the jamb as a height guide, then fit a flush-cut blade.
Keep the tool level and make slow, controlled passes through the casing and jamb. Don’t force the blade; let its teeth create a clean kerf.
Before cutting, remove trim if necessary and check for nails, wiring, or plumbing. These steps help you avoid costly repairs and achieve professional results:
- Mark the cut line using a flooring offcut.
- Support the tool firmly with both hands.
- Cut each side of the jamb separately.
- Vacuum dust before testing the floor.
- Wear eye and hearing protection.
Test-fit a plank or tile beneath the opening. If it binds, refine the cut rather than forcing the material.
This simple Door frame adjustment creates room for expansion and hides the flooring edge. Finish with Threshold trimming where the new surface meets another room.
This ensures a smooth, secure transition without gaps or exposed underlayment.
Frequently Asked Questions
How Do I Choose the Right Dewalt Oscillating Tool Model?
Choose the right DeWalt oscillating tool by matching its power, speed control, and features to your projects. For occasional repairs, a compact corded model may save money; frequent DIY work benefits from a cordless 20V MAX version.
Check blade compatibility, ensuring the tool accepts accessories you already own. Compare battery options, runtime, weight, and included chargers.
If you’ll cut, sand, or scrape often, prioritize brushless performance, variable speed, and quick-change accessories for convenience.
What Safety Gear Should I Wear While Operating an Oscillating Tool?
Wear safety glasses or sealed goggles, hearing protection, and a dust mask or respirator suited to your material. Add cut-resistant gloves when appropriate, but keep them away from the moving blade.
Personal protective equipment reduces flying debris, noise, and airborne particles. Follow essential Tool safety tips: secure your workpiece, keep both hands controlled, disconnect power before changing accessories, and maintain firm footing.
Avoid loose clothing, jewelry, and clutter around your workspace.
How Do I Change Accessories on a Dewalt Oscillating Tool?
Changing accessories is easiest when you’re not trying to wrestle the tool mid-cut, because that’s famously how projects go wrong. First, switch off and unplug your DeWalt oscillating tool, then let the blade cool.
Release the clamp using the Quick change mechanism, remove the old accessory, and install the replacement securely. Check Accessory compatibility before tightening.
Tug gently to confirm it’s locked, then reconnect power and begin carefully.
How Can I Reduce Vibration and Improve Cutting Control?
Reduce vibration by installing a sharp, compatible blade and keeping your DeWalt oscillating tool at a moderate speed. Let the accessory do the work instead of forcing it, and make short, controlled passes.
Use Vibration damping gloves only if they don’t reduce your feel. Boost cutting control with Grip enhancement from a firm, two-handed hold, square positioning, and steady pressure.
Clamp your workpiece, support offcuts, and pause when the tool starts wandering.
How Should I Clean and Maintain My Dewalt Oscillating Tool?
After cutting drywall, you’ll keep your DeWalt oscillating tool running smoothly by brushing away dust, wiping the housing, and clearing the vents. Unplug it first, then remove the blade and inspect the clamp for debris or damage.
Use Dust extraction while working, and never spray cleaner inside. Replace worn accessories; skip Blade sharpening unless the manufacturer specifically permits it.
Check the cord, tighten loose parts, and store the tool dry in its case.
Conclusion
With the right DeWalt oscillating tool, you can turn stubborn DIY obstacles into sawdust, smooth corners, clean surfaces, and precise cuts. Swap blades like changing keys in a toolbox, then tackle wood, plastic, drywall, adhesive, caulk, grout, or door jambs with confidence.
Whether you’re laying flooring or finishing a repair, this compact powerhouse helps you work smarter, not harder. Keep a steady hand, choose the right accessory, and let every project fall into place with your DeWalt oscillating tool.