Top 10 High Quality Hand Tools for Every Workshop
Many DIYers struggle to choose reliable tools without overspending or filling their workshop with low-quality gear. You’re not alone—finding the right essentials can make every project easier, safer, and more enjoyable.
The top 10 high-quality hand tools for every workshop include a bench vise, tape measure, bubble level, claw hammer, screwdriver set, socket set, adjustable wrench, pliers, utility knife, and hand saw. You’ll use them to hold, measure, align, fasten, grip, cut, and shape materials safely.
Choose durable construction, comfortable handles, accurate markings, and secure mechanisms. Maintain each tool by keeping it clean, dry, and properly stored.
Continue for practical guidance on selecting and using every essential tool.
Key Takeaways
- Choose a durable cast-iron bench vise for secure workholding during cutting, drilling, filing, and assembly.
- Invest in accurate tape measures, combination squares, and bubble levels for dependable measuring, layout, and installation.
- Select balanced claw hammers and comprehensive screwdriver sets with ergonomic handles and interchangeable tips.
- Keep versatile pliers, utility knives, and hand saws available for gripping, cutting, trimming, and woodworking tasks.
- Add adjustable wrenches and metric or SAE socket sets to handle varied fastener sizes efficiently and safely.
Vises for Safe, Stable Workholding
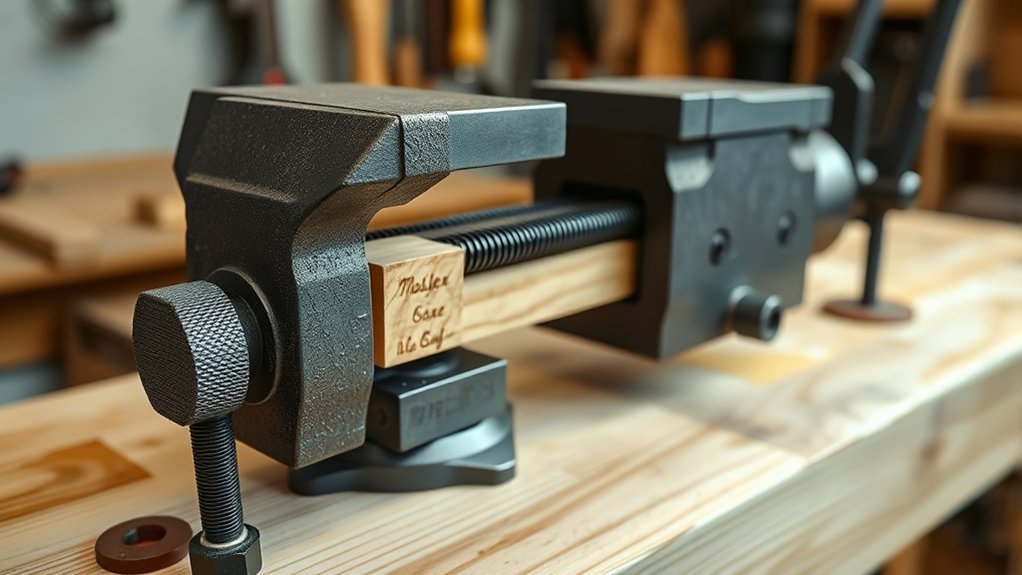
Vises hold workpieces firmly so you can cut, drill, file, or shape them with greater control and safety. Choose a vise that matches your projects, bench strength, and available space.
A cast-iron bench vise suits general repairs, while a compact model works well for lighter tasks and smaller work areas. Mount it securely with appropriate bolts, then position the jaws so you can work comfortably without straining your wrists or shoulders.
Before tightening, place the workpiece squarely between the jaws and use soft jaw covers to protect finished surfaces. Apply enough clamp force to prevent movement, but don’t crush delicate materials.
Check your vise grip by testing the piece gently before cutting or drilling. For angled work, swivel the base or use suitable accessories when available.
Keep threads clean, oil moving parts occasionally, and inspect mounting hardware regularly. Never strike the handle with a hammer. Steady hand pressure gives you safer, more controlled clamping.
Tape Measures for Accurate Workshop Layouts
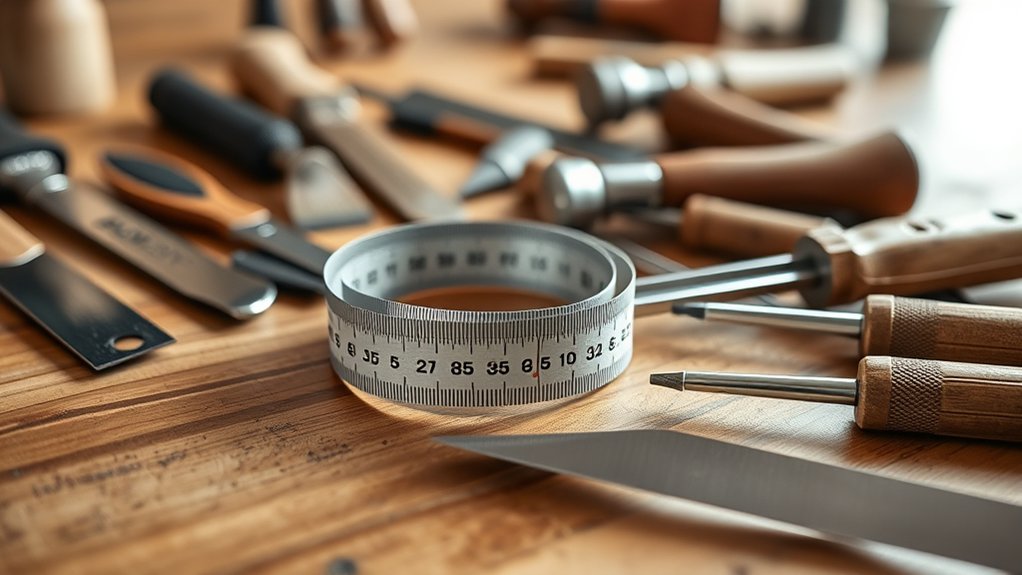
You’ll need a tape measure with clear markings, a secure lock, and a reliable hook for accurate work. Use the same technique each time you mark lengths, double-check measurements, and align your layout. Choose a durable tool that can handle everyday workshop use.
Essential Tape Measure Features
Accurate workshop layouts start with a tape measure that combines a clear, durable blade with easy-to-read markings and a secure locking mechanism. Look for a standout hook that grips edges firmly without wobbling, plus a wide blade that resists bending when you extend it.
Strong case construction improves tape measure durability, especially when you carry it between jobs or drop it on a bench. Choose contrasting markings, prominent fractional increments, and a readable scale to support measuring tape accuracy under bright or dim lighting.
A smooth, reliable rewind saves time, while a comfortable, textured case gives you better control. Consider a belt clip that holds securely yet releases easily.
For demanding work, select a model with corrosion-resistant components and a protective blade coating for longer service.
Accurate Workshop Layout Techniques
A reliable tape measure supports accurate workshop layouts when you use it consistently and mark each measurement with care. Before measuring, clear your work area and secure the material to support Workshop safety.
Hook the tape’s end firmly against an edge, keep the blade straight, and read the scale at eye level to prevent parallax errors. For longer dimensions, ask someone to hold the case or use a clamp, then confirm the reading before cutting.
Mark lines with a sharp pencil, square, or marking knife, and label each dimension immediately. Measure twice, especially when transferring spacing between parts.
Maintain a comfortable stance and relaxed grip. Ergonomic tool design helps you control the tape without straining your wrist.
Record reference points, check alignment, and verify angles with a square before assembly begins.
Durable Measuring Tools
When you choose a durable tape measure, look for a strong case, a clear, wear-resistant blade, and a secure hook that stays accurate through repeated use. You’ll rely on these features for dependable layout work, whether you’re marking cut lines, spacing cabinets, or checking material lengths.
Choose a blade wide enough to stand out several feet, with bold, easy-to-read markings and clear fractions. A smooth lock helps you hold measurements steadily, while a reinforced end hook resists bending and loosening.
For better Measuring accuracy, compare your tape against a trusted ruler or standard before critical projects. Include Tool calibration in your maintenance routine, especially after drops or heavy use.
Keep the blade clean, retract it carefully, and replace any tape showing kinks, fading, or a damaged hook.
Levels for Straight, Accurate Installations
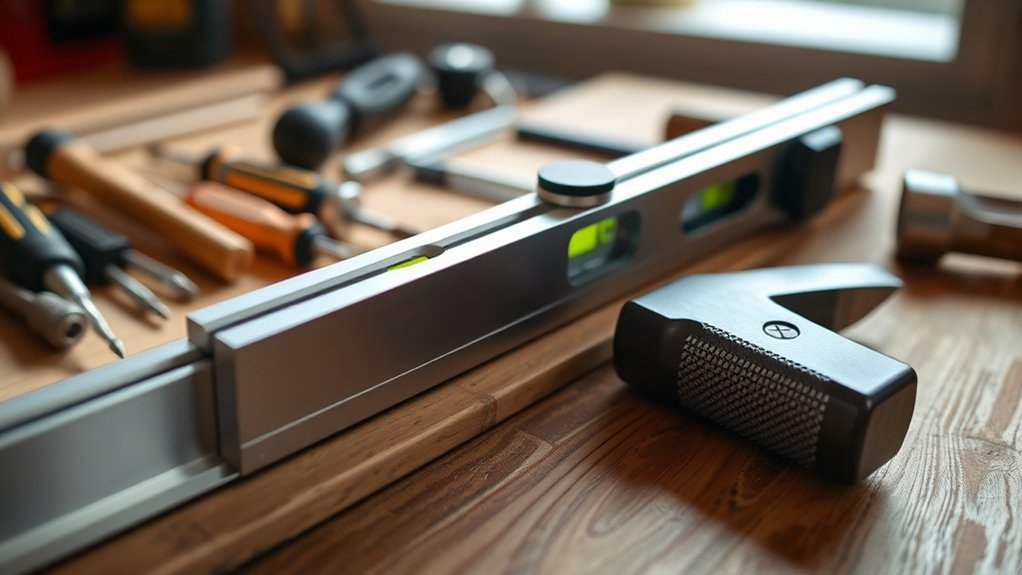
Use a precision bubble level to ensure straight, accurate installations. For hands-free stability on metal surfaces, choose a magnetic level. With the right tool, you can align components quickly and confidently.
Precision Bubble Levels
Precision bubble levels help you check whether surfaces are perfectly horizontal, vertical, or aligned before securing them. You can use the vials to verify shelves, cabinets, frames, pipes, and machinery with dependable accuracy.
Choose a level with clearly marked, easy-to-read bubbles so you won’t strain your eyes or misinterpret small adjustments. A durable body resists workshop wear, while an ergonomic design gives you a comfortable, secure grip during extended projects.
Look for models with reinforced edges and smooth measuring faces to maintain consistent contact across materials. Some advanced options provide digital calibration, helping you confirm accuracy and identify errors before installation.
Keep your level clean and store it safely after use. With regular checks against a trusted reference, you’ll achieve straighter results and avoid costly corrections on every project.
Magnetic Levels for Stability
Magnetic levels help you create straight, accurate installations by holding firmly to steel surfaces as you align shelves, frames, pipes, and machinery. You won’t need to keep repositioning the tool, so both hands remain available for adjustments or fastening.
Choose magnetic levels with strong, continuous magnets when you work on vertical steel studs, frames, or ductwork. Their stability improvement reduces slipping, helping you read the vial confidently and maintain consistent alignment across longer spans.
Look for durable, shock-resistant housings that withstand busy workshop conditions. Multiple vials let you check horizontal, vertical, and diagonal positions without changing tools.
Before each use, wipe the magnetic faces clean to prevent scratches and inaccurate readings. With reliable magnetic grip, you’ll install components faster and achieve professional results.
Claw Hammers for Driving and Pulling
A claw hammer combines a flat striking face for driving nails with curved claws for pulling them out, making it a practical choice for framing, repairs, and general workshop tasks. Choose a balanced handle and a head that fits your typical nail sizes.
A textured grip helps you control each swing, while a smooth, well-shaped face reduces glancing blows.
Consider these features:
| Feature | Benefit |
|---|---|
| Forged steel head | Supports claw hammer durability |
| Curved claws | Improve pulling force efficiency |
| Balanced handle | Promotes accurate, controlled strikes |
Check the claw tips for clean alignment and inspect the handle regularly for cracks or looseness.
For stubborn nails, seat the claws fully beneath the head, then lever the handle gradually against a scrap block to protect your work surface.
A lighter hammer suits finish work, while a heavier model delivers more power for framing.
Keep the head clean and dry, and store the tool where moisture won’t cause rust.
With the right weight, grip, and claw design, you’ll drive and remove nails efficiently without overworking your wrist or damaging surrounding material.
Screwdriver Sets for Everyday Repairs
Whether you’re tightening cabinet hardware or replacing a switch plate, a screwdriver set gives you the right tip for common repairs. Choose a collection with Phillips, slotted, Torx, and precision drivers so you can handle furniture, appliances, electronics, and household fixtures without forcing an ill-fitting tip. A magnetic tip can hold screws steady, while hardened steel shafts resist twisting and wear.
Look for an Ergonomic grip that fits your hand comfortably and provides firm control during repetitive work. Soft, nonslip materials help you apply pressure without straining your palm. Color coded handles let you identify each driver quickly, saving time when several sizes sit on your workbench. A compact case keeps the set organized and protects tips from damage.
Before turning a screw, match the driver precisely to its head and keep the shaft aligned. You’ll reduce slipping, protect surfaces, and finish everyday repairs with fewer mistakes. Regularly wipe the tools clean and store them dry.
Socket Sets for Tightening and Removal
For larger fasteners and recessed nuts, socket sets give you the advantage and access that screwdrivers can’t. You can fit a socket over a nut or bolt head, then apply steady torque with a ratchet handle.
Reversing the ratchet lets you remove fasteners efficiently, while extensions help you reach deep or obstructed areas.
Reverse the ratchet for efficient removal, and use extensions to reach fasteners in deep or obstructed areas.
Choose a set with broad Socket compatibility for the fasteners you encounter most. Six-point sockets grip flat sides securely and reduce slipping, while twelve-point designs fit more angles in confined spaces.
Check the measurement system, too: metric and SAE sizes aren’t interchangeable.
Compare Drive sizes before buying. A compact 1/4-inch drive suits small hardware, a versatile 3/8-inch drive handles general repairs, and a 1/2-inch drive delivers greater torque for heavy-duty work.
Look for clearly marked sockets, durable chrome vanadium steel, and a secure storage case. With the right combination, you’ll tighten or remove fasteners confidently and protect their edges.
Adjustable Wrenches for Everyday Fasteners
When you need one wrench for various nut and bolt sizes, an adjustable wrench lets you tighten or loosen fasteners by turning its movable jaw. Choose a model with clearly marked measurements, smooth jaw movement, and minimal play in the adjustment screw.
Set the jaw snugly against the fastener before applying force, and keep the wrench square to the flats. This fit reduces slipping, protects corners, and improves control.
A comfortable handle helps you work longer with less strain, so look for an ergonomic wrench design with a secure, non-slip grip. Select a length that suits your workspace: shorter handles fit cramped areas, while longer handles provide more leverage.
Don’t use an adjustable wrench as a hammer or extension, because misuse can damage the tool or fastener.
For reliable performance, include adjustable wrench maintenance in your routine. Brush away grit, wipe the jaws clean, and add a small drop of light oil to the adjustment screw.
Store it dry after each project.
Pliers for Gripping, Cutting, and Bending
Pliers give you a secure grip for holding, twisting, cutting, and bending materials that an adjustable wrench can’t handle. Choose a pair with a comfortable Hand grip, balanced jaws, and a smooth pivot, so you can work accurately without tiring your fingers.
Slip-joint pliers suit general repairs, while long-nose pliers reach narrow spaces and hold small parts firmly.
| Pliers type | Best workshop use |
|---|---|
| Slip-joint | Grip and twist varied sizes |
| Long-nose | Reach, position, and bend wire |
For clean wire work, diagonal pliers provide sharp Cutting blades that slice electrical wire, cable ties, and soft metal. Lineman’s pliers combine gripping jaws with cutters when you need utilize.
End-cutting pliers pull nails or trim protruding fasteners close to a surface. Keep jaws clean and lightly oil the pivot to maintain smooth movement.
Match the tool to the material; excessive force can damage both the pliers and your project. Wear eye protection when cutting, because clipped wire can spring unexpectedly.
Store each pair closed in a dry toolbox, ready for your next repair.
Utility Knives for Controlled Cutting
A utility knife gives you precise control when cutting cardboard, plastic, drywall, and other workshop materials. Choose a model with a secure blade-locking mechanism so you can work confidently without unexpected movement. A sharp, replaceable blade creates clean cuts, while a retractable design helps protect you during storage and transport.
Look for a handle that supports a Precision grip, especially when you need to follow marked lines or trim narrow edges. An ergonomic design reduces hand fatigue during repetitive tasks and keeps your wrist in a natural position. Textured surfaces improve traction, even when you wear gloves.
Before each cut, inspect the blade for damage and extend only the length you need. Keep your free hand away from the cutting path, and cut away from your body. Replace dull blades promptly; forcing them can cause slips and uneven results. Store the knife closed, and dispose of used blades in a suitable container.
Hand Saws for Light Woodworking
Choose a hand saw that fits your light woodworking project, whether you’re using a panel saw or a backsaw. Pick the tooth count based on the material and how quickly you want to cut. Keep a firm grip, guide the blade smoothly, and always use safe cutting techniques.
Saw Types
Selecting the right hand saw makes light woodworking cleaner, faster, and easier. A panel saw handles quick cuts across boards, making it a practical choice for shelves, boxes, and simple repairs.
Choose a backsaw when you need controlled, accurate cuts for joints, trim, or small projects. Its reinforced back keeps the blade steady as you work.
A coping saw lets you follow curves and cut interior openings, so it suits decorative work and intricate shapes.
For rougher cuts through thicker stock, reach for a bow saw or a compact crosscut saw. A pull saw offers a thin, flexible blade for delicate tasks and flush trimming.
Keep specialized uses in mind, too: a pruning saw supports Garden pruning, while a compact saw can assist with bicycle maintenance and other workshop fixes.
Choosing Tooth Counts
Tooth count determines how quickly a hand saw cuts and how smooth the finished edge looks. Choose a low-tooth-count blade, such as 6–10 teeth per inch, when you need to remove wood quickly during rough crosscuts or rip cuts.
Expect a coarser edge that may need sanding. For cleaner cuts across boards, choose 10–14 teeth per inch.
A fine blade with 14–20 teeth per inch suits thin stock, trim, and small joinery details, though it cuts more slowly and can clog with chips.
Think of tooth count as a gear ratio: fewer teeth provide speed and aggressive material removal, while more teeth trade speed for control and finish quality.
Match the blade to the wood’s thickness and your desired result. Always check the saw’s tooth pattern and manufacturer’s recommendations before cutting.
Safe Cutting Techniques
After matching the tooth count to the material and finish, focus on controlling the saw safely. Mark your cut clearly, then secure the workpiece with clamps so it can’t shift.
Check blade safety before starting: inspect the teeth, handle, and frame for damage, and keep the blade clean. Place your free hand well away from the cutting path, and maintain a balanced stance.
Begin with short, gentle strokes to create a kerf, keeping the blade aligned with your mark. Let the saw do the work; don’t force it or twist the blade.
Use smooth, consistent cutting techniques, and slow down near the exit to prevent splintering. Wear eye protection, clear loose clothing, and brush away dust only after the blade stops moving.
Store the saw with its teeth protected.
Frequently Asked Questions
How Should Hand Tools Be Cleaned and Maintained After Each Use?
After each use, wipe your hand tools with a clean, dry cloth to remove dirt, dust, and moisture. Use suitable cleaning techniques, such as a soft brush for grooves and mild soapy water for stubborn residue. Dry every surface thoroughly to prevent rust.
Apply light tool lubrication to hinges, threads, and cutting edges, then remove excess oil. Inspect handles, fasteners, and blades, and store tools in a dry, organized place.
What Safety Gear Should Accompany High-Quality Hand Tools?
You should pair every high-quality hand tool with appropriate protective gear. For example, when you cut metal with pliers, wear safety glasses to shield your eyes from flying fragments and work gloves to protect your hands from sharp edges.
Add hearing protection around loud power equipment, steel-toe footwear against dropped tools, and fitted clothing that won’t snag. Choose task-specific gear, inspect it regularly, and replace damaged protection before starting work.
How Can Counterfeit or Poorly Manufactured Hand Tools Be Identified?
For counterfeit identification, inspect branding, logos, model numbers, packaging, and serial codes for spelling errors, inconsistent fonts, missing documentation, or suspiciously low prices. Compare the tool with the manufacturer’s official images and specifications.
Check weight, balance, finish, fasteners, and markings. Manufacturing defects often reveal weak quality, such as rough edges, uneven coatings, loose joints, or soft metal.
Buy from authorized sellers, retain receipts, and contact the manufacturer when authenticity remains uncertain.
Where Should Hand Tools Be Stored to Prevent Rust and Damage?
Where should you store hand tools to keep rust and damage away? Place them in a clean, dry toolbox or cabinet, raised from concrete floors and protected from moisture, dust, and direct sunlight.
Choose storage solutions with drawers, liners, or wall mounts that prevent tools from scraping together. Use climate control when humidity rises, and add silica-gel packs or a dehumidifier.
Wipe metal surfaces lightly with protective oil before storing.
When Should a Damaged Hand Tool Be Repaired or Replaced?
Repair a damaged hand tool when you can restore its function safely and affordably, such as by replacing a handle, tightening a joint, or removing surface rust. Prioritize repairs that affect tool durability, accuracy, or user safety through clear repair prioritization.
Replace the tool when cracks, severe bending, stripped mechanisms, or weakened metal compromise its strength, or when repair costs approach replacement costs. Don’t use any tool that could fail during operation.
Conclusion
With these high-quality hand tools in your workshop, you’ll work more safely, accurately, and efficiently. A sturdy vise holds projects steady, while measuring and leveling tools keep every layout on track.
Hammers, screwdrivers, wrenches, pliers, knives, and hand saws help you handle everyday repairs and creative builds with confidence. Think of this collection as your workshop’s backbone: strong, dependable, and ready for action.
Choose well, care for your tools, and you’ll build better results every time with these top 10 high-quality hand tools for every workshop.