What Are Essential Machinist Tools?
Building a complete machinist tool set can feel overwhelming, especially when you’re unsure which tools you truly need first. You’re not alone—many machinists struggle to balance accuracy, versatility, quality, and budget when choosing essential machinist tools.
Essential machinist tools help you measure, mark, cut, secure, and finish work accurately. Start with calipers, micrometers, a height gauge, scriber, center punch, files, and a combination square.
Add drills, taps, dies, reamers, countersinks, deburring tools, and suitable cutting fluids.
Use a sturdy vise, clamps, parallels, and soft jaws to hold parts securely. Protect yourself with eye, hearing, and appropriate hand protection.
Continue for guidance on building and maintaining your complete machinist tool set.
Key Takeaways
- A sturdy bench vise, clamps, parallels, angle blocks, and soft jaws securely hold workpieces during machining.
- Calipers, micrometers, height gauges, bore gauges, and dial indicators verify dimensions, alignment, and tolerances.
- Scribes, combination squares, center punches, and marking blue provide accurate layout lines before machining.
- Drills, taps, dies, reamers, countersinks, files, hacksaws, and deburring tools support cutting and finishing operations.
- Safety equipment, cutting fluids, proper storage, regular cleaning, and calibration maintain safe, accurate, and efficient work.
Start With These Essential Machinist Tools
Whether you’re setting up a new shop or replacing worn equipment, start with essential machinist tools that support accurate measuring, secure workholding, and precise cutting. Build your kit around a sturdy bench vise, layout tools, files, deburring tools, hacksaws, and a reliable set of hand tools.
Add cutting tools such as drills, taps, dies, reamers, and countersinks as your projects demand them. You’ll also need clamps, parallels, angle blocks, and soft jaws to hold parts securely without damaging surfaces.
Choose durable materials, comfortable handles, and standardized sizes so you can replace or expand tools easily. Understanding machining terminology helps you identify tool functions, specifications, and compatible accessories.
A quick look at machinist history also explains why these basic tools remain valuable. They provide control, repeatability, and adaptability across manual work.
Organize everything where you can reach it quickly, inspect tools regularly, and replace damaged edges before they compromise your work.
Choose Essential Machinist Measuring Tools
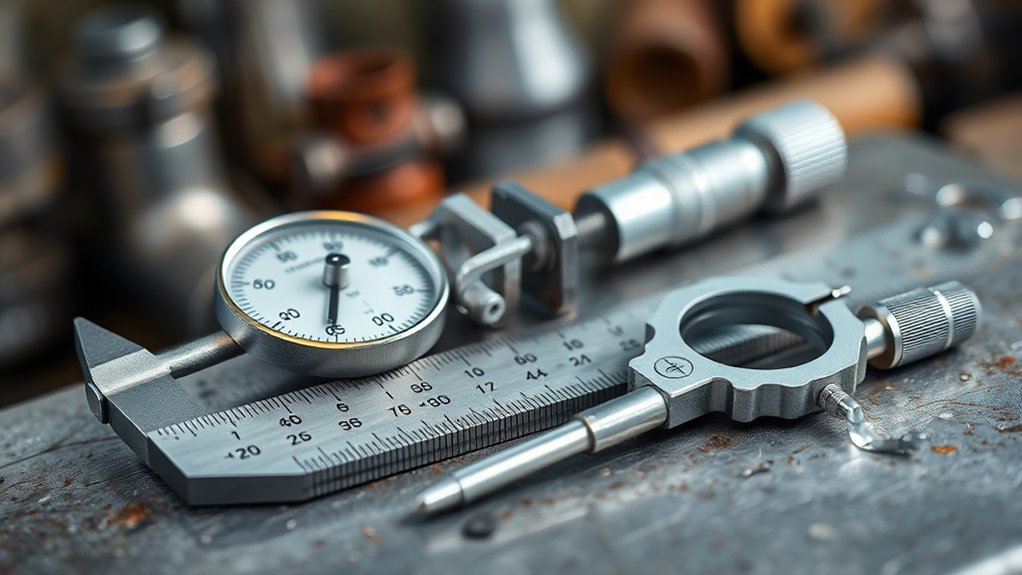
Choose precision measuring tools that fit your machining tasks and required tolerances. Essential inspection instruments include calipers, micrometers, and gauges, which help you verify dimensions reliably. Use accurate measurement practices to reduce errors and maintain consistent results.
Precision Measuring Tools
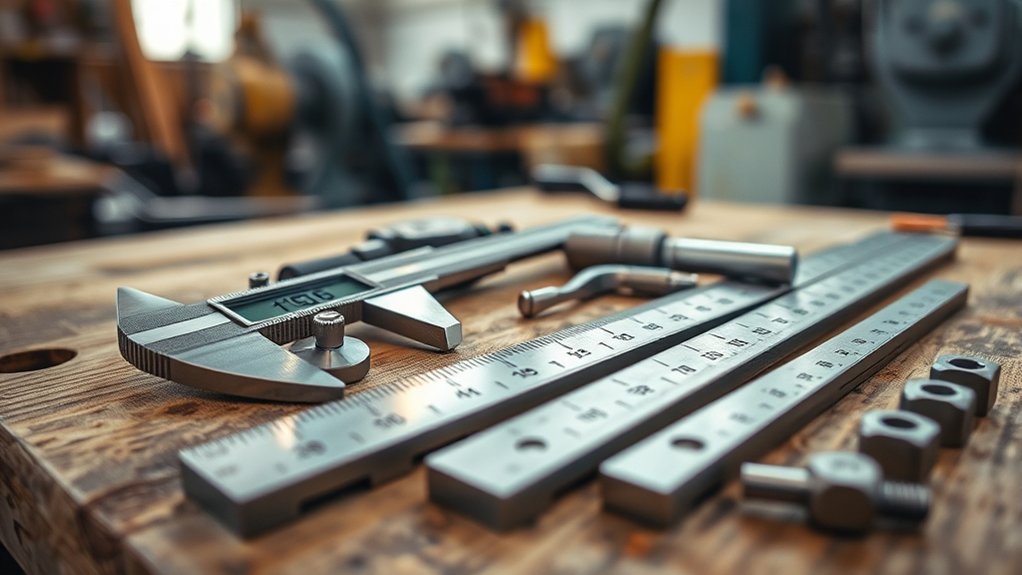
Precision measuring tools help you verify dimensions, alignment, and surface accuracy to guarantee each machined part meets its specifications. You’ll rely on micrometers for precise outside, inside, and depth measurements, while vernier or digital calipers handle versatile dimensional checks.
Use height gauges to transfer measurements accurately across a surface plate, and select bore gauges when you need dependable internal-diameter readings. A dial indicator helps you detect runout, variation, and alignment errors during setup.
Before measuring, clean every contact surface and apply consistent pressure to prevent false readings. Check each instrument against calibration standards on a scheduled basis, and use gauge blocks to confirm accuracy across the tool’s range.
Store equipment in protective cases, protect it from heat and moisture, and replace damaged tools promptly to maintain reliable results.
Essential Inspection Instruments
After verifying dimensions, inspect the finished part for defects, fit, and functional accuracy. You’ll need essential inspection instruments that reveal issues ordinary measuring tools may miss.
Use a surface plate with a height gauge to check flatness, step locations, and feature relationships. A dial indicator helps you detect runout, wobble, and alignment problems during setup or final inspection.
Choose a granite square for perpendicularity checks, while an optical comparator lets you examine profiles and angles without touching delicate surfaces.
Thread plug and ring gauges quickly confirm internal and external thread acceptance. Feeler gauges identify gaps, and radius gauges verify curved edges.
For reliable results, maintain clean instruments and schedule Advanced calibration through a qualified service. Digital readouts can simplify feature checks, but you’ll still need suitable contact points and inspection fixtures.
Accurate Measurement Practices
Accurate measurement starts with the right tool and a consistent technique. Choose essential machinist measuring tools, including a steel rule, calipers, micrometers, height gauge, and dial indicator. Match each tool to the required tolerance; don’t use calipers when a micrometer provides the necessary precision.
Before measuring, clean the workpiece, tool, and contact surfaces. Check for burrs, oil, and damage that could distort results. Apply light, consistent pressure, and keep the tool square to the feature.
For temperature-sensitive parts, let both the part and instrument reach room temperature. Use calibration techniques to verify zero settings and compare instruments with certified standards.
Record readings immediately, and repeat critical measurements to confirm measurement accuracy. Store tools properly, protect them from moisture, and schedule regular calibration.
These habits help you detect errors early and produce reliable, repeatable dimensions.
Use Machinist Layout and Marking Tools
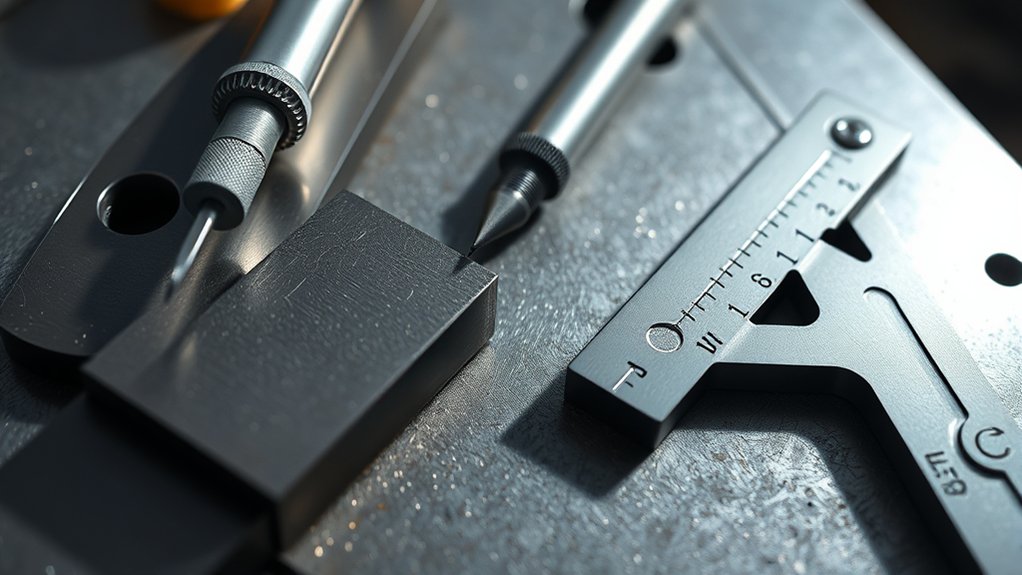
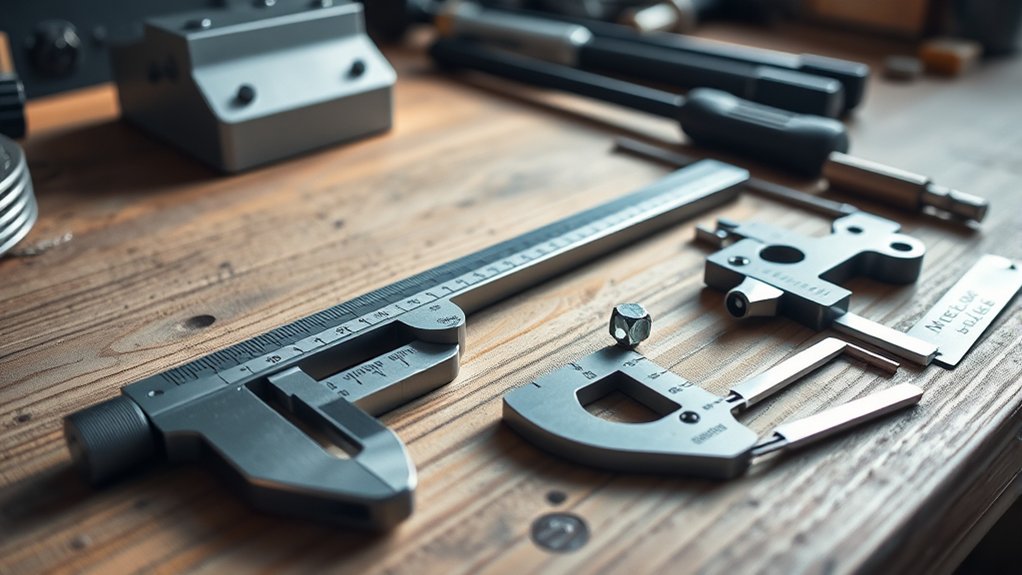
When you need to transfer dimensions or define cut lines, use machinist layout and marking tools to guide accurate machining. A scriber creates fine lines on metal, while a height gauge transfers measurements from a reference surface.
Use a combination square for perpendicular marks and a center punch to create a small indentation before drilling. Although cutting tools belong to another step, precise marks help you position work confidently.
Keep each tool clean, sharp, and suited to the material. Check Precision calibration on height gauges and squares regularly; even slight errors can shift a layout line.
Apply marking blue to contrasting surfaces so scribed lines remain easy to see. Hold tools firmly, but avoid excessive pressure that could distort thin stock.
| Tool | Primary use |
|---|---|
| Scriber | Fine layout lines |
| Center punch | Starting-point indents |
Protect tips with Tool storage trays or sleeves, and wipe away residue after use. Confirm every mark against your drawing before machining.
Select Machinist Cutting Tools
When selecting machinist cutting tools, choose materials that suit both the workpiece and the cutting conditions. Then, match the tool’s geometry to the operation, material, and desired finish. Finally, make sure the tool is compatible with your machine’s speed, power, and holding system.
Choose Tool Materials
Choose tool materials based on the workpiece, cutting speed, and desired finish. Select high-speed steel when you need toughness, easy sharpening, and economical performance on mild steel or during intermittent cuts.
Choose carbide for higher speeds, longer wear life, and consistent production work. Its hardness supports excellent durability, but it can chip under shock or vibration.
Use ceramic tools for high-speed machining of hardened materials and cast iron, especially when heat resistance matters.
Consider cermet when you want a clean finish and strong wear resistance on steel. Diamond tools suit nonferrous metals and abrasive composites, while cubic boron nitride handles hardened steels.
Check corrosion resistance when using coolants or machining reactive materials. Match the grade to your machine’s rigidity, coolant practice, and production demands before purchasing.
Match Cutting Geometry
After selecting the tool material, match its cutting geometry to the operation and workpiece. Your choices should reflect material hardness, cut depth, feed, and finish requirements.
Use geometry alignment to direct force efficiently, control chips, and reduce edge damage. Select rake, clearance, nose radius, and cutting-edge angles deliberately.
| Operation | Geometry choice | Benefit |
|---|---|---|
| Rough turning | Strong edge, small rake | Handles heavy cuts |
| Finish turning | Positive rake, larger radius | Improves surface finish |
| Drilling | Split point, suitable angle | Centers accurately |
| Milling | Helical teeth, variable pitch | Reduces vibration |
Choose a sharper edge for softer materials and a stronger edge for abrasive or interrupted cuts. Keep clearance sufficient to prevent rubbing, but don’t weaken the edge unnecessarily.
Check chip direction and ensure the nose radius suits the required contour and finish. Geometry controls performance before cutting begins.
Consider Machine Compatibility
Before selecting a cutting tool, verify that it matches your machine’s spindle speed, horsepower, torque, tool-holding system, and available clearance. Machine compatibility directly affects safety, accuracy, and tool life.
Choose a cutter your spindle can drive without excessive vibration, stalling, or overheating. Confirm that the holder, collet, or arbor fits securely and provides adequate rigidity.
Check the tool’s diameter and length against workpiece access, fixture placement, and machine travel. If you’re using coolant, make sure the tool and holder support your delivery method.
Review manufacturer recommendations for cutting speeds, feeds, and maximum loads rather than guessing. Proper tool maintenance also protects compatibility, so inspect holders, clean tapers, and replace worn components promptly.
A well-matched tool cuts more efficiently, reduces scrap, and helps your machine perform reliably.
Add Drilling and Tapping Tools
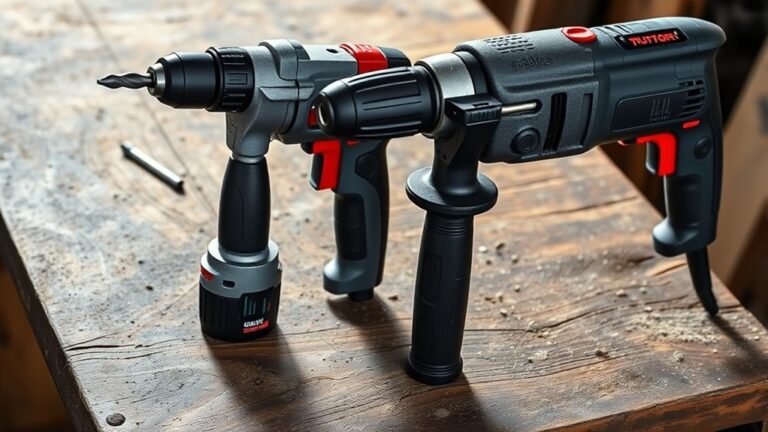
Add drilling and tapping tools to expand your machining capabilities beyond basic cutting and shaping. A drill press or milling machine with a rigid chuck lets you create accurate holes, while a quality drill-bit set handles different materials and diameters.
Include center drills, cutting fluid, and countersinks for cleaner starts, reduced heat, and finished openings.
Center drills, cutting fluid, and countersinks improve accuracy, reduce heat, and create clean, finished hole openings.
- Select drills carefully: Match bit geometry, coating, and diameter to the workpiece. Use center marks and secure the material before applying steady feed pressure. These drilling techniques help prevent wandering, oversize holes, and broken bits.
- Prepare for threads: Choose taps that match the required thread size and pitch, then drill the correct tap hole using a chart. Chamfer the entrance slightly to guide the tap.
- Control the cut: Follow proper tapping procedures by aligning the tap squarely, lubricating it, and reversing periodically to break chips. Use a tap wrench for hand work or a tapping attachment for consistent machine alignment.
Keep these tools organized, sharp, and ready for repeatable results.
Choose Essential Machinist Hand Tools
Choose hand tools that help you measure and shape parts accurately. Start with precision measuring tools to verify dimensions, then use cutting and deburring tools to create clean, finished edges. Choose durable tools that suit your machining tasks and required tolerances.
Precision Measuring Tools
Precision measuring tools help you verify dimensions, alignment, and tolerances with accuracy that ordinary rulers and hand tools can’t provide. You’ll rely on them when a fraction of a millimeter affects fit, function, or safety.
- Calipers: Use digital or dial calipers to measure outside, inside, and depth dimensions quickly. Check their zero setting before each job.
- Micrometers: Choose outside, inside, or depth micrometers for tighter tolerances. Apply consistent pressure to improve measurement accuracy.
- Dial indicators: Mount an indicator to detect runout, flatness, and alignment during setup. Read movement carefully and compare it with your specification.
Keep these instruments clean, protected, and stored properly. Follow manufacturer-recommended calibration techniques, and verify readings against certified standards regularly.
You’ll catch wear, temperature effects, and setup errors before they compromise your work or force costly rework.
Cutting And Deburring Tools
Cutting and deburring tools let you remove excess material, sharpen edges, and prepare parts for safe, accurate assembly. Choose hacksaws, files, utility knives, chisels, scrapers, and rotary tools according to your workpiece and required finish.
Your material selection matters: use hardened blades for tough metals, fine files for delicate edges, and carbide tools for long service life. Secure each part before cutting, and wear eye protection to guard against chips.
After machining, run a deburring tool along holes and edges to eliminate sharp projections without changing critical dimensions. Maintain consistent pressure and inspect your work under good lighting.
Regular tool sharpening keeps cutting edges efficient and reduces effort. Replace damaged handles, cracked files, or dull blades promptly.
Clean tools after use and store them dry to prevent corrosion and preserve accuracy.
Secure Work With Vises and Clamps
When you need to hold a workpiece securely, use the right vise or clamp for the job. Choose a bench vise for rigid support, a machine vise for milling, or specialized clamps for irregular shapes. Match the tool to the material and operation so pressure won’t distort delicate parts.
- Check vise alignment: Position the vise square with the machine table or reference surface. Tighten the mounting bolts evenly, then verify alignment with an indicator when precision matters.
- Protect the workpiece: Clean chips from the jaws and seating surfaces before clamping. Use soft jaws, parallels, or pads to prevent marks while maintaining firm contact.
- Balance clamping force: Apply enough pressure to prevent movement without crushing thin sections. Support long workpieces with blocks or a steady rest, and keep the cutting area accessible.
Good workpiece stability improves accuracy, protects tooling, and reduces vibration. Before machining, test for rocking or slipping by applying gentle hand pressure.
Recheck the setup after repositioning the part, because even small shifts can affect dimensions and safety.
Remove Burrs and Finish Machined Parts
After securing the workpiece, remove burrs and finish machined surfaces to improve fit, safety, and appearance. Begin by inspecting every edge, hole, slot, and mating surface under good lighting.
Use a deburring tool, fine file, scraper, or countersink to remove raised material without changing the part’s dimensions. Choose deburring techniques based on the material, burr size, and feature shape. A light touch prevents gouges and uneven edges.
For surface finishing, smooth tool marks with abrasive paper, stones, or Scotch-Brite-style pads. Work progressively from coarse to fine abrasives, and keep strokes consistent with the surface geometry.
For cylindrical parts, rotate the workpiece or use suitable abrasive cloth evenly rather than creating flat spots. Clean away chips and abrasive residue before checking dimensions.
Run your fingertip carefully along accessible edges, then verify critical features with calipers, micrometers, gauges, or templates. If the drawing specifies a radius, chamfer, roughness value, or edge break, measure and document your results.
Finish by applying the specified protective coating or lubricant when required.
Choose Safety Gear for Machining
Choose safety gear based on the machine, material, operation, and hazards involved. Before you begin, inspect the work area, read safety signage, and identify flying chips, sharp edges, noise, coolant, dust, and entanglement risks.
> Select appropriate safety gear by evaluating the machine, materials, task, and potential workplace hazards before machining begins.
Your personal protective equipment should fit securely without limiting movement or visibility.
1. Protect your eyes and face: Wear approved safety glasses with side shields for routine cutting. Add a face shield when chips, sparks, or splashing coolant could reach your face.
Don’t use a face shield alone in place of safety glasses.
2. Protect your hands and body: Choose snug, cut-resistant gloves for handling stock, but remove gloves near rotating tools unless your workplace procedure allows them.
Wear close-fitting clothing, sturdy footwear, and hearing protection.
3. Protect your breathing and hearing: Use suitable respiratory protection when ventilation can’t control harmful dust or mist.
Select earmuffs or plugs for high noise levels, and maintain clear communication with coworkers.
Tie back long hair, secure loose jewelry, and replace damaged gear immediately. Follow machine-specific procedures and keep emergency controls accessible before starting.
Build a Machinist Tool Set by Budget
Once you’ve covered your safety needs, build your machinist tool set around the work you’ll perform and the accuracy you need. Start with a modest budget by buying quality essentials: a six-inch rule, combination square, calipers, micrometer, scriber, deburring tool, files, and a dependable set of hex keys. Add cutting tools, a vise, and indicators as your projects demand them.
With a mid-range budget, choose better-grade measuring tools, a magnetic base, torque wrench, edge finder, and organized storage. These upgrades improve repeatability without paying for features you won’t use.
If you’re building a professional setup, invest in premium micrometers, gauge blocks, precision indicators, carbide tooling, and a rigid tool chest. Buy gradually, comparing accuracy, durability, and replacement costs.
Your machinist training should guide each purchase. Don’t buy specialized equipment before you can use it confidently. Include tool maintenance supplies, such as cutting fluid, rust protection, cleaning brushes, and calibration references, so every tool stays ready.
Frequently Asked Questions
How Should Machinist Tools Be Cleaned and Maintained?
Clean machinist tools after every use: brush away chips, wipe surfaces with a lint-free cloth, and use suitable Cleaning methods for coolant, oil, and grime. Dry everything thoroughly to prevent rust, then apply a light rust-preventive film to exposed metal.
Inspect cutting edges, handles, cords, and measuring faces regularly. Store tools in clean, dry cabinets, protect precision surfaces, and calibrate measuring instruments on schedule. Proper care improves Tool longevity and accuracy.
What Tool Materials Are Best for Machining Different Metals?
Choose carbide for most steel, stainless, and cast-iron work because it withstands heat and wear; use coated carbide when you need longer tool life. Select high-speed steel for interrupted cuts, softer metals, or lower speeds because it resists chipping and costs less.
Use ceramic for high-speed cast iron and hardened steel, and diamond or PCD for aluminum and composites. Your tool material selection should match metal machining techniques, rigidity, speed, and coolant.
How Often Should Machinist Tools Be Calibrated or Replaced?
Think of calibration like tuning a racing engine: you need it precise before performance suffers. Schedule tool calibration according to manufacturer recommendations, usage, and shop conditions.
Inspect frequently, verify critical measuring tools before each job, and recalibrate after damage or temperature extremes.
Plan tool replacement when accuracy declines, cutting edges chip, wear exceeds limits, or repairs cost more than new equipment. Keep records so you can spot trends and prevent unexpected failures.
Where Can Beginners Learn Proper Machining Techniques?
You can learn proper machining techniques through community colleges, trade schools, makerspaces, and supervised apprenticeship programs. Choose courses that combine classroom instruction with hands-on practice using lathes, mills, and measurement tools.
Prioritize basic safety, including machine guarding, protective equipment, and emergency procedures. Instructors can also teach tool selection, workholding, feeds, and speeds.
You’ll progress faster by practicing under supervision, asking questions, and consulting reputable manuals, videos, and manufacturer guidance.
What Workshop Conditions Are Ideal for Storing Machinist Tools?
Store machinist tools in a clean, dry, temperature-stable workshop with good lighting and ventilation. Control humidity to prevent rust, and keep floors free from oil, chips, and trip hazards.
Use cabinets, shadow boards, or drawers for clear Tool organization, protecting precision surfaces from impacts. Apply light rust-preventive oil where appropriate, and separate measuring instruments from heavy equipment.
Prioritize Storage safety by securing cabinets, labeling locations, and keeping sharp tools covered.
Conclusion
Choosing essential machinist tools starts with accurate measuring and layout equipment, then expands to cutting, drilling, workholding, deburring, and safety gear. You don’t need everything at once; build your set around the machines and projects you use most.
Remember, OSHA reports that hand and power tools contribute to thousands of workplace injuries annually, so inspect every tool and wear proper protection. With thoughtful purchases, you’ll work more precisely, safely, and efficiently while developing skills that justify future upgrades to your essential machinist tools.