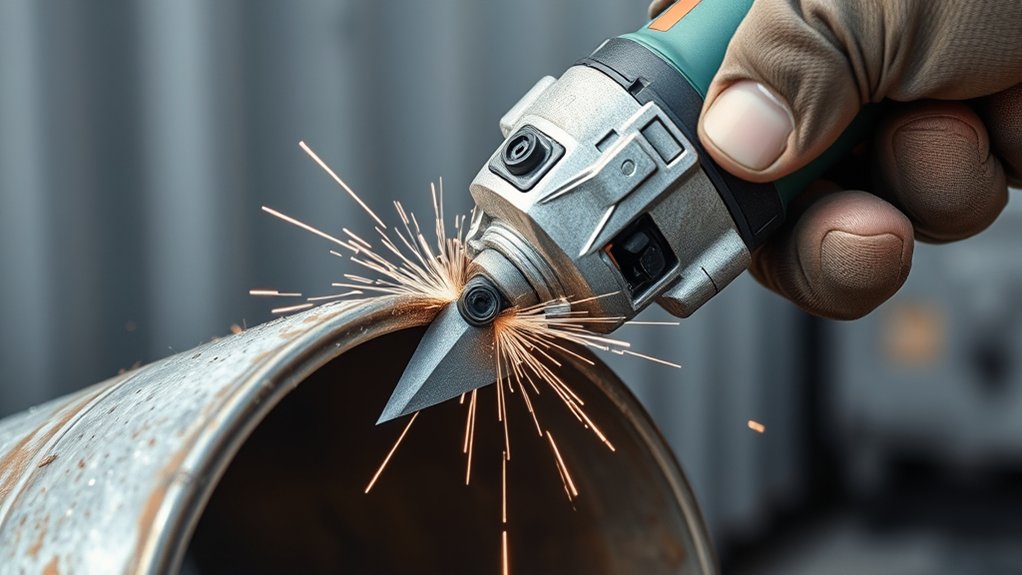
How to Cut Metal With an Oscillating Tool
Cutting metal cleanly can be frustrating, especially when sparks fly, blades wear out quickly, or the cut ends up uneven. You’re not alone—many people struggle to get reliable results when learning how to cut metal with an oscillating tool. The right blade, technique, and safety gear can make the job much easier.
To cut metal with an oscillating tool, confirm the material and thickness suit the tool. Wear eye, hearing, hand, and respiratory protection, then clamp the workpiece securely.
Install a fine-tooth bi-metal blade, mark your cut, and keep the shoe flat.
Use moderate speed, light pressure, and steady strokes; don’t force or twist the blade. Pause if it overheats, smokes, or turns blue.
Deburr sharp edges afterward, and choose a band saw or chop saw for thick metal—more guidance follows.
Key Takeaways
- Choose a bi-metal blade rated for your metal type and thickness. Use fine teeth for thin sheet metal and coarser teeth for thicker stock.
- Mark the cut line clearly, clamp the workpiece securely, and support thin or long metal to prevent movement and vibration.
- Wear safety glasses, hearing protection, gloves, sturdy footwear, and appropriate respiratory protection in a well-ventilated workspace.
- Set a moderate speed, keep the blade aligned, and apply light, steady pressure while letting the tool do the cutting.
- Pause to cool the blade and apply lubricant sparingly. Replace the blade if it becomes dull, bent, overheated, or smoky.
Check Whether Your Metal Is Suitable
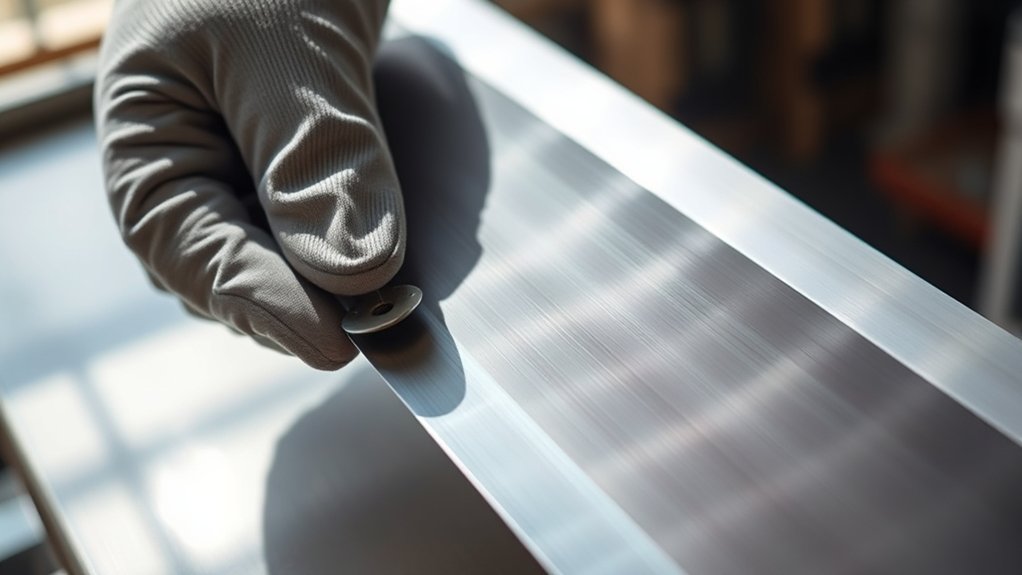
Before you start cutting, check that the metal is thin enough for your oscillating tool and blade. Review the workpiece’s thickness and confirm that your tool can handle it without excessive force, overheating, or stalling.
You’ll also need to identify the metal composition. Aluminum, mild steel, stainless steel, copper, and brass respond differently to heat, vibration, and pressure.
Check the manufacturer’s guidance or use a magnet and visual clues if you’re unsure.
Inspect the piece for coatings, paint, galvanization, or unknown residues. Cutting coated metal can release harmful fumes, so work outdoors or provide strong ventilation and wear suitable respiratory protection.
Consider corrosion resistance, too. Rusty or weakened metal may crumble, snag, or produce an uneven cut. Replace severely damaged sections when possible.
Securely support the workpiece and remove nearby flammable materials. Don’t cut pressurized containers, sealed pipes, or metal that may conceal wiring.
If the material feels too thick or unstable, choose a different cutting method.
Choose the Right Metal-Cutting Blade
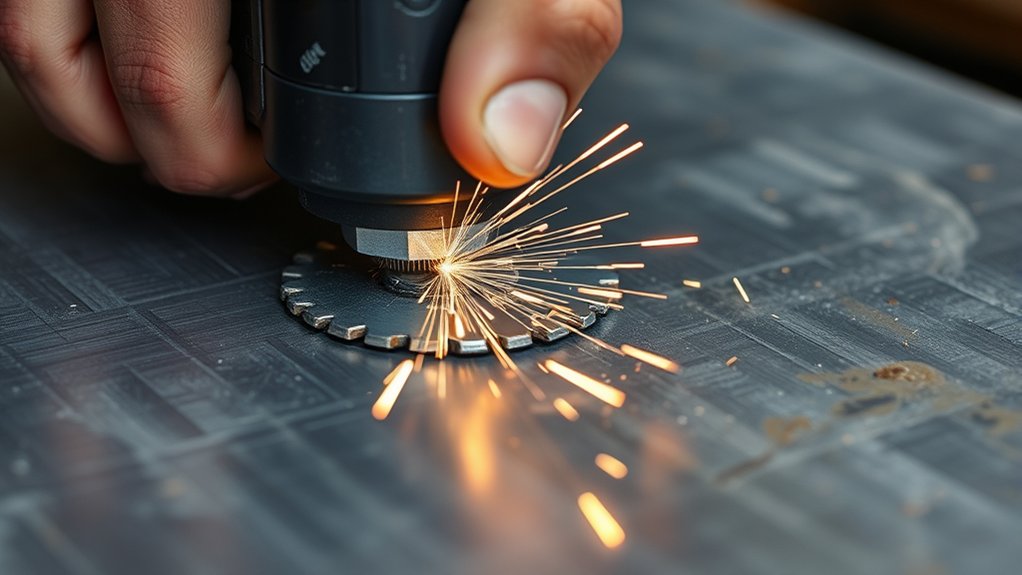
Choose a blade that matches the type of metal you’re cutting to get clean, efficient results. A durable bi-metal blade is usually a good choice, especially for tougher materials. Also, pay attention to the tooth configuration: finer teeth work best for thin metal, while coarser teeth are better suited to thicker stock.
Match Blade to Metal
Match the blade to the metal and the cut you’re making. Use a fine-tooth metal-cutting blade for thin sheet metal, conduit, or flashing. Its closely spaced teeth reduce snagging and leave a cleaner edge.
For thicker steel, choose a blade with fewer, larger teeth that can clear chips efficiently. Aluminum cuts best with a blade designed to resist clogging, while stainless steel demands a sharp, durable edge and steady pressure.
Check the blade’s rating before cutting, and don’t force it through the workpiece. Let the teeth do the cutting to control heat and vibration.
Pay attention to metal properties, including thickness, hardness, and brittleness, when selecting your blade. Good blade maintenance matters, too: clean away chips, inspect for damage, and replace dull blades promptly to protect your tool and workpiece.
Choose Bi-Metal Blades
When you’re cutting steel, conduit, or other tough metals, reach for a bi-metal blade with a flexible spring-steel body and hardened teeth. This construction combines resilience with a wear-resistant cutting edge, giving you dependable performance during demanding projects.
You’ll get better Blade durability than with a standard high-carbon blade, especially when the material heats up or flexes. Choose a blade long enough to reach through the workpiece without excessive bending, and replace it when teeth look rounded or damaged.
A sharp blade improves Cutting precision and helps you work safely.
- Select bi-metal blades for steel, stainless steel, and conduit.
- Match the blade’s length to your material’s thickness.
- Secure the workpiece before starting each cut.
- Use light pressure and let the tool do the work.
Keep spare blades nearby so you won’t interrupt your project when wear appears.
Check Tooth Configuration
After selecting a durable bi-metal blade, check its tooth configuration to suit the metal you’ll cut. Fine teeth work best for thin sheet metal, tubing, and other delicate materials because they reduce snagging and produce a cleaner cut.
Choose coarser teeth for thicker steel, aluminum, or cast iron, but feed the tool steadily to prevent tooth damage. Match the blade’s tooth spacing to the material’s thickness; at least two or three teeth should contact the workpiece during each stroke.
Inspect the teeth for consistent spacing, sharp points, and secure attachment before starting. Then confirm blade alignment with the oscillating tool and the cut line.
A properly aligned blade keeps the teeth engaged evenly, limits vibration, and helps you make straighter, more controlled cuts. Don’t force it.
Gather Safety Gear and Cutting Supplies
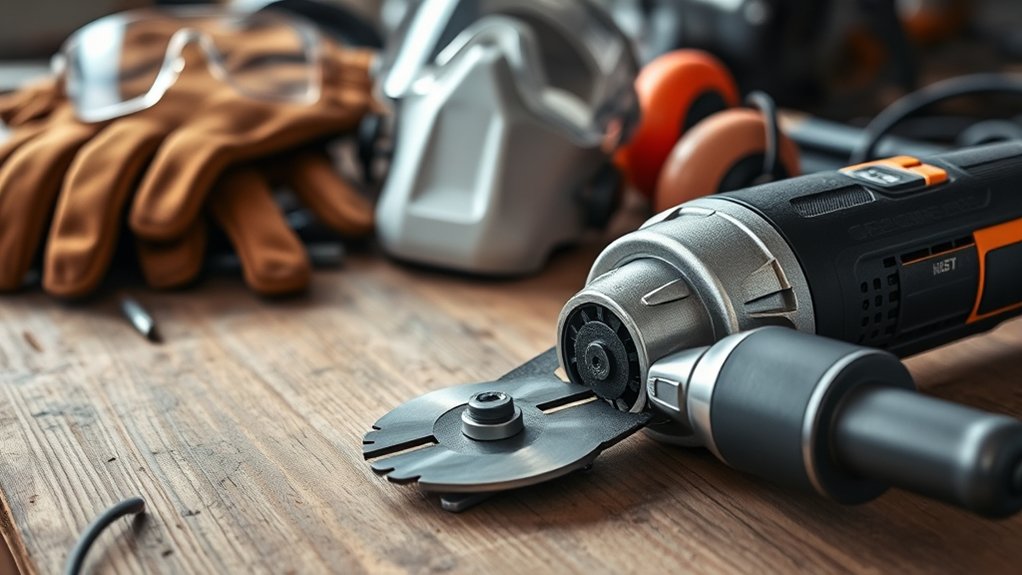
Before you start, put on safety glasses, hearing protection, work gloves, sturdy shoes, and a dust mask or respirator if cutting may create hazardous particles. Choose protective gloves that resist abrasion without limiting your grip.
Keep your oscillating tool’s battery charged, or position its cord where it won’t create a hazard. Select a bi-metal or carbide metal-cutting blade suited to the material and thickness.
Gather a few essentials:
- Replacement blades for dull or damaged teeth
- Cutting lubricants appropriate for the metal
- A brush or cloth for removing hot chips
- A fire-resistant container for waste and sparks
Inspect every item before work begins. Don’t use a cracked blade, frayed cord, damaged battery, or loose accessory.
Keep a first-aid kit and a suitable fire extinguisher nearby, especially when sparks or flammable debris could occur. If the material’s coating may release fumes, improve ventilation and check the manufacturer’s guidance.
Organize supplies within easy reach, but keep them away from the tool’s moving parts.
Mark and Secure the Metal
With your gear and supplies ready, mark the cut line clearly on the metal using a scribe, paint marker, or fine-tip marker suited to the surface. Make the line easy to follow, and mark both faces if you’ll cut through a thick piece.
For accurate metal marking, use a ruler, square, or template to guide straight lines. Double-check measurements before you cut, especially when the finished edge must fit another part.
Next, choose effective securing techniques for the material and your workspace. Clamp the metal firmly to a stable bench, keeping the marked section accessible.
Use padded jaws, scrap wood, or cardboard between the clamps and finished surfaces to prevent scratches. Support long or narrow pieces near both ends so they won’t shift, bend, or vibrate.
Leave enough clearance beneath the cut for the blade to pass safely, and remove loose items from the work area. Test the setup by pressing the metal gently; it shouldn’t move.
Set Up Your Oscillating Tool
Choose a blade designed for the type of metal you’re cutting. Before installing it, inspect your oscillating tool for damage and make sure it’s unplugged. Then, secure the workpiece firmly so it won’t move while you cut.
Choose the Right Blade
Select a metal-cutting blade designed for your oscillating tool, such as a bi-metal blade for thin sheet metal or a carbide-grit blade for tougher, thicker material. Match the blade to your project:
- Choose fine teeth for clean cuts in thin steel or aluminum.
- Choose coarse teeth for faster cuts through thicker metal.
- Use carbide grit for hardened fasteners, cast iron, or metal forging.
- Avoid wood blades, which can snag, overheat, or wear quickly.
Check the blade’s compatibility with your tool’s mounting system before buying. Select a width that suits your cut: narrow blades turn more easily, while wider blades offer better stability on straight cuts.
Don’t rely on blade sharpening for disposable oscillating blades. Replace dull or damaged teeth instead. A sharp, appropriate blade reduces heat, vibration, and cutting time, helping you work more accurately and safely.
Inspect the Tool
Before cutting, inspect the oscillating tool for damage and confirm that it’s unplugged or has its battery removed. Examine the housing, cord, battery contacts, switch, and ventilation openings for cracks, fraying, corrosion, or packed debris.
Don’t use the tool if any part looks unsafe; follow the manufacturer’s repair guidance instead. Check the blade clamp, flange, and retaining screw for wear, damage, or looseness.
Clean the mounting area so the blade seats flat and stays secure during operation. Verify blade compatibility with your tool’s attachment system, metal-cutting rating, and recommended speed range.
Tighten the fastener with the proper key, but don’t overtighten it. Test the trigger or power switch briefly after reconnecting power, then disconnect it again before installing or adjusting the blade.
Regular inspections support Tool durability.
Secure the Workpiece
Secure the workpiece on a stable surface with clamps so it can’t shift when the oscillating blade contacts the metal. Position the cut beyond the workbench edge, leaving enough room for the blade and tool body.
Add a sacrificial board beneath thin sheet metal to prevent bending and protect your surface. Before cutting, check that clamps won’t obstruct your hands or force an awkward grip.
- Tighten clamps firmly, but don’t deform the metal.
- Support long or narrow pieces at both ends.
- Mark the cut line where you can see it clearly.
- Keep nearby cords, tools, and debris out of your path.
Good securing supports metalworking safety by reducing vibration, kickback, and accidental slips. Recheck the setup if the workpiece moves, and inspect clamps after use.
Clean metal dust from them as part of regular tool maintenance.
Cut Metal With Light, Steady Pressure
Guide the oscillating tool through the metal with light, steady pressure, letting the blade do the work instead of forcing it. Keep both hands on the tool, and guide it along your marked line with smooth, controlled movements.
Excessive force can stall the motor, dull the blade, or create a rough cut, so focus on pressure control throughout the pass.
Choose cutting techniques that match the metal and blade. Start at a moderate speed, then adjust it if the blade struggles or overheats.
Let the teeth maintain steady contact without pressing the tool downward. If the cut slows, withdraw slightly, clear debris, and continue rather than pushing harder.
Use short, deliberate strokes when you approach corners or tight areas. Keep the blade aligned with the cut line, and avoid twisting the tool, which can bind the accessory.
Pause occasionally to check your progress and let the blade cool naturally. You’ll get a cleaner cut and extend blade life.
Control Vibration in Thin Sheet Metal
To control vibration, support the sheet firmly near the cut. Set your oscillating tool to a lower speed, then guide it steadily along the cut line. This helps reduce blade chatter and gives you a cleaner result.
Support the Sheet Firmly
Thin sheet metal can chatter, bend, or snag the blade if it isn’t supported close to the cut. Before you start, place the workpiece on a stable bench and keep the metal surface flat.
Clamp it on both sides of the cut, leaving enough room for the oscillating tool and blade. Add scrap wood beneath the sheet to prevent flexing, protect your bench, and reduce burrs.
Keep your hands away from the blade path, and reposition clamps as needed rather than reaching across the tool.
- Use padded clamps to prevent scratches.
- Support narrow strips with a wooden block.
- Mark the cut clearly before clamping.
- Check cutting angles from a comfortable stance.
Maintain steady, light pressure while guiding the blade through the supported section. Firm support gives you cleaner edges and better control without forcing the tool.
Use Lower Speed Settings
Start at a low speed so the blade doesn’t vibrate excessively or grab the thin sheet. Increase the setting gradually only when the cut progresses smoothly. A slower stroke rate gives you better control and limits heat buildup, which can discolor metal or dull the blade.
Match the tool’s speed adjustment to the sheet’s thickness and material. Aluminum may tolerate a different setting than stainless steel. Check blade compatibility before cutting, because a blade designed for thin metal should handle the work without forcing the tool.
Let the teeth remove material at their own pace, and keep your hands clear of the cutting path. If the tool strains, reduce the speed and reassess your setup.
Wear eye protection and hearing protection throughout the cut for safer operation.
Reduce Blade Chatter
Secure the sheet against a solid surface before cutting so it can’t flex and make the blade chatter. Add clamps near the cut line, but don’t block the tool’s path. Let the oscillating tool do the work; forcing it increases vibration, overheats teeth, and can distort the metal.
- Use a fine-tooth blade designed for thin metal and match the blade material to the job.
- Keep the shoe flat against the sheet to steady each stroke.
- Apply light, consistent pressure instead of rocking or twisting the tool.
- Pause when chatter starts, then reposition your support and resume slowly.
For additional chatter reduction, place scrap wood beneath the sheet to absorb movement. A shorter blade usually vibrates less, while a worn blade increases noise and wandering.
Replace it when cutting feels rough, requires excessive pressure, or leaves a ragged edge.
Prevent Heat and Blade Damage
Control heat buildup to protect both the blade and the metal. Use moderate speed and let the oscillating tool do the work.
Excessive pressure creates friction, dulls teeth, and can discolor steel. Pause often so the blade can cool, especially during long cuts.
A small amount of cutting lubricant reduces heat, but keep it away from electrical openings and follow your tool’s instructions.
Watch for metal expansion, which can pinch the blade as the kerf closes. Support the workpiece securely.
Replace a blade when it bends, smokes, or cuts slowly.
| Warning sign | Likely cause | Your response |
|---|---|---|
| Blue metal | Excessive heat | Reduce pressure |
| Smoking blade | Dull teeth | Stop and replace it |
| Pinching cut | Metal expansion | Add support and pause |
| Dark lubricant | Overheating | Cool the workpiece |
Choose a bi-metal blade rated for your material. Clean chips from the cut, maintain steady movement, and avoid forcing the tool.
These habits improve blade longevity and help you finish safely without damaging the workpiece. Don’t touch the blade immediately after cutting; let it cool naturally.
Smooth the Cut Edges Safely
After the cut, let the metal cool before smoothing its edges with a file, deburring tool, or fine abrasive pad. Secure the workpiece firmly, then wear safety glasses and gloves to protect yourself from sharp burrs and flying particles. Work away from your body, using light, controlled strokes.
Check the edge frequently so you remove only the roughness, not unnecessary material.
- Use a flat file for straight edges and a round file for holes or curves.
- Match your tool to the burr; don’t force a coarse abrasive on thin metal.
- Wipe away filings before inspecting the surface with your fingers.
- Finish with fine abrasive for cleaner edge smoothing and safer handling.
Keep your fingers behind the tool’s cutting direction. Brush filings away with a rag or brush rather than your bare hand.
If you want a brighter finish, continue with gradual metal polishing after removing every sharp projection. Clean the finished edge, then apply suitable rust protection if needed.
Choose Another Tool for Thick Metal
If the metal is too thick for your oscillating tool to cut efficiently, switch to a tool designed for heavier stock. For thick metal, choose equipment that matches the material’s thickness and your project’s demands.
An angle grinder with a cutoff wheel handles many tougher cuts quickly, but wear eye, hearing, and respiratory protection. For long, straight cuts, use a circular saw equipped with a metal-cutting blade, securing the workpiece firmly before you begin.
A reciprocating saw can tackle bulky sections and awkward access, especially with a bi-metal blade. For the cleanest results on substantial steel, consider a portable band saw or an abrasive chop saw.
These alternative tools remove material faster and reduce heat buildup, blade wear, and strain on your oscillating tool. Check each tool’s capacity, use the correct blade, and follow the manufacturer’s instructions.
If you’re cutting structural or load-bearing metal, consult a qualified professional before proceeding.
Frequently Asked Questions
Can an Oscillating Tool Cut Through Rusty or Painted Metal?
Yes, you can cut through rusty or painted metal with an oscillating tool, provided you use a metal-cutting blade and work patiently. Remove loose debris first, because heavy rust and flaking paint can reduce control.
For effective rust removal or paint stripping, switch to a wire brush or abrasive attachment rather than forcing the cutting blade. Wear eye protection, gloves, and a respirator, and secure the metal firmly before cutting to prevent dangerous movement.
How Long Does an Oscillating Metal-Cutting Blade Typically Last?
An oscillating metal-cutting blade typically lasts 10–30 minutes of continuous cutting, though blade durability varies widely. That estimate isn’t a rule: thin, clean steel preserves teeth, while thick, rusty, painted, or hardened metal quickly reduces cutting efficiency.
You’ll extend its life by using moderate pressure, steady speed, and cutting oil when appropriate. Replace the blade when cuts slow, teeth dull, vibration increases, or the tool overheats despite proper technique.
Can I Cut Metal Overhead or in Awkward Positions With an Oscillating Tool?
Yes, you can cut metal overhead or in awkward positions with an oscillating tool, but you’ll need extra control and protection. Wear safety glasses, gloves, hearing protection, and a hard hat, and secure the workpiece whenever possible.
Keep both hands on the tool, maintain a balanced stance, and watch for falling debris or hot sparks. Its tool versatility helps you reach tight areas, but don’t sacrifice stability, visibility, or safe blade access.
What Maintenance Does an Oscillating Tool Need After Cutting Metal?
After cutting metal, unplug the oscillating tool and brush away chips, dust, and abrasive residue from its vents, housing, and accessory mount. Wipe the tool with a dry cloth, then inspect the cord, trigger, and attachment area for damage.
Check blade compatibility before storing or installing another accessory. Replace dull, bent, or cracked blades promptly; proper blade replacement prevents vibration and poor cuts.
Finally, lightly clean and dry the blade clamp before storage.
Can an Oscillating Tool Cut Metal Pipes or Bolts in Tight Spaces?
Yes, you can cut metal pipes or bolts in tight spaces with an oscillating tool, provided you choose the right blade compatibility for the material. Use a compact, bi-metal blade for steel, and let the tool work slowly without forcing it.
Follow essential safety precautions: wear eye and hearing protection, secure the workpiece, check for hidden wires or pipes, and expect hot metal chips. Keep both hands steady when possible.
Conclusion
Cutting metal with an oscillating tool isn’t a medieval duel, though your blade may disagree. Choose suitable metal, fit the right cutting blade, wear safety gear, mark your line, and secure the workpiece before you start.
Control vibration, pause to prevent overheating, and smooth sharp edges when you finish. If the metal’s too thick, don’t bully the tool; choose a grinder, saw, or specialist instead.
Your eyebrows, and your project, will thank you. With the right technique, cutting metal with an oscillating tool can be safe, controlled, and effective.