Top 10 Oscillating Tool Blades for Tile Cutting in 2027
Cutting tile cleanly with an oscillating tool can be frustrating, especially when blades chip edges, wear out quickly, or struggle with hard porcelain. You’re not alone—many DIYers and professionals have trouble finding the right blade for each material and cut.
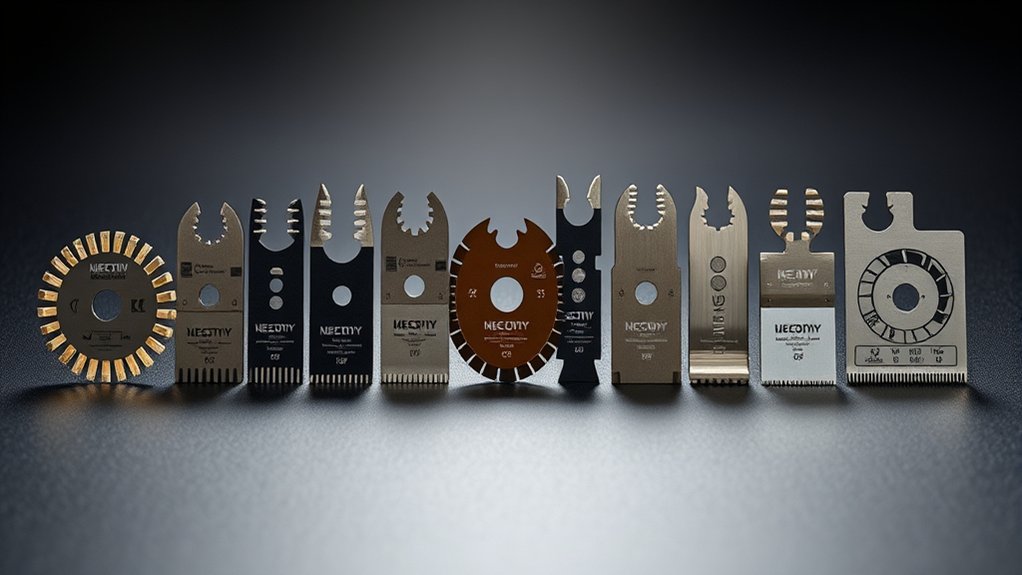
The top 10 oscillating tool blades for tile cutting in 2027 include diamond-grit blades for porcelain, glass, and stone; carbide-grit blades for ceramic and grout; multi-material blades for versatile repairs; and narrow profiles for corners, curves, and detail cuts.
Match each blade’s grit, width, shank, thickness rating, and speed range to your tool and tile. Use light pressure, steady passes, and cooling when permitted.
Continue for guidance on choosing the right blade for every tile-cutting task.
Key Takeaways
- Choose diamond-grit blades for porcelain, glass, and stone; carbide-grit blades suit ceramic, grout, and light masonry.
- Verify universal shank compatibility, tile thickness ratings, and the blade’s maximum supported oscillation speed.
- Select narrow blades for curves, grout removal, corners, and repairs. Wider blades provide stability for straighter cuts.
- Prioritize durable, evenly distributed grit, reinforced segments, and coatings that resist glazing and overheating.
- Use light pressure and controlled passes, with dust extraction or permitted water cooling. Replace blades when cutting slows.
How to Match a Blade to Your Tile
Choosing the right oscillating tool blade starts with identifying your tile’s material and thickness. Check whether you’re cutting ceramic, porcelain, glass, stone, or cement-based tile, then compare that material with the blade manufacturer’s rating.
> Identify your tile’s material and thickness first, then choose an oscillating blade rated for the specific surface.
Use a carbide-grit blade for many ceramic and grout-related tasks, while specialized blades suit harder surfaces. Match the blade’s width to your cut: narrow blades handle curves and tight corners, while wider blades provide steadier control on straight lines.
Consider thickness, too. A blade designed for thin wall tile may overheat or wear quickly on dense, thick flooring. Confirm the tool’s speed range and choose a blade that supports it before cutting.
For blade safety, wear eye protection, secure the tile, and keep both hands clear of the oscillating edge. Follow installation tips carefully: tighten the attachment, inspect it for damage, and test your setting on a scrap piece first.
Replace dull blades promptly to prevent chipping and excessive pressure.
Best Diamond-Grit Blade for Porcelain Tile
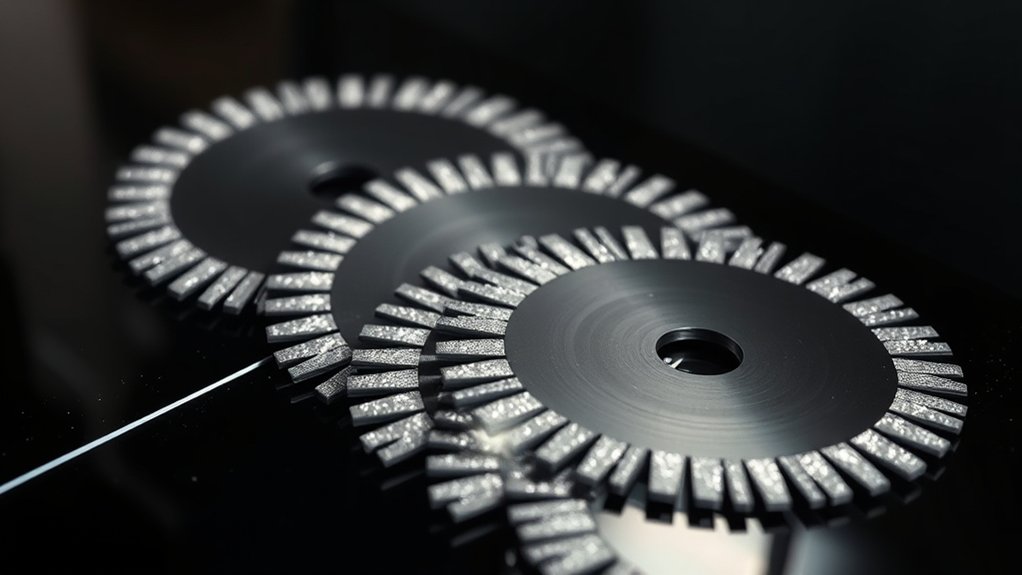
When cutting porcelain tile, choose a diamond-grit blade for reliable, long-lasting performance. Its abrasive edge helps create precise cuts while reducing chipping. For the best results, use a blade specifically rated for porcelain, as it offers better control and a longer service life.
Diamond Grit Durability
Diamond-grit durability matters because porcelain tile is dense enough to wear down inferior blades quickly. Choose a blade with dense, evenly distributed diamonds and strong grit adhesion.
That combination resists diamond wear, keeps the cutting edge active, and helps you finish more cuts before replacement. Check the manufacturer’s bond type, grit concentration, and recommended materials rather than judging quality by price alone.
Avoid forcing the tool. Excessive pressure creates heat and accelerates abrasive loss. Let the blade’s exposed diamonds do the work, and clear dust regularly to reduce buildup.
| Feature | What to seek | Benefit |
|---|---|---|
| Grit adhesion | Strong bonded particles | Longer service |
| Diamond density | Even, high concentration | Consistent abrasion |
| Bond hardness | Tile-rated formulation | Better wear resistance |
Inspect the edge after each project. Replace it when segments look glazed, uneven, or visibly depleted. A durable blade saves time and reduces interruptions.
Porcelain Cutting Precision
For precise porcelain cuts, you need a diamond-grit blade designed for dense, brittle tile. Unlike general-purpose blades, it uses a continuous abrasive edge to reduce chipping and maintain control around corners, plumbing openings, and narrow adjustments.
Choose a blade sized for your oscillating tool and match its profile to the cut you’ll make.
- Prioritize grit quality: A high-grade diamond coating withstands porcelain durability, so you’ll get cleaner results across multiple projects.
- Control your cutting speed: Use steady, moderate pressure and let the abrasive do the work. Excessive force creates heat, vibration, and jagged edges.
- Keep the cut cool: Pause regularly, clear dust, and avoid twisting the blade. These habits protect the segment and improve precision.
With the right technique, this blade gives you accurate porcelain cuts without unnecessary waste or costly breakage.
Most Durable Blade for Hard Porcelain
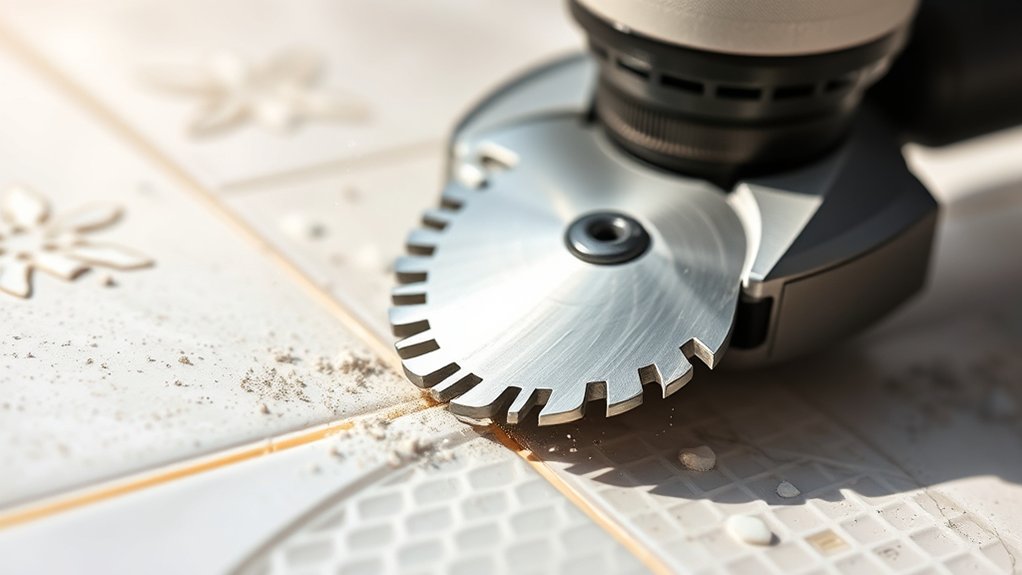
For hard porcelain, choose an oscillating blade with a continuous diamond-grit edge and a reinforced steel body. This combination withstands abrasive surfaces, resists tooth breakage, and maintains a steady cut through dense tile.
Choose a blade with deep, uniform diamond coverage rather than a lightly coated edge, especially for repeated renovation work. Match the blade’s width to your cut: a narrow profile improves access around fixtures, while a wider profile offers better stability on exposed edges.
Check Tool compatibility before installation. Confirm the shank fits your oscillating multitool and verify that the blade’s rated speed suits your machine.
During use, let the blade’s abrasive edge do the work. Forcing it creates heat and accelerates wear.
For Blade maintenance, brush away porcelain dust after each cut, inspect the diamond surface for glazing, and store the blade dry. Replace it when cutting slows noticeably or the edge becomes uneven.
You’ll get longer service and cleaner results without excessive pressure.
Top Carbide Blade for Ceramic Tile
When you need clean, controlled cuts in ceramic tile, choose a carbide blade with sharp, durable teeth and a rigid body. A top carbide blade handles glazed surfaces, trim adjustments, and outlet openings without quickly losing its cutting edge. You’ll get the best results when you match the blade width to your cut and let the tool work at a steady speed.
- Check the grit: Fine carbide grit suits detailed edges, while a coarser surface removes material faster.
- Control heat: Use light pressure and short passes to reduce friction, chipping, and glaze damage.
- Inspect the edge: Replace a worn blade when cuts become slow, rough, or difficult to guide.
Consider your tile’s Ceramic textures before cutting. Raised patterns can catch an aggressive blade. For visible repairs, prioritize color matching and make a test cut on scrap tile first.
Mark the line clearly, support the tile fully, and wear eye protection. This focused blade choice gives you cleaner results and better control on ceramic installations.
Best Multi-Material Blade for Tile
When you need one blade for a variety of tile projects, choose a multi-material model with durable carbide grit. It delivers reliable performance across ceramic tile, grout, mortar, and other materials. Plus, its versatility lets you tackle more tasks without constantly changing blades.
Carbide Grit Performance
Carbide-grit blades excel when one oscillating tool must cut more than tile, handling grout, cement board, thin masonry, and abrasive materials without relying on sharp teeth that quickly dull. You’ll notice their coating grinds steadily rather than slices, so pressure and heat control matter more than force.
- Controlled cutting: Let the blade’s abrasive surface work at a moderate speed; pushing harder only creates heat and slows removal.
- Durable edges: Carbide grit resists wear during grout removal and masonry trimming, giving you more consistent performance over repeated jobs.
- Simple maintenance: Inspect the coating after each project, clear packed dust, and replace the blade when its abrasive surface becomes smooth.
You won’t need blade sharpening, because carbide particles don’t restore like steel teeth. Keep the tool moving gently to prevent gouging tile edges, and use light passes for predictable depth control throughout demanding cuts.
Versatile Material Compatibility
A multi-material oscillating blade gives you a practical choice for tile projects that also involve grout, cement board, thin wood, plastic, or light masonry. During Tile installation, you can switch from trimming a tile edge to removing hardened grout without changing tools.
Its mixed-tooth or carbide-grit design handles varied surfaces while maintaining controlled cuts around fixtures, corners, and thresholds. Choose a blade with clearly rated materials, because aggressive masonry work can wear general-purpose teeth quickly.
You’ll also appreciate its flexibility when preparing joints for grout sealing, cutting backer board, or shortening shims. Keep steady pressure, let the blade do the work, and avoid forcing it through dense material.
Clean debris from the teeth between tasks, then inspect the blade for wear before your next cut.
Best Oscillating Blade for Tile Grout Removal
For fast, controlled grout removal, choose a carbide-grit oscillating blade sized slightly narrower than the joint you need to clean. Its abrasive edge breaks down hardened grout without forcing you to widen the seam or risk chipping tile. Select a blade with a stable universal mount, and match its width to your joint for better control.
- Start at a low speed, letting the carbide grit do the work. Keep the tool moving steadily, and don’t press hard enough to strain the motor.
- Score the joint’s center first, then make controlled passes toward the edges. Stop before reaching waterproofing, backer board, or delicate tile corners.
- Vacuum dust frequently and inspect the joint before applying new grout. Thorough grout cleaning improves adhesion and supports durable Tile sealing afterward.
Wear eye protection and a respirator when dust accumulates. Replace a rounded or clogged blade promptly. A fresh abrasive surface cuts more predictably and reduces heat.
With the right blade and patience, you’ll restore joints efficiently without unnecessary tile damage.
Best Blade for Flush and Corner Cuts
When you need flush or corner cuts, choose a thin, fine-tooth bi-metal oscillating blade for clean access along trim, walls, and adjoining surfaces. Its narrow profile lets you reach tight corners without forcing the tool against finished tile or nearby fixtures.
Select a blade with durable teeth and enough length to clear the material, but avoid oversized blades that flex or wobble.
Mark your cut line, set the tool to a moderate speed, and let the teeth work with light pressure. Keep the blade square to the surface for an even edge, especially when trimming grout at a wall junction.
A compact oscillating tool improves control, while a dust-extraction attachment helps you see the line.
After cutting, remove loose debris and inspect the joint. Smooth, accessible edges support reliable Tile sealing and grout sealing by giving sealant a clean surface and consistent contact.
Always wear eye protection and confirm hidden wiring or plumbing before cutting.
Best Precision Blade for Tile Detail Cuts
Choose a narrow carbide-grit oscillating blade for precise tile detail cuts around outlets, corners, and small openings. Its slim profile gives you better visibility and control than a broad blade, while carbide grit handles porcelain, ceramic, and glass tile without quickly wearing down.
Choose a fine, continuous edge when you need clean arcs or short notches, and match the blade width to the cut so you don’t remove excess material.
- Mark the cut with painter’s tape, then score your outline clearly. The tape reduces surface chipping and keeps pencil lines visible.
- Set a moderate speed and let the blade work gradually. Don’t force it; light pressure helps you follow curves accurately.
- Test-fit the tile before applying adhesive, checking outlet plates, trim, and neighboring pieces.
Keep water away from the tool unless your model permits wet cutting. After installation, accurate edges simplify Tile sealing and create a cleaner base for grout coloring.
This precision blade helps you achieve detailed results without damaging surrounding tile.
Best Oscillating Blade for Tile Repairs
For tile repairs, choose an oscillating blade that makes precise cuts in tight spaces. It should remove grout effectively while offering the durability and control needed for careful work.
Precision Tile Cutting
Precision tile cutting depends on a fine-grit diamond oscillating blade that can follow grout lines and trim damaged edges without chipping surrounding tiles.
For repairs, choose a narrow blade that gives you clear visibility and controlled movement around corners, fixtures, and cracked sections.
A dependable setup includes:
- Diamond grit: It cuts ceramic, porcelain, and stone cleanly while resisting premature wear.
- Innovative blade coatings: They reduce friction, manage heat, and help the blade stay sharp during careful passes.
- Ergonomic handle design: It lets you guide the tool comfortably, so you’ll maintain steadier pressure and fewer accidental slips.
Use light pressure, short strokes, and a moderate speed. Let the abrasive edge do the work rather than forcing the tool.
Before cutting, mark your path with a fine pencil and protect nearby surfaces with masking tape. Always wear eye protection and secure the tile firmly.
Grout Removal Performance
When grout removal performance matters, a narrow diamond-grit oscillating blade lets you clear hardened joints efficiently without damaging adjacent tiles. Guide the blade along the seam, keeping its edge centered so you can lift old grout rather than chip the tile.
Its slim profile reaches corners and tight spaces, making repairs less disruptive. Use light passes for grout cleaning, then vacuum dust before inspecting the joint.
If residue remains, repeat briefly instead of forcing the blade. Save tile polishing for the final surface treatment; it won’t replace careful joint removal.
| Task | Blade action |
|---|---|
| Surface grout | Short, centered passes |
| Corner joints | Tip-led movement |
| Deep buildup | Multiple light passes |
For the cleanest repair, match the blade width to the joint and stop before contacting tile edges. You’ll create a neat channel ready for fresh grout, with minimal cleanup afterward.
Blade Durability and Control
After clearing the joint, choose a blade that balances long wear with steady control. For tile repairs, a carbide-grit blade usually outlasts standard metal and stays manageable around fragile edges. Match its width to the joint, then let the tool do the cutting instead of forcing it.
- Keep the blade nearly flush with the grout line. Use short, controlled passes to reduce vibration and protect nearby tile.
- Watch for slowing cuts, excessive heat, or rounded teeth. Those signs mean you should replace the blade rather than push harder.
- Include tool maintenance in every project. Clean dust from the tool, inspect the clamp, and check for looseness before restarting.
Blade sharpening may restore some reusable accessories, but many abrasive blades aren’t designed for it. A fresh blade gives you cleaner control, fewer chips, and more predictable repair results. Keep a spare nearby for uninterrupted work.
Best Budget Oscillating Blade for Tile
For budget-friendly tile work, choose an oscillating blade with a diamond-grit edge, a universal fit, and enough durability to handle grout and occasional ceramic cuts. A value-focused diamond blade gives you reliable control without the price of premium specialty accessories.
Look for a reinforced segment, clear compatibility details, and a moderate grit that removes grout efficiently while limiting chipping.
Before buying, check your tool’s mounting system and confirm the blade suits your tile type. Use light pressure, keep the edge moving, and let the abrasive surface do the cutting.
You’ll extend blade life by avoiding force, overheating, and contact with metal fasteners. For small repairs, one affordable blade can handle several grout lines and a few cuts, making it a practical choice for homeowners.
After cutting, clean dust thoroughly before tile sealing or grout sealing. This budget option won’t match professional blades for heavy daily work, but it delivers dependable results for occasional projects.
Frequently Asked Questions
Can Oscillating Tool Blades Cut Tile Without Water Cooling?
Yes, you can cut tile with an oscillating tool blade without water cooling, especially for small cuts, notches, and adjustments. However, dry cutting creates more dust, heat, and friction, which can reduce Blade durability and cause premature wear.
You’ll also need to work slowly to maintain Cutting precision. Wear eye and respiratory protection, secure the tile firmly, and pause frequently so the blade can cool.
For extended cuts, water cooling remains safer and more effective.
How Do You Safely Change an Oscillating Tool Blade?
Unplug the oscillating tool or remove its battery before changing the blade. Let the tool cool, then wear eye protection and gloves as safety precautions.
Release the blade clamp or loosen its screw, keeping your fingers clear of sharp teeth. Remove the old blade, check blade compatibility, and install the replacement in the correct orientation.
Tighten the fastener securely, verify the blade sits firmly, and test the tool briefly away from your body.
What Protective Equipment Is Needed When Cutting Tile?
You’ll need Personal protective gear when cutting tile: wear safety glasses or a face shield to block chips, hearing protection for loud tools, and a properly fitted N95 respirator to reduce inhaled dust.
Add cut-resistant gloves, sturdy long sleeves, nonslip footwear, and knee protection when kneeling.
Keep your blade compatibility correct, because the right blade helps prevent binding and unexpected breakage. Use wet cutting or dust extraction whenever possible.
Can One Oscillating Tool Handle Work With Every Blade Type?
No, you can’t assume one oscillating tool handles every blade type. Picture the blade locking into place, then stopping cold because its mount doesn’t match.
Check your tool’s interface—universal, Starlock, or another system—before buying accessories. Blade compatibility determines whether installation works safely and efficiently.
Tool versatility improves when you use adapters, but they may limit performance or void warranties. Read your manual, confirm ratings, and never force an incompatible blade onto the tool.
How Should Used Diamond and Carbide Blades Be Disposed Of?
You should dispose of used diamond and carbide blades according to local rules. Don’t place them loose in household recycling or trash, because sharp edges can injure workers. Wrap each blade securely, label the package, and check your municipality’s blade recycling guidance for accepted metal drop-off options.
If the blade carries chemical residue, use hazardous waste disposal services instead. Remove dust carefully, wear gloves, and contact your waste authority when requirements remain unclear.
Conclusion
Choosing the right oscillating blade makes tile work faster, cleaner, and safer. Diamond grit generally outcuts carbide on porcelain, while carbide remains practical for softer ceramic and occasional repairs.
The theory that one universal blade can handle every tile job doesn’t hold up: material hardness, cut position, and detail level change the best choice. Match the blade to your tile and task, keep it cool, and let controlled passes, not pressure, produce the finish you want.
For the best results, choose from the top oscillating tool blades for tile cutting in 2027 based on your specific project needs.