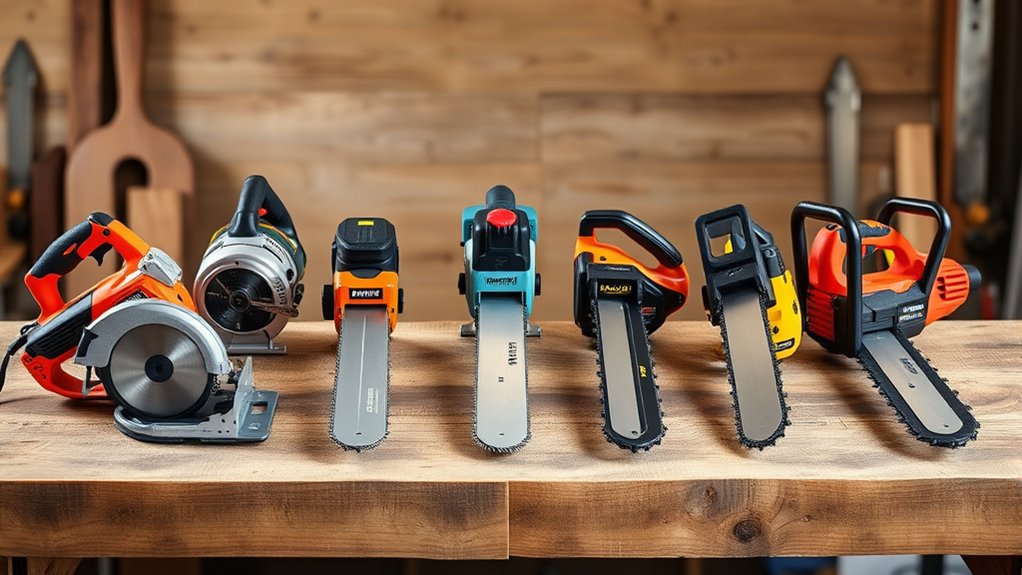
7 Popular Electric Saw Types You Need to Know
Choosing the right electric saw can feel overwhelming, especially when every model seems designed for a different task. You’re not alone—many DIYers struggle to know which tool will make clean cuts faster and easier.
In this guide to the 7 popular electric saw types you need to know, you’ll learn each tool’s main strength. Use a circular saw for fast, straight cuts, a jigsaw for curves and cutouts, and a reciprocating saw for demolition.
Choose a miter saw for accurate crosscuts and angles, or a table saw for repeatable rip cuts. A scroll saw handles intricate wood designs, while an oscillating saw makes flush cuts in tight spaces.
Keep exploring to match each saw with the right blade and technique.
Key Takeaways
- Circular saws make fast, straight cuts in wood, plywood, and similar materials.
- Jigsaws handle curves, interior cutouts, and detailed cuts in thinner materials.
- Reciprocating saws excel at demolition, cutting lumber, drywall, pipes, nails, and metal.
- Miter saws produce accurate crosscuts, miter cuts, bevels, and compound angles.
- Table, oscillating, and laser-guided saws provide precise rip cuts, flush cuts, and improved cutting alignment.
Circular Saws for Fast, Straight Cuts
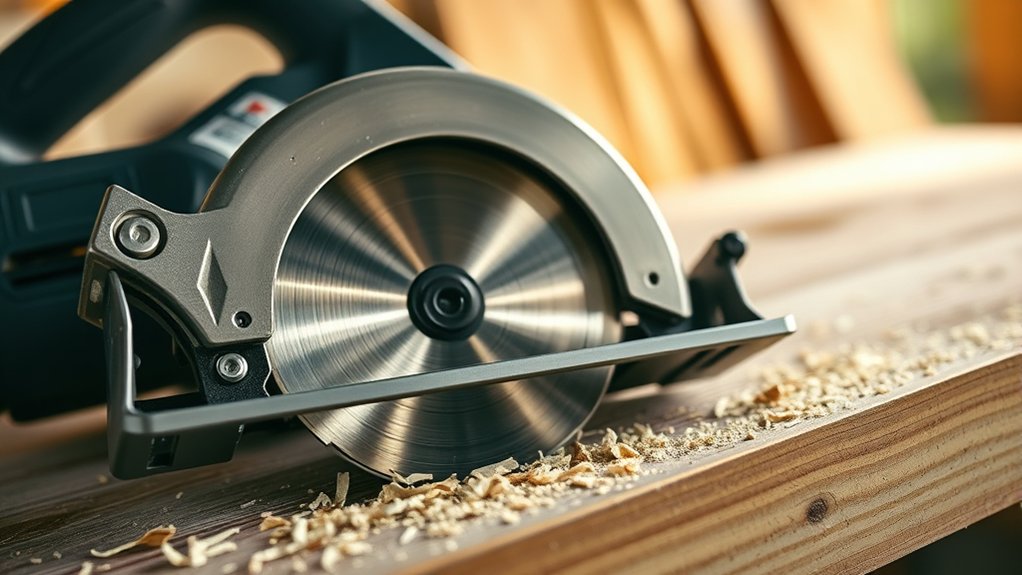
Circular saws use a toothed blade to make fast, straight cuts through wood, plywood, and other materials. You guide the tool along a marked line, letting its powerful motor handle long rip cuts, crosscuts, and sheet-goods work efficiently.
Choose a blade designed for your material: fewer teeth cut quickly through framing lumber, while more teeth produce cleaner edges in plywood and finished wood.
Match blade tooth count to your material: fewer teeth speed rough cuts, while more teeth create smoother finishes in plywood and wood.
Pay attention to Blade durability when comparing models and replacement blades. Carbide-tipped teeth typically last longer and stay sharper than basic steel teeth, especially during demanding projects.
You’ll also benefit from adjustable cutting depth and bevel settings, which help you make controlled cuts at different angles and thicknesses.
Prioritize safety features, including a blade guard, electric brake, and comfortable trigger lockout. Wear eye and hearing protection, secure your workpiece, and keep both hands clear of the blade path.
With proper setup, you’ll make accurate cuts while working more confidently and efficiently.
Jigsaws for Curves, Cutouts, and Thin Stock
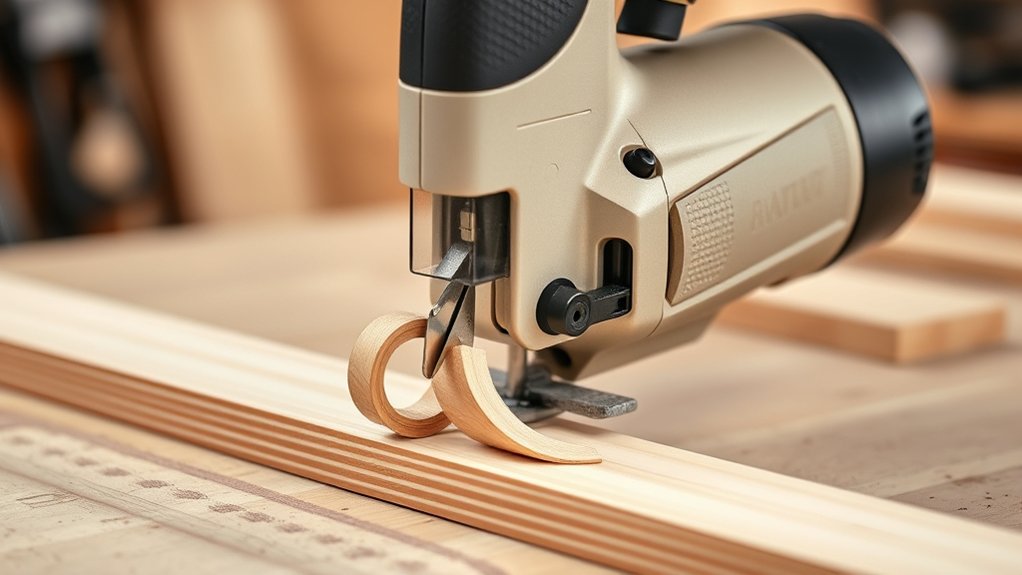
A jigsaw makes it easy to cut smooth curves and precise cutouts. It also gives you better control when working with thin stock, helping reduce splintering and waste. For cleaner, more accurate results, choose the right blade and adjust the speed to match the material.
Curved Cutting Precision
When your project calls for curves, interior cutouts, or thin stock, a jigsaw gives you the control that straight-cut saws can’t. Choose a narrow, fine-tooth blade when you need tight turns, and guide the saw steadily along your marked line.
Flexible blades follow changing directions, but excessive pressure can bend them and spoil your cut. Start interior cutouts by drilling a starter hole large enough for the blade, then ease the tool into the opening.
Keep the shoe flat against the workpiece as you pivot through each curve. Ergonomic handles help you maintain a relaxed, controlled grip, reducing sudden movements during detailed work.
Set a moderate speed for cleaner results, and let the blade do the cutting instead of forcing the saw around corners.
Thin Stock Control
Thin stock needs a fine-tooth blade and light pressure to prevent splintering, cracking, or unwanted movement. When you cut curves or cutouts with a jigsaw, support the workpiece fully and clamp it securely.
Choose a narrow blade for tight turns, then let the tool advance at its own pace. For delicate materials, place painter’s tape along the cut line to reduce tear-out.
Keep the shoe flat, and don’t force the blade through corners.
| Material | Blade choice | Helpful technique |
|---|---|---|
| Thin stock | Fine-tooth | Support both sides |
| Plywood | Reverse-tooth | Tape the cut line |
Start with a test cut on scrap, especially when matching an existing curve. Reduce orbital action for cleaner edges, and pause before repositioning your hands.
You’ll gain control, accuracy, and smoother results.
Reciprocating Saws for Fast Demolition Cuts
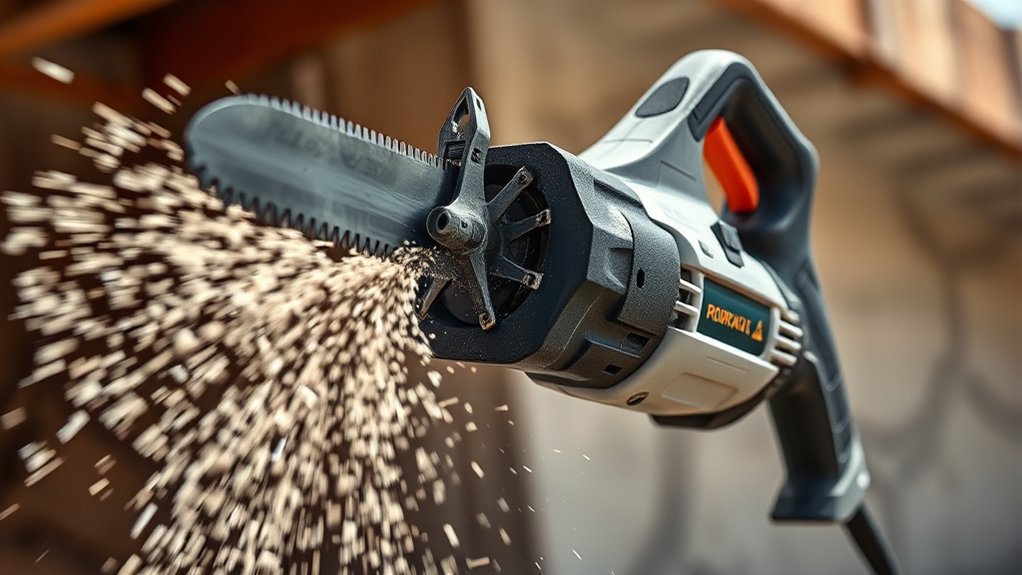
Reciprocating saws deliver fast, aggressive cuts for demolition work, letting you slice through lumber, drywall, nails, PVC, and metal with the right blade.
You’ll appreciate their compact design when you’re removing walls, cutting through framing, or rescuing materials from tight spaces.
Choose a coarse blade for wood and demolition debris, then switch to a bi-metal blade for nails, bolts, or sheet metal.
Variable-speed control helps you manage Industrial power while reducing blade chatter and heat.
Before cutting, use safety precautions: wear eye and hearing protection, secure loose clothing, and check both sides of the material for wiring, pipes, and hidden fasteners.
Grip the saw firmly with both hands, brace its shoe against the workpiece, and let the blade do the work.
Keep your cut path clear, and expect sudden movement when the blade breaks through.
Replace dull or damaged blades promptly to maintain control and cutting speed.
Miter Saws for Accurate Crosscuts and Angles
A miter saw helps you make precise crosscuts for clean, consistent results. You can adjust the miter angle to create accurate bevels and angled cuts.
Next, you’ll learn how to position and guide your material safely.
Precise Crosscutting Techniques
When you need clean, repeatable crosscuts or precise angles, a miter saw gives you the control a handheld saw can’t match. Support your workpiece firmly against the fence, then mark the cut line clearly.
Keep your hands outside the blade’s path, and lower the blade smoothly without forcing it through the material. Let the blade reach full speed before cutting, and wait until it stops before lifting it.
Laser guidance can help you align each mark, but verify its accuracy against the blade’s actual kerf. Clamp narrow or long stock to prevent shifting, and use an extension support when boards overhang the table.
With cordless convenience, you can position the saw where your project requires it. A sharp, appropriate blade also helps produce cleaner edges and reduces splintering.
Adjustable Miter Angles
Adjustable miter angles let you set the blade for common cuts such as 45-degree corners or fine-tune it for less typical angles. On a miter saw, you can lock the table securely, align your material with the fence, and guide the blade through a clean crosscut.
This control helps you build frames, trim windows, or join molding with tighter seams. Use these steps:
- Mark the cut line clearly on your board.
- Rotate the table until the pointer matches your angle.
- Clamp long or narrow stock before starting.
- Lower the blade smoothly, then let it stop completely.
For compound projects, pair miter adjustments with bevel cutting to angle the blade sideways as well. Check your first piece against its mate, and adjust gradually when the fit needs refinement.
Wear eye protection and keep your hands beyond the blade path.
Table Saws for Repeatable Rip Cuts
Table saws use a flat work surface and a fixed, exposed blade to make straight, repeatable rip cuts along the grain. You guide each board against the rip fence, letting the blade remove material at a consistent width.
Make straight, repeatable rip cuts by guiding boards steadily against the fence across the table saw’s flat work surface.
This setup makes table saws valuable when you’re building shelves, cabinets, flooring, or other projects that require matching pieces.
Before cutting, set the fence, confirm the blade height, and support long stock with an outfeed table or assistant. Keep your hands away from the blade, use a push stick for narrow boards, and wear eye and hearing protection.
A riving knife or splitter helps prevent the material from pinching the blade and kicking back.
You’ll get the most accurate repeatable rip cuts when you measure carefully, check the fence alignment, and feed the board steadily without forcing it.
Choose a portable model for job-site flexibility or a cabinet model for greater stability and capacity.
Scroll Saws for Intricate Wood Cuts
Scroll saws use a fine, narrow blade that moves rapidly up and down to cut intricate curves, tight corners, and interior openings in wood. You’ll guide your workpiece across a small table, turning it gradually while the blade follows your pattern.
This controlled motion makes the tool ideal for fretwork, ornaments, puzzles, lettering, and detailed inlays.
Choose suitable blade types for your material and design. Plain-end blades fit many modern saws, while skip-tooth blades clear sawdust quickly and reverse-tooth blades help reduce splintering.
Laser guides can project a reference line, but you’ll still need steady hands and careful alignment.
To create clean results, you should:
- Secure the workpiece firmly.
- Mark curves with a sharp pencil.
- Drill starter holes for interior cuts.
- Feed wood slowly around corners.
Wear eye protection, keep fingers beside the blade’s path, and replace dull blades promptly.
With practice, you’ll produce delicate shapes that other saws can’t match. Adjust speed when cutting hardwood, thin plywood, or fragile veneer.
Oscillating Saws for Flush and Tight-Space Cuts
Oscillating saws use a short, rapid side-to-side motion to make precise flush cuts and reach tight spaces where larger saws can’t fit. You can trim doorjambs, cut through baseboards, remove grout, or shorten protruding pipes without dismantling surrounding materials.
Their compact bodies and offset blades help you work against walls, floors, and corners with excellent control.
Before cutting, choose the right accessory for the material. Check blade compatibility with your tool and match the blade to wood, metal, plastic, or grout.
A fine-tooth blade handles clean wood cuts, while carbide or diamond-grit accessories tackle tougher materials. You’ll get better results when you mark your line, support loose pieces, and let the blade do the work instead of forcing it.
Look for safety features such as variable-speed control, a secure blade-locking system, and soft-start operation. Wear eye and hearing protection, keep both hands steady, and disconnect power before changing accessories.
Oscillating saws offer versatility when precision matters most.
Frequently Asked Questions
What Safety Gear Should You Wear When Operating an Electric Saw?
Wear Personal protective equipment whenever you operate an electric saw: safety glasses or a face shield to protect your eyes, hearing protection to reduce noise damage, and a dust mask or respirator for airborne particles.
Choose snug, non-slip footwear, and avoid loose clothing, jewelry, and gloves near moving blades.
Follow Safe operating procedures, secure your workpiece, inspect the saw, keep both hands clear, and disconnect power before adjustments.
How Do You Choose the Right Blade for Different Materials?
Choose the right blade by matching its teeth and construction to your material, like choosing the right key for each lock. Blade types vary by tooth count, shape, and composition.
Use fine-tooth blades for wood, carbide-tipped blades for laminate or metal, and diamond blades for masonry or tile. Check material compatibility before cutting.
Then confirm your saw’s blade size, arbor, and speed ratings. Replace dull or damaged blades promptly to maintain control and safety.
Are Cordless Electric Saws as Powerful as Corded Models?
Yes, cordless electric saws can match corded models for many tasks, especially with modern brushless motors and high-voltage batteries. You’ll gain portability and avoid extension cords, but you’ll need to monitor battery life and recharge between jobs.
Corded saws deliver continuous power and often maintain stronger performance during demanding cuts. Compare each tool’s cutting capacity, motor strength, battery system, and intended materials before choosing the model that suits your workload best.
How Often Should Electric Saw Blades Be Replaced?
Your blade is the saw’s teeth, so replace it when those teeth stop cutting cleanly—not on a fixed schedule. Blade longevity depends on material, usage, maintenance, and blade quality.
Watch for burning, excessive vibration, wandering cuts, chipped teeth, or increased force requirements. Your replacement frequency may range from weeks to years.
Inspect blades before every project, clean them regularly, and install a new one immediately when damage, dullness, or unsafe performance appears.
What Maintenance Helps Keep Electric Saws Working Safely and Efficiently?
You’ll keep electric saws safe and efficient by inspecting them before every use. Unplug the tool, clean vents, tighten fasteners, and check cords, guards, switches, and Blade sharpening needs.
Replace damaged parts promptly, and lubricate moving components according to the manual. Use Dust extraction to prevent clogging and protect your lungs.
Keep blades clean, sharp, and correctly installed, then store the saw dry. Follow the manufacturer’s maintenance schedule consistently.
Conclusion
Choosing the right electric saw makes every project safer, faster, and more precise. Circular and miter saws handle straight cuts and angles, while jigsaws and scroll saws shape curves and details.
Use reciprocating saws for demolition, table saws for repeatable rips, and oscillating saws in tight spaces. Which tool will help you work smarter instead of harder?
Match the saw to the material and task, follow safety practices, and you’ll cut with confidence on every project with the right electric saw.