How to Swap a Car Engine in 3 Easy Steps
Swapping a car engine can feel overwhelming, especially if you’ve never tackled such a big project before. You’re not alone—many people struggle with where to start and how to do it right without causing damage or delays.
If you’ve been searching for a straightforward way to get this done, you’re in the right place.
To swap a car engine in three easy steps, start by prepping your workspace: clean, ventilate, and gather tools like wrenches and a hoist.
Next, safely drain fluids, disconnect wiring, and unbolt the old engine, supporting it properly before lifting it out.
Finally, align and secure the new engine, reconnect hoses and wiring, then test for smooth operation and leaks.
Follow these steps, and you’ll be ready to handle any engine swap challenges confidently.
Key Takeaways
- Prepare a clean workspace, gather necessary tools, and ensure safety measures like battery disconnection and fluid drainage.
- Carefully unbolt engine mounts, disconnect all wiring, hoses, and exhaust before using a hoist to remove the old engine.
- Align and secure the new engine to chassis mounts, reconnect all hoses, wiring, and exhaust components properly.
- Refill fluids, check for leaks, and tighten all bolts to manufacturer specifications before starting the engine.
- Start the engine, monitor for unusual noises or leaks, and troubleshoot any issues to ensure smooth operation.
Prepare Your Workspace and Gather Essential Tools for a Car Engine Swap
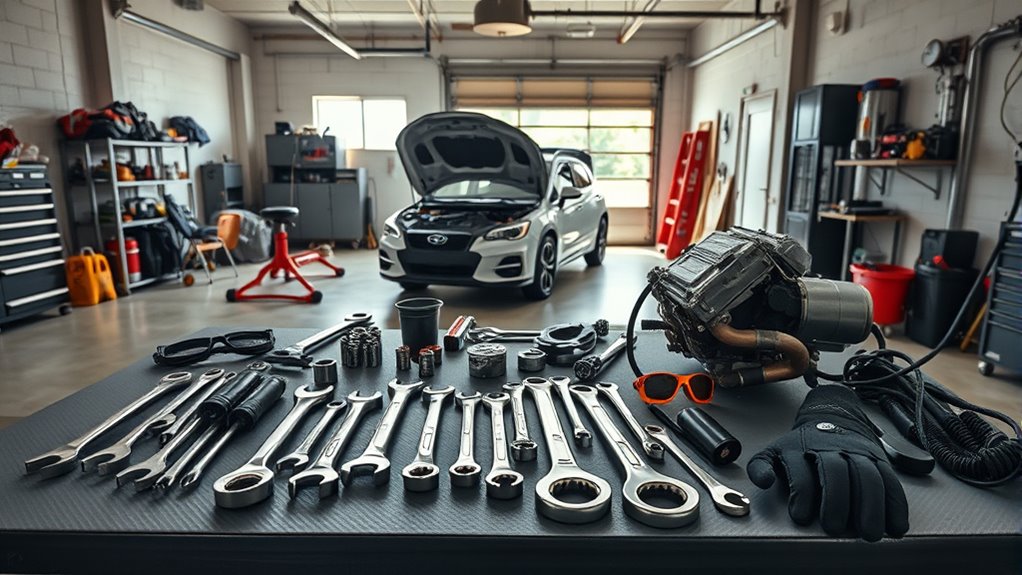
Before you plunge into the engine swap, make sure your workspace is clean, well-lit, and well-ventilated. A clutter-free area helps you find tools quickly and reduces hazards. Good lighting ensures you won’t miss any critical details, while ventilation keeps fumes and dust from building up.
Ensure your workspace is clean, bright, and ventilated for safety and efficiency during your engine swap.
Next, gather essential tools like wrenches, screwdrivers, engine hoists, and a torque wrench to handle bolts correctly. Don’t forget to have fresh engine oil on hand. You’ll need it when installing the new engine to keep it running smoothly from the start.
Also, check your tire pressure before starting. Proper tire inflation ensures the car is stable and safe to move once the engine swap is done. Setting up your workspace efficiently and having everything ready saves time and prevents mistakes during the swap.
Taking these preparatory steps sets the stage for a successful engine replacement.
How to Safely Remove the Old Car Engine Step-by-Step
Once you’ve prepped your workspace and gathered all necessary tools, you can start removing the old engine carefully to avoid damage or injury. First, begin by draining all fluids, including engine oil, coolant, and transmission fluid to prevent spills. Use appropriate containers and dispose of fluids responsibly.
Next, disconnect the battery to eliminate electrical hazards. Then, detach all wiring harnesses, hoses, and linkages connected to the engine. Remember to label them for easier reassembly.
Afterward, unbolt the engine mounting points securing the engine to the frame. Support the engine with a hoist or jack to prevent sudden drops. Double-check that all connections, including exhaust and fuel lines, are free.
Slowly lift the engine out, making sure nothing is still attached. Following these steps methodically reduces risks and prepares you for installing the new engine without complications.
Install the New Engine and Perform Final Testing and Troubleshooting
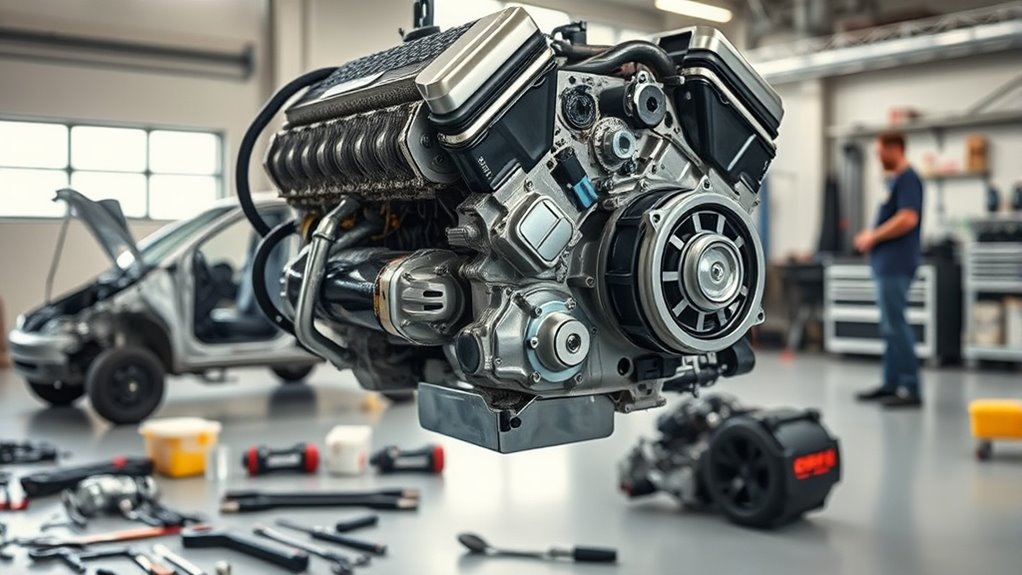
With the old engine safely removed, you’re ready to position the new engine into the frame. Begin by carefully aligning the engine mounting points with the chassis brackets. Secure the mounts firmly, ensuring they’re tightened to the manufacturer’s specifications to avoid vibrations or misalignment.
Carefully align and secure the new engine mounts to the chassis to prevent vibrations and ensure proper fit.
Next, reconnect the coolant system by attaching all hoses and refilling the radiator with the proper coolant mix. Don’t forget to check for leaks once you start the engine. Reinstall all electrical connections, fuel lines, and exhaust components as per the original setup.
Once everything is hooked up, perform a thorough inspection to confirm all bolts and fittings are secure. Start the engine and let it idle, listening for unusual noises and monitoring temperature gauges. If you notice any irregularities, shut it down immediately and troubleshoot. Check for loose mounts, coolant leaks, or electrical issues.
Following these steps guarantees your new engine runs smoothly and reliably from the start.
Frequently Asked Questions
What Types of Engines Are Compatible With My Car Model?
You’ll want to check your car’s make, model, and year to determine engine compatibility. Not all engines fit perfectly, so look for ones designed for your car or those with similar mounts and electronics.
Keep engine modification considerations in mind, like wiring harnesses, ECU tuning, and transmission matching. Consulting your vehicle’s manual and talking to experts can help you avoid costly mistakes and guarantee your swap goes smoothly.
How Can I Tell if My Engine Swap Is Legal in My Area?
You need to check engine certification, confirm emissions compliance, and review local vehicle codes to see if your engine swap is legal in your area. Visit your DMV or relevant authority’s website, call them directly, or consult a licensed mechanic.
Make sure the new engine meets safety standards, passes emissions tests, and holds proper documentation. Don’t skip this step. You’ll avoid fines, registration issues, and future headaches by staying informed and compliant.
What Are the Typical Costs Involved in an Engine Swap?
You’ll want to start with a solid cost estimation, which usually includes the engine price, labor, and additional parts like mounts or wiring. Expect prices to range from a few thousand to over ten thousand dollars, depending on the engine type and complexity.
Don’t forget to factor in engine warranty costs too. It’s essential for protecting your investment and ensuring peace of mind after the swap.
How Long Does a Professional Engine Swap Usually Take?
You’d think swapping an engine is a quick afternoon job, but professionals usually take about 8 to 12 hours. They carefully handle the engine mount and cooling system, making sure everything fits perfectly and functions smoothly.
Rushing it risks damage, so they don’t just bolt it in. You’ll appreciate their patience when your car runs flawlessly, proving that good things, like a proper engine swap, definitely take time.
Can I Upgrade My Transmission During the Engine Swap?
Yes, you can upgrade your transmission during the engine swap, but you’ll need to verify transmission compatibility with your new engine. It’s a smart move if you’re doing an engine upgrade, as the stock transmission might not handle the increased power or torque.
Check bolt patterns, gear ratios, and electronic controls to make sure everything matches. Upgrading both together can improve performance and reliability without extra hassle later.
Conclusion
Swapping a car engine might seem intimidating, but with the right tools and clear steps, you can do it confidently. Did you know that nearly 70% of DIY engine swaps succeed on the first try when proper preparation is involved?
By preparing your workspace, safely removing the old engine, and carefully installing the new one, you’ll save time and avoid costly mistakes. Stay patient, follow the steps, and enjoy the satisfaction of bringing your car back to life!
Remember, swapping a car engine is all about preparation and patience. Stick to the process, and you’ll have your car running smoothly in no time.