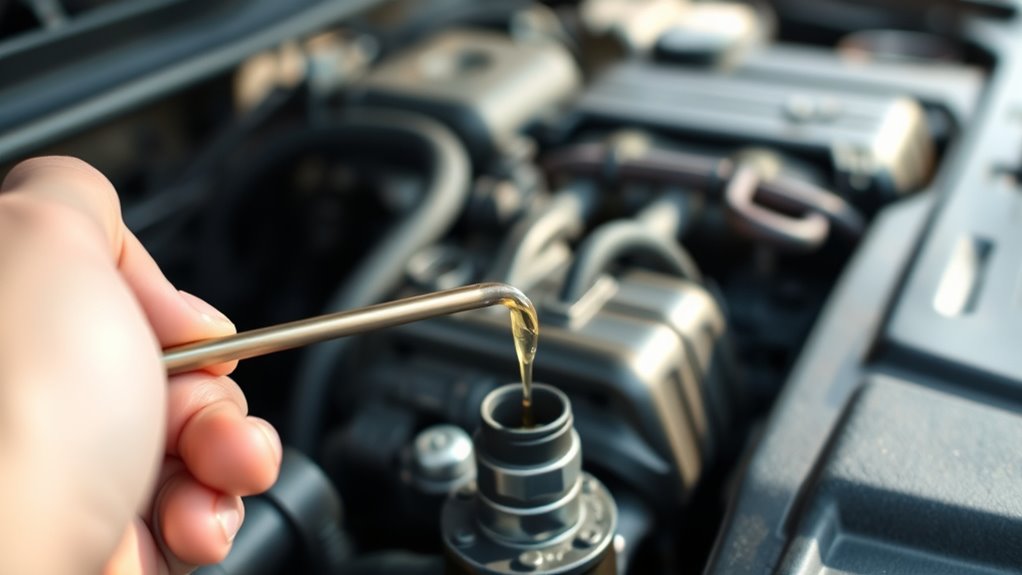
How to Check Car Engine Oil in 7 Easy Steps
Checking your car’s engine oil can feel overwhelming if you’re not sure what to look for or how to do it properly. You’re not alone—many people struggle with this simple yet essential maintenance task.
Keeping an eye on your engine oil helps avoid costly repairs and keeps your car running smoothly.
To check your car’s engine oil in 7 easy steps, first park on a level surface and let the engine cool for 10 minutes. Locate the brightly colored dipstick, pull it out, wipe it clean, then reinsert it fully.
Pull it out again to check the oil level between the minimum and maximum marks, and examine the oil’s color and condition. If low, add the recommended oil slowly and recheck.
Keep an eye on warning signs for a healthy engine. There’s more to learn to keep it running smoothly.
Key Takeaways
- Ensure the engine is cool and the car is on a level surface before checking the oil level for accurate results.
- Locate and carefully remove the dipstick, usually with a brightly colored handle near the engine block.
- Wipe the dipstick clean, fully reinsert it, then pull it out again to check the oil level between the minimum and maximum marks.
- Inspect the oil’s color and consistency. Fresh oil is amber and clear, while dark or milky oil indicates issues.
- Add recommended oil if the level is low. Pour slowly and avoid overfilling, then securely replace the oil filler cap.
Prepare Your Car and Tools for Engine Oil Check
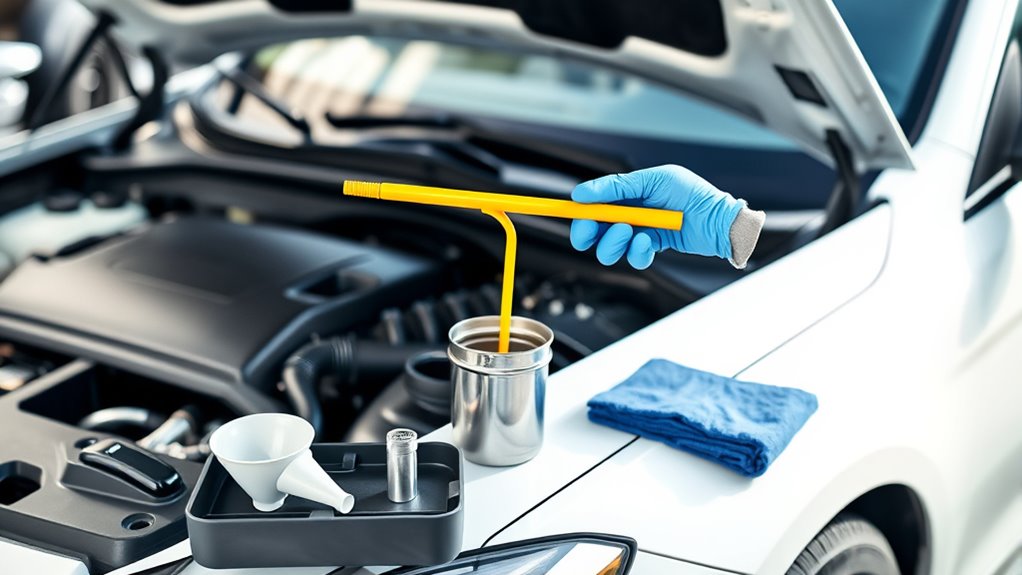
Before you begin checking your car’s engine oil, make sure the engine is cool and parked on a level surface. This prevents inaccurate readings and keeps you safe from burns. Next, consult your car maintenance schedule to know the recommended intervals for checking and changing your engine oil. Sticking to this schedule helps maintain engine performance and longevity.
Gather essential tools like a clean rag or paper towel to wipe the dipstick after removal. Knowing your engine oil types, whether conventional, synthetic, or a blend, also prepares you for proper topping-up if needed. Having the right oil on hand saves time and avoids mistakes.
Finally, verify your car is in park with the parking brake engaged to prevent any movement. By preparing your vehicle and tools carefully, you’ll make the oil check process smoother and more accurate, keeping your engine running efficiently.
Locate and Remove the Engine Oil Dipstick
First, you want to look for the engine oil dipstick. It’s usually marked with a brightly colored handle, so it should stand out. Once you spot it, go ahead and grip the handle firmly. Then, pull the dipstick out slowly. Just be sure to remove it carefully to avoid any spills or damage.
Finding The Dipstick
Although locating the engine oil dipstick might seem tricky at first, you’ll find it’s usually easy to spot once you know where to look. Pop the hood and check near the engine block. Most dipsticks have a brightly colored handle, often yellow or orange, designed for quick identification.
Since engine oil composition varies by engine type and the oil brands you choose, regularly checking oil levels guarantees peak performance. The dipstick is typically a thin metal rod inserted into a tube that leads into the oil pan.
Don’t confuse it with other components like the transmission dipstick, which is often positioned separately. Once you locate the engine oil dipstick, you’re ready to remove it carefully to assess your oil level and quality.
Identifying Dipstick Handle
Once you’ve spotted the brightly colored handle near the engine block, you can focus on identifying the dipstick itself. The dipstick typically has a looped or T-shaped handle, designed for easy grip.
Depending on your car’s engine design, the dipstick might be positioned differently, but it’s almost always near the front or side of the engine. Look for a metal rod that slides into a narrow tube leading directly into the oil reservoir.
This rod measures the oil level and helps assess the oil viscosity, which affects engine performance. Recognizing the dipstick handle is essential before you proceed, as grabbing the wrong component could cause confusion. Identifying it correctly sets you up for an accurate oil check.
Removing Dipstick Safely
Before you remove the dipstick, make sure the engine is off and has cooled slightly to avoid burns. Locate the dipstick handle, usually brightly colored for easy spotting. Grip it firmly and pull it out slowly to prevent any oil from splashing.
Wipe the dipstick clean with a lint-free cloth before reinserting it fully to get an accurate oil level reading. Knowing your engine oil types and preferred engine oil brands helps you choose the right oil for your vehicle once you check the level.
Always handle the dipstick carefully to avoid contamination or damage. Removing the dipstick safely guarantees you get a precise reading, helping maintain your engine’s health and performance with the appropriate engine oil.
Wipe and Reinsert the Dipstick Properly
After you pull out the dipstick, grab a clean cloth or paper towel and give it a good wipe to remove all the oil. Then, make sure you push the dipstick all the way back into its tube, fully and securely. Doing this helps ensure you get an accurate reading when you check the oil level.
Proper Dipstick Cleaning
Although checking your engine oil may seem straightforward, properly wiping and reinserting the dipstick is vital for an accurate reading. Start by pulling out the dipstick and wiping it clean with a lint-free cloth or paper towel. This step removes old oil and debris that can cause oil contamination, leading to incorrect readings.
Regular dipstick maintenance helps you avoid misjudging your engine’s oil level and condition. Be sure to thoroughly clean the metal part before reinserting it, as any leftover grime can mix with fresh oil, compromising your engine’s performance.
Taking a moment to clean the dipstick properly ensures you get a clear, reliable measurement every time you check your oil. This simple practice is key to maintaining your car’s health.
Correct Dipstick Reinsertion
When you wipe the dipstick clean, make sure to reinsert it fully and securely back into its tube to get an accurate oil level reading. If it’s not seated properly, you’ll get a false low or high reading, which can lead to incorrect assumptions about your engine oil viscosity or the need for an oil filter replacement.
After reinserting, wait a few seconds before pulling it out again to check the level. This guarantees the oil has settled evenly on the dipstick.
Read the Engine Oil Level and Check Its Condition
Before you start the engine, make certain the car is on a level surface and the engine is cool to get an accurate oil reading. After reinserting and removing the dipstick, check where the oil level sits between the minimum and maximum marks.
Next, examine the oil’s color and texture. Fresh oil is usually amber and clear, while dark or gritty oil suggests contamination or aging. Good oil quality is essential because it lubricates engine parts, reducing friction and wear.
Poor oil can accelerate engine damage, shortening your engine’s lifespan. If the oil looks milky, it may indicate coolant contamination, which requires immediate attention. Also, avoid oil that smells burnt, as this signals overheating or engine issues.
Check If Your Engine Oil Level Is Safe or Low
After checking the oil’s color and texture, the next step is to determine if the oil level falls within the safe range. Pull out the dipstick again and look at the markings, usually labeled “Min” and “Max.” Your engine oil level should sit between these lines.
Check the dipstick’s Min and Max marks to ensure your engine oil level is within the safe range.
If it’s below the minimum mark, your oil level is low, which can negatively affect oil viscosity. Thinner or insufficient oil won’t lubricate engine parts properly, harming engine performance.
Keep in mind that oil viscosity plays a crucial role in how well your engine runs. Oil that’s too thin or too thick can cause increased friction, overheating, or wear.
If your oil level is within the safe range, you’re good to go. But if it’s low, you’ll need to address it promptly to maintain optimal engine performance and avoid damage. Always check your owner’s manual for the recommended oil type and viscosity for your vehicle.
Add Engine Oil Correctly If the Level Is Low
If your engine oil level is low, you’ll need to add oil carefully to avoid overfilling or contamination. First, make sure your engine is cool or has been off long enough for the engine temperature to stabilize. Adding oil when the engine is hot can be dangerous and may give inaccurate readings.
Locate the oil filler cap, usually marked with an oil can symbol, and remove it. Use the correct oil grade recommended in your owner’s manual. Pour the oil slowly, checking the dipstick frequently to avoid overfilling.
Remember, overfilling can damage the oil filter and other engine parts. Avoid introducing dirt or debris by keeping the oil container clean and the cap tightly sealed.
After adding oil, securely replace the filler cap and wait a few minutes before rechecking the level to ensure accuracy. Properly adding oil protects your engine and maintains peak performance.
When to Check Engine Oil and Watch for Warning Signs
Although checking your engine oil regularly is essential, knowing when to do so can save you from costly repairs. You should check your oil when the engine is cool or has been off for at least 10 minutes to let the oil settle and avoid inaccurate readings. Also, monitor the engine temperature. If it’s overheating, inspect the oil immediately, as high temperature affects oil viscosity and engine performance.
Keep an eye on warning signs like low oil pressure or unusual engine noises. These indicators suggest your oil might be degraded or insufficient. Below is a quick guide on when to check your engine oil:
| When to Check Oil | Why It Matters |
|---|---|
| Before long trips | Prevent breakdowns |
| After engine overheating | Protect oil viscosity |
| When oil change light shows | Maintain engine health |
| Weekly during winter | Ensure proper oil flow |
| If engine sounds abnormal | Detect potential oil issues |
Checking timely helps maintain ideal oil viscosity and protects your engine.
Frequently Asked Questions
What Type of Engine Oil Is Best for My Car?
You should choose engine oil based on your car’s manufacturer recommendations, focusing on the right oil viscosity for your climate and driving conditions. Thinner oils flow better in cold weather, while thicker oils protect in high heat.
Also, look for oil additives that help reduce engine wear and improve performance. Using the correct oil viscosity combined with quality additives guarantees your engine runs smoothly and lasts longer. Always check your owner’s manual for specifics.
How Often Should I Change My Car’s Engine Oil?
Imagine Sarah, who sticks to changing her oil every 5,000 miles. You should change your car’s engine oil roughly every 3,000 to 7,500 miles, depending on your vehicle and oil type.
If you use oil with the right viscosity and quality oil additives, you might extend this interval. Always check your owner’s manual, as synthetic oils often last longer.
Regular changes keep your engine running smoothly and prevent costly damage.
Can I Use Synthetic Oil in Any Car Engine?
Yes, you can use synthetic oil in many car engines, but you need to check your vehicle’s synthetic compatibility first. Some older engines or specific models might not perform well with synthetic oil due to different oil additive effects.
If your car’s manual approves synthetic oil, it usually offers better protection and lasts longer. Always confirm with your manufacturer to avoid any issues with seals or warranties before switching to synthetic.
What Are the Effects of Using Too Much Engine Oil?
Did you know that over 30% of engine failures relate to improper oil levels? When you overfill your engine oil, it can cause oil overfill, leading to increased pressure inside the engine.
This pressure can damage seals and gaskets, causing leaks and engine damage. Plus, excess oil can foam, reducing lubrication and increasing wear.
How Do I Dispose of Used Engine Oil Safely?
You should never pour used engine oil down drains or onto the ground because of its severe environmental impact. Instead, collect the oil in a clean, leak-proof container and take it to an oil recycling center or a local auto shop that accepts used oil.
Conclusion
So, there you have it. Checking your engine oil isn’t rocket science, just a bit of elbow grease and common sense. If you’ve been ignoring it, don’t worry; your car isn’t going to throw a tantrum immediately.
But remember, treating your engine like a neglected pet might cost you more than a few awkward conversations at the mechanic. Keep that dipstick handy. Your car’s life depends on it, even if your memory doesn’t.
Regularly checking your engine oil is one of the simplest ways to keep your car running smoothly. So make it a habit—you’ll thank yourself later.