How to Pull an Engine Out of a Car in 7 Steps
If you’ve ever faced the daunting task of pulling an engine from your car, you’re not alone. Many people struggle with where to start, what tools to use, and how to do it safely without causing damage or injury.
The process can feel overwhelming, but with the right guidance, it becomes manageable and even satisfying.
To pull an engine from your car in 7 steps, start by gathering the right tools and prepping a clean workspace with safety gear. Disconnect the battery, electrical connectors, fuel lines, and drain fluids carefully.
Remove engine accessories, then support and detach engine mounts and transmission parts. Use a properly rated hoist to lift the engine out slowly, maintaining control.
Finally, inspect and prepare the engine for storage. Keep following for a detailed guide to guarantee every step is done safely and efficiently.
Key Takeaways
- Disconnect the negative battery terminal and label all electrical connectors before detaching fuel lines. Make sure to drain fluids safely to avoid spills.
- Remove engine accessories and cap open lines to prevent contamination during engine removal.
- Support the engine with a hoist. Then, carefully loosen and remove the engine mount bolts.
- Securely attach chains to the designated lifting points. Lift the engine slowly while checking for stability and balance.
- Inspect and clean the removed engine. Drain any remaining fluids and get it ready for proper storage or reinstallation.
Gather Essential Tools for Engine Removal
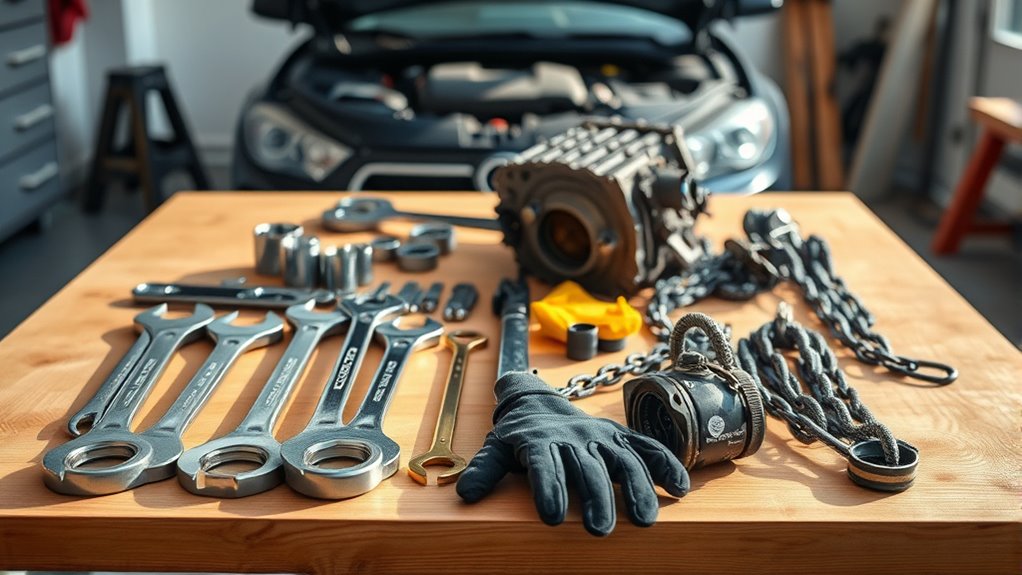
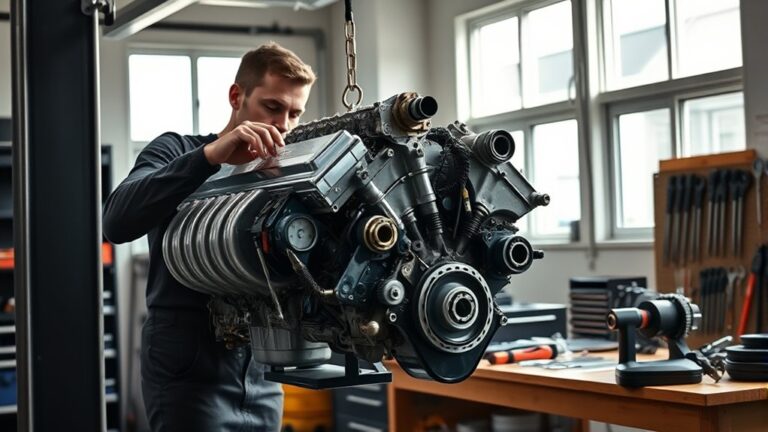
Before you begin pulling the engine out of your car, you’ll need to gather the right tools to make the job safe and efficient. The most critical tool is an engine hoist, designed specifically to lift and support the heavy engine during removal. Make sure your engine hoist is rated for your engine’s weight to avoid accidents.
Gather the right tools, especially a properly rated engine hoist, for safe and efficient engine removal.
Alongside the hoist, engine hoist safety is paramount. Inspect chains, hooks, and bolts for wear and secure connections before lifting.
You’ll also need basic hand tools like wrenches, sockets, screwdrivers, and pliers to disconnect components. A breaker bar can help with stubborn bolts, while a drip pan prevents spills.
Don’t forget safety gear such as gloves and eye protection. Gathering everything upfront ensures you won’t be scrambling mid-job, reducing risks and delays.
With the right tools on hand, you set yourself up for a smooth, safe engine removal process.
Set Up Your Workspace and Follow Safety Steps
With your tools gathered and checked, the next step is preparing your workspace and prioritizing safety. A clean, organized area helps prevent accidents and keeps your tool organization efficient. Make sure you have plenty of space around the car to move freely and place removed parts safely.
Before you start, equip yourself with proper safety gear like gloves, goggles, and sturdy shoes. Also, ensure the car is securely supported on jack stands. Never rely solely on a jack.
Here’s what you should do to set up your workspace safely:
- Clear clutter and debris around your work area
- Lay out tools in order of use for easy access
- Use good lighting to see all parts clearly
- Keep a fire extinguisher nearby in case of emergencies
- Have a first-aid kit accessible for minor injuries
Disconnect Battery, Electrical, and Fuel Connections
Before you start, make sure to disconnect the battery terminals to prevent any electrical shorts. It’s a simple step but really important for safety. Next, carefully unplug all electrical connectors. Don’t force them; just take your time to avoid any damage. Finally, when you get to the fuel lines, detach them carefully. You’ll want to be extra cautious here to prevent any leaks or spills.
Battery Terminal Safety
Why is disconnecting the battery terminals essential when pulling an engine? Battery safety is critical to prevent electrical shorts, sparks, or shocks during the process. Before you start, perform a thorough terminal inspection to check for corrosion or damage.
Always disconnect the negative terminal first to reduce the risk of accidental grounding.
Keep these tips in mind for safe battery terminal handling:
- Wear insulated gloves to protect against electric shock
- Use the correct wrench size to avoid stripping terminal nuts
- Avoid touching both terminals simultaneously to prevent short circuits
- Secure disconnected cables away from the battery to prevent accidental contact
- Clean terminals if corroded to ensure a good connection when reassembling
Electrical Connector Removal
Since you’ve already disconnected the battery terminals, the next step is to carefully unplug all electrical connectors and fuel lines attached to the engine. Focus on different connector types like clip, tab, and locking pin to avoid damage.
Use electrical diagnostics tools to verify connections before removal. Label connectors for easier reassembly and handle wiring harnesses gently to prevent shorts or breaks.
| Connector Type | Common Location | Removal Tip |
|---|---|---|
| Clip | Sensors, injectors | Press tabs evenly |
| Tab | ECU, relays | Use a flat tool to lift |
| Locking Pin | Main harness plugs | Slide pin before pulling |
| Push-Fit | Ground wires | Wiggle gently while pulling |
Following these steps guarantees safe disconnection, simplifying engine removal and preserving electrical integrity.
Fuel Line Detachment
After unplugging all electrical connectors, you’ll need to move on to detaching the fuel lines connected to the engine. First, relieve the fuel system pressure to avoid spills or injuries. Then, carefully disconnect the fuel lines using the appropriate tools.
It’s vital to perform a thorough fuel line inspection to spot cracks or wear that could cause leaks later. Take this opportunity for fuel system cleaning to prevent debris from entering the engine. Remember to cap the lines once removed to keep contaminants out.
- Relieve fuel pressure before disconnecting lines
- Use proper tools to avoid damaging connectors
- Inspect fuel lines for cracks or wear
- Clean fuel system components during detachment
- Cap fuel lines to prevent contamination
Following these steps ensures a safe, clean detachment ready for engine removal.
Remove Engine Accessories and Drain Fluids
Before you begin removing engine accessories, make sure you’ve safely drained all the fluids to prevent spills and hazards. Start by draining the coolant, oil, and brake fluid into appropriate containers. This step keeps your workspace clean and protects the environment.
Once drained, organize the engine bay by labeling and grouping bolts, screws, and parts; this engine bay organization will save you time during reassembly. Next, remove accessories like the alternator, power steering pump, and air conditioning compressor, keeping their brackets intact if possible.
Use your engine removal tips here: disconnect wiring harnesses carefully and cap any open lines to avoid contamination. Keep track of each accessory’s location and mounting hardware to avoid confusion later.
Maintaining a systematic approach in this stage guarantees a smooth changeover to detaching engine mounts. Remember, patience and organization now will pay off when you’re ready to lift the engine out safely and efficiently.
Detach Engine Mounts and Transmission Parts
When you’re ready to detach the engine mounts and transmission parts, start by supporting the engine securely with a hoist or jack to prevent any sudden shifts. Begin by loosening and removing the bolts that secure the engine mounts to the frame. This step is vital. Don’t skip the engine mount inspection to check for cracks or wear that could affect reassembly.
Next, disconnect the transmission linkage and any wiring or hoses connecting the transmission to the engine. Be mindful of transmission alignment to avoid damage during removal.
Here’s what to focus on:
- Verify the engine mount condition for safety and stability.
- Unbolt the engine mounts carefully without forcing them.
- Disconnect transmission linkage and cables gently.
- Label or mark transmission parts for easier reinstallation.
- Confirm transmission alignment before full detachment.
Following these steps ensures a smooth separation, preventing damage and preparing you for the final lift.
Lift the Engine Out Safely With a Hoist
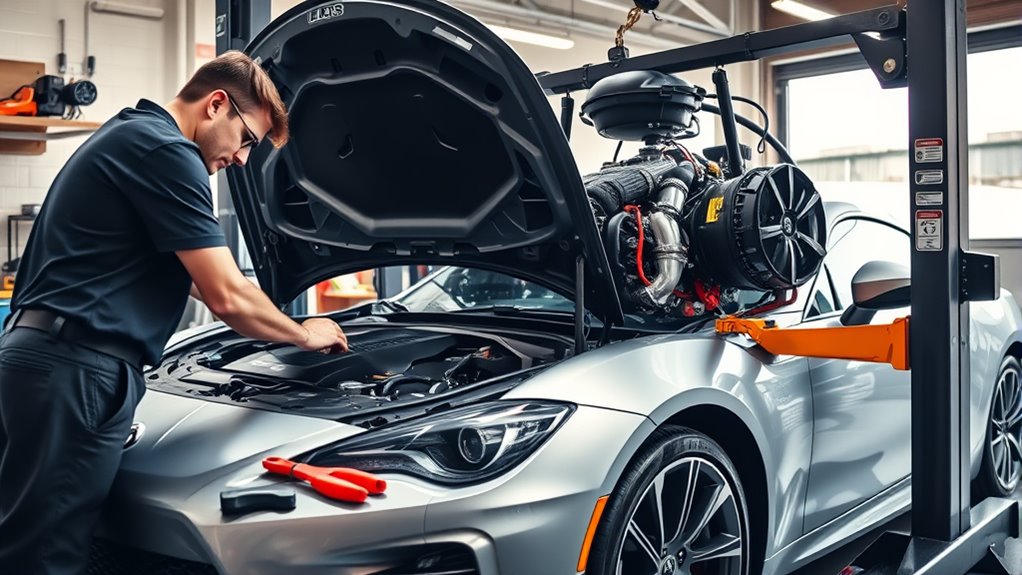
How do you guarantee a smooth and safe engine lift with a hoist? First, position your engine hoist over the engine bay, making sure it’s centered to keep balance. Before lifting, double-check that the hoist’s weight capacity exceeds your engine’s weight. Never guess or overload it.
Attach the hoist chains securely to the designated lifting points on the engine, making sure each connection is tight and stable. As you start lifting, raise the engine slowly and steadily, watching for any obstructions or unusual movements.
Keep an eye on the engine mounts and nearby components to avoid snagging. If you notice any shifts, lower the engine immediately and readjust the chains or hoist position. Once the engine clears the bay, carefully move it away from the car, maintaining control and balance.
Following these steps with your engine hoist and respecting its weight capacity prevents accidents and protects both you and your vehicle during the lift.
Inspect and Store Your Removed Engine
Once you’ve successfully removed the engine, take time to thoroughly inspect it for any damage or wear. This step is vital for engine preservation and guarantees you catch issues before storing or reinstalling it. Check for leaks, cracks, or corrosion that might affect performance later. Proper storage techniques will protect your engine from environmental damage and keep it in good condition.
Thoroughly inspect your removed engine for damage to ensure preservation before storage or reinstalling.
To inspect and store your removed engine effectively:
- Clean the engine thoroughly to remove dirt and grease.
- Drain all fluids to prevent leaks and corrosion.
- Cover exposed openings with plastic caps or tape to keep out dust and moisture.
- Store the engine on a sturdy, level surface, ideally indoors in a dry, climate-controlled area.
- Apply a light coat of oil to metal surfaces to prevent rust during storage.
Following these steps will help maintain your engine’s integrity until you’re ready to use it again.
Frequently Asked Questions
How Long Does Engine Removal Typically Take?
You’ll typically spend about 6 to 8 hours removing an engine, depending on your experience and tools. Using an engine hoist makes the job much easier and safer.
Don’t skip safety gear like gloves and goggles to protect yourself. If you’re well-prepared and organized, you might finish faster.
Can I Pull an Engine Alone Without Help?
You technically can pull an engine alone, but it’s risky without help. Using an engine hoist makes the job manageable, but you must follow strict safety precautions to avoid injury or damage.
Verify the hoist is securely attached, wear protective gear, and double-check all connections. Having a second person to assist or spot you is highly recommended, as it ensures safer and smoother engine removal.
What Are Common Mistakes to Avoid During Engine Removal?
Don’t let your engine removal turn into a wild dance with disaster. Avoid skipping fluid drainage. That’s like trying to catch a waterfall with a sieve. Always use an engine hoist properly. Rushing without it is like trying to lift a mountain with your bare hands. Don’t forget to label wires and bolts, or you’ll be lost in a maze later. Ultimately, double-check your supports. One slip can turn your project into a costly mess.
How Do I Prepare the Car After Engine Removal?
After engine removal, you should thoroughly clean the engine bay to remove dirt, grease, and old fluid residue. Make sure all fluid drainage is complete to avoid leaks. Check coolant, oil, and transmission fluids.
Inspect wiring and hoses for damage, and cap or seal open lines to prevent contamination. Cover the engine bay to protect it from dust and debris while you work on the next steps or prepare for the new engine installation.
What Are Signs My Engine Needs Removal?
You’ll know your engine needs removal when engine repair becomes too frequent or costly. If your vehicle diagnostics reveal severe issues like a cracked engine block, excessive oil consumption, or persistent overheating, it’s a clear sign.
Strange noises, smoke, or loss of power also indicate serious problems. Don’t ignore warning lights or diagnostic trouble codes; they help you decide if engine repair is enough or if removal is necessary.
Conclusion
Now that you’ve carefully untangled the engine from its mechanical nest, you’re holding a powerful heart in your hands. Like a conductor leading an orchestra, your precision and patience have orchestrated this complex dance.
Remember, every bolt you loosen and every wire you disconnect is a step toward mastery. Keep your workspace organized and treat the engine with respect.
By following these steps, you’ll be ready to breathe new life into your car’s soul and master how to pull an engine out of a car.