How to Use a Power Drill in 5 Easy Steps
Many people struggle to use a power drill confidently, especially when choosing the right bit, speed, or pressure. You’re not alone—small mistakes can damage materials or create safety risks. The good news is that learning how to use a power drill safely is easier than it seems.
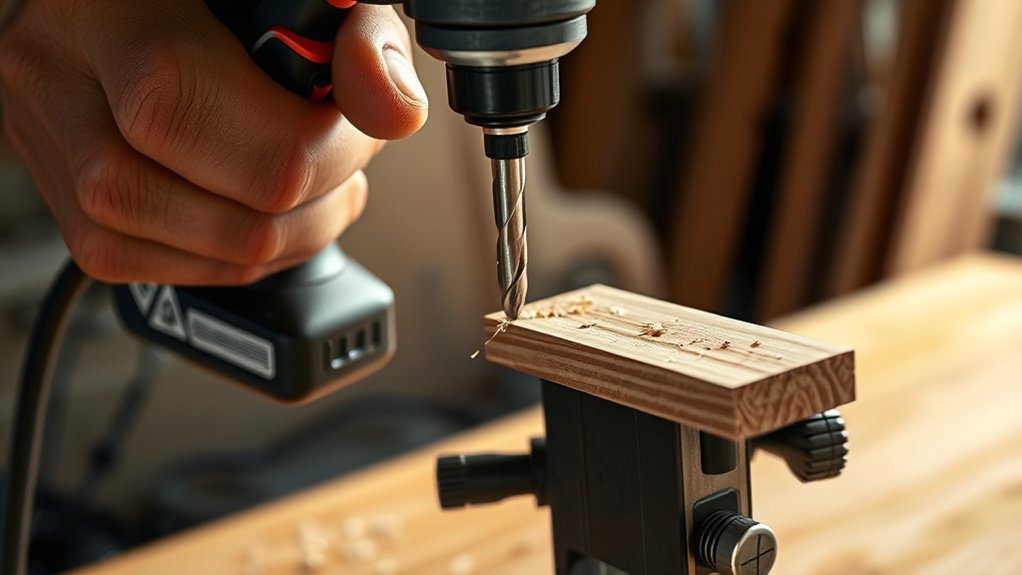
To use a power drill, choose a sharp bit suited to your material and secure it tightly. Clear your workspace, clamp the piece, and wear safety glasses. Set the proper speed and clutch, then start slowly while holding the drill straight. Apply steady pressure without forcing it.
Release the trigger and wait for the bit to stop before removing it. If it binds or overheats, stop immediately. These tips provide a safe start, with more helpful details ahead.
Key Takeaways
- Choose the correct drill bit for your material and inspect it for damage before securely tightening it in the chuck.
- Clear the workspace, secure the material, remove the chuck key, and wear impact-rated eye protection.
- Select an appropriate speed and clutch setting. Use slower speeds for hard materials and higher speeds for wood.
- Mark the drilling point, start slowly, and apply steady pressure while holding the drill straight.
- Release the trigger and wait for the bit to stop. Unplug the drill or remove the battery before changing bits or making adjustments.
Choose the Right Drill Bit
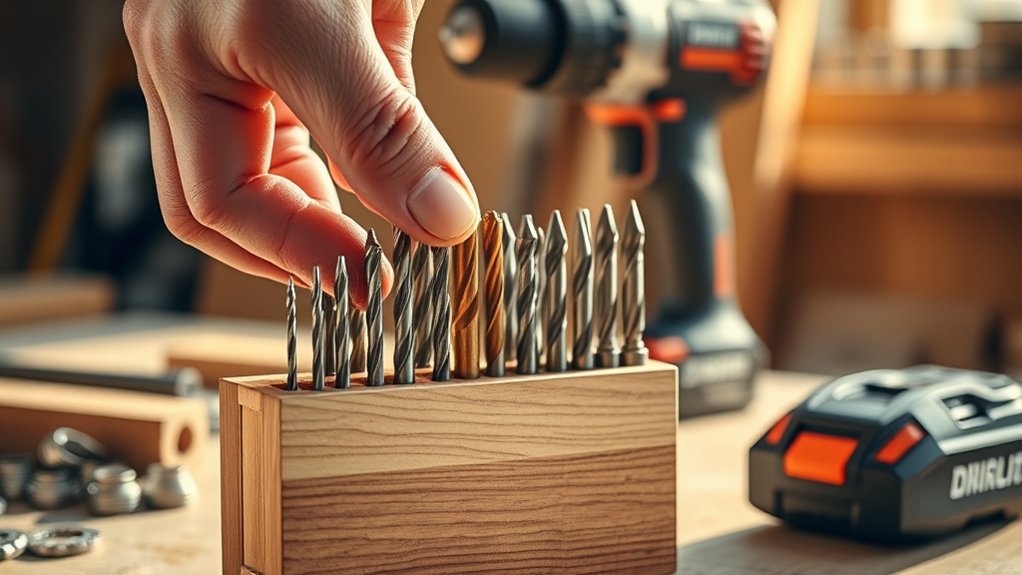
Choose a drill bit designed for the material you’re drilling. Wood, metal, masonry, and tile each require specific bit types, so check the package or manufacturer’s guide before you begin.
A brad-point bit creates clean holes in wood, while a twist bit handles metal and plastic. For concrete, brick, or block, select a masonry bit with a carbide tip. Use a glass or tile bit for ceramic surfaces, and apply steady pressure to prevent cracking.
Match the bit’s diameter to the hole size you need. If you’re drilling a large opening, start with a smaller bit and enlarge it gradually.
Inspect the bit for dull edges, bends, or damage, since worn bits can wander and overheat. Secure the bit firmly in the chuck, then choose drilling techniques suited to the material.
Use slower speeds for metal and tile, and faster speeds for wood. Don’t force the drill; let the bit cut efficiently.
Clear Your Workspace and Wear Eye Protection
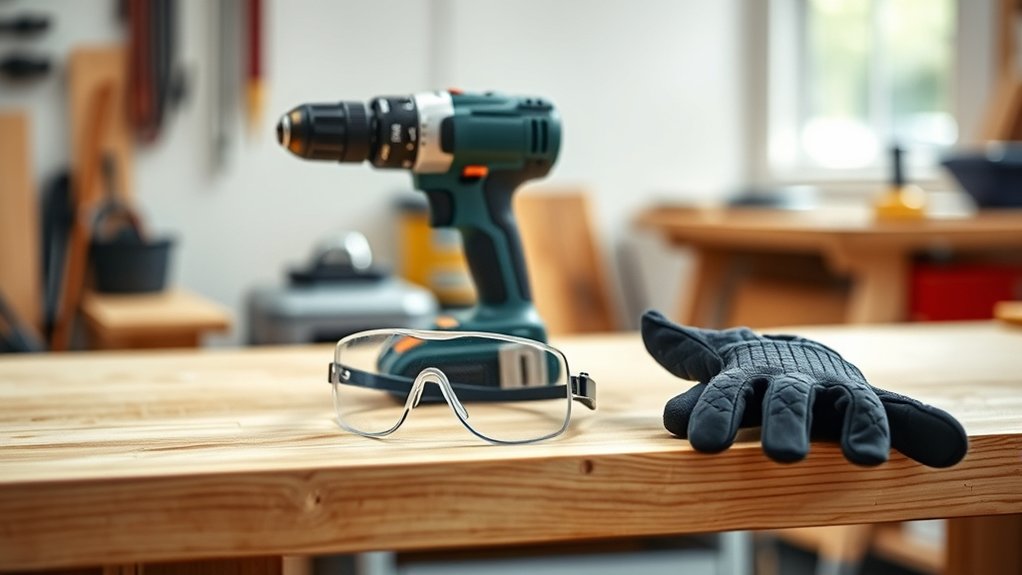
Once you’ve secured the correct bit, prepare a clear, stable workspace before drilling. Remove clutter, loose materials, and anything that could catch on the drill or obstruct your movement.
Good workspace organization helps you maintain balance and keeps tools within reach without crowding the work area. Place the material on a sturdy surface, and secure it with clamps if it could shift while you work.
Organize your workspace for balance, keep tools accessible, and secure materials firmly before drilling.
Keep cords away from sharp edges, heat, water, and walking paths. Make sure you have enough lighting to see the drilling point clearly, and check that bystanders, children, and pets stay at a safe distance.
Before picking up the drill, put on essential safety gear. Wear impact-rated safety glasses to protect your eyes from flying chips, dust, and fragments.
Choose snug clothing, tie back long hair, and remove dangling jewelry. If drilling creates substantial dust or noise, use suitable respiratory and hearing protection.
Stay alert, and don’t rush preparation. A clean area and proper protection reduce preventable injuries.
Tighten the Bit and Set the Speed
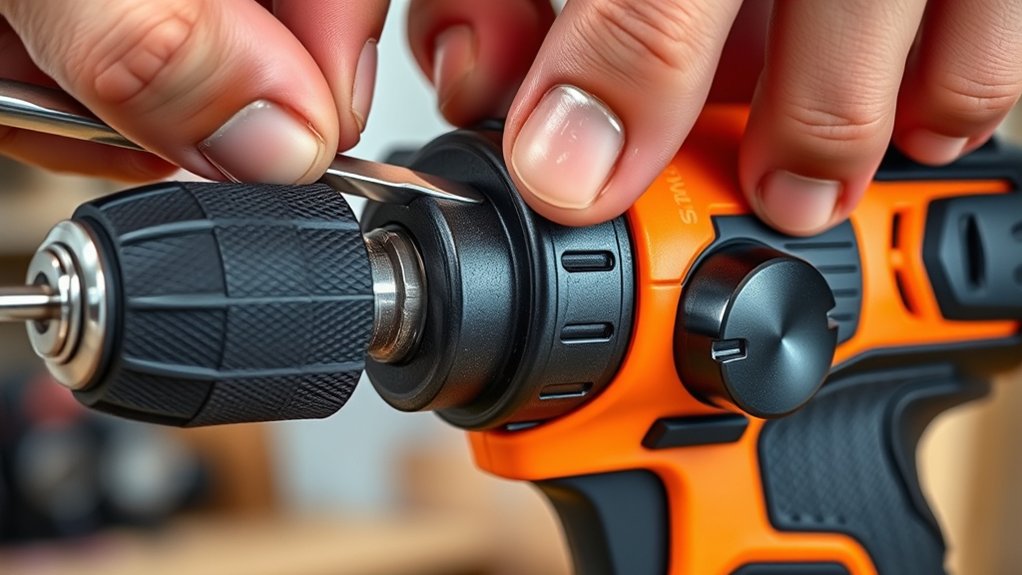
Insert the bit into the chuck, then tighten it securely so it doesn’t wobble or slip during use. Check that the bit matches your screw or drilling task, and remove the chuck key before starting.
Select a low speed for driving screws or working with hard materials. Choose a higher speed for smaller bits and softer materials, but begin slowly to maintain control. If your drill has a clutch, set a light torque for screws and increase it gradually when needed.
- Lock the trigger before changing bits or settings.
- Keep the bit clean and sharp for consistent performance.
- Use the correct gear rather than forcing the motor.
- Watch for heat, unusual sounds, or slipping.
- Include speed checks in regular drill maintenance.
Pause if the motor strains, then adjust the speed or clutch. Follow the manufacturer’s settings for special bits and materials.
Good battery care also matters: charge the battery with its approved charger, avoid extreme temperatures, and store it partly charged if you won’t use it soon.
Never overtighten the chuck, because excessive force can damage its threads.
Drill Straight Without Splintering
| Material | Helpful technique | Main benefit |
|---|---|---|
| Plywood | Add painter’s tape | Reduces splintering |
| Hardwood | Use steady pressure | Keeps edges clean |
| Veneer | Support the underside | Prevents breakout |
Start slowly until the bit creates a shallow guide, then increase speed smoothly while maintaining your position.
Stop Safely and Fix Common Mistakes
Release the trigger and let the bit stop completely before lifting the drill from the material. Keep your finger off the trigger while you inspect the hole, change bits, or clear debris.
Unplug corded models, or remove the battery from cordless tools, before making adjustments. These habits support power drill safety and prevent unexpected starts.
Fix common mistakes with these quick checks:
- If the bit wanders, mark the center with a punch and begin slowly.
- If the bit overheats, reduce pressure, lower speed, and pause to cool it.
- If the hole splinters, place scrap wood underneath and use a sharp bit.
- If the screw strips, use the correct driver tip and steady alignment.
- If the drill binds, release the trigger immediately and withdraw it carefully.
Don’t force a stuck bit or touch hot metal. Wear eye protection, secure your workpiece, and check for hidden wires or pipes before drilling.
Clean the tool, inspect the cord or battery, and store it safely after use.
Frequently Asked Questions
How Do I Maintain and Clean My Power Drill?
You can maintain and clean your power drill by removing the battery or unplugging it first. Wipe the housing, handle, and vents with a dry or slightly damp cloth; don’t spray liquid inside.
Use compressed air to clear dust from the chuck and vents, wearing eye protection. Apply battery maintenance by charging correctly, storing batteries in a cool place, and avoiding deep discharge.
Follow safe cleaning techniques, inspect cords, tighten loose parts, and replace damaged components.
What Safety Features Should I Look for When Buying a Power Drill?
Imagine drilling into a wall when the bit catches unexpectedly; a good drill helps you stay in control. Look for a variable-speed trigger, an adjustable clutch, and an electric brake that stops the bit quickly.
Prioritize battery safety with overload, overheating, and short-circuit protection. Choose an ergonomic design with a rubberized grip, balanced weight, and built-in LED.
A side handle improves stability, while a keyless chuck makes bit changes safer and easier.
Can I Use a Power Drill With Extension Cords?
Yes, you can use a power drill with an extension cord, but choose one rated for the drill’s power requirements. For extension cord safety, match or exceed the drill’s amperage, use a heavy-duty, three-prong cord, and keep it fully uncoiled.
Check power drill compatibility by confirming the cord supports the drill’s voltage and wattage. Don’t use damaged cords, connect multiple cords, or operate them in wet conditions. Keep connections clear of walkways.
How Often Should I Replace Worn Drill Bits?
Replace worn drill bits when they slip, overheat, wobble, or leave ragged holes—not on a fixed schedule. Coincidentally, the same warning signs often appear just as you begin an important project, so inspect each bit beforehand.
With light use, quality bits may last years; heavy use may require replacement within months. Don’t confuse Blade sharpening with drill-bit care. Instead, use proper Drill bit storage, keep bits clean and dry, and discard damaged ones.
What’s the Difference Between Cordless and Corded Power Drills?
Cordless drills give you freedom to work anywhere, while corded drills provide continuous power without recharging. You’ll appreciate a cordless model for quick repairs, overhead tasks, and remote projects, but battery life limits runtime and adds charging downtime.
A corded drill suits extended, demanding jobs, though you’ll manage an outlet and cord. Consider drill ergonomics, including weight, grip, and balance, because comfortable handling improves control and reduces fatigue during use.
Conclusion
Using a power drill safely isn’t complicated, but the theory that speed alone creates better results doesn’t hold up. Control, the right bit, and steady pressure matter more.
After drilling, release the trigger, wait for the bit to stop, and unplug the drill or remove its battery before making adjustments.
If the hole splinters or wanders, don’t force it. Change bits, slow down, and try again.
With practice, you’ll work faster because you’re working carefully and using a power drill the right way.