Top 5 Precision Woodworking Tools for Perfect Cuts
Achieving perfectly clean, accurate cuts can be frustrating, especially when small errors ruin an otherwise careful project. You’re not alone—many woodworkers struggle to find the right tools for consistent results. This roundup highlights the top 5 precision woodworking tools for perfect cuts, helping you work with greater control and confidence.
You’ll get cleaner, more accurate cuts with five precision woodworking tools. Use a track saw for straight, splinter-resistant sheet-goods cuts. Choose a miter saw for precise angles and repeatable bevels. Rely on a table saw for consistent dimensions and long, straight cuts. Select a router for clean joinery, guided templates, and controlled passes. Finish with a hand plane to flush edges and refine surfaces.
Keep blades sharp, secure your work, and investigate the details that follow for better results.
Key Takeaways
- Track saws deliver straight, splinter-resistant cuts in plywood and sheet goods using guide rails and scoring actions.
- Miter saws produce accurate crosscuts, bevels, and repeatable angles when properly calibrated and securely supported.
- Table saws create consistent-width parts with aligned fences, stable tables, riving knives, guards, and push sticks.
- Routers provide clean joinery using suitable bits, variable speeds, templates, guide fences, and shallow controlled passes.
- Hand planes refine and flush edges after cutting or routing, producing clean surfaces for precise assembly.
Choose a Track Saw for Straight Sheet-Goods Cuts
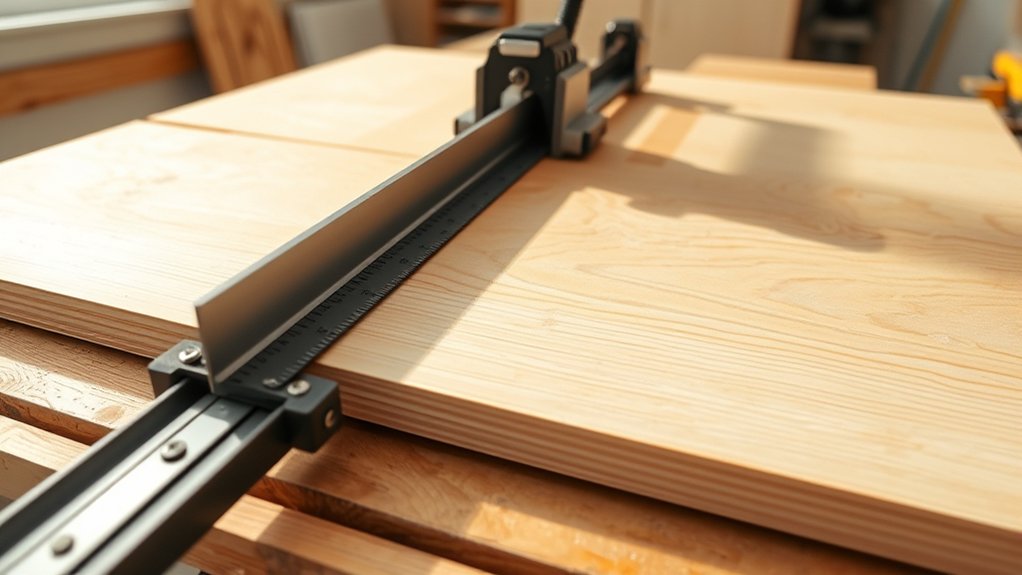
A track saw lets you make straight, splinter-resistant cuts in plywood, MDF, and other sheet goods without wrestling a full sheet across a table saw. You position the guide rail on your layout line, secure it, and run the saw along its edge. The rail keeps the blade aligned, while the saw’s scoring action helps protect the finished surface.
Choose a model with enough cutting depth for your material, a reliable plunge mechanism, and a rail system that connects easily for long cuts. Check blade maintenance regularly: inspect teeth, remove pitch, and replace a dull or damaged blade before it burns edges or strains the motor.
Use dust collection whenever possible to limit airborne particles and keep your cut line visible. Support the sheet beneath the rail, but leave the blade path clear.
Practice on scrap first, then make the final cut with steady pressure and controlled speed. That setup gives you clean, repeatable results.
Use a Miter Saw for Accurate Angles
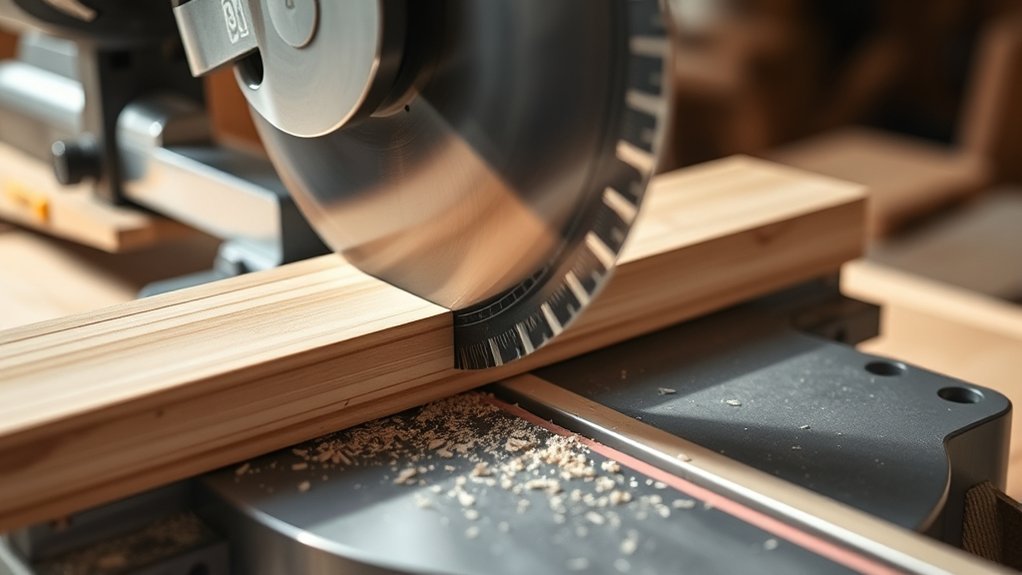
When you need precise crosscuts or repeatable bevels, use a miter saw with a sharp blade and a firmly locked fence. Before cutting, perform angle calibration: check the blade against a reliable square, then adjust the miter and bevel scales if they’re off. Support long stock so it stays flat, and mark your cut line clearly.
Follow these steps for consistent results:
- Clamp narrow or short workpieces securely.
- Align the blade beside, not on, your finished line.
- Let the blade reach full speed before entering the wood.
- Hold the saw down until the blade stops spinning.
Keep your hands outside the marked danger zone, wear eye and hearing protection, and follow essential safety precautions. Test your settings on scrap before cutting expensive lumber.
For clean angles, use a fine-tooth blade suited to your material and avoid forcing the cut. After each adjustment, retighten the locks and verify the fence remains square.
A steady feed and controlled release will help prevent tear-out and preserve your carefully established angle.
Choose a Table Saw for Repeatable Dimensions
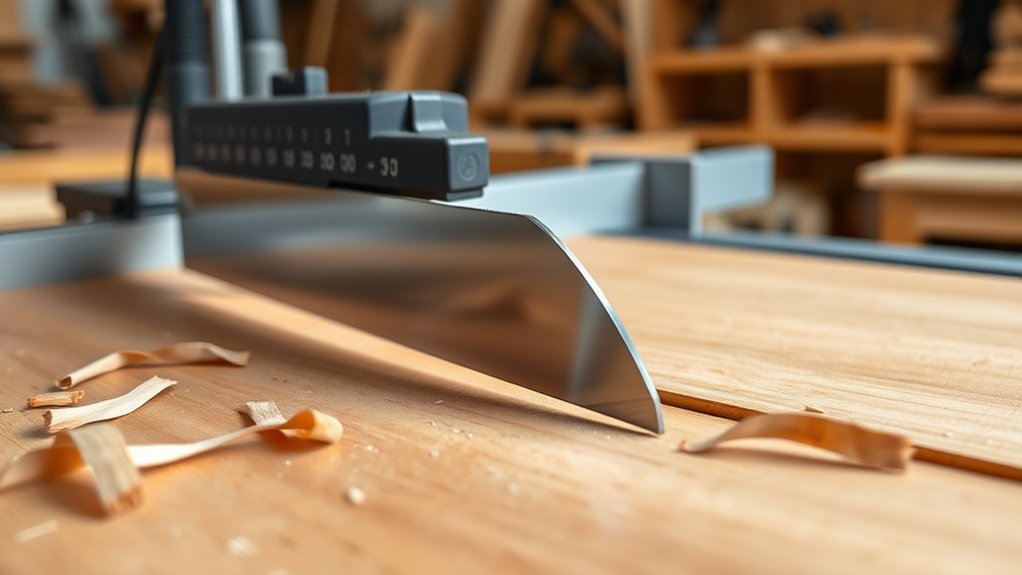
For long, straight cuts and uniform-width parts, choose a table saw with a rigid fence that locks parallel to the blade. A smooth adjustment mechanism helps you set precise widths quickly, while a clear scale and reliable stop reduce measuring errors. Choose a cast-iron or sturdy aluminum table that stays flat and resists vibration. A powerful motor maintains steady speed through hardwood, but match blade size and tooth count to your material and cut.
Prioritize Blade safety with a riving knife, blade guard, anti-kickback pawls, and an accessible emergency shutoff. These features help prevent binding and keep your hands away from the cutting path. A stable stand or enclosed cabinet also improves control.
For cleaner work and better visibility, use effective Dust collection connected at the blade housing. Before each cut, verify the fence alignment, blade height, and stock support. Use push sticks, featherboards, and outfeed support whenever necessary.
Select a Router for Clean Joinery
Choose a router based on the joinery you plan to cut, the materials you’ll work with, and the control you need. A compact trim router handles light edge work and small projects, while a plunge router gives you controlled starts for mortises, dados, and stopped grooves.
Choose variable speed when you’ll switch between hardwoods, softwood, and large router bits. Match the collet size to your bit collection, and prioritize a rigid base, comfortable grips, and easy depth adjustment.
Choose variable speed and a matching collet for versatile, controlled routing across materials and bit sizes.
Dust extraction keeps your layout visible and reduces cleanup. Before cutting, secure the workpiece, test settings on scrap, and move the router steadily against bit rotation.
Use these features to support accurate joinery techniques:
- Fixed base for consistent edge profiles
- Plunge base for interior cuts
- Variable speed for material control
- Dust port for clearer visibility
Select sharp bits designed for your material, and replace damaged ones promptly. A guide fence or template improves repeatability, while shallow passes prevent burning and tear-out during demanding cuts.
Use a Hand Plane for Flush, Clean Edges
After routing joinery, use a sharp hand plane to bring edges flush and refine surfaces with controlled cuts. Set the iron for a fine shaving, then test it on scrap wood before approaching your workpiece. Hold the plane with both hands, keep its sole flat, and push steadily along the grain.
Let the tool do the cutting. Excessive pressure can cause tear-out or uneven results. Check your progress frequently with a straightedge or fingertip, and plane high spots gradually rather than trying to remove too much material at once.
For end grain, skew the hand plane slightly and take lighter passes to reduce chipping. A sharp blade produces cleaner results and requires less effort, so hone it whenever the cut feels rough.
Use a block plane for short edges, corners, and narrow areas. As you work, focus on creating flush edges that meet cleanly, support accurate assembly, and need minimal sanding before finishing.
Frequently Asked Questions
How Should Woodworking Tools Be Maintained for Long-Term Accuracy?
Maintain your woodworking tools by cleaning them after every use, removing pitch, dust, and moisture before storage. Check fences, guides, scales, and moving parts regularly, then tighten loose hardware and lubricate mechanisms as needed.
Schedule tool calibration to verify accurate angles and measurements. Practice blade sharpening before edges become dull, and replace damaged blades promptly.
Store tools in a dry, protected space, and inspect cords, batteries, and guards routinely for safe, dependable performance.
What Safety Equipment Is Essential When Operating Precision Woodworking Tools?
You need essential protective gear when operating precision woodworking tools: wear safety glasses or a face shield, hearing protection, a properly fitted dust mask or respirator, and snug, nonflammable clothing with closed-toe, slip-resistant shoes.
Tie back long hair and remove jewelry. Follow safety protocols by inspecting tools, securing workpieces, using guards and push sticks, keeping hands clear, maintaining clean floors, and disconnecting power before adjustments or blade changes.
Which Blades and Bits Are Best for Cutting Hardwoods and Softwoods?
You’ll get clean hardwood cuts with carbide-tipped blades featuring 40–80 teeth, especially crosscut or combination designs. For softwoods, choose carbide blades with 24–40 teeth to clear chips quickly and reduce burning.
Match router bits likewise: use solid carbide for demanding hardwoods, while high-speed steel works for occasional softwood projects. Blade materials matter, and bit coatings such as titanium or carbide improve durability, reduce friction, and extend cutting life.
How Can Beginners Choose Precision Tools Within a Limited Budget?
Start with a clear budget and choose tools that feel steady in your hands, like a compass guiding each cut. Prioritize accuracy over quantity: buy one reliable saw, router, or measuring tool before collecting accessories.
Compare tool brands through reviews, warranties, and replacement-part costs. Seek budget-friendly options from reputable manufacturers, refurbished outlets, or seasonal sales. Test ergonomics, check calibration, and avoid ultra-cheap tools that could compromise safety or precision.
How Do Dust Collection Systems Improve Cutting Accuracy and Workshop Cleanliness?
Dust collection systems improve cutting accuracy by removing chips and fine particles before they obscure your layout lines, clog mechanisms, or interfere with moving parts. You’ll achieve better dust suppression when you connect a properly sized collector to each tool and seal leaks.
Through airflow optimization, you maintain consistent suction at the blade, keeping cuts visible and reducing buildup. You’ll also breathe cleaner air, protect equipment, and spend less time sweeping your workshop.
Conclusion
With the right precision woodworking tools, you’ll cut straighter, work faster, and build with greater confidence. A track saw handles sheet goods, a miter saw delivers accurate angles, and a table saw guarantees repeatable dimensions.
Your router refines joinery, while a hand plane creates flush, clean edges. Remember, even a one-millimeter error repeated across five parts becomes five millimeters of misalignment.
Choose accuracy at every step, and your finished projects will fit better, look sharper, and last longer. With the right precision woodworking tools, you can create cleaner, more reliable results.