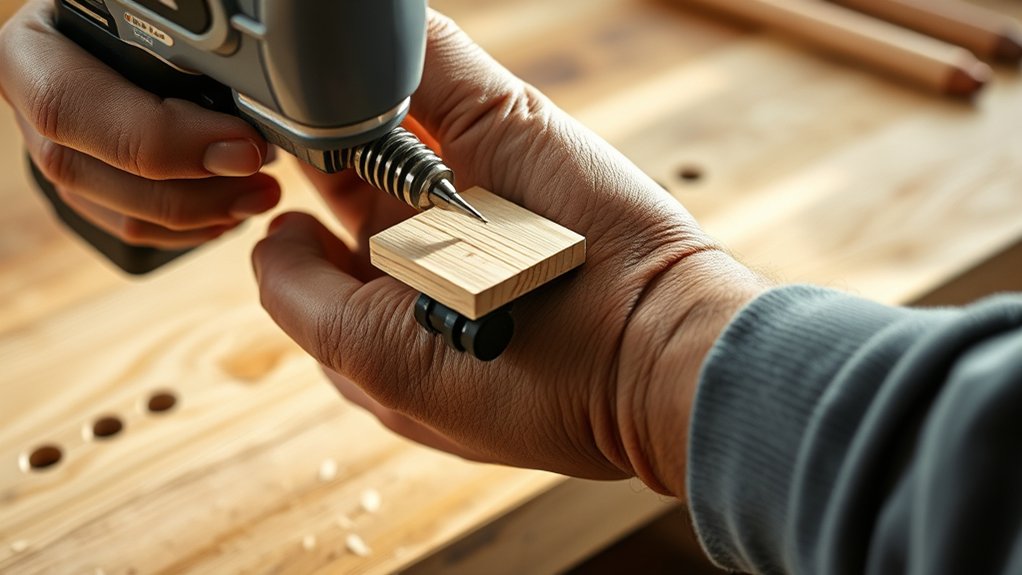
How Do You Use a Power Drill in 10 Easy Steps
Using a power drill can feel intimidating, especially when you want clean, accurate holes without damaging your material. You’re not alone—many people struggle to choose the right bit, control the speed, and use the tool safely.
The steps below explain how to use a power drill with confidence.
To use a power drill, choose the right drill and bit, then wear safety glasses and clear your workspace. Mark the hole and secure the material with clamps. Insert and tighten the bit, set the direction to forward, and select a suitable speed.
Hold the drill straight, apply gentle pressure, and drill steadily. Release the trigger before removing the bit. Inspect and clean the hole, then unplug, clean, and store the drill safely. The steps below offer more helpful guidance.
Key Takeaways
- Choose the correct drill and bit, then inspect the equipment for damage before use.
- Mark the drilling location accurately and secure the workpiece firmly on a stable surface.
- Wear safety glasses, remove loose clothing, clear the workspace, and keep bystanders away.
- Insert and tighten the bit, select the appropriate speed and direction, then drill straight with steady pressure.
- Release the trigger, wait for the bit to stop, inspect and clean the hole, then unplug and store the drill safely.
Choose Your Drill and Bit
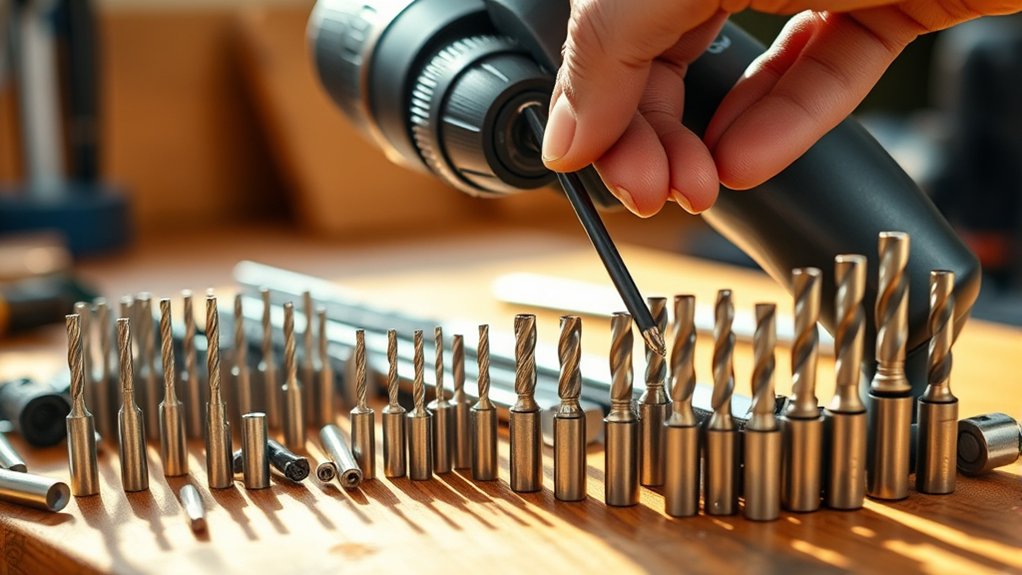
Choose a drill that feels comfortable in your hand and matches the job’s requirements. For light household tasks, choose a compact cordless model. For masonry, thick wood, or extended work, select a corded drill or a higher-voltage cordless model with sufficient torque.
Check the chuck size, speed settings, and clutch positions before you begin. A keyless chuck lets you change bits quickly, while an adjustable clutch helps prevent stripped screws and damaged materials.
Match the bit to both the material and fastener. Use twist bits for metal and wood, brad-point bits for clean holes in wood, and masonry bits for brick or concrete.
Select a driver bit that fits the screw head precisely to reduce slipping. Inspect each bit for dull edges, bends, or damage, and replace worn pieces.
Good drill maintenance includes cleaning vents, tightening the chuck, and storing bits dry. Follow the manufacturer’s battery charging instructions to preserve battery life.
Wear Safety Gear and Clear the Area

Before drilling, put on protective eyewear to protect your eyes from flying debris. Secure any loose clothing and tie back long hair so nothing gets caught in the drill. Also, clear away nearby obstacles to create a safe, unobstructed workspace.
Wear Protective Eyewear
Protective eyewear shields your eyes from flying chips, dust, and metal fragments while you drill. Choose safety glasses that fit snugly and meet recognized impact-resistance standards.
Look for lenses made from polycarbonate, which can withstand flying debris without shattering. Before you start, inspect your eye protection for cracks, loose frames, or deeply scratched lenses, and replace damaged gear.
Put the glasses on before you pick up the drill, and keep them in place throughout the job. Make sure they sit comfortably on your nose and behind your ears without blocking your view.
If you wear prescription glasses, select protective eyewear designed to fit over them or use prescription safety glasses. Don’t rely on ordinary sunglasses; they won’t provide adequate impact protection.
Clean your lenses so you can see the bit and workpiece clearly.
Secure Loose Clothing
Once your eye protection is in place, secure loose clothing and remove dangling jewelry before you handle the drill. Roll up sleeves, fasten cuffs, and tuck shirt tails into your waistband.
Tie back long hair or contain it beneath a snug cap so it can’t catch on the chuck or bit. Remove scarves, necklaces, bracelets, rings, watches, and other accessories that could snag or distract you.
Check that gloves fit properly and don’t have loose material near the rotating parts. Wear sturdy, closed-toe shoes and avoid garments with drawstrings near the drill.
These steps reduce safety hazards and help you maintain steady control while drilling. Before you squeeze the trigger, move your hands slowly around the tool to confirm nothing can catch.
Stay alert, and adjust your clothing whenever it shifts during use.
Clear Nearby Obstacles
Clear the work area before you start the drill. Move boxes, cords, tools, and loose materials away from your project. Obstacle removal keeps you from tripping or bumping into objects while operating the drill.
Check the floor for spills, scraps, and uneven surfaces, then clean or correct them. Keep children, pets, and bystanders outside your work zone so they won’t distract you or contact moving parts.
Practice workspace organization by placing needed tools within easy reach, but not where they can catch on the drill or your clothing. Secure long cords against walls or behind you, and keep the drill’s cable clear of your feet.
Make sure you have enough room to stand comfortably and maintain balance. A clear, orderly area helps you work safely, accurately, and confidently.
Insert and Tighten the Bit
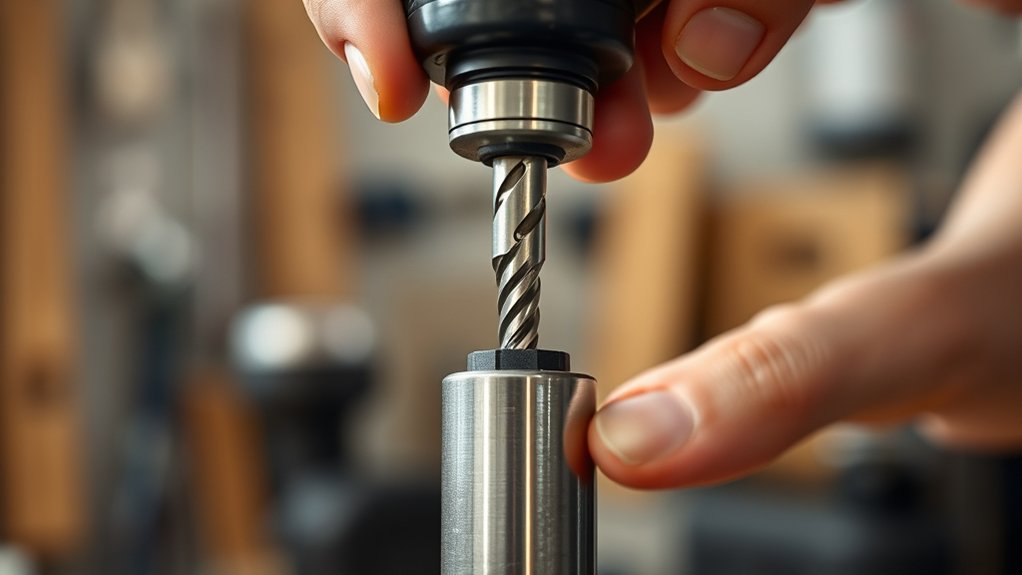
Choose the bit that matches your screw or drilling task, then slide its shank fully into the chuck. Check bit compatibility by confirming that the bit fits the chuck’s size and suits your material. Insert it straight and push it in as far as it will go, leaving enough clearance for the chuck jaws to grip it evenly.
Choose a compatible bit, insert it straight into the chuck, and push it fully in for even jaw grip.
For a keyless chuck, hold the drill steady and turn the chuck sleeve clockwise by hand until it feels snug. Apply firm pressure, but don’t force it or use pliers.
If your drill has a keyed chuck, place the chuck key into each opening and tighten it in turn. This tightening technique helps center the bit and prevents wobbling.
Give the bit a gentle pull to verify that it’s secure. Spin the chuck by hand and watch for noticeable movement or an uneven bit.
If you see wobbling, loosen the chuck, reseat the bit, and tighten it again evenly. Wipe away debris before securing it.
Set the Speed and Direction
Choose a low speed when driving screws and a higher speed when drilling. Set the direction to forward for either task, then switch to reverse when removing screws or backing out the bit. Always stop the drill before changing direction.
Choose the Right Speed
Before drilling, set the speed to match the bit and material. Use your drill’s Speed control to choose a slower setting for large bits, dense materials, or delicate surfaces.
Choose a faster setting for small bits and softer materials, but avoid excessive speed that can overheat the bit or damage your workpiece. Check your drill settings, then test briefly on scrap material when possible.
- Wood: Start at medium speed and increase gradually for clean, efficient cutting.
- Metal: Use low speed and steady pressure to prevent heat buildup.
- Masonry: Select a moderate speed, letting the bit work without forcing it.
- Plastic: Choose low to medium speed to avoid melting or cracking.
Watch the bit as you work. If it smokes, slips, or heats quickly, release the trigger and lower the speed before continuing.
Set Forward or Reverse
Once you’ve set the speed, set the drill’s direction. Find the forward/reverse switch near the trigger, and stop the drill completely before changing it. Push the switch toward the side marked with a forward arrow to drive screws or drill holes.
Choose reverse to remove screws, back out a bit, or free a stuck bit. Never switch directions while the motor is running, because doing so can strain the gears.
Adjusting motor settings includes selecting both speed and direction for the task. Before you pull the trigger, check the bit’s position and keep your other hand away from the chuck.
Understanding drill ergonomics helps you work safely: grip the handle firmly, keep your wrist straight, and stand balanced. If the drill feels awkward, reposition yourself rather than forcing it.
Test the direction briefly on scrap material before starting.
Mark the Drilling Location
Mark the drilling location with a pencil, using a tape measure or level to guarantee accurate placement. Check your measurements twice before you pick up the drill.
Confirm the mark matches your project’s instructions, especially when installing hardware, shelving, or fixtures. Clear away dust so the pencil point stays visible.
Verify the mark against your instructions, then clear away dust to keep the pencil line visible and precise.
Follow these marking guidelines:
- Measure from two fixed edges to locate the exact point.
- Use a level to check horizontal or vertical alignment.
- Place painter’s tape over the mark if the surface might chip.
- Compare the position with the hardware or drill template before drilling.
For multiple holes, measure the spacing carefully and mark every location before starting. A small indentation from a center punch can help the bit stay positioned, but use light pressure on delicate surfaces.
If the mark looks uncertain, erase it and measure again rather than guessing. Accurate preparation helps you drill cleanly and prevents misplaced holes, unnecessary repairs, and wasted materials.
Keep your measurements visible until all locations are confirmed.
Clamp the Material Securely
With the drilling locations confirmed, secure the material so it won’t shift as the bit enters. Choose a sturdy workbench or other stable surface, then place the piece flat against it.
Position clamps near the drilling area without covering your marks or blocking the drill’s path. Tighten each clamp gradually until the material stays firmly in place. Don’t overtighten, or you could dent, crack, or deform the workpiece.
For narrow or irregular pieces, use two clamps or add a scrap block between the clamp and the material. This spreads pressure and protects the surface.
Check that the workpiece sits level and doesn’t rock when you press it by hand. If you’re drilling through the material, place a backing board underneath to support the exit point.
Before picking up the drill, tug the piece lightly to verify that it can’t slide, twist, or lift. Properly clamping the material will help you drill safely and accurately.
Match Speed to the Material
Choose a drill speed that suits both the material and the bit you’re using. Start by checking your drill’s speed adjustment settings and the bit manufacturer’s guidance.
Matching the speed to the material helps you work efficiently while protecting the bit and surface from unnecessary heat or damage.
- Use a slower setting for metal, hardwood, and larger bits.
- Choose a medium speed for plastic, softwood, and general-purpose drilling.
- Select a higher speed for small bits and lightweight materials.
- Reduce speed when you notice excessive heat, smoke, or a burning smell.
Variable-speed drills let you fine-tune performance instead of relying on one setting. Keep the trigger steady and adjust gradually as the material changes.
If you’re unsure, begin at a lower speed and raise it only when the bit cuts effectively without overheating. Match the setting to the bit’s diameter, too: larger bits generally need less speed, while smaller bits can handle more.
This simple approach improves control, extends bit life, and gives you cleaner results. Always consult the drill and bit instructions for recommended ranges.
Drill Slowly and Stay Straight
Once you’ve set the right speed, guide the drill slowly and keep it perpendicular to the surface. This helps the bit cut cleanly and reduces wandering.
Apply steady, gentle pressure instead of forcing the tool. Let the bit’s cutting edges do the work, and ease off if the motor strains or the drill begins to twist.
Use firm hand positioning to maintain control. Hold the main handle with your dominant hand and place your other hand on the auxiliary handle, if your drill has one.
Keep both elbows slightly bent, and brace your arms comfortably without locking them. Look at the point where the bit meets the surface, and maintain a straight line as you advance.
Start with a slow, controlled movement, especially when the bit first contacts the material. Keep your shoulders square and your stance balanced.
If the drill tilts, pause your forward motion, realign it, and continue slowly without forcing it.
Remove the Bit and Inspect the Hole
Release the trigger and wait until the bit stops spinning. Then pull it straight out and inspect the finished hole for cracks, splinters, or debris.
Remove the Drill Bit
When the hole reaches the desired depth, release the trigger and let the bit stop spinning completely before removing it. Keep the drill aligned, then gently pull the bit straight out without twisting or forcing it. If it sticks, reverse the drill at low speed while maintaining a firm grip. Never touch the bit immediately; it may be hot.
- Unplug the corded drill or remove the battery before changing bits.
- Open the chuck using its key or the drill’s keyless collar.
- Hold the bit by its shank, not its cutting edges, and slide it out.
- Set the bit aside safely, then tighten the empty chuck lightly.
Different drill bit types may require specific handling, so follow the manufacturer’s guidance. Keep suitable bit removal tools nearby for stubborn or overheated bits, and wear gloves if the bit remains warm.
Inspect the Finished Hole
After the bit stops spinning, remove it carefully and inspect the hole for the correct depth, clean edges, and debris. Keep the drill unplugged or switched off while you examine your work.
Use a flashlight to check the interior, especially in deep or poorly lit holes. If you find dust or chips, clear them with compressed air, a brush, or a vacuum. Don’t blow debris toward your eyes.
Run your finger lightly around the opening to detect splinters, cracks, or rough spots, but avoid sharp edges.
Compare the hole with your project’s requirements. If it’s too shallow, drill slightly deeper. If the opening feels uneven, smooth it with a countersink or appropriate file.
Careful inspection improves finish quality, supports hole durability, and helps ensure the fastener fits securely.
Clean and Store the Drill Safely
Unplug the drill, remove the bit, and wipe away dust and debris with a dry cloth. Check the chuck, vents, and cord for buildup or damage. Don’t use water or harsh cleaners; if grime remains, lightly dampen the cloth and dry every surface immediately.
Unplug the drill, remove the bit, and clean away dust while checking the chuck, vents, and cord for damage.
This simple Tool maintenance routine keeps your drill ready for the next job.
Before storing it, follow these steps:
- Brush dust from the vents so the motor can breathe.
- Coil the cord loosely, avoiding sharp bends and tight knots.
- Place bits, keys, and accessories in a labeled case.
- Set the drill in a dry, secure cabinet away from moisture.
If you use a cordless model, remove the battery before storage and inspect its contacts. Store the battery in a cool place, following the manufacturer’s guidance.
Choose storage solutions that prevent falls, protect the trigger, and keep children from accessing the tool. A clean, organized setup saves time and extends your drill’s working life.
Frequently Asked Questions
Can I Use a Power Drill to Drive Screws?
Yes, you can use a power drill to drive screws, especially when you install a driver bit. For effective screw driving, choose the correct bit, match the screw head, and set the drill to a low speed.
Apply steady pressure and stop when the screw sits flush to avoid stripping or damaging materials. Practice power drill safety by wearing eye protection, securing your workpiece, and keeping fingers away from the bit.
How Do I Troubleshoot a Drill That Suddenly Stops Working?
Check the battery, trigger, power cord, and bit for obvious problems first; nearly 30% of cordless-tool failures involve battery issues.
Remove the battery or unplug the drill, then inspect contacts, charge level, and overheating. Let the motor cool and clear debris from vents.
Test another battery or outlet. If it still stops, stop using it and seek service.
Regular drill motor maintenance and battery life optimization prevent recurring shutdowns and damage.
What Drill Brands Offer the Best Warranties?
DeWalt, Milwaukee, Makita, Bosch, and Ryobi offer some of the best drill warranties. You’ll typically find three-year coverage from DeWalt, Milwaukee, and Makita, while Bosch often provides a limited five-year warranty and Ryobi offers three years.
Compare warranty coverage carefully, including exclusions, registration requirements, batteries, chargers, and service availability. Don’t judge solely by battery life or headline terms; choose the brand that combines dependable performance, accessible repairs, and coverage that matches your projects.
Can I Drill Into Tile Without Cracking It?
Yes, you can drill into tile without cracking it—because replacing one tile for a tiny hole is everyone’s favorite home-improvement tragedy.
For reliable Tile drilling, mark the spot with painter’s tape, use a diamond-tipped bit, and start slowly without hammer mode. Keep the bit cool with water, apply gentle pressure, and let the tool work.
These Crack prevention habits protect the tile. Once you reach the substrate, switch bits if needed.
How Often Should I Replace Worn Drill Bits?
Replace worn drill bits when they become dull, overheated, bent, chipped, or produce ragged holes—there’s no fixed schedule. With regular use, inspect them every few projects and replace inexpensive bits rather than forcing them.
Consider drill bit materials: carbide and cobalt bits typically outlast standard high-speed steel. You can extend their life through proper bit sharpening techniques, light pressure, cooling, and correct speeds.
Always discard cracked or dangerously damaged bits immediately.
Conclusion
With these simple steps, you can use your power drill confidently and safely. Choose the right bit, secure it properly, and keep your workspace clear.
Mark your spot, ease into the material, and let the drill do the work. There’s no need to make a mountain out of a small hole.
When you’re finished, remove the bit, tidy up, and store your tool securely. A little care now keeps your next project running smoothly and helps you avoid unpleasant surprises when using a power drill.