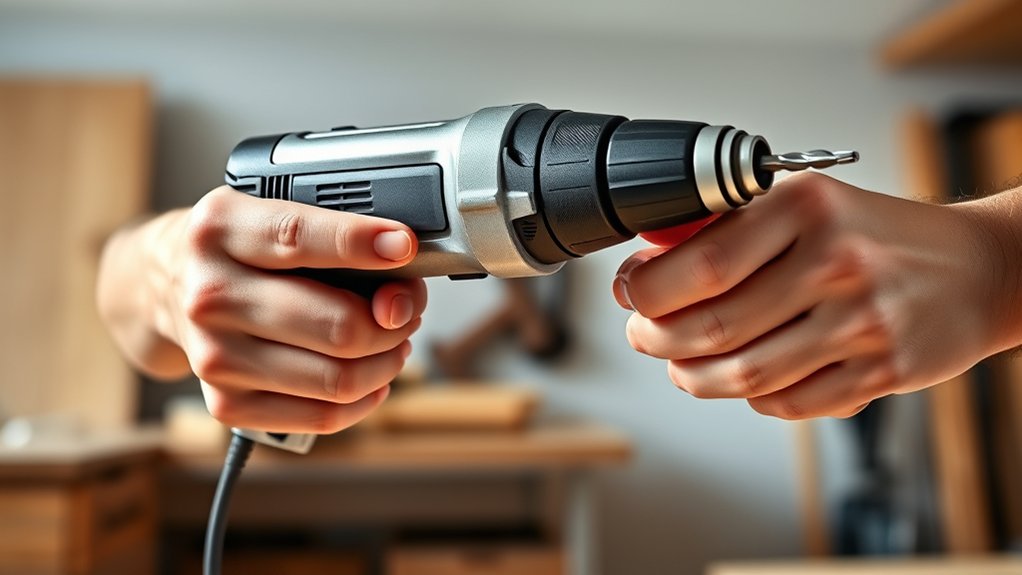
How to Operate a Power Drill in 3 Easy Steps
Using a power drill can feel intimidating, especially when you’re unsure which bit to choose or how much pressure to apply. You’re not alone—many people struggle to use a drill confidently and safely.
This simple guide breaks down how to operate a power drill in three easy steps.
To operate a power drill in three easy steps, first choose the correct bit, inspect it, unplug the drill, and tighten the bit securely.
Next, wear eye protection, mark your drilling point, set a low speed, and hold the drill perpendicular to the surface.
Squeeze the trigger gradually while applying steady pressure.
Finally, release the trigger, unplug the tool, remove the bit, brush away dust, inspect for damage, and store everything safely.
The steps below will help you work confidently.
Key Takeaways
- Choose the correct bit, inspect it for damage, and secure it tightly in the unplugged drill.
- Wear eye protection, secure loose clothing, clear the workspace, and support the material before drilling.
- Set low speed, mark the location, hold the drill perpendicular, and start slowly to create a pilot hole.
- Apply steady pressure while maintaining alignment. Stop immediately if the bit binds or conditions change.
- Release the trigger, unplug the drill, remove and clean the bit, then store the tool safely.
Choose the Right Bit and Prepare Safely
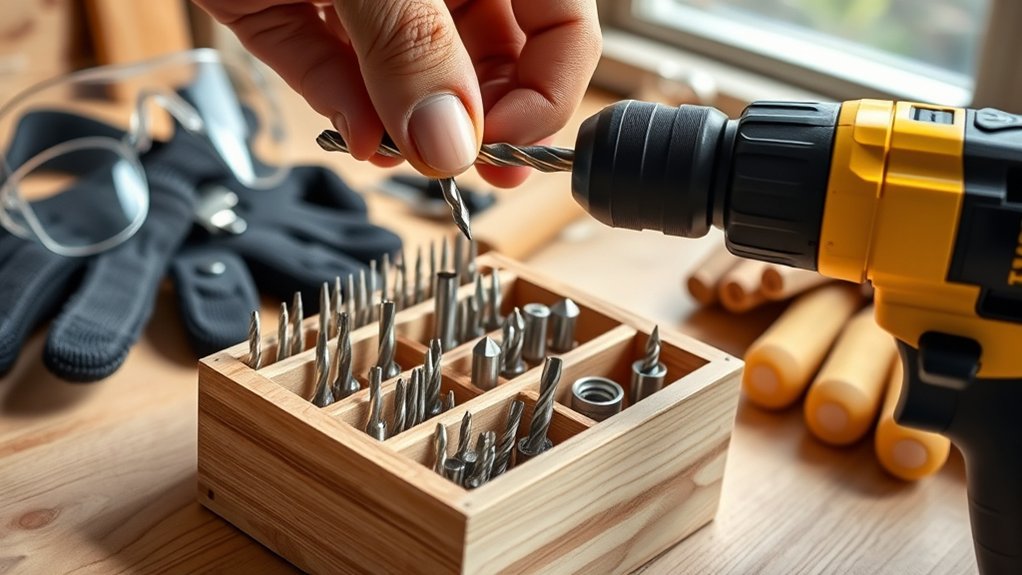
Before you start, choose a bit designed for the material—twist bits for wood or metal, masonry bits for brick or concrete, and specialty bits for tile or other surfaces. Check the bit types against your project, and select a size that matches the hole or fastener you need.
Inspect the bit for cracks, dull edges, or bending. Replace damaged bits instead of forcing them into service.
Inspect drill bits before use, replacing any cracked, dull, or bent bits to ensure safe, effective drilling.
Unplug a corded drill before installing the bit, or remove the battery from a cordless model. Open the chuck, insert the bit’s shank fully, and tighten it securely with the chuck key or by hand, depending on the chuck design.
Keep the bit straight and clean so it seats evenly.
Put on safety gear before you begin. Wear eye protection to block chips and dust, and use hearing protection during extended work.
Secure loose clothing, tie back long hair, and clear clutter from your workspace. Keep bystanders away from the drilling area.
Adjust the Power Drill and Start Drilling
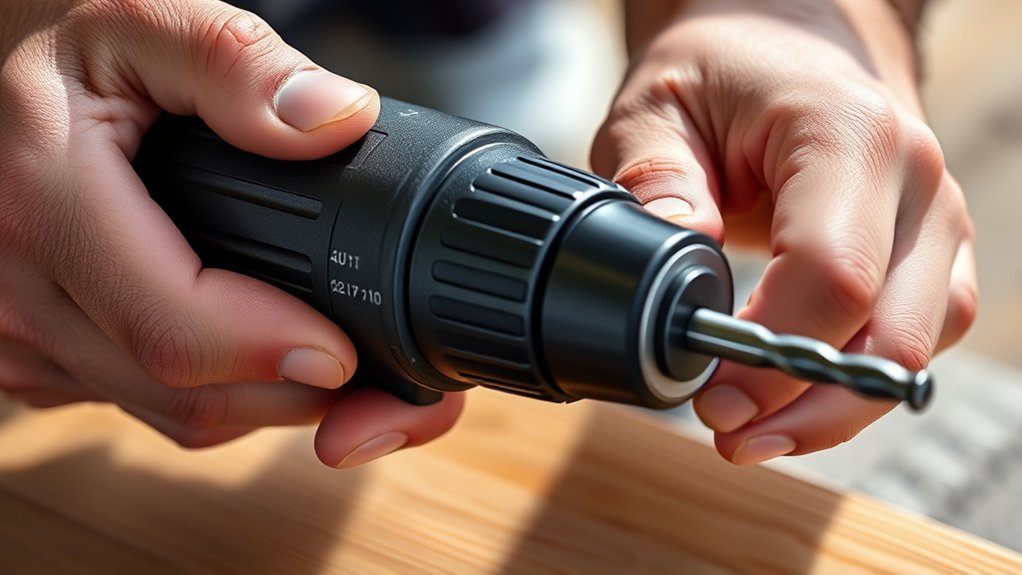
Set the drill to a low speed and select the clutch setting that matches the task; use the drill mode for drilling and the hammer mode only for masonry. Confirm the bit sits straight and the chuck grips it firmly. Put on eye protection, secure loose clothing, and hold the drill with both hands for Power drill safety.
Mark your drilling point, then place the bit perpendicular to the surface. Squeeze the trigger gradually, letting the bit establish a shallow pilot hole before increasing speed.
Apply steady, moderate pressure; forcing the tool can overheat the motor or damage the material. Ease pressure as the bit breaks through to prevent splintering. These drilling techniques help you stay accurate and controlled.
- Keep your free hand away from the rotating bit.
- Support the workpiece so it won’t shift.
- Pause if the bit binds, then release the trigger.
Keep the drill aligned, listen for changes in sound, and adjust speed or pressure as needed while you work.
Remove the Bit, Clean Up, and Store the Drill
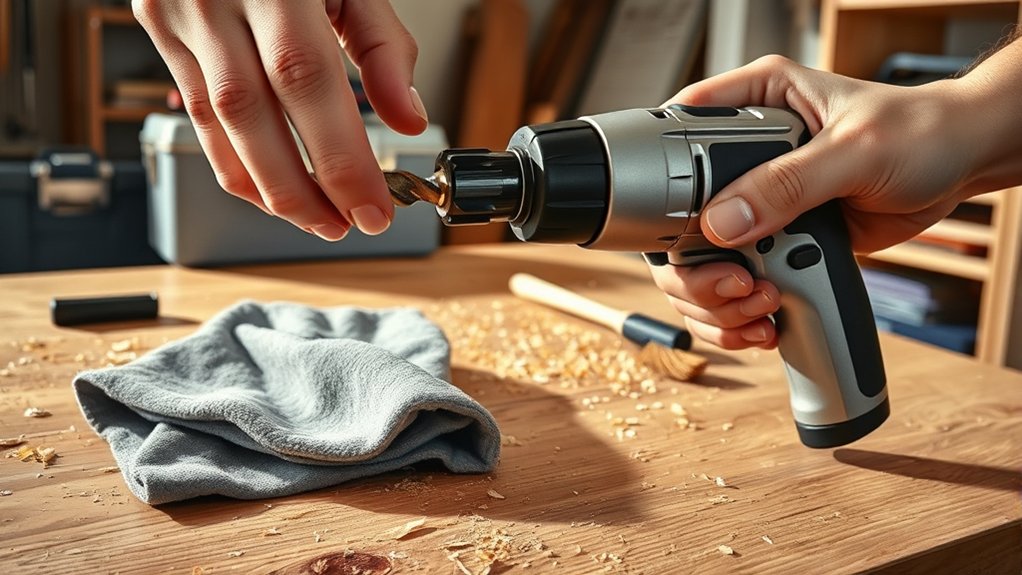
Once the drill stops completely, release the chuck to remove the bit, keeping your fingers away from its sharp edges. Unplug the tool before cleaning.
Brush dust from the chuck, vents, and housing, then wipe surfaces with a dry cloth. Don’t use water or compressed air that can force debris deeper inside.
Inspect the cord, battery, bit, and chuck for damage. Proper bit removal and drill maintenance help prevent injuries and extend tool life.
| Task | What to do | Why it matters |
|---|---|---|
| Remove bit | Loosen chuck and store bit safely | Prevents cuts and loss |
| Clean drill | Brush dust and wipe housing | Protects moving parts |
| Inspect tool | Check cord, battery, and chuck | Reveals hazards early |
Store the drill in a dry, secure case or cabinet, away from children, moisture, and extreme temperatures. Keep bits organized in a labeled container.
If you use a cordless model, remove the battery and follow its charging and storage guidance. Replace damaged parts before operating the drill again.
A brief cleanup keeps your workspace safe and your next project ready.
Frequently Asked Questions
Can I Use a Power Drill as a Screwdriver?
Yes, you can use a power drill as a screwdriver by installing a screwdriver bit or driver socket. Choose a compatible bit, such as a Phillips, slotted, Torx, or hex bit, and match it to your screw.
Set the clutch to a low torque setting, select a slow speed, and keep the drill aligned. Follow safety precautions: wear eye protection, secure your workpiece, and avoid over-tightening or stripping screws.
How Do I Drill Through Tile Without Cracking It?
Treat the tile like a sleeping lake: approach gently, and it won’t split into waves. For Tile drilling, mark your spot with painter’s tape, then use a carbide- or diamond-tipped bit.
Start slowly without hammer mode, applying light, steady pressure and cooling the bit with water. Once through the tile, switch to the appropriate masonry bit for the backing.
For Crack prevention, avoid edges, rushing, and excessive force. Wear eye protection.
What Should I Do if the Drill Overheats?
Stop drilling immediately if your drill overheats, then unplug it or remove the battery and let it cool completely. Don’t touch hot metal or force the tool to continue.
For overheating prevention, use the correct bit, moderate pressure, slower speed, and short drilling intervals. Apply cooling techniques appropriate to your material, such as water for tile when safe, while keeping liquid away from electrical components.
Check ventilation, clear debris, and replace damaged bits before restarting.
Are Cordless or Corded Drills Better for Home Projects?
For most home projects, you’ll find cordless drills better because they offer greater mobility and convenience. Surveys often show that roughly two-thirds of DIYers prioritize portability when choosing tools, highlighting why cordless advantages matter.
You won’t need an outlet or extension cord, and you can work anywhere. However, corded models deliver continuous power for demanding tasks.
Consider battery life, project duration, and material hardness before choosing. A cordless drill suits typical repairs best.
How Often Should I Replace My Drill’s Battery?
Replace your drill’s battery when it noticeably loses runtime, won’t hold a charge, swells, leaks, overheats, or becomes unreliable—not on a fixed schedule. With proper Battery maintenance, lithium-ion packs commonly last three to five years or several hundred charge cycles.
Follow Charging best practices: use the correct charger, avoid extreme temperatures, don’t fully deplete the pack regularly, and store it partially charged. Recycle worn batteries through an approved collection center.
Conclusion
With the right bit, safe preparation, and steady control, you can operate a power drill confidently. Adjust the settings, keep your hands clear, and let the tool do the work instead of forcing it.
When you’ve finished, remove the bit, clean away debris, and store the drill safely. These simple habits will help you complete projects smoothly and avoid unnecessary accidents.
Before long, you’ll find that operating a power drill is as easy as a walk in the park.