How to Check Engine Oil Level in Car in 10 Easy Steps
How to Check Engine Oil Level: Checking your car’s engine oil level can feel confusing if you’re not sure what to look for or how to do it right. You’re not alone—many people struggle with this simple yet crucial maintenance task.
Keeping an eye on your engine oil is essential to avoid costly repairs and keep your car running smoothly.
To check your car’s engine oil level, park on a flat surface and let the engine cool. Open the hood, locate the brightly colored dipstick, and pull it out carefully. Wipe it clean, reinsert it fully, then remove again to read the oil level between the marks.
Check the oil’s color and texture, then secure the dipstick and close the hood properly. Regular checks help catch engine issues early, and understanding oil needs keeps your engine healthy.
There’s more to learn about keeping your car running smoothly.
How to Check Engine Oil Level Key Takeaways
- Park on level ground, turn off the engine, and wait for it to cool before checking the oil level.
- Open the hood securely and locate the brightly colored engine oil dipstick.
- Pull out the dipstick, wipe it clean, then reinsert it fully. Remove it again to check the oil level.
- Make sure the oil level is between the minimum and maximum marks. Also, check the oil’s color and texture to assess its condition.
- If you need to add oil, do it slowly. Then recheck the level, securely replace the dipstick, and close the hood firmly.
How to Check Engine Oil Level With the Car on a Level Surface and Cool
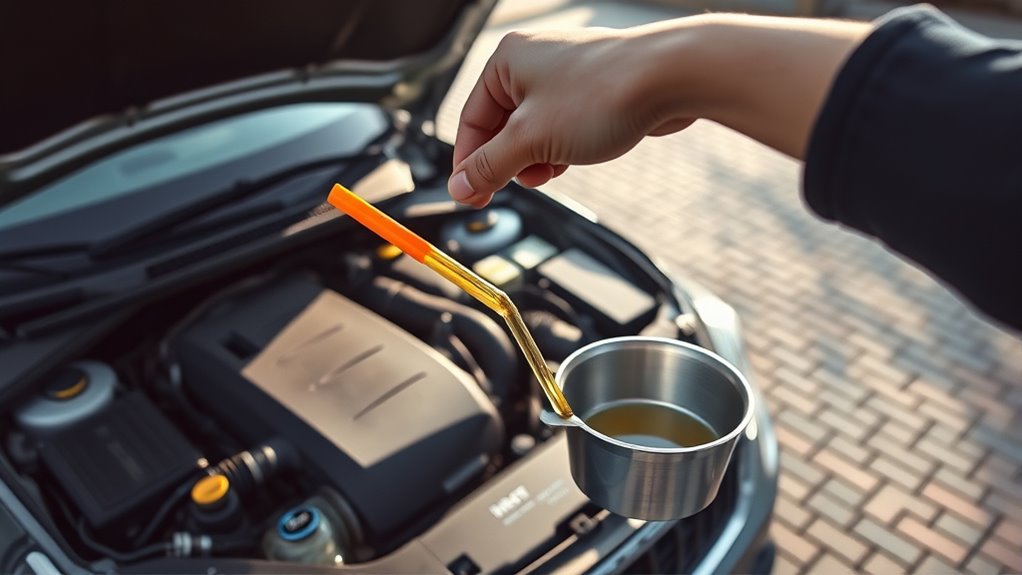
Before you check the engine oil, make sure your car is parked on a level surface and the engine is cool. This step is vital because engine temperature directly affects oil viscosity. When the engine is hot, the oil thins out, which can give you an inaccurate reading.
By waiting for the engine to cool, you guarantee the oil settles back into the oil pan, providing a true measure of its level. Parking on a level surface prevents the oil from pooling to one side, which could also distort the reading.
Uneven ground might make the oil appear lower or higher than it actually is, leading to improper maintenance decisions. So, take a moment to find a flat spot and allow the engine to cool down before proceeding. Doing this helps you get the most accurate reading and assures your engine oil is at the right level and in good condition for peak performance.
Open the Hood and Find the Engine Oil Dipstick
First, find the hood release inside your car—it’s usually near the driver’s side footwell. Before you open the hood, make sure the engine is off and cool so you don’t risk getting burned.
Once you’ve popped the hood, look for the engine oil dipstick. You’ll recognize it by its brightly colored handle.
Locating The Hood Release
Wondering where to start when checking your engine oil? First, locate the hood release inside your car. Usually, the release handle is found on the driver’s side, beneath the dashboard or near the door. Pull this handle firmly; it will unlatch the hood.
Next, step outside and find the hood latch under the front edge of the hood. This latch keeps the hood securely closed. Slide or lift it to fully open the hood.
Once open, you’ll see the engine and can easily spot the oil dipstick. Knowing how to find the hood release and latch quickly gets you one step closer to checking your engine oil level efficiently. It’s a simple process anyone can master with a little practice.
Safety Precautions Before Opening
Although checking your engine oil might seem straightforward, taking safety precautions before opening the hood is essential to avoid injury. First, always wear protective gear like gloves and safety glasses to shield yourself from hot surfaces and fluids.
Second, make sure the engine is off and cooled down; hot engine parts and oil can cause burns. Third, park your car on a flat surface and engage the parking brake to prevent accidental movement.
These steps also help with spill prevention by minimizing sudden jolts or mishandling when you open the hood. Taking these precautions guarantees you stay safe and keeps your workspace clean before you proceed to find the engine oil dipstick.
Identifying The Dipstick Handle
Before you check the oil level, you’ll need to open the hood and locate the engine oil dipstick. The dipstick handle is usually brightly colored, often yellow, orange, or red, making it easy to spot near the engine. It’s designed for quick identification so you won’t confuse it with other components.
Once you find the dipstick handle, grab it firmly and pull it out slowly. This metal rod acts as your engine oil gauge, allowing you to see the current oil level and condition. If you’re unsure, consult your car’s manual, which shows the exact location of the dipstick handle.
Identifying it correctly guarantees you get an accurate reading, helping you maintain your engine’s health efficiently.
Pull Out the Dipstick and Wipe It Clean
Once you’ve found the dipstick, go ahead and pull it out carefully so you don’t spill any oil. Then, grab a clean cloth or paper towel and wipe off all the oil from the dipstick’s surface. This way, you’ll make sure your next oil level check is accurate.
Locate The Dipstick
Where can you find the dipstick in your car? Usually, it’s located near the engine, with a brightly colored handle, often yellow or orange, to help you spot it quickly. Knowing where it is helps you avoid oil contamination during the check. The dipstick is typically made of metal or plastic, designed to resist heat and oil exposure.
To locate the dipstick:
- Open the hood and secure it properly.
- Look for the handle near the engine block.
- Identify the dipstick by its color and shape.
Properly Remove Dipstick
To properly remove the dipstick, start by pulling it out slowly and steadily to avoid spilling any oil. Make sure your engine temperature is cool or slightly warm, as checking oil when the engine is hot can be unsafe and affect accuracy.
Avoid touching the oil filter during this process to prevent any contamination or damage. Once the dipstick is out, you’ll notice oil on the end. Handling it carefully will help you get a clear reading of the oil level.
Removing the dipstick properly sets the stage for an accurate oil check, so take your time to do it right. This step is essential before moving on to cleaning the dipstick with a cloth.
Clean With Cloth
Although you’ve just pulled out the dipstick, don’t check the oil level yet; you need to wipe it clean first. This step guarantees you get an accurate reading, especially since oil can accumulate around the oil filter or dipstick tube.
Follow these simple steps:
- Grab a clean, lint-free cloth or paper towel.
- Wipe the entire length of the dipstick thoroughly, removing all oil traces.
- Reinsert the dipstick fully, then pull it out again to check the fresh oil level.
Reinsert the Oil Dipstick Fully and Remove It Again
After wiping the dipstick clean, you’ll want to fully reinsert it back into its tube before pulling it out again. This step guarantees you get an accurate reading of your engine oil level. When the dipstick is fully seated, it allows the oil to settle evenly, reflecting the true amount present. Don’t rush this; a partial insertion can give misleading results.
Remember, factors like oil viscosity and oil additives can affect how oil clings to the dipstick, so a proper reinsertion is key to evaluating the true level.
| Step | Purpose |
|---|---|
| Wipe Dipstick Clean | Removes old oil for clear reading |
| Fully Reinsert Dipstick | Ensures accurate oil measurement |
| Wait a Few Seconds | Allows oil to settle properly |
| Remove Dipstick Again | Check oil level precisely |
Read the Oil Level and Check Oil Color and Texture
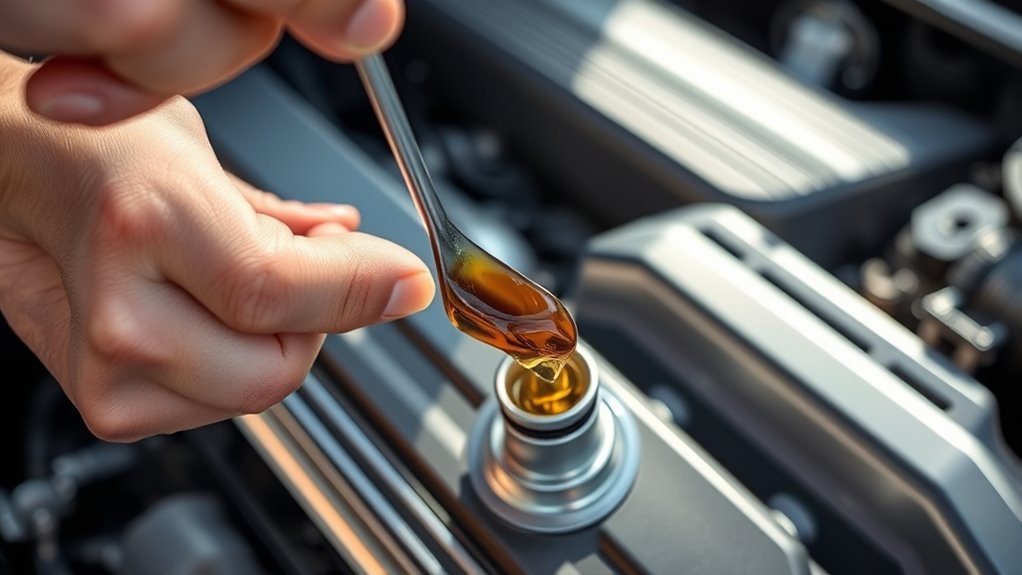
When you pull the dipstick out this time, take a close look at the oil level indicated between the marked lines. This tells you if your engine has enough oil or needs a top-up. Next, examine the oil’s color and texture carefully to spot any issues. Here’s what you should check:
- Oil level: The oil should sit between the minimum and maximum marks. If it’s below, you’ll need to add oil.
- Color indicators: Fresh oil is usually amber or light brown. If the oil looks very dark or black, it might be time for an oil change.
- Texture and contamination: Rub a bit of oil between your fingers. It should feel smooth. Gritty or thick sludge suggests oil contamination, which can harm your engine.
Add Oil Slowly and Avoid Overfilling
Since adding oil too quickly can lead to overfilling, you should pour it in slowly and check the level frequently. Overfilling can cause increased pressure inside the engine, leading to leaks or damage. Use a funnel to control the flow and add small amounts at a time.
Keep in mind that oil viscosity affects how the oil flows and settles, so be patient and give it a moment before rechecking the dipstick. Also, consider the type of oil additives in your chosen oil, as they can influence engine performance and oil consumption rates.
If you add too much oil, it can dilute the additives, reducing their effectiveness. By adding oil gradually, you guarantee the engine gets just the right amount, maintaining ideal lubrication and protection. This careful approach helps you avoid costly repairs and keeps your engine running smoothly.
Always stick to the manufacturer’s recommended oil type for best results.
Secure the Dipstick and Close the Hood Properly
Although you’ve checked the oil level carefully, don’t forget to firmly reinsert the dipstick to prevent dirt and debris from entering the engine. Make certain the dipstick handle is fully seated and secure, so it won’t come loose while you’re driving.
Once the dipstick is in place, your next step is to close the hood properly.
Follow these steps to secure the hood correctly:
- Lower the hood gently until it’s about a foot from closing, then let it drop to latch securely.
- Press down firmly on the front edge to ensure it’s fully locked. This prevents the hood from flying open while driving.
- Pull up slightly on the hood to test that it’s secure and won’t bounce or move.
Taking these actions ensures your engine bay stays protected and your dipstick handle remains in place. Now you’re done, and your car is ready to go!
Look for Signs of Engine Trouble When Checking Oil
As you check your engine oil, keep an eye out for signs that could indicate trouble under the hood. If you notice the oil is unusually dark, gritty, or has a milky appearance, it could mean oil contamination. This often signals coolant leaking into the oil, which is a serious issue that needs immediate attention.
Also, pay attention to any engine warning lights on your dashboard. These alerts are designed to notify you of potential problems, including low oil pressure or other engine-related faults. If the engine warning light comes on while checking your oil, don’t overlook it.
Addressing these signs early can prevent costly repairs and keep your engine running smoothly. Regularly inspecting your oil not only helps you maintain proper levels but also lets you catch early symptoms of engine trouble before they escalate.
This proactive approach ensures your car stays reliable and safe on the road.
Know How Much Oil Your Engine Needs
Before you check your engine oil level, you should know exactly how much oil your engine requires. Using the right amount of oil ensures your engine runs smoothly and prevents damage. Here’s how to determine it:
- Check your owner’s manual: It specifies the exact oil capacity and the recommended oil viscosity for your engine. This affects lubrication and performance.
- Consider oil type and viscosity: Different engines need different viscosities, especially in varying temperatures. Using the wrong viscosity can lead to poor engine protection or increased consumption.
- Plan for oil recycling: When changing oil, measure how much you drain and refill. Proper disposal and recycling of used oil protect the environment and comply with regulations.
Knowing these details helps you maintain optimal oil levels and keeps your engine healthy. Don’t guess. Always refer to your vehicle’s specifications to get it right the first time.
Make Checking Your Oil a Regular Habit
Knowing how much oil your engine needs is only part of proper maintenance; you also need to verify your oil level regularly to catch any issues early. Making this a habit helps you spot leaks or oil consumption problems before they cause serious damage.
Regularly checking your oil level helps detect leaks and prevents serious engine damage.
Aim to check your oil at least once a month and before long trips.
Regular checks also ensure your next oil change goes smoothly. When you keep an eye on the oil level, you know when it’s time to replace the oil and the oil filter, which keeps your engine running efficiently.
Skipping these steps can lead to engine wear or failure.
Frequently Asked Questions
How Often Should I Change My Engine Oil?
You should change your engine oil every 3,000 to 7,500 miles, depending on your car’s make and driving habits. Modern engine oil lifespan has improved, so some vehicles can go longer between changes.
Also, keep in mind that oil recycling systems help reduce environmental impact when you dispose of old oil. Always check your owner’s manual for specific recommendations to keep your engine running smoothly and efficiently.
What Type of Oil Is Best for My Car?
The best oil for your car depends on the manufacturer’s recommendations, focusing on oil viscosity and oil additives. You’ll want an oil with the right viscosity grade, like 5W-30, to guarantee proper flow at different temperatures.
Oil additives boost performance by reducing wear and preventing corrosion. Always check your owner’s manual to pick oil that matches your engine’s needs, so you keep it running smoothly and efficiently.
Can I Drive Immediately After Adding Oil?
Yes, you can drive immediately after adding oil, provided you used the correct oil viscosity and quality with proper oil additives. These guarantee the oil flows smoothly and protects your engine right away.
Just make sure you’ve added the right amount without overfilling. After adding, give the engine a minute to circulate the oil, then you’re good to go. Checking the dipstick afterward helps confirm the level’s spot on.
What Are the Symptoms of Low Engine Oil?
You might not know that 70% of engine failures are linked to low oil levels. If your engine oil color looks very dark or gritty, that’s a warning sign.
Also, a burnt oil smell can mean your oil is breaking down or running too low. You’ll notice engine noise or overheating too. Don’t ignore these signs. Low engine oil can seriously damage your car if you don’t act fast.
How Do Synthetic Oils Differ From Conventional Oils?
Synthetic oils differ from conventional oils because they’re engineered for better performance and protection. They offer improved viscosity, stability, and resistance to breakdown under extreme temperatures.
Synthetic blends mix synthetic and conventional oils, giving you some benefits at a lower cost. Oil additives in synthetics improve lubrication and reduce engine wear, while conventional oils rely more on natural base oils and fewer additives.
You’ll notice longer engine life and better efficiency with synthetics.
Conclusion
Now that you know how to check your engine oil in just 10 easy steps, keeping your car running smoothly is simpler than ever. Regularly checking oil not only protects your engine but also saves you from costly repairs.
So, why wait for a warning light to appear? Make it a habit to check your engine oil level often, and you’ll keep your engine healthy and your drives worry-free. Ready to give it a try?