How to Take an Engine Out of a Car in 5 Simple Steps
If you’ve ever faced the daunting task of removing an engine from your car, you know it can feel overwhelming. Many people struggle with where to start or worry about making costly mistakes. You’re not alone—taking an engine out requires the right tools, patience, and a clear plan to avoid frustration.
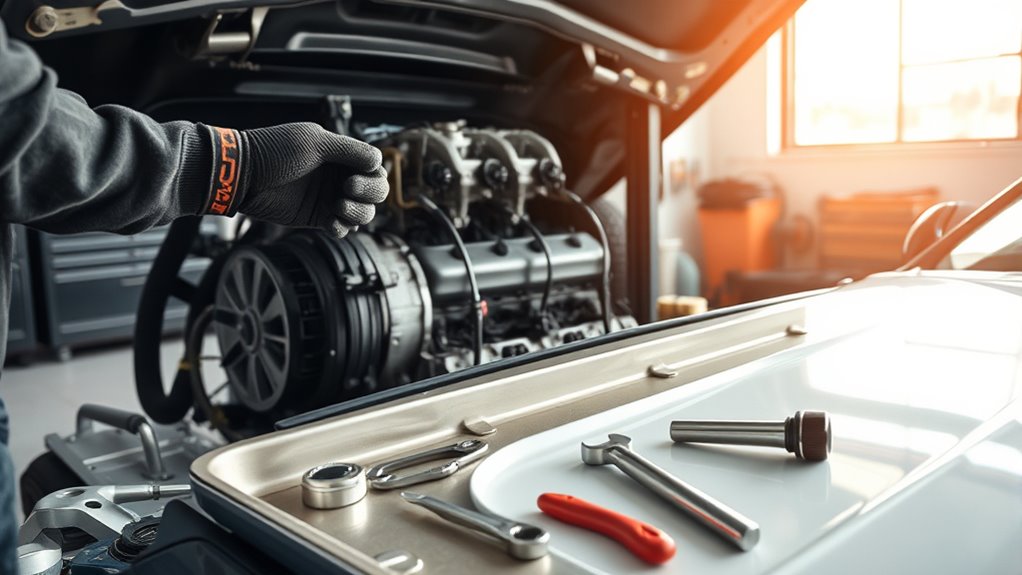
To take an engine out of your car in five simple steps, first gather the right tools like an engine hoist and wrenches while ensuring safety gear is on.
Next, disconnect the battery, fuel lines, and electrical connections carefully.
Then, remove engine accessories and mounting bolts, draining fluids beforehand.
Use a hoist to lift the engine slowly and steadily, placing it on a secure surface.
Finally, inspect and store the engine properly.
Keep going to uncover detailed tips and safety advice.
Key Takeaways
- Gather necessary tools including an engine hoist, wrenches, and safety gear before starting the removal process.
- Disconnect the battery, label wiring harnesses, and safely unplug fuel and electrical connections.
- Remove engine accessories, drain fluids, and unbolt engine mounts while ensuring all connections are detached.
- Attach the hoist to engine lifting points and carefully lift the engine out, maintaining balance and control.
- Inspect the engine condition, clean it, and store it properly in a dry, temperature-controlled area.
Gather Tools for Engine Removal
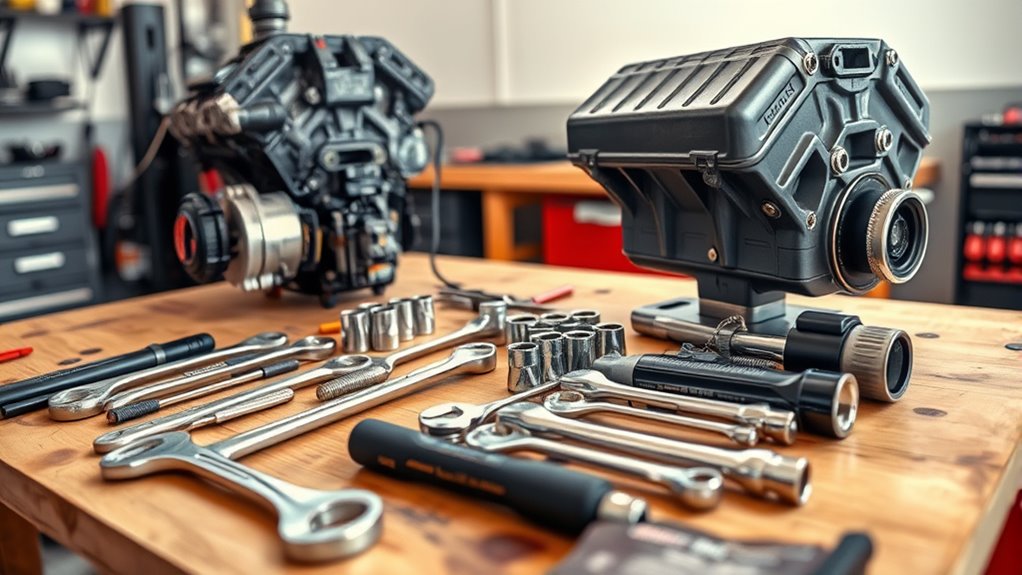
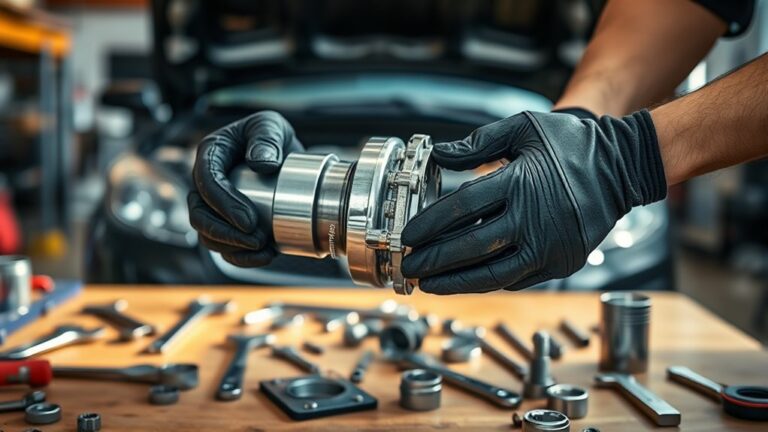
Before you begin removing the engine, you’ll need to gather the right tools to make the job easier and safer. Start with an engine hoist, which is essential for lifting the heavy engine out of the car smoothly. Make sure the hoist is rated for your engine’s weight to avoid accidents.
You’ll also want sturdy wrenches, sockets, and screwdrivers to disconnect bolts and components. Don’t forget to follow safety precautions throughout the process. Wear gloves and safety glasses to protect yourself from sharp edges and fluids.
Use jack stands to securely lift the car and never rely solely on a jack. Keep your workspace organized and free of clutter to prevent trips or falls. Having the proper tools ready and adhering to safety precautions will set a solid foundation, making the engine removal straightforward and risk-free.
Safely Disconnect Electrical and Fuel Connections
Once you have your tools ready and the car safely lifted, you can start disconnecting the electrical and fuel connections. Prioritize electrical safety by disconnecting the negative battery terminal first to prevent shorts.
Then, carefully unplug all wiring harnesses connected to the engine, labeling each for easy reassembly. Next, address the fuel system: relieve fuel pressure to avoid leaks, then disconnect fuel lines using proper fittings or quick-release tools.
Be ready with rags and a container to catch any fuel drips.
Here’s a quick reference table for key connections:
| Connection Type | Action Tip |
|---|---|
| Battery Negative | Disconnect first for safety |
| Wiring Harnesses | Label plugs before removal |
| Fuel Lines | Relieve pressure, catch drips |
| Fuel Pump Connector | Unplug carefully, avoid damage |
Following these steps ensures you handle electrical and fuel systems safely, reducing risk and preparing for smooth engine removal.
Remove Engine Accessories and Mounting Bolts
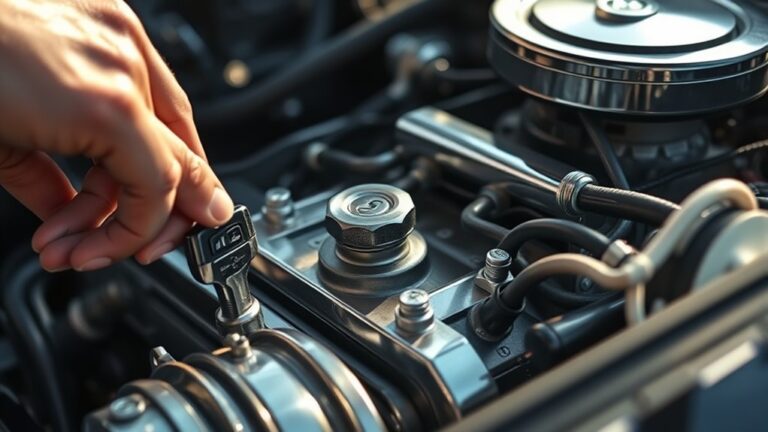
As you proceed, loosen and remove the engine accessories like the alternator, power steering pump, and air conditioning compressor to clear the way for engine removal. Make certain to carefully disconnect any brackets and wiring attached to these components to avoid damage.
Before you remove the engine mounting bolts, drain the engine oil and coolant to prevent spills and make the engine lighter. Locate and open the drain plugs to let the fluids empty into suitable containers.
With the fluids drained, use the appropriate tools to remove the engine mounting bolts that secure the engine to the chassis. Keep track of each bolt’s location, as they can vary in size and length.
As you work, double-check that all hoses, wires, and linkages connected to the accessories and mounts are disconnected. This step ensures the engine will come out smoothly without snagging or causing damage to surrounding parts.
Lift the Engine Out Using a Hoist
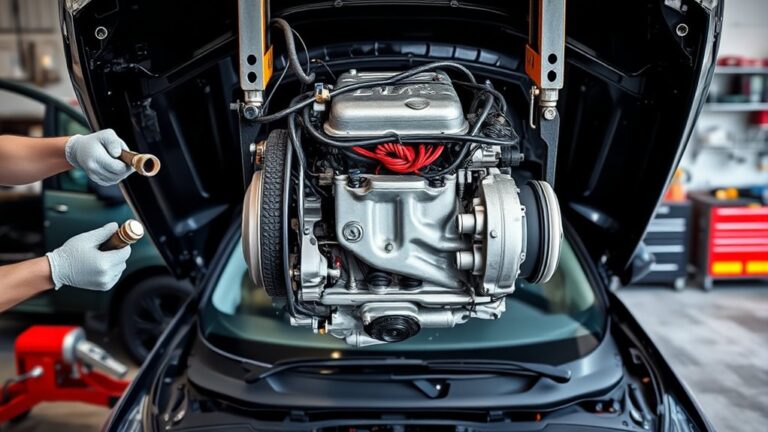
When you’ve disconnected everything and removed the mounting bolts, you can carefully attach the engine hoist to the designated lifting points on the engine. Make sure you use the proper lifting points specified by the manufacturer to avoid damage. Before lifting, double-check all connections and ensure the hoist chains or straps are secure. Engine hoist safety is crucial. Never rush this step, and always wear protective gear.
Begin lifting slowly, keeping an eye on any remaining connections or obstacles. Use proper lifting techniques by maintaining a steady, controlled motion and avoiding sudden jerks. Keep the engine balanced, adjusting the hoist if it tilts or shifts. Have a spotter assist you to guide the engine out smoothly. Once the engine is clear of the bay, lower it gently onto a stable engine stand or appropriate surface. Following these steps ensures a safe, efficient engine removal without causing damage to the vehicle or yourself.
Inspect Engine Condition and Store It Properly
Although you’ve successfully removed the engine, you shouldn’t rush into storing it without a thorough inspection. Start by checking the engine oil for any signs of contamination or metal shavings, which could point to internal damage.
Drain old oil if you plan to store the engine for an extended period, then refill it with fresh oil to protect moving parts from corrosion. Next, inspect the cooling system components. Look for cracked hoses, leaks, or corrosion in the radiator and water pump.
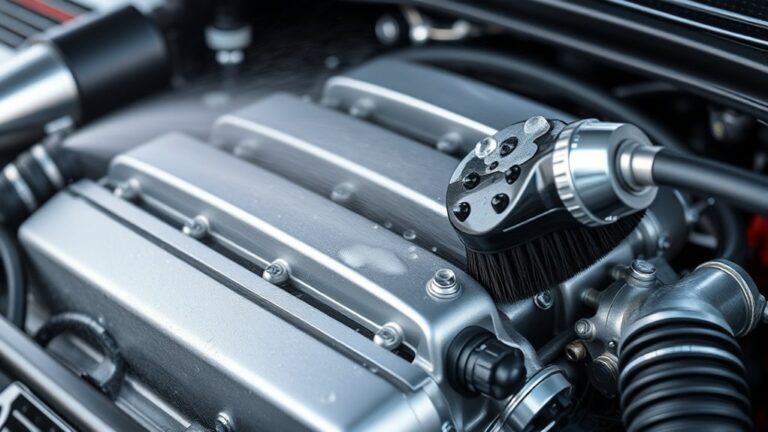
Flush the cooling system if necessary and refill it with the proper coolant to prevent rust buildup during storage. Clean the exterior of the engine to remove dirt and grime that can cause deterioration.
Finally, cover the engine with a breathable tarp or plastic wrap to keep dust and moisture out while allowing air circulation. Store it in a dry, temperature-controlled environment to avoid damage caused by humidity and temperature fluctuations.
Frequently Asked Questions
How Long Does Engine Removal Typically Take for a Novice?
For a novice, engine removal typically takes anywhere from 8 to 12 hours, depending on your experience and tools. You’ll need an engine hoist to safely lift the engine once you disconnect everything.
Don’t rush removing the engine mounts. You’ll want to be careful to avoid damage. Taking your time and double-checking connections will make the process smoother.
With patience, you’ll get better and faster each time you try.
What Are Common Mistakes to Avoid During Engine Removal?
Don’t let engine removal become a tangled web. You should avoid skipping proper fluid disposal, as leftover oil or coolant can cause spills or damage.
Never rush disconnecting wires or bolts; it’s like pulling at threads without knowing the pattern. Also, always use an engine hoist correctly. Improper use can lead to accidents or damage.
Taking your time and following safety steps keeps the process smooth and prevents costly mistakes.
Can I Remove an Engine Without a Hoist?
You can remove an engine without an engine hoist, but it’s not recommended. Using alternative methods like jacks or ramps increases risks and demands extra safety precautions.
You’ll need sturdy supports and must secure the engine carefully to avoid accidents. An engine hoist guarantees stability and control, making the process safer and easier.
If you skip it, double-check everything and never compromise on safety precautions to protect yourself and your car.
How Do I Dispose of Old Engine Oil and Fluids Safely?
Think of engine oil recycling like sending a telegram, old-fashioned but essential! You shouldn’t just dump engine oil or fluids down the drain. Instead, collect them in a sealed container and take them to a local recycling center or auto shop that accepts hazardous waste.
Proper fluid disposal methods prevent pollution and protect the environment. Always check for designated drop-off points nearby to make sure you’re disposing of fluids safely and legally.
What Safety Gear Is Recommended for Engine Removal?
You should always wear protective gloves to keep your hands safe from sharp parts and harmful fluids. Eye protection is essential too, so wear safety goggles or glasses to prevent debris or splashes from injuring your eyes.
Furthermore, consider wearing sturdy work boots and long sleeves to protect your skin. Don’t forget a mechanic’s mask if fumes are present. Staying safe with the right gear makes the job much easier and less risky.
Conclusion
Removing your car’s engine might seem intimidating, but following these five steps makes it manageable. Did you know that over 60% of DIY mechanics successfully complete an engine swap on their first try when they prepare properly?
By gathering the right tools, disconnecting everything safely, and using a hoist, you can lift the engine out without hassle. Remember, inspecting and storing the engine correctly guarantees it’s ready for future use or repairs.
You’ve got this! Taking an engine out of a car is easier than you think when you follow these simple steps.