How to Reset Check Engine Light on Car in 7 Easy Steps
If you’ve ever had that annoying check engine light pop on, you’re definitely not alone. Many drivers struggle with what to do next—should they rush to a mechanic or try to reset it themselves?
The good news is, resetting the check engine light can be simpler than you think, and we’re here to walk you through it.
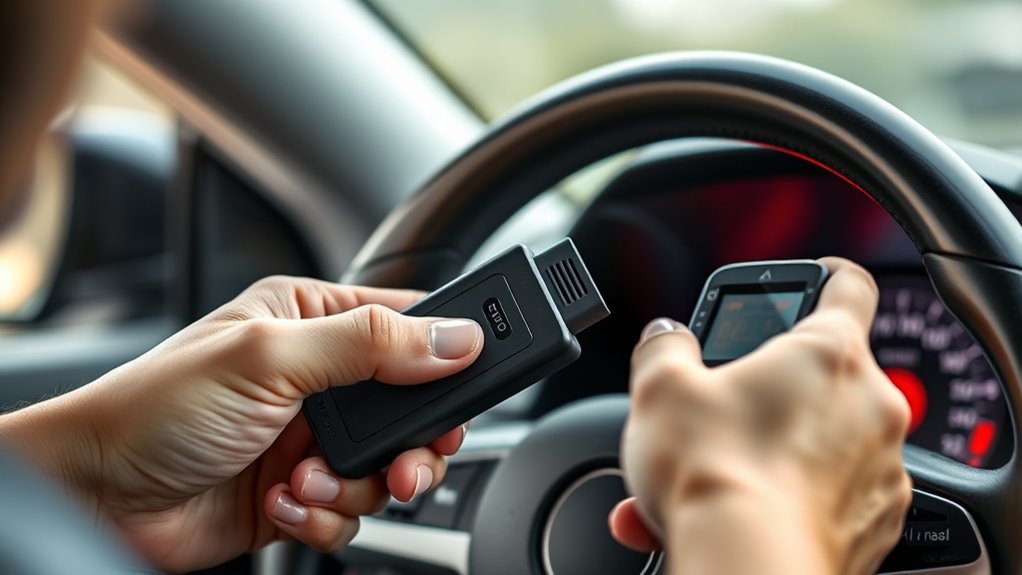
To reset your car’s check engine light in 7 easy steps, first park on a flat surface and turn off the engine. Use an OBD-II scanner to connect to the diagnostic port, then read and clear the trouble codes.
After unplugging the scanner, start your car and see if the light goes off.
Check common issues like loose gas caps or low fluids before driving gently. Keep an eye on your vehicle, and you’ll find out how to handle any return warnings smoothly.
Key Takeaways
- Park the vehicle on a flat surface with the engine off. Check for obvious issues like loose gas caps or low fluids.
- Connect an OBD-II scanner to the vehicle’s diagnostic port. Turn on the ignition without starting the engine.
- Use the scanner to read and clear the stored trouble codes causing the check engine light.
- Turn off the ignition, unplug the scanner, then start the vehicle to confirm the check engine light is off.
- Drive normally, avoid aggressive driving, and monitor the vehicle for any recurring check engine warnings.
What Makes the Check Engine Light Come On?
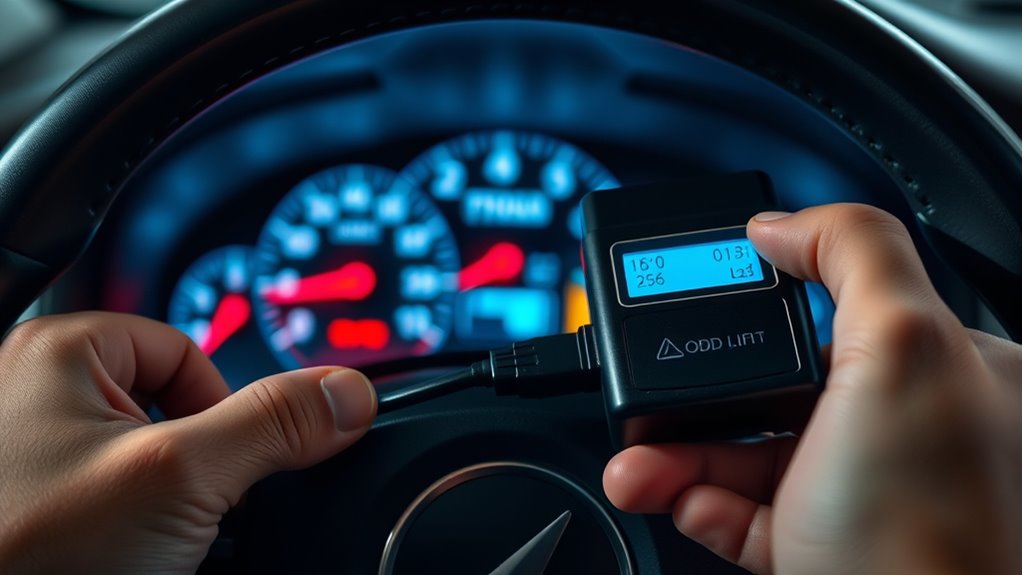
Although the check engine light can be triggered by various issues, it usually comes on when your car’s onboard computer detects a problem with the engine or emissions system. You might think it’s always something serious, but often it’s related to simple things like low engine oil or incorrect tire pressure. Both can affect your car’s performance and fuel efficiency, prompting the light to turn on.
For example, low engine oil can cause increased friction and overheating, while improper tire pressure impacts handling and fuel consumption. The onboard system constantly monitors these and other factors to keep your car running smoothly. When it senses a fault, it flags the check engine light to warn you. So, if you see that light, don’t ignore it. Check your engine oil level and tire pressure first. Addressing these basics might solve the issue without needing professional help.
How to Read Check Engine Light Error Codes
Once your check engine light comes on, the next step is to read the error codes stored in your car’s onboard diagnostic system. These codes provide critical insight into engine diagnostics and vehicle emissions issues.
You can use an OBD-II scanner, which plugs into your car’s diagnostic port, to retrieve these codes. The scanner translates the codes into understandable information, helping you identify the problem quickly.
Here’s a quick reference table for common check engine codes:
| Code | Description | Possible Issue |
|---|---|---|
| P0171 | System Too Lean | Air-fuel mixture problem |
| P0420 | Catalyst System Efficiency | Catalytic converter issue |
| P0300 | Random Misfire Detected | Ignition or fuel system |
| P0442 | Evaporative Emission Leak | Fuel tank or gas cap |
| P0500 | Vehicle Speed Sensor | Speed sensor malfunction |
Reading these codes helps you understand vehicle emissions and pinpoint engine diagnostics without guesswork.
Fix Common Causes of the Check Engine Light
Now that you can read the error codes, it’s time to fix the common causes of the check engine light. You’ll want to start by diagnosing typical engine issues. Then, check for any fuel system problems that might be causing trouble. Don’t forget to look at the oxygen sensors too—sometimes they can go bad and trigger the light. Tackling these areas usually gets your car running smoothly again.
Diagnose Common Engine Issues
Before you can reset the check engine light, you need to pinpoint the underlying problem causing it to come on. Start by checking your engine oil level and quality; low or dirty oil can trigger warning lights.
Next, inspect your tire pressure. While tire issues typically cause a separate warning, underinflated tires can sometimes affect overall vehicle performance and sensors linked to the engine system. Use a reliable tire gauge to ensure each tire meets the recommended pressure.
Also, look for signs of leaks or damage around the engine bay. If you spot nothing obvious, use an OBD-II scanner to read error codes that identify specific engine faults.
Diagnosing these common issues helps you fix the root cause before verifying the light, ensuring your car runs smoothly.
Address Fuel System Problems
Although many factors can trigger the check engine light, fuel system problems are a common culprit you shouldn’t overlook. Start by checking the fuel filter; a clogged filter restricts fuel flow and can lower fuel pressure, causing your engine to misfire or run inefficiently.
If the fuel pressure is too low or inconsistent, it might indicate a failing fuel pump or a blockage somewhere in the system. You’ll want to inspect the fuel lines and replace the fuel filter if it looks dirty or hasn’t been changed in a while.
Addressing these issues promptly helps restore proper fuel delivery, which can turn off the check engine light. Remember, maintaining clean fuel filters and stable fuel pressure keeps your engine running smoothly and prevents future warnings.
Repair Faulty Oxygen Sensors
Fuel system issues often coincide with problems in other engine components, like oxygen sensors, which play a key role in managing your car’s air-fuel mixture. When an oxygen sensor malfunctions, it can send incorrect data to the engine control unit, causing poor fuel economy and increased emissions.
To repair faulty oxygen sensors, first locate the sensor, usually found on the exhaust manifold or exhaust pipe. Disconnect the sensor’s wiring and remove it with a suitable wrench. Replace it with a new, compatible sensor, ensuring it’s securely installed.
This repair improves your vehicle’s emission control system and often turns off the check engine light. After replacement, reset the check engine light using an OBD-II scanner or by disconnecting the battery briefly to clear stored error codes.
Reset the Check Engine Light in 7 Steps (Including OBD-II Scanner Use)
Before you reset the check engine light, make sure your vehicle is parked safely and the engine is off. You’re going to need an OBD-II scanner to read and clear the trouble codes from your car’s computer.
Once you have that ready, just follow these 7 simple steps to reset the light properly and get your car back on the road in no time.
Preparing Your Vehicle
When you’re ready to reset your check engine light, start by verifying your vehicle is parked on a flat surface with the engine turned off. Proper vehicle maintenance is essential before resetting the light to avoid recurring issues.
Check for any obvious problems like loose gas caps or low fluids, which could trigger engine diagnostics alerts. Make sure your battery is fully charged to prevent interruptions during the reset process. Also, confirm that your ignition is off to avoid electrical issues.
Taking these steps ensures a smooth reset and helps you address underlying problems rather than just clearing the warning. Preparing your vehicle properly sets the stage for effective engine diagnostics and helps maintain your car’s overall health.
Using OBD-II Scanner
How exactly do you use an OBD-II scanner to reset your check engine light? It’s a straightforward step in vehicle maintenance that helps you manage automotive diagnostics efficiently.
First, locate your car’s OBD-II port, usually under the dashboard. Next, plug in the scanner and turn your ignition to the “on” position without starting the engine. Then, follow these steps:
Power on the scanner and wait for it to connect to your vehicle’s system. Read the diagnostic trouble codes (DTCs) to understand the issue. Clear the codes using the scanner’s menu to reset the check engine light.
Finally, turn off the ignition, unplug the scanner, and start your car to confirm the light is off.
Using an OBD-II scanner saves time and helps you keep your vehicle in top shape.
When to Drive and Monitor After Resetting the Light
Although resetting the check engine light clears the warning, you’ll need to drive your car under normal conditions to allow the system to run its diagnostic tests again. Pay attention to your driving habits. Avoid aggressive acceleration and sudden stops, as these can affect the system’s ability to complete its checks accurately. Stick to your usual routes and speeds to help the onboard computer monitor emissions, fuel systems, and other critical components effectively.
Keep in mind that the light won’t stay off permanently until your car passes all the diagnostic tests. Proper car maintenance plays a key role here. Verify your engine, spark plugs, and sensors are in good condition. Over the next few days, monitor how your vehicle performs and watch for any unusual sounds or behaviors. If everything runs smoothly, your system should confirm the issue is resolved without the light coming back on.
What to Do If the Check Engine Light Comes Back On
If the check engine light comes back on after you’ve reset it and monitored your car, it’s a sign that the underlying issue may not be fully resolved. Don’t ignore this dashboard indicator, as it signals your vehicle needs further attention.
Start by running a thorough vehicle diagnostics check using an OBD-II scanner to identify specific trouble codes. These codes will guide your next steps and help pinpoint the exact problem.
Here’s what you should do next:
- Re-scan the vehicle diagnostics to confirm error codes.
- Inspect common causes like loose gas caps or faulty sensors.
- Consult a trusted mechanic if you can’t identify or fix the issue.
- Avoid driving aggressively until the problem is resolved to prevent damage.
Tips to Prevent the Check Engine Light From Returning
To keep your check engine light from coming back on, you need to maintain your vehicle regularly and address issues promptly. Stay on top of vehicle maintenance by following your car’s service schedule, including oil changes, air filter replacements, and spark plug checks. These tasks help sustain optimal engine performance and prevent common problems that trigger the warning light.
Regularly inspect your gas cap to ensure it’s properly tightened, as a loose cap can cause the light to activate. Listen and watch for any unusual engine sounds or changes in performance, and don’t delay getting them checked out. Using quality fuel and keeping your engine clean also contribute to smoother operation.
Frequently Asked Questions
Can a Check Engine Light Affect My Car’s Resale Value?
Yes, a check engine light can affect your car’s resale value. When potential buyers see it, they often worry about hidden issues, which can lower your vehicle’s appeal.
A vehicle diagnostic helps identify problems, so fixing them before selling reduces resale impact. Addressing the light shows you’ve maintained the car, boosting buyer confidence and potentially increasing the price you get.
Don’t ignore that light if you plan to sell.
Are There Any Apps to Diagnose Check Engine Light Codes?
Imagine your car’s check engine light as a secret message in a bottle. You don’t need a mechanic to decode it. You can grab that message yourself.
Mobile diagnostics and code scanning apps act like your personal treasure map, guiding you to the hidden meaning behind those blinking warnings. With these apps on your phone, you can quickly scan your car’s codes and uncover what’s troubling your engine.
This way, you save time and avoid surprises.
How Long Does It Take for a Mechanic to Fix Check Engine Issues?
It usually takes a mechanic anywhere from 30 minutes to a few hours to fix check engine issues, depending on the problem’s complexity. They’ll first use diagnostic tools to identify the exact trouble codes.
Once they know what’s wrong, the repair time varies. Simple fixes like replacing a sensor might be quick, while more involved repairs could take longer. You’ll get a better estimate after the diagnostic step.
Is It Safe to Drive With the Check Engine Light Flashing?
Sure, it’s super safe to ignore a flashing check engine warning if you enjoy costly repairs or getting stranded. Seriously, a flashing light safety alert means your engine’s misfiring, which can damage essential parts or cause accidents.
You shouldn’t drive with it on. Pull over as soon as you can and get your car checked. Taking the risk isn’t worth it when your safety and wallet are on the line.
Can Extreme Weather Cause the Check Engine Light to Turn On?
Yes, extreme weather can cause the check engine light to turn on. When engine temperature fluctuates drastically, it can trigger sensors to alert you.
Likewise, cold or hot weather can affect battery health, causing voltage issues that the system detects. You’ll want to monitor these conditions closely because they might not only light up the warning but also lead to performance problems if ignored.
Conclusion
Resetting your check engine light is like giving your car a fresh start. It’s simple, quick, and effective if done right. By understanding the cause, fixing the issue, and using an OBD-II scanner, you can get back on the road with confidence.
Just remember to monitor your car afterward. If the light returns, don’t ignore it. With these easy steps, you’ll keep your engine running smoothly and avoid surprises down the road.
Following this guide on how to reset check engine light on car will help you maintain your vehicle and drive worry-free.