How Do You Add Engine Oil to Your Car in 10 Easy Steps?
If you’ve ever faced the daunting task of adding engine oil to your car, you’re not alone. Many people struggle with knowing exactly how to do it right without making a mess or causing damage.
Whether you’re a first-timer or just need a refresher, understanding the proper steps can save you time and keep your engine running smoothly.
To add engine oil to your car, first choose the right oil by checking your owner’s manual. Gather your tools, park on a level surface, and let the engine cool.
Locate and remove the oil cap, then use a funnel to pour oil slowly, checking the dipstick often.
Secure the oil cap tightly, start the engine, and watch for leaks or warnings.
Finally, recheck the oil level after running the engine.
You’ll want to guarantee your car’s engine stays protected and running smoothly.
Key Takeaways
- Park on a level surface, turn off the engine, and wait 15-30 minutes for it to cool before starting.
- Remove the oil fill cap, place a funnel, and slowly pour the correct oil type and amount as per the manual.
- Use the dipstick to check oil level frequently during pouring, avoiding overfilling by adding oil gradually.
- Securely replace and tighten the oil fill cap after finishing the oil addition.
- Run the engine briefly, turn it off, wait for the oil to settle, then recheck the oil level and confirm there are no leaks or warning lights.
Choose the Right Engine Oil for Your Car
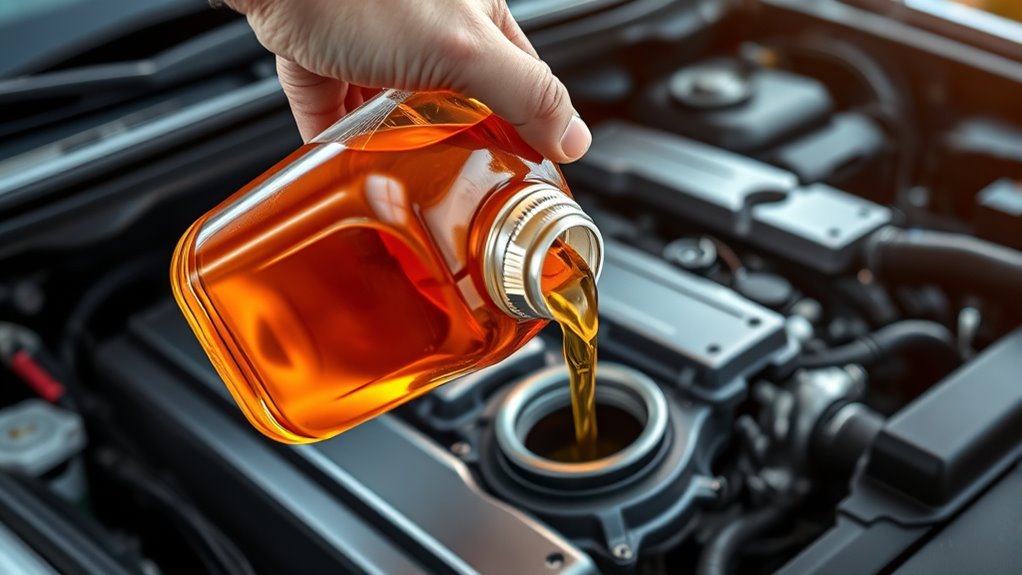
Choosing the right engine oil for your car is essential to keep the engine running smoothly and efficiently. You need to evaluate oil viscosity first. It’s the measure of how thick or thin the oil is at certain temperatures.
Selecting the correct engine oil viscosity is key to ensuring smooth, efficient engine performance.
Check your owner’s manual to find the recommended viscosity grade, like 5W-30 or 10W-40. Using the correct viscosity guarantees proper lubrication and protection under different driving conditions.
Next, you’ll want to decide between synthetic versus conventional oil. Synthetic oils offer better performance, resist breakdown longer, and handle extreme temperatures more effectively.
Conventional oils are generally cheaper but may require more frequent changes. If you want ideal engine protection and longer intervals between oil changes, synthetic is often the better choice.
However, always stick to what your manufacturer recommends to avoid potential issues. By choosing the right oil viscosity and type, you’ll help your engine stay healthy and running at its best.
Gather the Tools and Materials Needed for Adding Engine Oil
Before you begin adding engine oil, make sure you have all the necessary tools and materials on hand to make the process smooth and efficient. Having everything ready prevents interruptions and helps you focus on correctly topping up your engine oil.
Here’s what you’ll need:
- Correct type and amount of engine oil. Refer to your owner’s manual to match the oil grade.
- Funnel to avoid spills when pouring oil into the engine compartment.
- Clean rag or paper towels for wiping off the dipstick and any drips.
- New oil filter (optional but recommended) if you plan to replace it while changing oil.
Gathering these items ensures you’re prepared for a clean, safe oil addition. Keep the oil filter handy in case you decide to replace it during this maintenance. Always work in the engine compartment where the oil fill cap is located.
How to Check Your Car’s Oil Level Using the Dipstick
How exactly do you know when your car needs more oil? The best way is by checking the oil level with the dipstick. First, locate the dipstick, usually marked with a bright handle.
Pull it out and wipe it clean with a lint-free cloth as part of dipstick maintenance. Then, reinsert it fully and pull it out again to check the oil level. The oil should sit between the “low” and “full” marks. If it’s below the minimum, your engine needs more oil.
As you check, also look for signs of oil contamination. Fresh oil is amber and clear, while contaminated oil appears dark, gritty, or milky. This could indicate possible coolant leaks or dirt.
If you notice contamination, avoid adding oil and consider a professional inspection. Regularly maintaining the dipstick’s cleanliness ensures accurate readings. This helps you keep your engine healthy and prevents damage from low or dirty oil.
Park on a Level Surface and Let Engine Cool Before Adding Oil
Where should you park your car before adding engine oil? Always choose a level surface to ensure accurate oil level readings and prioritize parking safety. Uneven ground can give you misleading results and increase the risk of the car rolling or shifting unexpectedly.
Next, let the engine cool down before adding oil. Hot engine temperature can cause burns and make it difficult to handle components safely.
Follow these steps to prepare safely:
- Find a flat, stable spot away from traffic or hazards.
- Engage the parking brake to prevent any movement.
- Turn off the engine and wait at least 15-30 minutes for it to cool.
- Avoid touching hot engine parts to prevent injury.
Find and Remove the Engine Oil Cap
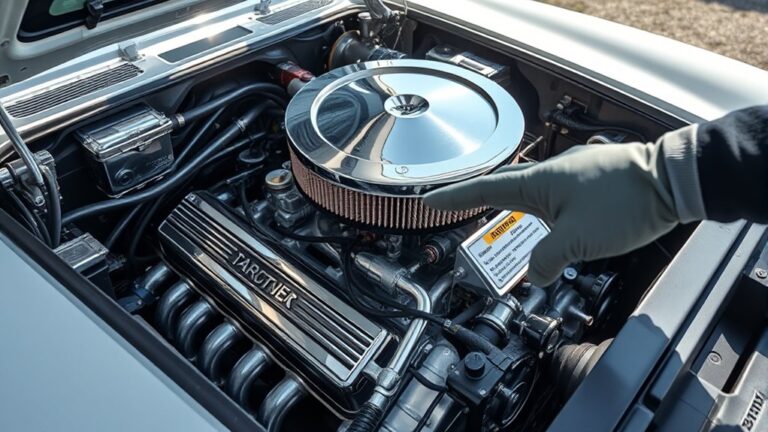
Once your engine has cooled and your car is securely parked, you’re ready to locate the engine oil cap. Open the hood and look for a round cap, usually marked with an oil can symbol or labeled “Engine Oil.” The oil cap location varies by car model but is typically found on top of the engine block. If you’re unsure, consult your owner’s manual for exact details.
Before removing the cap, check the recommended engine oil types for your vehicle to guarantee you add the correct one later. Turn the oil cap counterclockwise to unscrew it. Don’t force it if it feels stuck; a gentle wiggle usually helps. Set the cap aside in a clean spot to avoid contamination. Removing the oil cap lets air in, making it easier to add oil smoothly, so this step is essential before proceeding with your oil refill.
Use a Funnel to Pour Engine Oil Slowly
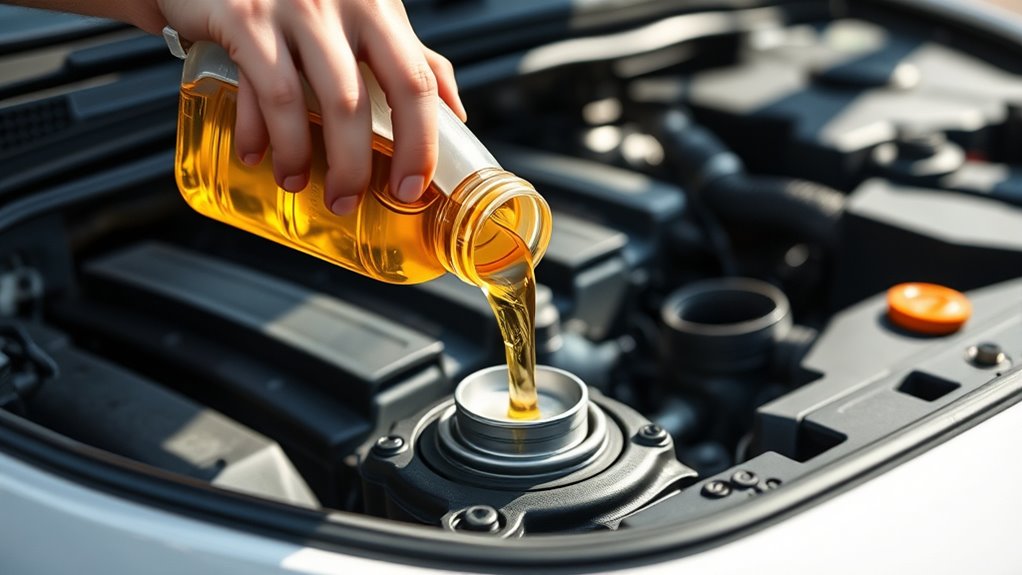
Before you start pouring, place a funnel securely into the engine oil opening to prevent spills and waste. Proper funnel placement guarantees the oil flows directly into the engine without splashing, keeping your engine bay clean.
Keep these tips in mind for effective funnel use:
- Choose a funnel with a narrow spout to fit snugly in the oil opening.
- Check the funnel’s stability by gently wiggling it; it should stay firmly in place.
- Consider the oil viscosity. Thicker oils pour slower, so a steady funnel placement helps control the flow.
- Keep the funnel clean and free from debris to avoid contaminating the engine oil.
Using a funnel not only makes pouring easier but also reduces the risk of overfilling or losing oil. With the funnel properly set, you’re ready to add oil smoothly and carefully in the next step.
Add Oil Slowly and Check Oil Level Often
With the funnel securely in place, start pouring the engine oil slowly to avoid overfilling. Pouring too fast can cause spills and make it difficult to control the oil level. Keep in mind the oil viscosity recommended for your engine, as thicker oils flow more slowly and require a steady hand.
If your oil contains additives, they can affect performance, so adding the correct type and amount is crucial.
After adding a small amount, pause and check the oil dipstick. Wipe it clean, insert it fully, then pull it out to read the level. Repeat this process frequently as you add oil in small increments.
This careful approach helps you avoid exceeding the maximum fill line, which can harm your engine. By adding oil slowly and checking the level often, you ensure your engine stays properly lubricated without any risk of overfilling.
Replace the Oil Cap Securely After Adding Oil
After adding the right amount of oil, you need to replace the oil cap securely to prevent leaks and contamination. Here’s how to do it properly:
- Locate the oil cap on top of the engine and inspect it for any dirt or debris.
- Wipe the oil cap and the opening clean with a rag to guarantee a tight seal.
- Place the oil cap back onto the opening carefully, aligning any grooves or threads.
- Twist the oil cap clockwise until you feel resistance, then give it a firm turn to firmly replace it.
Doing this guarantees no oil escapes while driving and keeps dust and grime out of your engine. Don’t rush this step. An improperly secured oil cap can cause engine issues or trigger warning lights. By following these quick actions, you’ll protect your engine and maintain peak performance.
Start the Engine and Check for Leaks or Warning Lights
How can you be sure your oil addition went smoothly? Start the engine and keep a close eye on the dashboard for any warning light indicators. These lights alert you if there’s an issue, like low oil pressure, which could mean a leak or improper oil level. Listen for unusual noises; a well-oiled engine should run smoothly without knocking sounds.
Also, check under the car for any visible leaks. Engine oil viscosity matters here. If you used the wrong viscosity, it might not circulate properly, triggering warning lights or engine performance issues. Using the recommended viscosity ensures the oil flows correctly and protects your engine.
If you see any warning lights or spot leaks, turn off the engine immediately and investigate before driving further. This step confirms your oil addition was done right and helps prevent serious damage. Once everything looks good and the warning lights stay off, you’re set to move on confidently.
Recheck Oil Level After Running Engine
After you’ve run the engine for a few minutes, give it a little time before you check the oil level again. This helps you get a more accurate reading. When you’re ready, grab the dipstick and wipe it clean first. Then, pop it back in all the way and pull it out once more to see where the oil level stands. Just make sure the oil falls within the recommended range so your engine keeps running smoothly.
Wait Before Checking
Because engine oil settles and circulates while the engine runs, you’ll want to wait a few minutes before checking the level again. This pause guarantees you get an accurate reading, essential for proper engine maintenance and after an oil change.
Here’s why the wait matters:
- Oil needs time to drain back into the oil pan.
- The engine’s heat helps the oil thin and spread evenly.
- Immediate checks can give false low readings.
- Waiting prevents overfilling, protecting engine parts.
Use Dipstick Properly
Once you’ve let the engine run briefly, you’ll want to use the dipstick properly to get an accurate oil level reading. First, pull out the dipstick and wipe it clean with a lint-free cloth to remove old oil and debris. This step is vital for dipstick maintenance and guarantees you read the correct level.
Next, reinsert the dipstick fully, then pull it out again to check the oil mark. Keep in mind the oil viscosity affects how it clings to the dipstick, so interpret the level accordingly. If the oil is too thin or thick, it might alter the reading.
Always handle the dipstick carefully to avoid bending or breaking it, which could lead to inaccurate measurements or engine damage.
Ensure Correct Oil Level
How often should you check your oil level to guarantee it’s just right? After adding oil, run your engine for a few minutes to circulate it fully. Then, recheck the level with the dipstick to verify accuracy.
Keep in mind, oil viscosity and oil additives can affect how the oil settles and performs. Follow these steps:
- Turn off the engine and wait a few minutes for oil to settle.
- Pull out the dipstick, wipe it clean, then reinsert it fully.
- Remove the dipstick again and check the oil level against the marked indicators.
- If the level is low, add oil gradually, considering the recommended oil viscosity and additives.
This guarantees your engine gets the proper protection it needs.
Frequently Asked Questions
How Often Should I Change My Engine Oil?
You should change your engine oil every 3,000 to 7,500 miles, depending on your car’s make, oil viscosity, and driving habits. Thicker oils with higher viscosity may last longer, but always check your owner’s manual.
Oil additives can help improve performance and protect your engine, but they don’t substitute regular oil changes. Staying on schedule ensures your engine runs smoothly and prevents costly damage down the road.
Can I Mix Different Brands of Engine Oil?
You can mix different brands of engine oil, but you should be cautious about oil viscosity and brand compatibility. If the oils have the same viscosity grade and meet your car’s specifications, mixing won’t usually cause issues.
However, some brands use different additives, which could affect performance or protection. To be safe, stick to one brand or consult your owner’s manual to verify the oils are compatible and maintain your engine’s health.
What Happens if I Overfill the Engine Oil?
If you overfill the engine oil, you risk causing oil foaming, which reduces lubrication and harms your engine. Too much oil can increase pressure, leading to leaks or seal damage.
Overfilling also mixes oil with air, affecting oil viscosity and causing oil contamination. This can make your engine work harder and wear out faster.
Always check the dipstick to keep oil at the right level for peak performance.
Is Synthetic Oil Better Than Conventional Oil?
Synthetic oil shines with superior synthetic advantages like better viscosity, improved engine protection, and longer-lasting performance. Conventional oil, with its conventional limitations, tends to break down faster and offers less resistance to heat and wear.
You’ll find synthetic oil keeps your car cooler and cleaner, making it a smarter, sturdier choice. So, if you want smoother, stronger engine support, synthetic oil’s your savvy solution.
How Do I Dispose of Used Engine Oil Safely?
You should never pour used engine oil down drains or on the ground because it harms the environment. Instead, collect the oil in a clean, leak-proof container and take it to an oil recycling center or automotive shop that accepts used oil.
Proper disposal prevents contamination and reduces environmental impact. By recycling your oil, you help conserve resources and keep harmful pollutants out of water and soil.
Conclusion
Adding engine oil is like feeding your car’s heart, steady, careful, and full of care. With each step, you’re tuning its rhythm, keeping it humming smoothly down the road.
So, take your time, check the levels, and seal the cap tight. When you start the engine, listen for that confident purr, proof your efforts have paid off.
Keep this dance in mind, and your car will thank you with every mile. Remember, adding engine oil properly is key to keeping your engine running strong.