How Do You Put Oil in a Car Engine in 7 Easy Steps?
If you’ve ever faced the daunting task of adding oil to your car engine, you’re not alone. Many people struggle with knowing exactly how to do it right without making a mess or causing damage. It can feel overwhelming, especially if it’s your first time or if you’re unsure about which oil to use.
Luckily, putting oil in a car engine doesn’t have to be complicated, and with the right steps, you can handle it confidently.
To put oil in your car engine, first gather the right oil and tools like a funnel and wrench. Park on a level surface, engage the parking brake, and let the engine cool.
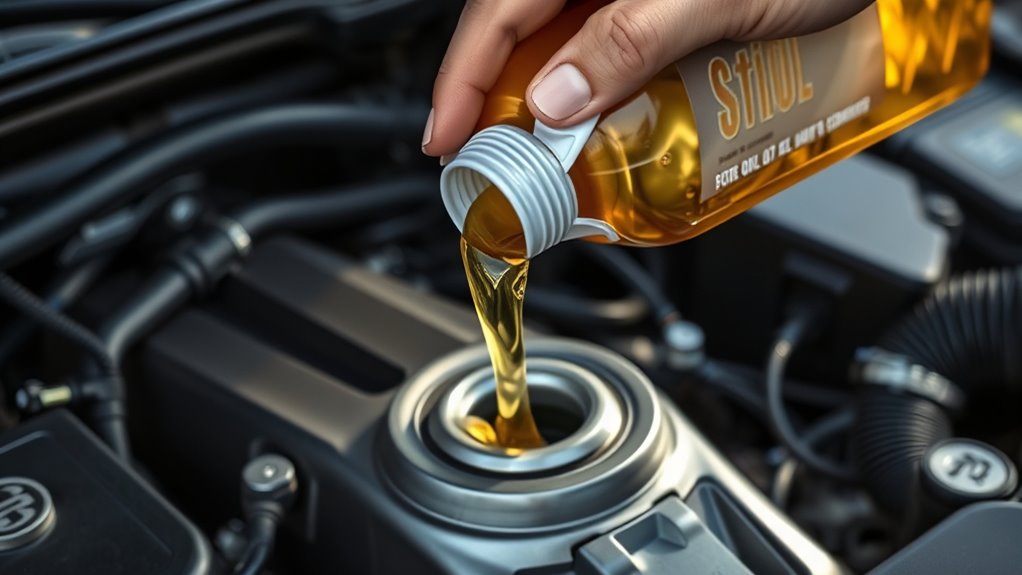
Locate the oil cap and dipstick to check the current oil level. Remove the cap, slowly add the correct amount of oil using a funnel, then securely replace the cap.
Double-check the level to avoid overfilling and clean any spills. Keep going to uncover helpful tips for a smooth oil change.
Key Takeaways
- Park the car on a level surface, turn off the engine, and allow it to cool before starting the oil refill process.
- Open the oil filler cap on the engine using a rag to avoid burns and locate the dipstick to check the current oil level.
- Use a funnel to slowly pour the recommended oil type and amount into the engine to prevent spills and overfilling.
- Replace and securely tighten the oil filler cap after adding oil, then wait a few minutes for the oil to settle.
- Recheck the oil level with the dipstick, make sure it’s within the recommended range, and clean any spilled oil before closing the hood.
Gather Essential Tools and the Right Engine Oil
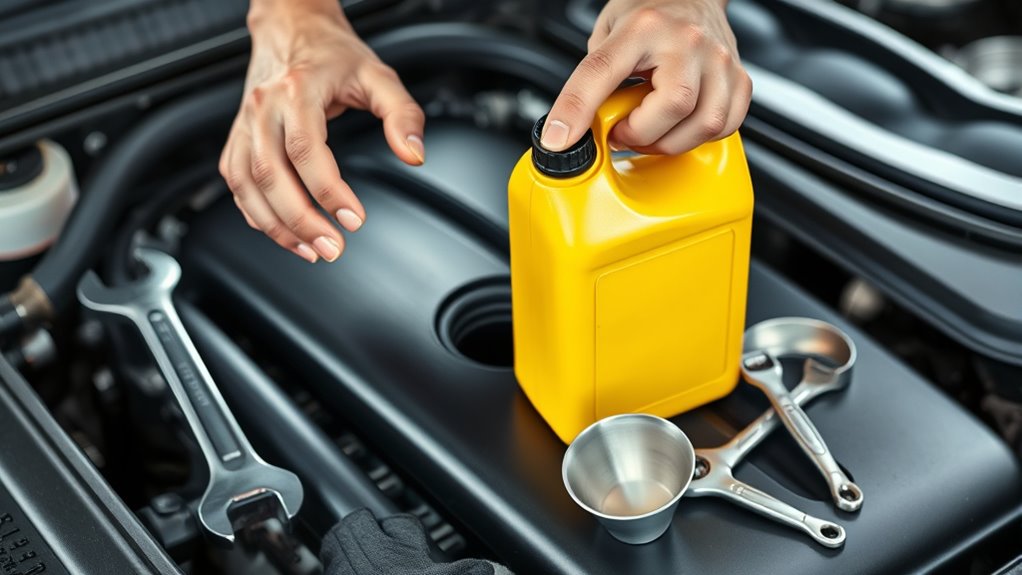
Before you begin adding oil to your car engine, make sure you have all the necessary tools and the correct type of engine oil on hand. Start by checking your vehicle’s owner manual to determine the recommended engine oil viscosity. This ensures optimal engine performance and protection. Using the wrong viscosity can cause engine wear or poor fuel efficiency.
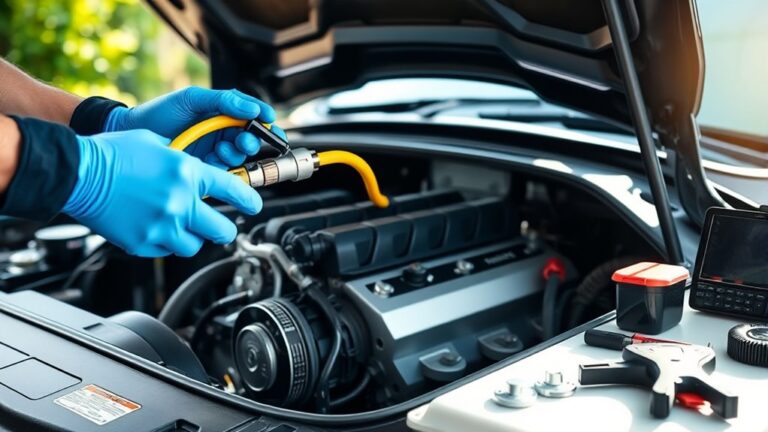
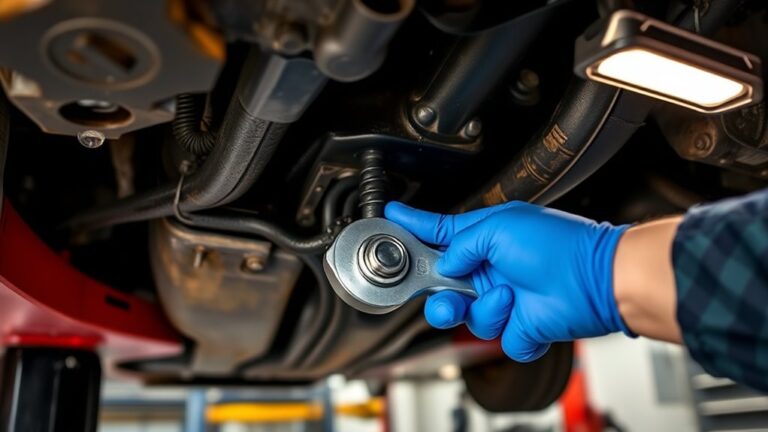
Next, gather essential tools like a funnel, oil pan, and a wrench or socket set for removing the oil filter. Speaking of filters, you’ll want to get the right oil filter type compatible with your vehicle. Choosing the wrong filter can lead to leaks or reduced oil flow.
Having these items ready saves you time and prevents errors. Double-check that the oil container is sealed and matches the viscosity rating and that the oil filter fits your engine model. Once you’ve gathered everything, you’re set to move on to the next step confidently.
Park Safely and Let Your Engine Cool Down
First, be sure to park your car on a level surface and set the parking brake. This helps keep your vehicle steady while you’re working on it. Then, take a little time to let your engine cool down before adding oil. This way, you avoid burns and get a more accurate reading of the oil level.
Choose A Level Surface
You’ll want to find a level surface to park your car, ensuring it’s stable and safe while you work. Surface stability is essential to prevent your vehicle from rolling or shifting. Avoid incline hazards like steep driveways or uneven ground, which can make checking and adding oil risky.
Follow these steps to choose the best spot:
- Look for a flat, hard surface like concrete or asphalt.
- Avoid parking on slopes or hills to eliminate rollover risks.
- Check that the surface can support your car’s weight without sinking.
- Make sure there’s enough space around your vehicle to move freely and access the engine bay safely.
Choosing the right surface keeps you safe and makes the oil change process easier.
Engage Parking Brake
How do you make sure your car stays put while you work? The key is to engage the parking brake firmly. This simple step is one of the most important safety precautions you can take when adding oil to your engine.
Before you pop the hood, pull the parking brake lever or press the pedal, depending on your car’s design. This prevents any unexpected rolling, especially if you’re on a slight incline.
Engaging the parking brake stabilizes your vehicle, giving you peace of mind as you work. Taking this extra moment guarantees your car remains securely in place, protecting both you and your vehicle.
Always remember, safety precautions like these keep the oil-changing process smooth and accident-free.
Wait For Engine Cool
Before adding oil, let your engine cool down completely to avoid burns or damage. High engine temperature can cause hot oil to splatter, posing serious safety risks. Taking safety precautions guarantees you handle your car properly.
Follow these simple steps:
- Park your car on a flat surface and engage the parking brake.
- Turn off the engine and wait at least 30 minutes for the engine temperature to drop.
- Avoid touching the engine or oil cap until they feel cool to the touch.
- Use a rag to open the oil cap carefully, watching for any residual heat or steam.
Find the Oil Filler Cap and Dipstick
Where exactly do you add engine oil? Start by locating the engine cap location under your car’s hood. It’s usually marked with an oil can symbol or the word “Oil.” The cap is typically on top of the engine and screws off easily.
Next, find the dipstick, which helps you check the oil level. The dipstick often has a brightly colored handle, like yellow or orange, making it easy to spot. Pull it out, wipe it clean with a rag, and keep it handy for later use.
Knowing where the oil filler cap and dipstick are guarantees you’re ready to add oil precisely where it’s needed and monitor the oil level accurately. This step sets you up perfectly for checking the dipstick reading and adding the right amount of oil in the next steps.
Check the Current Oil Level and Oil Type
Since maintaining the right oil level is essential for your engine’s health, you’ll want to check it carefully using the dipstick you located earlier. This step guarantees your engine gets proper lubrication and avoids damage. Here’s how to check the current oil level and type:
- Pull out the dipstick, wipe it clean, then reinsert it fully.
- Remove the dipstick again and observe where the oil marks fall between the “min” and “max” indicators.
- Note the oil’s color and consistency; dark or gritty oil may need changing.
- Check your owner’s manual for the recommended oil viscosity and oil additives to match your engine’s needs.
Using the correct oil viscosity guarantees optimal performance, while the right oil additives improve protection against wear and corrosion. Double-checking this helps you maintain your engine’s health before adding new oil.
Remove the Oil Cap and Add the Correct Amount of Oil
Once you’ve confirmed the oil type and level, remove the oil cap on top of your engine to prepare for adding new oil. Make sure the engine is cool to avoid burns. The oil cap usually has an oil can symbol, so it’s easy to spot.
As you pour, use a funnel to prevent spills. Adding oil slowly helps you control the amount. Remember, the right quantity is essential, especially after an oil change, because too much or too little oil can harm your engine.
If you’re performing an oil change, don’t forget the oil filter; it should be replaced to keep your engine running smoothly. Adding fresh oil after changing the oil filter ensures proper lubrication.
Pour the oil gradually, and keep an eye on the level to avoid overfilling. Once you’ve added the correct amount, securely replace the oil cap to prevent leaks and keep dirt out.
Double-Check the Oil Level to Avoid Overfilling
After adding oil and securing the cap, you’ll want to double-check the oil level to make sure you didn’t add too much. Oil overfilling can cause serious engine problems, so level accuracy is essential. Here’s how to confirm the right amount:
- Wait a few minutes to let the oil settle in the engine after adding it.
- Pull out the dipstick and wipe it clean with a rag or paper towel to remove old oil traces.
- Reinsert the dipstick fully, then pull it out again to check the oil level against the marked indicators.
- Compare the oil level to the recommended range on the dipstick. If it’s above the max mark, you’ve overfilled and should drain some oil.
Secure the Cap and Clean Up Any Oil Spills
Before you close the hood, make sure to securely tighten the oil cap to prevent leaks and engine contamination. A loosely fitted cap can cause oil to spill out while driving, which not only wastes oil but also risks damaging engine components.
After securing the cap, check the area around the filler neck for any spilled oil. Use a clean rag to wipe up any drips immediately. Leaving oil spills can attract dirt and debris, affecting engine maintenance over time.
Proper oil disposal is essential if you’ve handled excess or old oil during this process. Never pour used oil down drains or on the ground; instead, take it to a recycling center or an auto shop that accepts oil waste.
Frequently Asked Questions
How Often Should I Change My Car’s Engine Oil?
You should change your car’s engine oil every 3,000 to 7,500 miles, depending on your vehicle and oil type. Always check your owner’s manual for the recommended oil viscosity and interval.
Don’t forget to replace the oil filter each time you change the oil to keep your engine running smoothly. Using the right oil viscosity guarantees proper lubrication, reduces engine wear, and improves performance.
Regular changes help avoid costly repairs.
What Type of Oil Is Best for Cold Weather?
When cold weather hits, you want oil that flows like water, not molasses. Look for oil with lower viscosity, like 0W-20 or 5W-30, which performs better in freezing temperatures.
These oils stay thinner when it’s chilly, ensuring your engine starts smoothly and stays protected. Don’t forget to check your owner’s manual for recommendations, so you’re not flying blind when picking the right oil for cold weather conditions.
Can I Use Synthetic Oil in Any Car Engine?
You can use synthetic oil in most car engines, but you need to check your vehicle’s synthetic compatibility first. Some older engines or specific models might not be designed for synthetic oils.
Also, pay attention to oil viscosity, as using the wrong thickness can affect performance. Always consult your owner’s manual to guarantee you choose the right synthetic oil grade that matches your engine’s requirements and driving conditions.
What Are the Signs of Low Engine Oil?
You’ll notice signs of low engine oil when your oil pressure warning light comes on or your gauge reads low. If you hear unusual engine noise, like knocking or ticking, that’s another red flag. These sounds happen because oil isn’t lubricating the parts properly.
Also, your engine might overheat or run roughly. If you spot any of these, check your oil level right away to avoid serious damage.
How Do I Dispose of Used Engine Oil Safely?
You follow environmental regulations, choose approved disposal methods, and protect the planet. Don’t pour used engine oil down drains, on the ground, or in the trash.
Instead, collect the oil in a sealed container and take it to a local recycling center, auto shop, or hazardous waste facility. These places handle oil safely, preventing pollution and complying with environmental regulations.
That way, you keep your community clean and green.
Conclusion
Now that you’ve topped off your engine’s lifeblood, you’ve given your car a little extra TLC it deserves. Keeping an eye on your oil level isn’t just maintenance; it’s like giving your engine a gentle pat on the back, helping it run smoother and last longer.
So, take pride in this simple ritual. It’s a small act that keeps your ride happy and humming along without a hitch. Regularly checking and adding oil is key to a healthy engine and better performance.