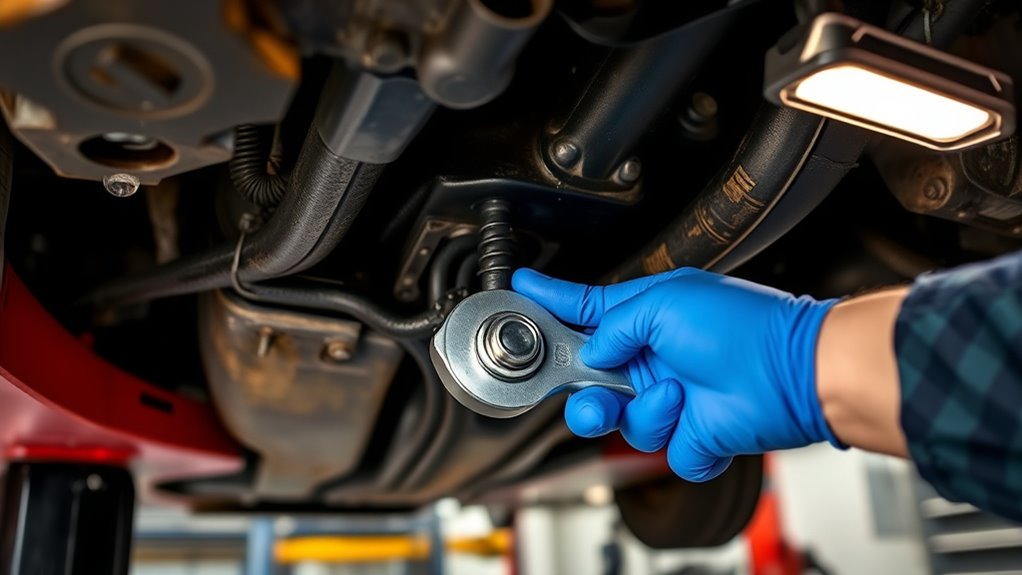
How to Fix Engine Oil Leak in a Car Step by Step
Dealing with an engine oil leak can be frustrating and stressful, especially if you’re not sure where the problem is coming from. You’re not alone—many people struggle to pinpoint and fix these leaks without professional help.
If you want to save time and money, knowing the right steps to take can make all the difference.
To fix an engine oil leak, first identify the leak source by inspecting common spots like gaskets, the oil filter, and drain plug. Safely lift your car on jack stands with the engine cool, then clean the area to spot fresh oil.
Follow step-by-step repairs such as replacing worn gaskets or tightening the oil filter and drain plug. After repair, refill oil and check for leaks.
Keep going to understand specific fixes and preventive tips to keep your engine sealed tight.
Key Takeaways
- Identify the oil leak source by inspecting gaskets, oil filter, drain plug, and seals for wet spots or damage.
- Safely lift the car on jack stands, wear protective gear, and ensure the engine is cool before starting repairs.
- Drain the engine oil, remove faulty gaskets or seals, clean mating surfaces, and replace with new parts following torque specs.
- Tighten or replace the oil filter and drain plug, and refill with the recommended engine oil type and amount.
- Use sealants only for minor leaks after confirming compatibility, then run the engine and check thoroughly for new leaks.
How To Identify Common Causes Of Engine Oil Leaks
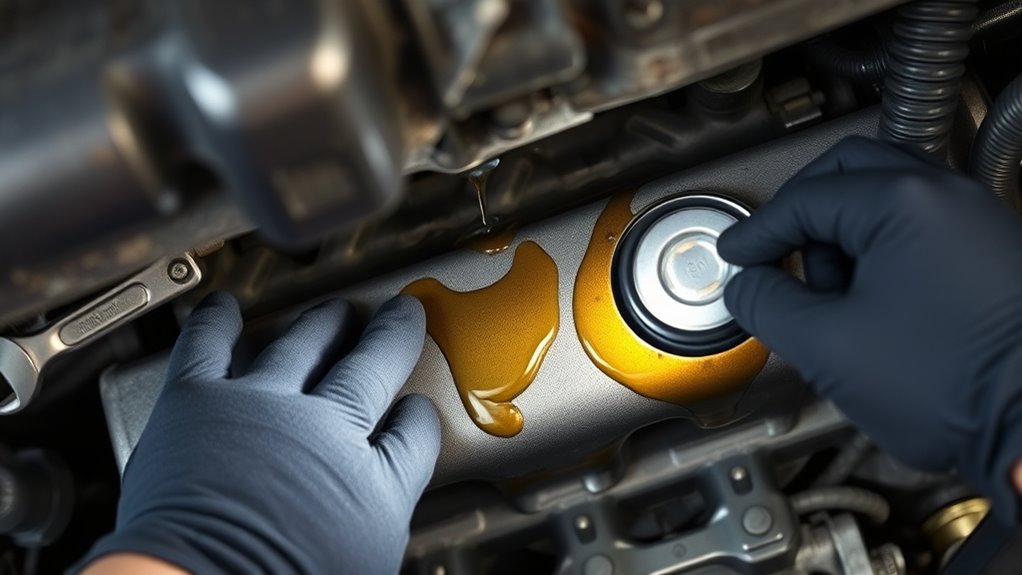
Before you can fix an engine oil leak, you need to pinpoint where it’s coming from. Start by checking common trouble spots like the oil pan gasket, valve cover gasket, and oil filter. Different oil filter types, spin-on and cartridge, can develop leaks if improperly installed or damaged.
Next, inspect the oil drain plug and seals for any signs of wear or looseness. Keep in mind that engine oil viscosity affects leak detection. Thicker oils might mask minor leaks, while thinner oils flow more freely, making leaks easier to spot.
Check the oil drain plug and seals carefully; oil thickness can hide or reveal leaks.
Also, consider the age and condition of seals and gaskets since they can shrink or crack over time, causing leaks. Use a clean rag to wipe suspicious areas, then monitor for fresh oil to identify exact leak points.
Being thorough now saves you from more complex repairs later, ensuring your engine stays in good shape and runs smoothly.
How To Spot An Engine Oil Leak Early
If you want to catch an engine oil leak early, regularly check under your car for fresh oil spots and keep an eye on your oil level using the dipstick. Monitoring oil consumption can alert you before serious damage occurs. Also, be aware that changes in engine oil viscosity might indicate contamination or a leak.
Here’s how to spot an engine oil leak early:
- Inspect the engine bay for wet or darkened areas, especially near oil filter types and gaskets.
- Check the dipstick frequently to track oil level drops.
- Smell for burning oil odors while the engine runs.
- Notice any smoke from the exhaust that could signal oil burning.
- Listen for unusual engine noises caused by insufficient lubrication.
What Tools And Materials You Need To Fix An Oil Leak
To fix an engine oil leak, you’re going to need a few essential tools, like wrenches and a drain pan. These help you access and catch the oil as you work.
You’ll also want to have replacement materials on hand, such as gaskets or sealants, so you can properly seal up the leak once you’ve cleaned the area.
And of course, don’t forget safety gear—gloves and goggles are a must to protect yourself while you’re doing the repair. It’s better to be safe than sorry!
Essential Repair Tools
Although fixing an engine oil leak can seem intimidating, having the right tools and materials makes the job much easier and more efficient. Before you start, make certain you’ve done a thorough oil leak diagnosis to pinpoint the problem. Some leaks may improve with engine oil additives, but proper repair often requires specific tools.
Here are essential repair tools you’ll need:
- Socket and wrench set for removing bolts
- Oil drain pan to catch leaking oil
- Screwdrivers for clamps and covers
- Flashlight to spot leaks in dark areas
- Gasket scraper to remove old seals
With these tools, you’ll be well-equipped to tackle the leak and get your engine running smoothly again.
Required Replacement Materials
Once you’ve gathered the right tools, you’ll need specific replacement materials to fix an engine oil leak effectively. Start with the correct engine oil, paying close attention to engine oil viscosity recommended by your vehicle’s manufacturer. This ensures proper lubrication and prevents future leaks.
You’ll also need the appropriate oil filter types, as using the wrong filter can cause poor sealing and leaks. Don’t forget replacement gaskets or seals for the affected areas, like valve cover gaskets or oil pan seals, since worn-out seals are common leak sources.
Furthermore, have fresh drain plugs or washers on hand if your repair involves the oil pan. Using the right materials guarantees a secure fix and helps maintain your engine’s performance and longevity.
Safety Equipment Needed
Since working with engine oil involves exposure to potentially harmful substances and slippery surfaces, you’ll need proper safety equipment to protect yourself throughout the repair. Handling oil requires not only personal protection but also awareness of environmental concerns and emergency procedures in case of spills or accidents.
Make sure you have these items on hand:
- Nitrile gloves to protect your skin from chemicals
- Safety goggles to shield your eyes from splashes
- Protective clothing to avoid staining and irritation
- Absorbent pads or kitty litter for quick spill cleanup
- A fire extinguisher nearby for emergency procedures
Using this safety gear minimizes risks, keeps you safe, and helps contain oil to prevent environmental damage during the fix.
Safely Prepare Your Car: Lifting, Cooling, And Safety Tips
Before you start fixing that oil leak, make sure you lift your car properly using jack stands. This helps avoid any accidents while you’re working underneath. And hey, never work on a hot engine—let it cool down completely so you don’t risk getting burned. Following these safety steps will keep you protected throughout the repair, making the whole process a lot smoother.
Proper Car Lifting Techniques
When you need to access the underside of your car to fix an engine oil leak, lifting it correctly is vital for your safety and the job’s success. Proper lifting also helps maintain the integrity of your vehicle, just like regular interior maintenance and engine diagnostics do.
Here’s how to lift your car safely:
- Park on a flat, stable surface and engage the parking brake.
- Use wheel chocks to prevent rolling.
- Locate the manufacturer’s recommended jacking points. Never lift from the body or frame.
- Position a quality hydraulic jack under the jacking point and lift slowly.
- Secure the car with sturdy jack stands before crawling underneath.
Following these steps ensures you can safely inspect and repair the oil leak without risking injury or damage.
Engine Cooling Safety Measures
Although you’ve safely lifted your car, you shouldn’t start working on the engine until it’s fully cooled down to prevent burns and other injuries. Hot engine coolant and components like the radiator can cause serious harm if handled too soon.
Before touching anything, open the hood and let the engine sit for at least 30 minutes. Never open the radiator cap while the engine is hot; the pressurized coolant can spray out and cause burns.
If you notice issues with the radiator or suspect a leak, perform radiator repair only when everything is cool. Always wear gloves and eye protection to shield yourself from spills.
Taking these engine cooling safety measures guarantees you can work confidently without risking injury.
Step-By-Step Guide To Locating The Exact Leak Source
Since pinpointing an engine oil leak can be tricky, you’ll need a systematic approach to find the exact source. Start by cleaning the engine thoroughly to remove old oil residue, making fresh leaks easier to spot.
Remember, different engine oil types can affect how leaks appear, so consider what oil your car uses. Also, check the oil filter and its brand, as some oil filter brands may be prone to leaks if improperly installed.
Follow these steps:
- Inspect around the oil filter and drain plug for fresh oil.
- Use a UV dye and blacklight to reveal hidden leaks.
- Examine the valve cover gasket and timing cover for oil trails.
- Check oil cooler lines and connections carefully.
- Look under the car with a flashlight for dripping spots.
How To Replace A Faulty Oil Pan Gasket
First, you’ll want to take a good look at the oil pan gasket to check for any cracks, leaks, or signs of wear. If you find that it’s faulty, don’t worry — just follow a step-by-step process to remove the old gasket and put in a new one. This way, you’ll ensure a proper seal and effectively stop the oil leak.
Identifying Gasket Damage
One of the most common causes of engine oil leaks is a damaged oil pan gasket. This gasket seals the joint between the oil pan and the engine block. To identify gasket damage effectively, you should:
- Inspect the gasket material for cracks, brittleness, or deformation.
- Look for oil seepage or wet spots around the oil pan edges.
- Check for signs of improper sealing techniques, like uneven surfaces or leftover sealant.
- Observe if oil drips increase after driving, indicating worsening leaks.
- Use a clean cloth to wipe the area, spotting fresh oil buildup quickly.
Understanding the gasket material and sealing techniques helps you pinpoint damage early. This prevents bigger issues and makes sure you replace the gasket before it causes major engine trouble.
Step-by-Step Replacement Process
After spotting gasket damage, the next step is replacing the faulty oil pan gasket to stop the leak. First, drain the engine oil, noting the recommended engine oil viscosity for your vehicle. Remove the oil drain plug and allow the oil to fully drain.
Next, take off the oil pan by unscrewing the bolts carefully. Clean the mating surfaces thoroughly before placing the new gasket. Reattach the oil pan, tightening bolts to the manufacturer’s specs.
Don’t forget to replace the oil filter, choosing the correct oil filter types compatible with your car. Finally, refill the engine with the specified engine oil viscosity. Start the engine and check for leaks.
This process guarantees a secure seal and prevents further oil leaks.
How To Fix Oil Leaks From Valve Cover Gaskets
When oil starts leaking from the valve cover gasket, it often causes noticeable drips or stains around the engine’s top. To fix this, you’ll need to replace the gasket to prevent further leaks and maintain engine oil quality. Here’s how to tackle the job:
Start by removing any engine covers that block access to the valve cover. Then, carefully unscrew the valve cover bolts and lift the cover off.
Begin by removing engine covers, then gently unscrew bolts and lift off the valve cover.
Clean the gasket surface thoroughly to remove old gasket material and oil residue. Next, install the new valve cover gasket evenly, making sure it seals properly.
Reassemble the valve cover and tighten the bolts to the manufacturer’s specified torque. While you’re at it, check your oil filter replacement schedule.
Keeping your oil clean and using a quality filter helps prevent leaks and engine damage. Fixing valve cover gasket leaks promptly keeps your engine running smoothly without messy oil drips.
How To Fix Oil Leaks From The Oil Filter And Drain Plug
If you notice oil pooling beneath your car or a burning smell after driving, the oil filter or drain plug might be leaking. First, check the oil filter’s tightness. Sometimes, it loosens over time, causing leaks. Use an oil filter wrench to snug it, but don’t overtighten, as this can damage the seal.
Next, inspect the drain plug located at the oil pan’s bottom. If it’s loose, tighten it with a wrench, but be careful not to strip the threads. If the leak persists, replace the drain plug gasket or crush washer to ensure a proper seal.
When refilling, use high-quality synthetic oil as it flows better and reduces wear, helping prevent leaks. After fixing, run the engine and check for leaks again.
Addressing oil filter and drain plug leaks promptly keeps your engine running smoothly and protects against damage caused by low oil levels.
When And How To Use Sealants For Oil Leaks
Although sealants can be a quick fix for certain oil leaks, you should use them carefully and only in appropriate situations. Sealants work best on minor leaks around gaskets or small cracks but aren’t a substitute for proper mechanical repair. Before applying, make sure your engine oil is compatible with synthetic blends or oil additives, as some sealants may react negatively.
Here’s when and how to use sealants effectively:
Confirm the leak is small and accessible. Drain some oil to lower the level below the leak point. Choose a sealant designed for engine oil systems. Add the sealant directly into the oil filler or crankcase as instructed. Run the engine briefly to circulate the sealant and seal the leak.
Check Your Repair And Prevent Future Oil Leaks
After applying your repair or sealant, you should thoroughly check your work to verify the leak is fully sealed. Start by cleaning the area and running the engine for a short time, then inspect for any signs of fresh oil. If you notice no new leaks, you’re on the right track.
However, don’t stop there. Schedule a full oil change soon after to replace old oil contaminated by leaks, ensuring your engine runs smoothly. Regular engine diagnostics are also essential; they help detect hidden issues that might cause future leaks or engine damage.
Keep an eye on your oil levels between changes and watch for warning signs like low oil pressure or unusual engine noises. Preventing leaks isn’t just about quick fixes; it involves consistent maintenance and monitoring.
Frequently Asked Questions
How Often Should I Change My Engine Oil to Prevent Leaks?
You should change your engine oil every 3,000 to 5,000 miles or as recommended by your car’s manual to prevent leaks. Using the right oil viscosity is essential because improper thickness can cause seals to wear out or leak.
Regular oil changes help spot early leak diagnosis, so you catch problems before they worsen. Sticking to this schedule keeps your engine healthy and minimizes the risk of costly oil leaks.
Can Synthetic Oil Cause More Leaks Than Conventional Oil?
Oh sure, synthetic oil is just perfect at causing leaks if you believe that myth! In reality, synthetic oil compatibility with your engine seals is usually better than conventional oil.
If you suddenly notice leaks after switching, it’s likely because synthetic oil cleans out old sludge, revealing pre-existing weak spots. So, focus on oil leak detection instead of blaming synthetic oil; it often helps you spot issues earlier, not create them.
What Are the Risks of Driving With a Minor Oil Leak?
If you drive with oil seepage, you risk worsening the leak severity, leading to bigger problems. Even minor leaks can cause your engine oil level to drop, which may result in poor lubrication and engine damage.
Over time, oil can drip onto hot engine parts, creating fire hazards. You’ll also face environmental harm and costly repairs if you ignore the issue. It’s best to address any oil leaks promptly.
How Much Does Professional Oil Leak Repair Typically Cost?
You’ll typically pay between $150 and $500 for professional oil leak repair, depending on the source. If the oil seal or drain plug needs replacement, expect costs toward the lower end.
However, if the leak’s in a harder-to-reach spot, labor charges can push the price higher. Always get a detailed estimate, so you know if they’re replacing the oil seal, tightening the drain plug, or addressing something more serious.
Are Oil Leaks Covered Under Car Warranty or Insurance?
Oil leaks usually aren’t covered under warranty coverage unless they result from a manufacturer defect. You’ll want to check your specific warranty terms to be sure.
As for insurance claims, standard auto insurance typically doesn’t cover mechanical failures like oil leaks since they’re considered maintenance issues. You might have better luck if the leak caused damage in an accident, but generally, you’re responsible for fixing oil leaks yourself.
Conclusion
By following these steps, you’ll nip that engine oil leak in the bud before it turns into a costly flood. Keep a keen eye for early signs, arm yourself with the right tools, and tackle leaks methodically, from gaskets to drain plugs.
Remember, your car’s engine is the heart of your ride, so treating it with care guarantees smooth journeys ahead. With patience and precision, you’ll seal the deal and keep your engine running like clockwork.
Fixing an engine oil leak isn’t just about stopping the drip—it’s about protecting your car’s performance and longevity. So stay vigilant and committed, and your car will thank you for it.