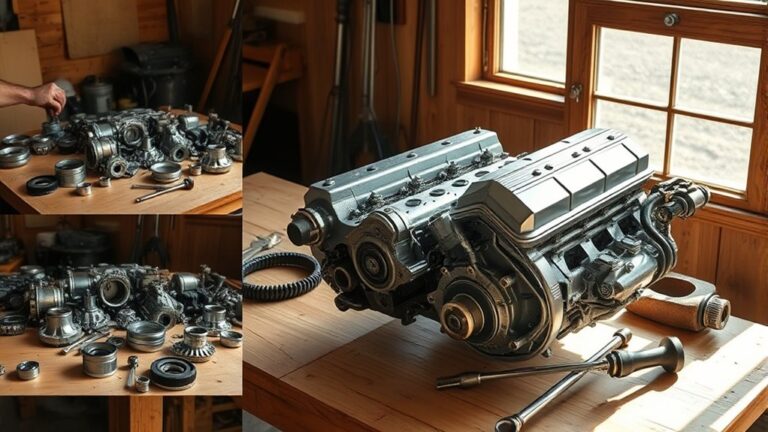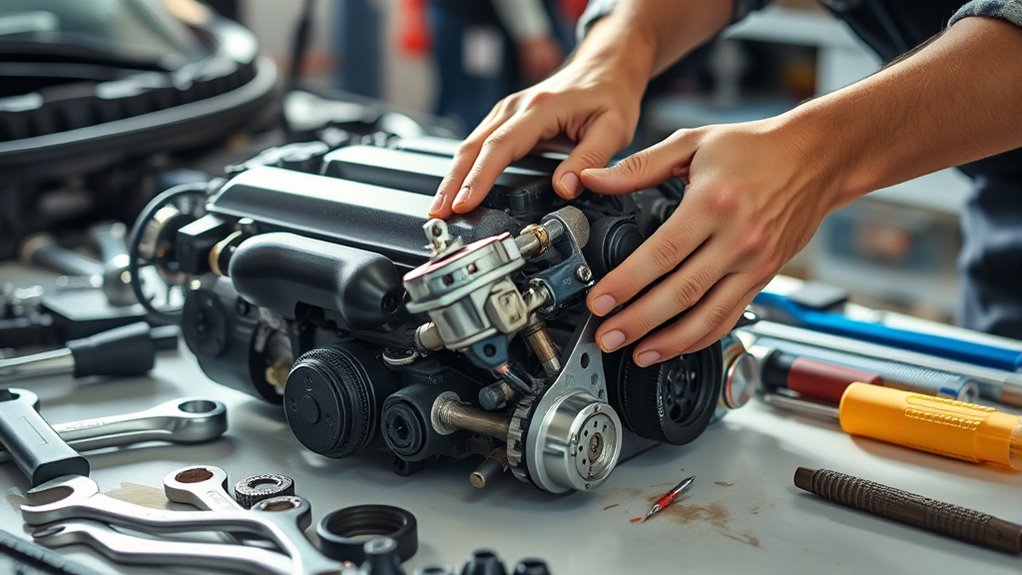
How to Repair Car Engine in 7 Essential Steps
If you’ve ever faced a stubborn car engine problem, you know how frustrating it can be. Many people struggle with diagnosing and fixing engine issues, feeling overwhelmed by the complexity and cost. But you’re not alone—repairing your car engine is doable with the right guidance and a clear plan.
To repair your car engine in seven essential steps, start by diagnosing the problem accurately, checking for warning lights and scanning for error codes.
Next, fix common issues like overheating or misfires by inspecting coolant and ignition systems.
Gather all necessary tools and parts, then prepare your workspace safely.
Carefully remove and label engine components, reassemble everything with correct torque, and finally test your engine thoroughly.
Keep following for detailed tips that make repairs smoother and more efficient.
How to Repair Car Engine Key Takeaways
- Observe engine behavior and dashboard indicators to detect early signs of issues before starting repairs.
- Use diagnostic tools like OBD-II scanners to identify specific engine faults and error codes accurately.
- Prepare your workspace by gathering tools and parts. Make sure you have proper lighting and ventilation for safety.
- Diagnose and fix common problems such as coolant leaks, ignition faults, and sensor malfunctions using scanner data.
- Carefully disassemble, repair, and reassemble engine components. Follow torque specs and keep parts organized with labels for a proper fit.
Diagnose the Engine Problem Accurately
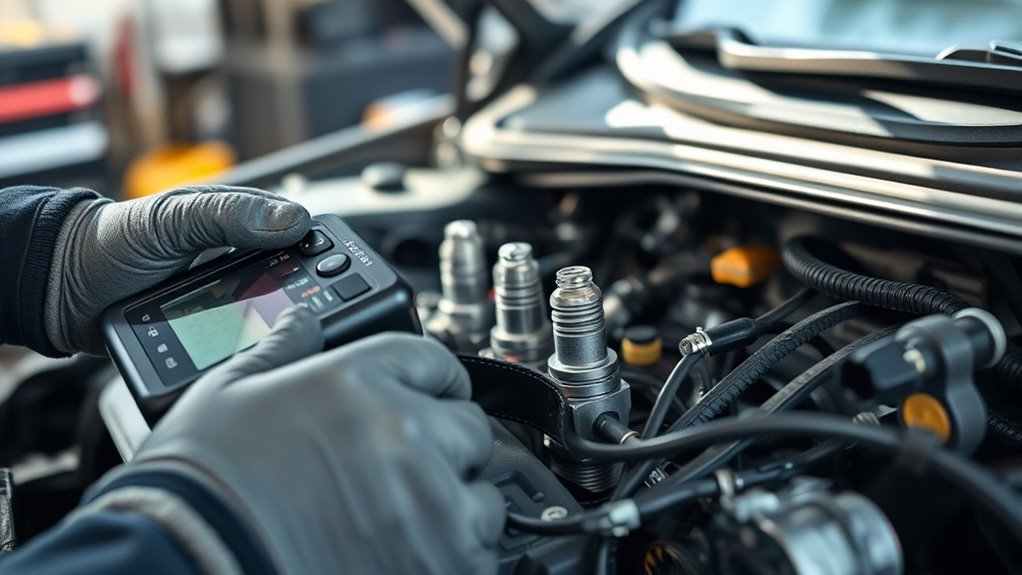
How do you pinpoint what’s wrong with your engine? Start by checking the basics: look at your engine oil. If it’s dirty, gritty, or low, that could signal internal wear or leaks. Dirty oil affects engine performance and might cause further damage if ignored.
Next, inspect the spark plugs. Worn or fouled spark plugs can cause misfires, poor fuel economy, or rough idling. Remove and examine them for signs like carbon buildup, oil deposits, or erosion. These clues tell you if ignition issues are at play.
Don’t overlook unusual engine noises or dashboard warning lights. They offer essential hints. Using an OBD-II scanner can help you read trouble codes and narrow down the problem.
Fix Common Engine Problems Like Overheating and Misfires
Once you’ve pinpointed the engine’s issues, tackling common problems like overheating and misfires becomes more straightforward. Start by checking for coolant leaks, as these are often behind overheating. Inspect hoses, the radiator, and the water pump for cracks or damage.
Fix any leaks promptly to restore proper coolant flow and prevent engine damage. For misfires, focus on ignition issues. Faulty spark plugs, worn ignition coils, or damaged wires can cause the engine to stumble or run unevenly.
Replace any defective components to restore smooth engine performance. Don’t overlook the importance of keeping the ignition system clean and well-maintained. Also, make sure your coolant levels stay consistent and the radiator cap seals correctly.
Gather Essential Engine Repair Tools and Replacement Parts
Before you plunge into repairing your car engine, you’ll need to gather the right tools and replacement parts to guarantee the job goes smoothly. Start with basic hand tools like wrenches, screwdrivers, pliers, and a socket set. You’ll also want a torque wrench to assure bolts are tightened correctly.
Don’t forget an oil filter wrench and a drain pan for changing engine oil. Speaking of engine oil, stock up on the correct grade and quantity specified for your vehicle.
Next, focus on parts that often need replacement during engine repairs, including gaskets, belts, and spark plugs. Make sure you have fresh coolant for the coolant system, as flushing and refilling it is often necessary. A funnel will help you refill fluids without spilling.
Finally, grab a service manual tailored to your car model. This will guide you through specifications and procedures, making your repair more efficient and accurate.
Prepare Your Workspace and Vehicle for Repair
Where should you set up to tackle your car engine repair? Choose a clean, well-lit, and ventilated area, preferably a garage or dedicated workshop. Prioritize workshop safety by clearing clutter and ensuring all tools are organized.
Next, secure your vehicle with wheel chocks and disconnect the battery to prevent electrical hazards. Proper vehicle maintenance starts with preparing your workspace to avoid accidents and guarantee smooth repair.
Here’s a quick checklist to help you prepare:
| Task | Purpose | Safety Tip |
|---|---|---|
| Clear workspace | Avoid tripping hazards | Keep tools off the floor |
| Good lighting | See details clearly | Use portable LED lamps |
| Ventilation | Avoid fumes | Open garage doors/windows |
| Secure vehicle | Prevent movement | Use wheel chocks and jack stands |
| Disconnect battery | Prevent shocks | Remove negative terminal first |
Preparing well sets the foundation for efficient and safe engine repair.
Remove Engine Components Carefully
How should you approach removing engine components to avoid damage? First, always disconnect the battery to prevent electrical shorts. When you remove parts like spark plugs, handle them gently to avoid damaging the threads or electrodes.
Use the right tools and follow the correct sequence to prevent unnecessary strain on components. Drain the engine oil before removing parts that might cause spills or contamination. This step protects both the engine and your workspace from messes and potential hazards.
Use proper tools and order, and drain oil to avoid spills and protect your workspace.
Label and organize every bolt, nut, and component you remove, so nothing gets lost or mixed up. Keep a clean workspace to prevent dirt or debris from entering sensitive engine parts.
Avoid forcing stuck components; instead, apply penetrating oil and let it sit before trying again. Taking these precautions guarantees the parts remain intact and ready for inspection or replacement, setting you up for a smoother repair process.
Reassemble Your Engine Correctly
Now that you’ve removed the parts carefully, it’s really important to line up each component just right when you put everything back together. Make sure you use the correct torque settings too, so you don’t accidentally damage anything. And before you finish, double-check all the connections to make sure everything is tight and working properly.
Align Components Precisely
Although reassembling your engine can seem intimidating, aligning the components precisely is vital to guarantee everything functions smoothly. Proper engine alignment ensures each part fits perfectly, preventing leaks, vibrations, or premature wear.
Focus on component positioning to maintain the engine’s integrity and performance.
Follow these steps for precise alignment:
- Clean all mating surfaces to remove debris and old gasket material.
- Use alignment dowels or pins to position parts accurately.
- Check clearances and fitment before securing components.
- Reconfirm the orientation of critical parts like the camshaft and crankshaft.
Use Proper Torque Settings
Since improper torque can cause serious engine damage, you need to use the correct torque settings when reassembling your engine. Following precise torque specifications guarantees bolts are tightened just right, preventing leaks or component failure.
Use a reliable torque wrench and apply recommended fastening techniques to avoid over-tightening or under-tightening. Always consult your vehicle’s service manual for exact values.
| Bolt Type | Torque Specification (Nm) | Fastening Technique |
|---|---|---|
| Cylinder Head | 80 | Tighten in stages |
| Main Bearing Cap | 50 | Use a crisscross pattern |
| Connecting Rod | 35 | Apply clean threads |
| Oil Pan Bolts | 10 | Tighten evenly |
| Intake Manifold | 20 | Follow torque sequence |
Stick to these guidelines for a durable, well-assembled engine.
Double-Check Connections
Before you fully reassemble your engine, take the time to double-check every connection to make certain everything fits perfectly and functions as intended. Ensuring connection safety is *essential* to avoid future malfunctions or damage.
Use diagnostic tools to verify electrical and mechanical linkages. Follow these steps:
- Inspect all wiring harnesses for secure attachments and no exposed wires.
- Confirm all hoses and clamps are tight and properly seated.
- Use diagnostic tools to test sensor connections and communication signals.
- Recheck bolts and fasteners for correct torque settings to prevent loosening.
Test Your Engine and Troubleshoot Further
Once you’ve reassembled the engine, you’ll need to test it thoroughly to guarantee everything runs smoothly. Start by checking the engine oil level and quality to ensure proper lubrication. Then, inspect the spark plugs for wear or fouling, as they play a vital role in ignition.
Next, attempt to start the engine and listen for any unusual noises or vibrations. If the engine struggles to start or runs unevenly, double-check your connections and timing adjustments. Monitor the dashboard for warning lights or abnormal readings.
If problems persist, use a diagnostic scanner to pinpoint issues within sensors or the fuel system. Address any error codes promptly. Remember, careful observation during this phase helps you catch minor problems before they escalate.
Frequently Asked Questions
How Often Should I Perform Routine Engine Maintenance?
You should perform routine engine maintenance according to your vehicle’s maintenance schedule, typically every 5,000 to 7,500 miles. Changing your engine oil regularly is essential to keep your engine running smoothly and prevent damage.
Don’t wait for warning signs; stick to the recommended intervals in your owner’s manual. This proactive approach helps you avoid costly repairs and keeps your car reliable and efficient over time.
Can I Use Synthetic Oil for All Engine Types?
You might think synthetic oil fits all engines, but it’s not always that simple. Synthetic oil compatibility depends on your engine type and manufacturer’s guidelines. Some older engines or those with high mileage may prefer conventional oil.
Also, you must match the engine oil viscosity recommended for your vehicle. Check your owner’s manual carefully before switching. Using the wrong type or viscosity can cause poor performance or damage, so don’t skip this essential step.
What Are Signs My Engine Needs a Complete Rebuild?
You’ll know your engine needs a complete rebuild if you hear unusual engine noise like knocking or tapping. Excessive oil consumption is another clear sign. It means your engine’s sealing or internal parts might be worn out.
You might also notice loss of power, smoke from the exhaust, or difficulty starting. Don’t ignore these symptoms because they usually indicate serious internal damage. A full rebuild is needed to restore proper function.
How Do I Dispose of Old Engine Oil Safely?
You should never pour old engine oil down drains or on the ground. Instead, collect it in a clean, sealed container and take it to an oil recycling center or a local auto shop that accepts used oil. This guarantees environmental safety by preventing soil and water contamination.
Many communities have designated recycling programs, so check your area’s guidelines. By recycling your oil properly, you help protect the environment and comply with regulations.
Are Professional Engine Diagnostic Tools Worth the Investment?
Think of professional engine diagnostic tools like a skilled detective’s magnifying glass. It reveals hidden clues your engine won’t whisper.
If you want precision and speed, this tool investment pays off by catching issues early, saving costly repairs.
With reliable engine diagnostics, you avoid guesswork and boost your confidence in repairs. So yes, investing in quality diagnostic tools is worth it if you’re serious about maintaining your car’s health.
Conclusion
Now that you’ve tackled these 7 essential steps, your engine’s on the road to recovery. Remember, “measure twice, cut once” applies just as well to engine repair. Taking your time to diagnose and reassemble carefully saves headaches later.
Stay patient, use the right tools, and double-check your work. With persistence, you’ll have your engine running smoothly again in no time. Keep at it, and enjoy the satisfaction of a job well done repairing your car engine!