Top 5 Precision Woodworking Tools for Accurate Cuts
Making accurate cuts can be frustrating, especially when small measurement errors lead to uneven edges, poor-fitting joints, and wasted materials. You’re not alone—many woodworkers struggle to achieve consistent results. The right precision woodworking tools can make the process easier and more reliable.
For accurate cuts, you’ll rely on five precision woodworking tools: a reliable tape measure and square for marking, a table saw for repeatable cuts, a track saw for straight panel work, a miter saw for exact angles, and a router for joinery and edge profiles.
Check each tool’s setup, support your material, and make test cuts before using valuable stock.
With these tools and techniques, you’ll build cleaner projects and find out how to use each one effectively.
Key Takeaways
- Measure twice with calibrated squares, rulers, and tapes before marking thin, accurate cut lines.
- Use a table saw with a rigid, parallel fence for stable, repeatable straight cuts.
- Choose a track saw with a secured rail for precise, splinter-free panel cuts.
- Use a calibrated miter saw for accurate crosscuts, bevels, and angled joints.
- Select a router with suitable bits, guides, and incremental depth adjustments for precise joinery and edge profiles.
Measure Accurately Before Every Cut
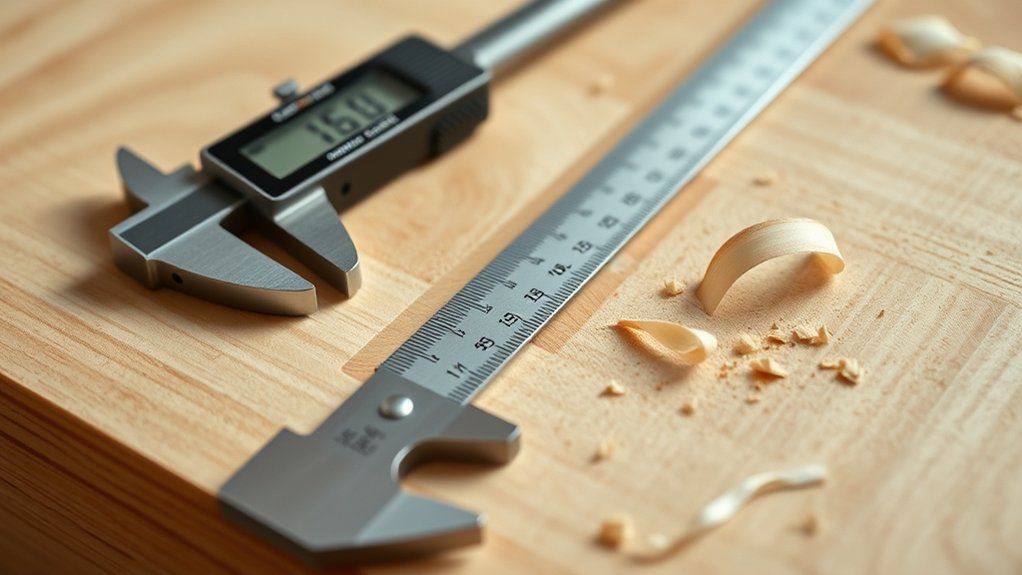
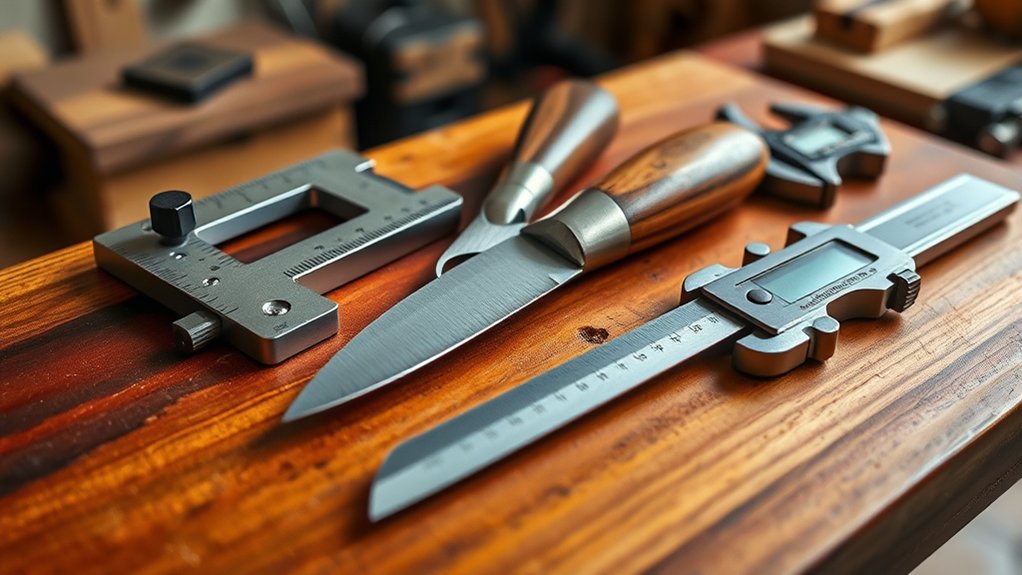
Accurate measurements set the foundation for every successful woodworking project. Before you mark a board, inspect your measurement tools for damage, dirt, or loose components. A reliable tape measure, combination square, marking knife, and steel ruler help you establish precise reference points.
Reliable tools and careful inspection establish the precise reference points every successful woodworking project depends on.
Use calibration techniques to verify each tool. Compare your square against a known straight edge, check your ruler against a trusted standard, and confirm that your tape’s hook moves correctly without excessive play. If a tool reads inaccurately, replace or adjust it before cutting.
Keep your pencil marks thin, and place them on the waste side of the line. Read scales straight on to avoid parallax, then measure twice before committing to a cut.
For long boards, support the stock so it won’t shift while you mark it. Record repeated dimensions in a notebook, and label each piece clearly. You’ll reduce mistakes, preserve materials, and build tighter joints with consistent measuring habits.
Choose a Table Saw for Repeatable Cuts
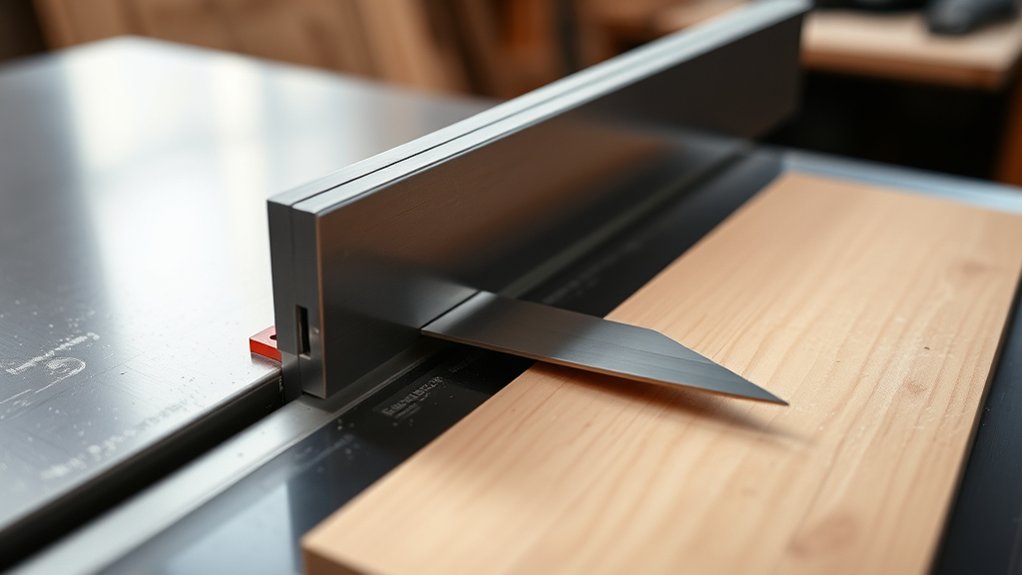
Once you’ve established accurate reference marks, a table saw helps you turn them into consistent, repeatable cuts. Choose a model with a rigid fence that locks squarely and stays parallel to the blade.
A sturdy cast-iron or well-supported table keeps stock stable, while a smooth handwheel makes depth and angle adjustments precise.
Look for these practical details:
- A dependable fence for straight, uniform edges
- A flat table that supports long boards
- Clear scales for quick, repeatable settings
- A powerful motor matched to your material
Set the fence, verify the measurement, and make a test cut in scrap before cutting your project piece.
Keep your hands away from the blade, and use a push stick whenever the workpiece narrows. The Blade guard should move freely and return to position after each cut.
Prioritize Safety features such as a riving knife, anti-kickback pawls, and an accessible power switch. With careful setup, you’ll produce matching parts efficiently and confidently.
Use a Track Saw for Precise Panels
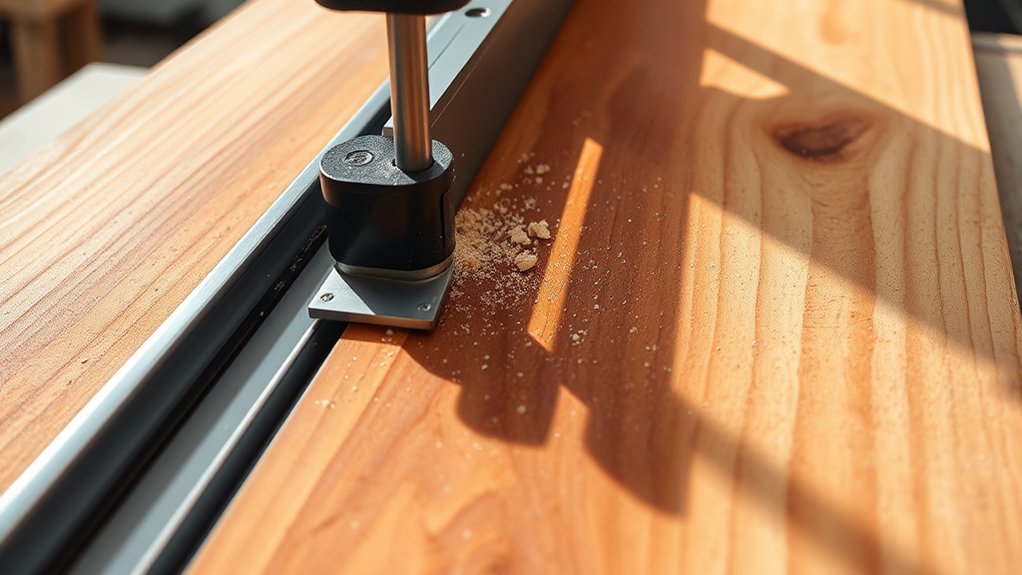
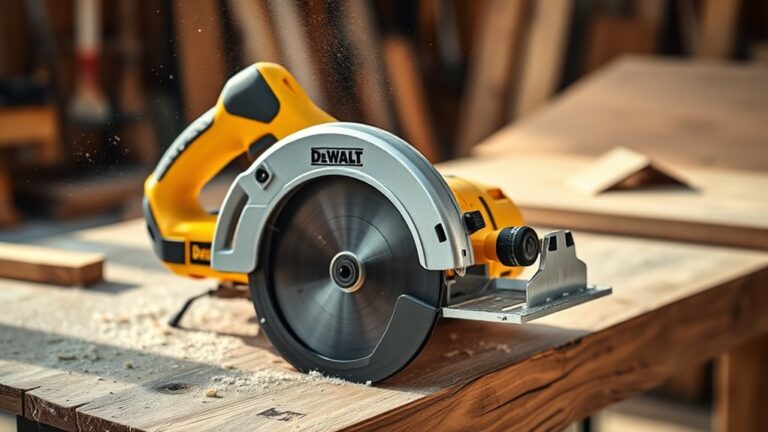
A track saw guides a circular blade along a secured rail, helping you make straight, splinter-free cuts in plywood and other large panels. You can position the rail directly on your layout line, so you won’t need to wrestle a full sheet against a fence.
The rail’s grippy underside limits movement, while its splinter guard supports the panel surface and keeps edges clean. Before cutting, mark both ends of your line, align the guide, and clamp it when necessary.
Set the blade depth just below the material to improve safety and reduce tear-out. Support the sheet on foam insulation or sacrificial boards, leaving the cut path clear.
Check the blade for sharpness, then let the saw reach full speed before entering the panel. Keep steady pressure against the rail and allow the blade to do the work.
With thoughtful setup, this track saw makes panel cutting accurate, manageable, and repeatable. Clean edges require less sanding and simplify assembly.
Cut Accurate Angles With a Miter Saw
When you need clean crosscuts or precise angled joints, a miter saw lets you position the workpiece against a fence and guide the blade through it accurately. Set the saw on a stable surface, then verify the blade’s zero setting before making adjustments.
For reliable results, use these steps:
- Measure the desired angle with a protractor or digital angle gauge.
- Mark the cut line clearly, accounting for the blade’s kerf.
- Press the board firmly against the fence and clamp short pieces.
- Lower the blade smoothly, letting it reach full speed first.
Apply essential Miter saw safety: wear eye and hearing protection, keep your hands outside the marked danger zone, and wait for the blade to stop before lifting it.
Angle measurement techniques matter when walls or frames meet. Test your settings on scrap wood, then refine the bevel or miter scale.
Support long stock on both sides, and check each cut with a reliable square before assembly.
Use a Router for Joinery and Edge Profiles
Whether you’re cutting dadoes, rabbets, or decorative edges, a router gives you controlled, repeatable results. Choose a plunge router for stopped joinery or a fixed-base model for consistent edge work.
Match your router bits to the task, then install the bit securely and set the cutting depth in small increments. Make test cuts on scrap wood before routing your project piece to confirm the fit and avoid tear-out.
For clean joinery, use a straight bit with a guide, template, or fence. Keep the router moving steadily, and feed it in the correct direction for safer, smoother cuts.
When shaping edge profiles, take several shallow passes instead of removing all the material at once. Support your work firmly, wear eye and hearing protection, and keep the cord clear of the bit.
With careful setup, you’ll produce accurate joints and crisp, professional-looking edges. Clean the collet and inspect bits regularly for reliable performance.
Frequently Asked Questions
How Often Should Precision Woodworking Tools Be Cleaned and Maintained?
You should clean precision woodworking tools after every use, removing dust, resin, and debris before buildup affects accuracy. Empty or inspect your dust collection system daily during heavy work, and clean filters according to the manufacturer’s schedule.
Lubricate moving parts monthly or as needed, and check alignment regularly. Schedule tool sharpening whenever edges feel dull, cuts burn, or force increases.
Perform a thorough inspection and maintenance session at least quarterly.
What Safety Equipment Is Essential When Making Accurate Woodworking Cuts?
You’ll protect yourself from flying splinters, roaring noise, and sawdust clouds that seem to swallow the workshop. Essential Personal protective equipment includes impact-rated safety glasses, hearing protection, a properly fitted dust mask or respirator, and snug, non-slip footwear.
Add a face shield when cutting materials that might shatter. Follow Safety guidelines: secure your workpiece, keep hands away from blades, use guards and push sticks, disconnect power before adjustments, and maintain focused, alert control.
Which Blade Types Are Best for Cutting Hardwood, Plywood, and MDF?
For hardwood, choose a carbide-tipped combination or rip blade with fewer teeth for fast, clean cuts. For plywood, use a fine-tooth crosscut blade, typically with 60–80 teeth, to minimize splintering.
For MDF, select a carbide-tipped blade with many teeth and a triple-chip grind to handle abrasive fibers. Consider blade materials carefully: carbide lasts longer than steel.
Adjust your cutting speed to prevent burning, chipping, and premature wear during precise work.
How Can Beginners Reduce Tear-Out and Splintering During Woodworking Cuts?
Why accept ragged edges when you can prevent them? Support your workpiece firmly, mark your cut clearly, and follow the grain direction whenever possible.
Check your blade sharpness before cutting; dull teeth tear fibers instead of slicing them. Use painter’s tape over the cut line, score the surface with a knife, and let the tool reach full speed.
Feed steadily without forcing it, and make a shallow scoring pass first for cleaner results.
What Workshop Conditions Help Prevent Wood Movement and Measurement Errors?
You’ll prevent wood movement and measurement errors by maintaining stable workshop conditions. Use climate control to keep temperature and humidity consistent, allowing lumber to acclimate before cutting.
Store boards flat with proper support, and avoid placing them near vents, heaters, or damp walls. Improve dust management by clearing benches, rules, and saw fences regularly.
Use bright, even lighting, verify tool calibration, and measure from reliable reference edges.
Conclusion
With the right tools, you’ll make every cut more accurate and your projects more professional. Start by measuring carefully, then choose a table saw for repeatable cuts, a track saw for clean panels, a miter saw for precise angles, or a router for strong joinery and polished edges.
Why settle for guesswork when you can build with confidence? Keep your blades sharp, check each setup, and let the top 5 precision woodworking tools guide every project from the first measurement to the final cut.