3 Easy Steps for Beginners to Start Drilling
Choosing the right drill can feel confusing, especially when different materials require different bits and techniques. You’re not alone—many beginners struggle with getting clean, accurate holes without damaging the surface or compromising safety.
This guide makes drilling easier with practical tips to build confidence from the start.
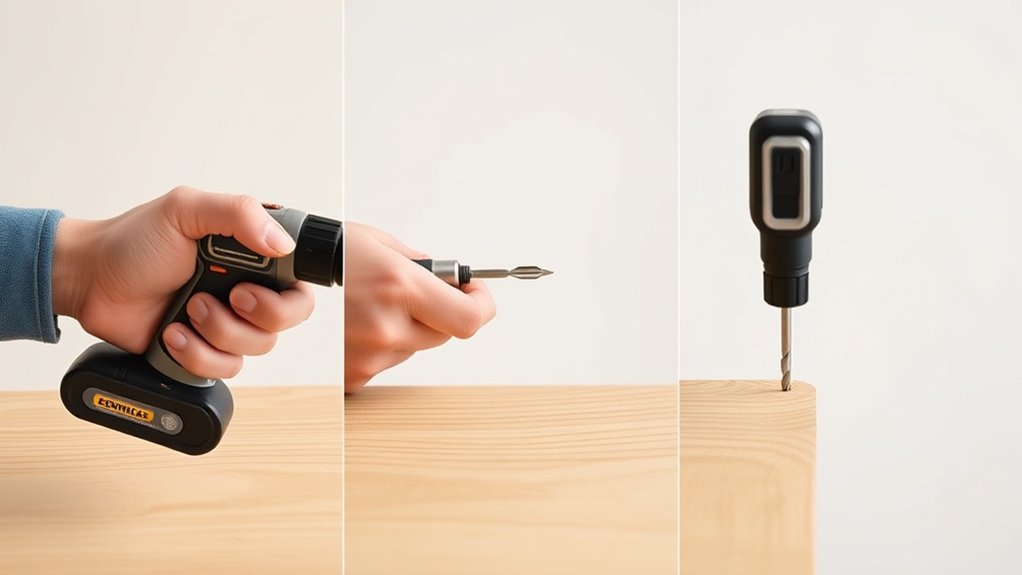
Start by choosing the right drill and bit for your material, such as a twist bit for wood or a masonry bit for concrete. Next, mark the hole accurately, put on safety goggles, and clamp the workpiece securely so it won’t shift.
Finally, hold the drill perpendicular to the surface, begin slowly, and apply steady, light pressure. Keep your fingers clear, clear chips from deep holes, and release the trigger before lifting the drill.
These tips help you build confidence with every hole.
Key Takeaways
- Choose the correct drill and sharp bit for your material, then set an appropriate speed and drill mode.
- Mark the hole accurately, wear safety goggles, and clamp the workpiece securely before drilling.
- Position the drill perpendicular to the surface and begin slowly with light, steady pressure.
- Keep both hands on the drill when possible, maintain control, and clear chips periodically during deeper holes.
- Release the trigger before removing the bit, then inspect the hole and store the equipment safely.
Pick the Right Drill and Bit
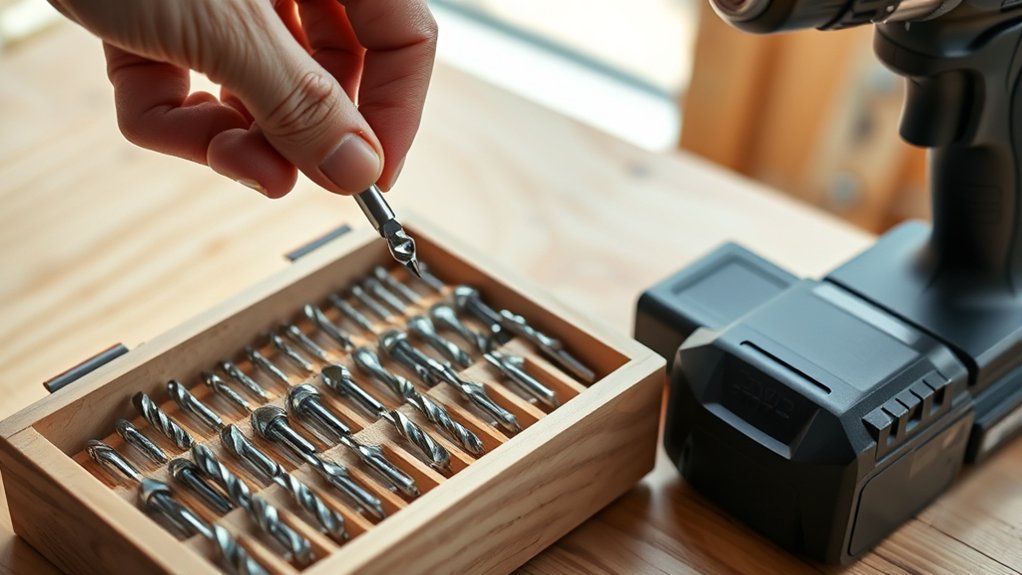
Choosing the right drill and bit makes every project easier and safer. Start by matching your drill to the task. Use a cordless drill for everyday wood, plastic, and light metal work.
Match your drill to the task for safer, smoother results across everyday home improvement projects.
Choose a hammer drill for masonry, and use a drill press when you need maximum precision. Check the drill’s chuck size so it accepts your chosen bit.
Select a bit designed for your material. Twist bits suit wood and metal, brad-point bits create cleaner holes in wood, and masonry bits handle brick or concrete.
Use a sharp, undamaged bit. Worn edges can slip, overheat, or produce rough results.
Before drilling, review the tool’s settings and practice basic drill safety. Set the clutch low for delicate materials, then increase it only when needed.
Choose the drill speed based on the bit and material. Slower speeds suit metal, while faster speeds often work well for wood.
Wear eye protection and keep loose clothing away from the rotating chuck.
Mark the Hole and Secure Your Material
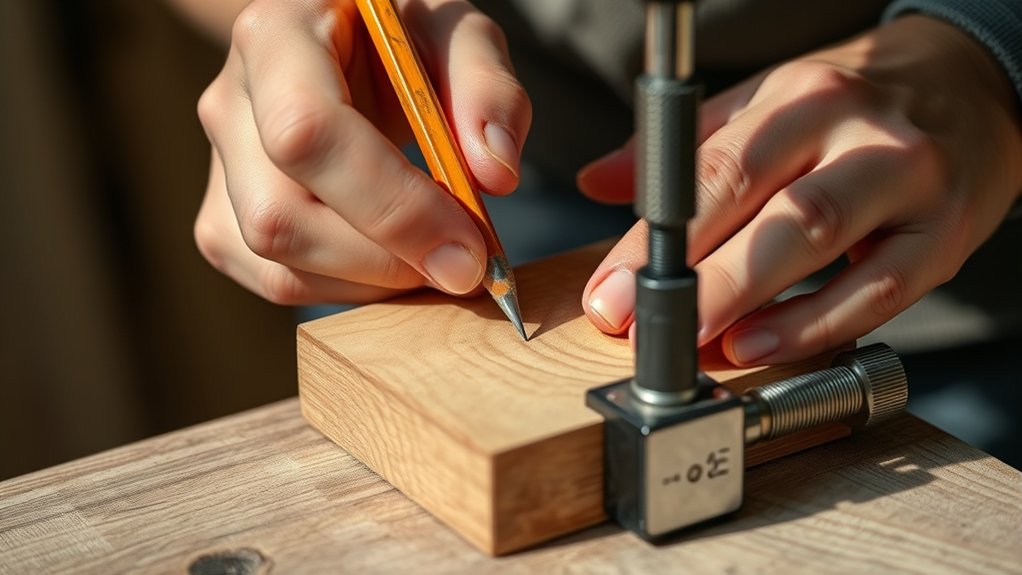
Before you drill, mark the hole’s exact location with a pencil, awl, or center punch. Measure carefully with a measuring tape, then check the mark against your project’s measurements.
A small mistake can leave you with a crooked hole, damaged material, or an expensive repair.
Protect your eyes by putting on safety goggles before handling the workpiece. Next, secure the material so it won’t shift or spin.
Use clamps on a workbench, and place scrap wood beneath thin boards to reduce splintering. Keep your fingers away from areas where the bit will enter.
- Measure twice to feel confident about the location.
- Mark clearly so the starting point stays visible.
- Clamp firmly so your material remains steady and your project stays safe.
Check that clamps don’t block your planned hole or contact the drill. Remove loose objects from the workspace, and support large pieces so they don’t sag.
Once everything sits securely, you’re ready for the next step.
Drill Slowly and Stay in Control
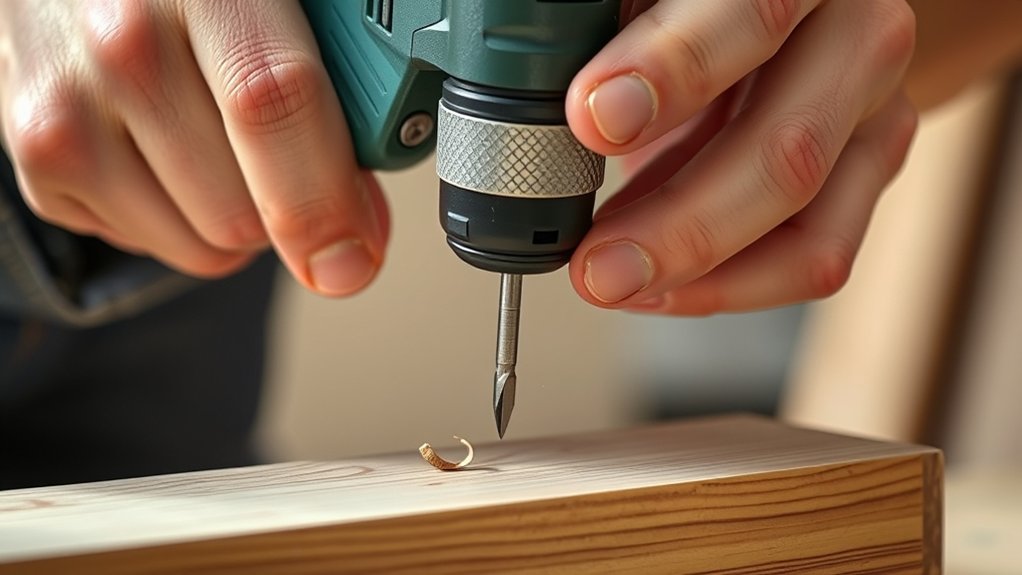
Set the drill bit against the marked spot, keep it perpendicular to the material, and squeeze the trigger gently. Start with a low drill speed so the bit won’t wander or overheat.
Apply steady, light pressure, letting the bit cut rather than forcing it through. Keep both hands on the tool when possible: one on the handle and one supporting the body.
Apply gentle, steady pressure and use both hands to maintain control, allowing the bit to cut without forcing it.
Use firm grip strength, but don’t squeeze so tightly that your hands tire or your control suffers.
Listen to the drill and watch the bit. If the motor strains, slows, or produces excessive heat, release the trigger and let everything cool.
For deeper holes, pull the bit out occasionally to clear dust and chips. Increase speed gradually only when the material and bit allow it.
Keep your shoulders relaxed, your stance balanced, and your fingers away from the rotating bit. When you reach the desired depth, release the trigger before lifting the drill.
Frequently Asked Questions
What Safety Equipment Should Beginners Wear While Drilling?
You should wear essential Personal protective gear whenever you drill. Put on safety glasses or a face shield to protect your eyes from flying debris. Use hearing protection around loud equipment, and wear a dust mask or respirator when drilling materials that create harmful particles.
Choose snug-fitting gloves, sturdy closed-toe shoes, and fitted clothing without loose parts. Follow workplace safety protocols, secure your workpiece, and tie back long hair before starting.
How Do You Maintain and Clean a Drill After Use?
After use, unplug your drill and remove the bit before maintenance. Brush away dust and debris with cleaning brushes, paying attention to vents, the chuck, and trigger area.
Wipe the housing with a dry or slightly damp cloth, but don’t immerse the tool. Inspect the cord, battery, and bit for damage.
Apply recommended drill lubrication to moving parts, following the manufacturer’s instructions. Store your drill dry, with accessories organized and protected.
What Should You Do if the Drill Overheats?
If your drill overheats, stop immediately, unplug it, and let it cool completely. Heat is the warning bell you shouldn’t ignore. Check drill overheating causes, such as excessive pressure, a dull bit, blocked vents, or continuous operation.
Remove debris, replace worn bits, and use the correct speed and bit for your material. Focus on preventing drill overheating by applying lighter pressure, taking regular breaks, and keeping air vents clear. Never pour water over the tool.
When Should You Replace Worn or Damaged Drill Bits?
Replace worn or damaged drill bits as soon as you notice poor performance, visible damage, or safety concerns. Common signs of wear include dull or chipped edges, cracks, bent shafts, excessive vibration, overheating, and holes that look rough or oversized.
Don’t keep using a bit that slips or requires unusual pressure. Prompt replacement improves drill bit longevity, protects your material, and helps you work more safely and efficiently.
How Can Beginners Safely Store Their Drills and Accessories?
Store your drill unplugged, with its battery removed, in a cool, dry location away from children and moisture. Use sturdy storage solutions, such as a toolbox, wall cabinet, or fitted case, to prevent falls and damage.
Keep bits organized in labeled holders, and cover sharp edges when possible. Wear safety gear while handling accessories, and inspect cords, batteries, and bits regularly.
Replace damaged components before storing or using them again.
Conclusion
With the right drill, a sharp bit, and a clear mark, you’re ready to begin. Secure your material, line up the bit, and squeeze the trigger slowly, like guiding a pencil along a marked path.
Why rush when steady pressure gives you cleaner results? Keep both hands controlled, watch your depth, and let the tool do the work.
Follow these three easy steps for beginners to start drilling, and you’ll build confidence with every hole you drill.