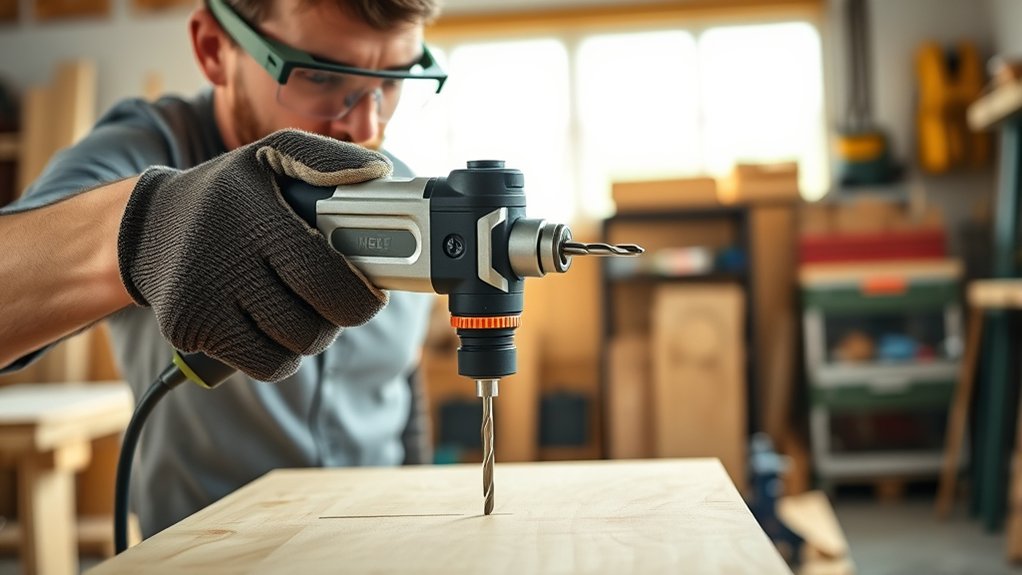
10 Essential Steps for Using an Electric Drill Safely
Choosing the right electric drill can feel overwhelming, especially when you want reliable performance without risking damage or injury. You’re not alone—many people struggle to know which drill, bit, and safety steps are best for each project.
This guide covers essential tips for using an electric drill safely and confidently.
Choose the right drill and bit for your material, then inspect the tool and clear your workspace. Wear eye, hearing, and dust protection. Secure the workpiece, mark the hole, and check for hidden wires, pipes, or utilities.
Grip the drill with both hands, start slowly, and apply steady pressure. Keep cords clear, manage dust and heat, and release the trigger if binding occurs. Turn off, unplug, inspect, and store the drill safely.
More helpful techniques follow below.
Key Takeaways
- Choose the correct drill and bit, then inspect the chuck, cord, battery, controls, and bit for damage or compatibility.
- Wear safety glasses, hearing protection, and an appropriate dust mask or respirator throughout drilling.
- Clear the workspace, secure the workpiece firmly, and check for hidden wiring, pipes, or underground utilities.
- Match speed, torque, and pressure to the material and bit size. Start slowly and reduce force if binding or overheating occurs.
- Keep both hands on the drill and manage the cord safely. Release the trigger if the bit catches, and unplug before storing.
Choose the Right Drill and Bit for the Material
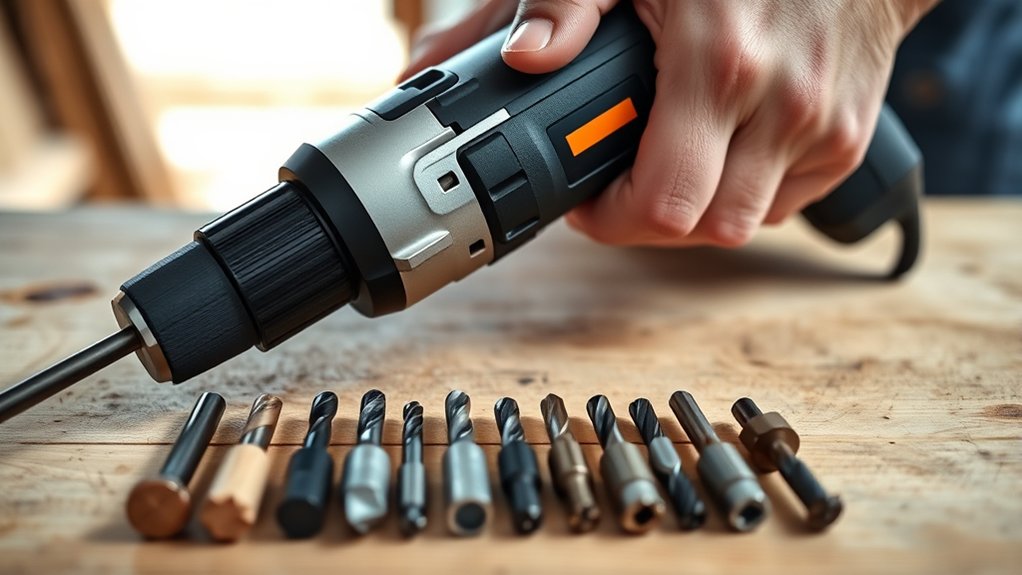
Before you start drilling, match the drill and bit to the material you’re working with. Bit compatibility affects control, hole quality, and safety, so check the manufacturer’s guidance before choosing your setup.
Use a standard twist bit for wood or soft plastic, a masonry bit for brick and concrete, and a metal bit for steel or aluminum. For tile, glass, or porcelain, select a specialized carbide- or diamond-tipped bit designed for that surface.
Material considerations also include thickness, hardness, and the hole’s required diameter. Choose a drill with enough power for the task, but don’t use excessive speed.
Softer materials often require slower settings, while some metals need cutting lubricant to reduce heat. Confirm that the bit’s shank fits your chuck and that its diameter matches your project.
If you’re drilling large holes, start with a smaller pilot bit when appropriate. Select the correct mode, such as hammer action only for suitable masonry applications.
Inspect the Drill and Clear the Work Area
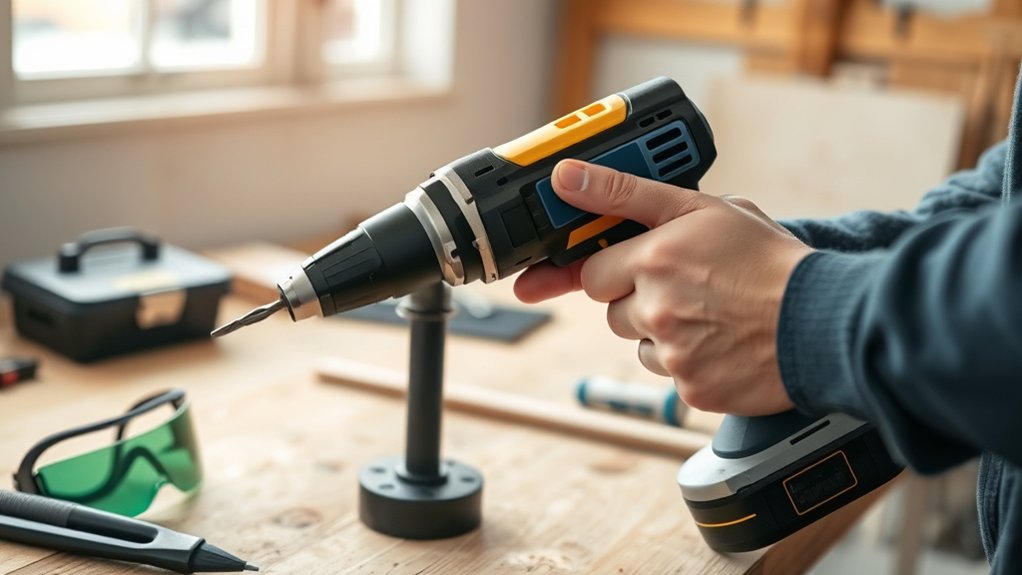
Inspect the drill for a secure chuck, an intact cord or battery, and loose or damaged parts. Unplug a corded model before checking it, and remove the battery from a cordless drill.
Check the chuck, cord or battery, and tool housing for damage; disconnect all power before inspecting.
Test the trigger, reverse switch, chuck, and speed control without a bit installed. Battery maintenance includes checking for swelling, cracks, leaks, or unusual heat. Don’t use or charge a damaged pack.
Confirm that the bit fits firmly and the chuck key is removed.
Clear your work area before connecting power:
- Remove clutter, tools, and materials that could cause trips or snag the cord.
- Keep flammable liquids, dust, and loose fabric away from the motor and drilling point.
- Secure the workpiece with clamps so it won’t shift while you drill.
- Provide stable footing and enough room to control the tool comfortably.
Check your lighting, then route the cord away from sharp edges and your path. Good drill ergonomics means a balanced grip, accessible controls, and a comfortable stance.
Don’t proceed until the drill and workspace are ready.
Wear Eye, Hearing, and Dust Protection
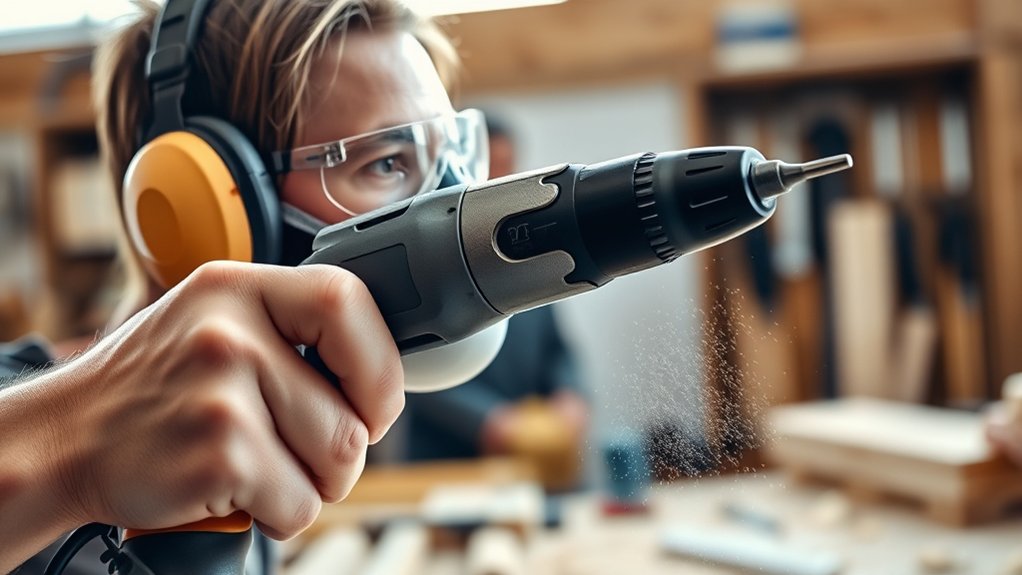
Protect yourself from flying chips, loud noise, and airborne dust before you start drilling. Wear properly rated Eye protection, such as safety glasses with side shields, to block fragments from every direction.
Regular eyeglasses may not provide enough coverage, so don’t rely on them alone.
Protect your hearing whenever the drill produces sustained or sharp noise. Use earmuffs or earplugs that fit comfortably and reduce sound without preventing you from hearing important warnings.
If you’re drilling concrete, masonry, or other hard materials, hearing protection becomes especially important.
Choose Dust masks based on the material and the amount of dust you’ll create. A well-fitting particulate respirator can help filter fine particles more effectively than a loose disposable mask.
Check that it seals around your nose and mouth, and replace it when it becomes dirty or difficult to breathe through.
Keep your protective equipment on throughout drilling, and never remove it while dust or debris remains airborne nearby.
Secure the Material Before Drilling
Before drilling, secure the material with sturdy clamps. Make sure the workpiece is fully supported and won’t shift while you work. Keeping the material still helps you drill more safely and accurately.
Use Clamps Securely
Clamp the workpiece firmly to a stable surface before drilling so it won’t shift, spin, or catch on the bit. Choose clamps that match the material and remain clear of the drill path.
Check clamp stability before you squeeze the trigger. Tighten each clamp until the piece stays motionless without crushing it.
- Position the clamp near the drilling area to limit movement.
- Place a protective pad between the clamp and delicate finishes.
- Tighten handles evenly, then test the workpiece by hand.
- Recheck secure fastening if you change the bit or drilling location.
Keep your fingers away from pinch points while tightening. Don’t rely on your hand, foot, or a loose object to hold the material.
If the clamp slips, stop the drill, unplug it, and reset the setup before continuing. Proper clamping helps you drill accurately and reduces sudden movement.
Support the Workpiece
Even with clamps in place, you’ll need to support the workpiece so it stays level and doesn’t bend, tip, or vibrate while you drill. Place it on a sturdy, flat surface that fully supports its weight.
For long boards, add supports beneath both ends and the center to prevent sagging. Put scrap wood under the drilling area when working near an edge or drilling through thin material.
This backing reduces splintering and protects your work surface from accidental contact with the bit. Choose supports that won’t interfere with the drill, clamps, or your hands.
Good clamping techniques include using padded jaws, blocks, or a sacrificial board to distribute pressure without damaging the material. These steps improve workpiece stability and help you drill cleanly, safely, and accurately.
Check for Movement
Check for movement by gently pressing and nudging the workpiece after securing it. Confirm that clamps, a vise, or your supporting hand hold the material firmly. Even slight shifting can cause a crooked hole, damage the bit, or pull the drill toward you.
Prioritize drill stability before you squeeze the trigger.
- Tighten every clamp until the material feels immobile, but don’t crush fragile surfaces.
- Place scrap wood beneath the workpiece to prevent sliding and protect your bench.
- Reposition loose boards, pipes, or rounded objects so they rest on a flat, stable surface.
- Keep your free hand away from the drilling path while checking the setup.
If the material moves, stop and improve movement prevention before drilling. Test it again, then align the bit, maintain steady pressure, and begin at low speed.
A secure setup helps you work accurately and safely.
Mark the Drilling Spot and Check for Hazards
Mark the drilling location clearly with a pencil or marker.
Before you start drilling, check for hidden wires, pipes, or other hazards behind the surface. If you’re not sure what’s behind it, stop and investigate first.
Mark the Drilling Location
Before you pick up the drill, mark the exact drilling spot with a pencil or painter’s tape. Make sure the surface is free of hidden wires, pipes, and other hazards.
A precise mark helps you guide the bit and prevents unnecessary damage. Use these steps:
- Measure from nearby edges, corners, or reference points to position the hole accurately.
- Make a clear dot or small cross. Don’t rely on a faint or oversized mark.
- Apply painter’s tape around the spot to reduce surface chipping and improve visibility.
- Create marking safety zones around the work area. Keep tools, cords, and hands away from the drilling path.
When choosing drill bits, match the bit’s size and type to your planned hole and material. Recheck your measurements before drilling, and ensure the marked location remains easy to see as you work.
Check for Hidden Hazards
Once you’ve marked the spot, inspect the area for hidden hazards that could make drilling unsafe.
Turn off nearby power, then use a stud finder with wire-detection capability to locate hidden wiring. Don’t rely on guesswork or old plans.
Before drilling outdoors, contact your utility-locating service to identify underground utilities, including gas, water, and electrical lines.
Wear eye protection, keep children away, and stop immediately if you feel unexpected resistance or smell gas.
| Hazard | What you might face | Safe response |
|---|---|---|
| Hidden wiring | Shock or fire | Shut off power; scan again |
| Underground utilities | Explosion or flooding | Call utility services first |
| Pipes | Leaks and damage | Review plans; avoid the route |
| Uncertain area | Serious injury | Choose another location |
Mark a safer replacement spot when necessary. Your few extra minutes can prevent a frightening accident, costly repairs, or a life-threatening mistake.
Match the Speed and Torque to the Job
Choose a low speed and higher torque for driving screws or drilling through tough materials, and use a higher speed with lower torque for small bits and softer surfaces.
Before you begin, check your drill’s settings and select the combination that suits the material, bit, and task. Properly adjusting the speed helps prevent overheating, stripped screw heads, and broken bits.
- Set low speed and high torque for large bits, dense wood, metal, or long screws.
- Choose high speed and lower torque for small bits, plastic, or softwood.
- Start slowly, then increase speed only if the bit cuts smoothly without binding.
- Reduce pressure and speed if you notice smoke, excessive heat, vibration, or a stalled motor.
Use the clutch to control driving force. Set a lower clutch number for delicate work and increase it gradually until the screw seats correctly.
For drilling, use the setting marked with a drill icon when appropriate. Matching torque to resistance gives you better control and protects both the tool and workpiece.
Grip the Electric Drill With Both Hands
Grip the electric drill firmly with both hands before you start drilling. Keep one hand on the handle and the other on the drill body to stabilize it. This gives you better control, helping you work safely and accurately.
Maintain a Firm Grip
Hold the electric drill with both hands to keep it steady and maintain control as the bit engages the material. Place your dominant hand around the main handle and your other hand on the auxiliary handle or designated support area.
Keep your fingers clear of the trigger until you’re ready to drill. Use these grip techniques:
- Wrap your fingers securely around each handle without squeezing excessively.
- Keep your wrists straight to improve control and reduce strain.
- Relax your shoulders, and pause when you notice hand fatigue.
- Wear gloves that fit closely and provide traction without limiting movement.
Maintain consistent pressure through the handles, especially when the bit starts or encounters resistance. A balanced grip helps you guide the drill accurately and respond quickly if the tool twists.
Release the trigger and wait for the bit to stop before adjusting your hands.
Stabilize the Drill Body
A firm grip keeps your hands secure, while stabilizing the drill body helps you control its movement as the bit enters the material. Place your dominant hand around the handle and keep your index finger near, but not on, the trigger.
Use your other hand to hold the front support area or battery base, depending on the drill’s design. Keep both hands steady and align the drill body with the hole’s intended direction.
Apply gentle, even pressure rather than forcing the bit. Your two-handed grip improves stability, reduces twisting, and helps prevent sudden movement if the bit catches.
Keep your elbows close to your body for added control. Before drilling, check that your stance feels balanced and that you can release the trigger quickly if needed.
Start Slowly and Apply Steady Pressure
When you begin drilling, squeeze the trigger gently and let the bit find its path before increasing the speed. Starting slowly helps you maintain control, prevent wandering, and create a cleaner entry point.
Once the bit bites, apply firm, even pressure without forcing it through the material. Let the tool’s motor and the bit’s design do the work; excessive force can damage the bit, workpiece, or drill.
Use this simple approach:
- Match your speed to the material and bit size.
- Keep your wrist aligned and your grip steady.
- Increase pressure gradually as the hole deepens.
- Ease off before the bit breaks through.
Good drill bit selection supports safer, smoother progress, while proper drilling technique keeps the bit centered.
If the bit stalls, stop pressing, release the trigger, and reassess your angle, speed, and material. Practice controlled movements, and you’ll produce accurate holes with less strain and better results.
Control Cords, Heat, Dust, and Kickback
Keep the power cord behind you and away from the bit so it can’t snag, tangle, or become a cutting hazard. Practice good cord management by routing it over your shoulder or along your side, never across your work area.
Check that ventilation openings remain clear, allowing proper heat dissipation. If the housing feels unusually hot, stop applying pressure and let the drill cool before continuing.
Control dust by wearing safety glasses and a suitable dust mask or respirator. Use dust collection or a vacuum when compatible, and improve ventilation without blowing particles toward yourself or others.
Clear debris with the drill stopped and your hands away from the bit.
Prepare for kickback, especially when drilling large holes or binding material. Brace the drill firmly with both hands, keep your stance balanced, and align the bit straight.
Apply steady pressure, but don’t force it. If the bit catches, release the trigger immediately and regain control before proceeding.
Turn Off, Unplug, and Store the Drill Safely
After drilling, release the trigger and wait for the bit to stop completely before setting the tool down. Keep your fingers away from the chuck, and don’t touch the bit until it cools. For an emergency shutdown, release the trigger immediately, disconnect power, and inspect the drill before using it again.
- Switch off the drill and remove its battery, or unplug it by gripping the plug rather than pulling the cord.
- Check the cord, chuck, bit, vents, and housing for damage, debris, or overheating. Report serious problems and don’t operate a damaged tool.
- Clean dust with a dry cloth, then coil the cord loosely. Don’t wrap it tightly around the drill or leave it near heat or moisture.
- Practice storage safety by placing the drill, battery, bits, and key in a dry, locked cabinet. Keep them away from children, flammable materials, and walkways. Store batteries separately as directed, and recharge them only with the correct charger.
Frequently Asked Questions
Can I Use an Electric Drill Outdoors During Rain or Damp Conditions?
No, you shouldn’t use a standard electric drill outdoors during rain or damp conditions. Water can cause electric shock, short circuits, tool damage, or fire.
Wait until the area and materials are completely dry. Even with rain protection, don’t assume ordinary equipment is safe.
If you must work outside, use properly rated waterproof drills, outdoor-rated cords, and a ground-fault circuit interrupter (GFCI). Follow the manufacturer’s instructions, and stop immediately if moisture appears.
How Often Should I Maintain or Service My Electric Drill?
You should inspect and maintain your electric drill before each use, then perform thorough servicing every six to twelve months, depending on frequency and workload. Like a trusted tool in a craftsman’s tale, it performs best when cared for regularly.
Your maintenance schedule should include checking the cord, chuck, vents, brushes, and battery. Follow these service tips: clean dust, tighten loose parts, lubricate approved components, and replace worn pieces promptly. Consult your manual for specific intervals.
What Should I Do if the Drill Battery Starts Leaking or Swelling?
If your drill battery starts leaking or swelling, stop using it immediately and unplug the charger. Don’t touch leaking material with bare skin, puncture the pack, or try to repair it.
Move it away from flammable items only if you can do so safely, and keep children and pets away. Battery damage requires careful handling.
Follow local Disposal procedures for lithium batteries, or contact your manufacturer, retailer, or hazardous-waste facility for guidance.
Are Electric Drills Safe for Children to Use Under Supervision?
Electric drills aren’t generally safe for young children, even with child supervision. You should allow only mature older children or teenagers to use one after thorough instruction, and stay within arm’s reach throughout operation.
Require safety gear, including eye protection and hearing protection. Choose a low-powered, cordless drill, secure the workpiece, and keep fingers away from the bit.
You must control the tool immediately if the child loses focus or follows unsafe actions.
How Can I Reduce Noise When Drilling in Shared Living Spaces?
You can reduce noise by using noise reduction measures and careful drilling techniques. Choose a quieter, variable-speed drill, use a sharp bit, and apply steady pressure at low speed.
Place rubber pads beneath the workpiece to absorb vibration, and clamp it securely. Drill during permitted hours, close doors and windows, and warn neighbors beforehand.
Wear hearing protection, but don’t rely on it alone. Avoid hammer mode whenever possible, since it creates substantially more noise.
Conclusion
By following these steps, you’ll reduce common drilling risks and work with greater control. Remember, eye injuries account for roughly 45% of all tool-related injuries, making protective eyewear essential every time.
Choose the right equipment, secure your material, maintain a firm two-handed grip, and manage cords, dust, and heat. When you’re finished, unplug, inspect, and store your electric drill properly.
These simple habits help you use an electric drill safely while completing projects confidently and efficiently.