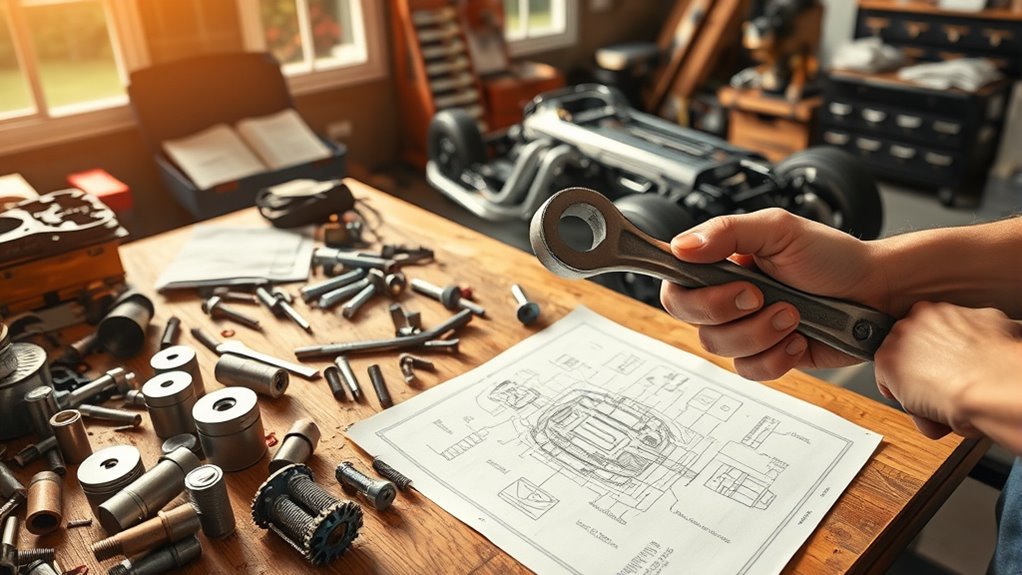
How to Build an Engine in My Summer Car in 5 Easy Steps
If you’ve ever tried building an engine in My Summer Car, you know it can be pretty overwhelming. You’re not alone—many players struggle with keeping track of all the parts and steps involved. Getting everything right takes patience and a bit of know-how, but once you get the hang of it, it’s incredibly satisfying.
To build an engine in My Summer Car, first gather all parts like pistons, spark plugs, and gaskets, and organize your workspace with tools ready.
Next, assemble the engine block by fitting the crankshaft and securing main caps. Then install pistons, camshaft, and the cylinder head with proper alignment and torque.
Complete assembly by adding the timing belt and manifolds, checking all connections.
Finally, troubleshoot ignition, fuel, and oil systems to guarantee smooth starting. Keep going to master each step in detail.
Key Takeaways
- Gather all engine parts and tools, clean them, and organize your workspace for efficient assembly. This will save you time and keep everything within reach.
- Install the crankshaft into the engine block with proper lubrication. Then, torque the main caps securely to make sure everything stays in place.
- Insert pistons with aligned rings, attach connecting rods, and install the camshaft. After that, position the cylinder head properly so it fits perfectly.
- Fit the timing belt and attach the valve cover, manifolds, fuel system components, and exhaust. Make sure to tighten all bolts correctly to avoid any leaks or issues.
- Perform final checks on fuel, ignition, oil, and cooling systems before starting the engine. This step ensures everything is working properly and helps prevent damage.
Gather Engine Parts and Prep Your Workspace
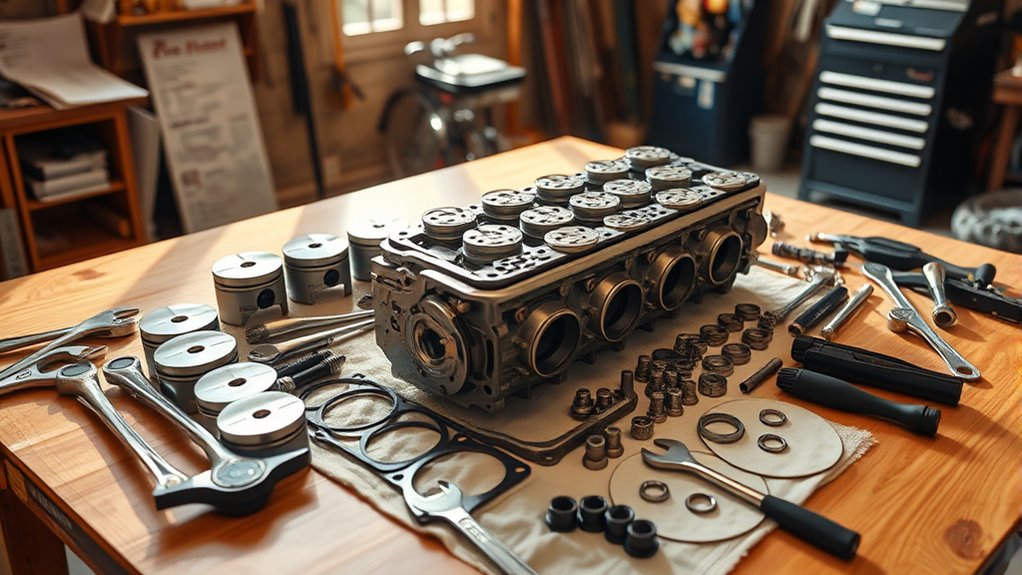
Before you immerse yourself in assembling the engine, make sure you’ve gathered all the necessary parts and cleared your workspace. Having everything at hand saves time and prevents frustration.
You’ll need essential components like spark plugs, engine oil, pistons, and gaskets. Check each part for damage or dirt before starting.
A clean, organized workspace helps you focus and reduces the risk of losing small parts. Lay out your tools and parts methodically so you can easily identify what’s next.
Don’t forget to have engine oil nearby, as you’ll use it to lubricate moving parts during assembly. Proper preparation here sets the foundation for smooth assembly later.
Assemble the Engine Block and Crankshaft
With your workspace organized and parts prepped, you can begin assembling the engine block and crankshaft. Start by carefully placing the crankshaft into the engine block’s main bearings, making sure it seats properly without forcing it. Apply assembly lubricant to the journals to protect parts during initial startup.
Next, secure the crankshaft with the main caps, tightening bolts to the manufacturer’s torque specifications. This step is vital for maintaining proper alignment and smooth rotation.
Secure main caps by tightening bolts to spec, ensuring proper alignment and smooth crankshaft rotation.
As you assemble, keep the engine cooling passages in mind. They must remain clear to allow coolant flow, preventing overheating. Also, confirm the lubrication system pathways aren’t obstructed; oil must circulate freely to reduce friction and protect moving parts.
Double-check that oil galleries and seals are correctly installed to avoid leaks. Taking your time here guarantees your engine block and crankshaft function harmoniously, setting a solid foundation before moving on to installing pistons and other components.
Install Pistons, Camshaft, and Cylinder Head
Once the crankshaft is securely in place, you can start installing the pistons, camshaft, and cylinder head. Begin by carefully sliding each piston into its cylinder bore, making sure the piston rings are properly aligned to avoid damage. Attach the connecting rods to the crankshaft, tightening bolts to the correct torque specs.
Next, position the camshaft into its bearings, ensuring it rotates smoothly without binding.
After that, place the cylinder head on the engine block, aligning the head gasket properly to prevent leaks. Secure it with head bolts, tightening them in the specified sequence. This step is vital for proper engine tuning and efficient combustion.
Complete Engine Assembly and Final Checks
After securing the cylinder head, you’re ready to complete the engine assembly by installing remaining components such as the timing belt, valve cover, and intake and exhaust manifolds. Begin by carefully fitting the timing belt, ensuring proper alignment with the camshaft and crankshaft sprockets to maintain engine timing.
Next, place the valve cover securely to prevent oil leaks. Attach the intake manifold, making sure all gaskets are seated properly to avoid air leaks.
Now, focus on the fuel system by connecting fuel lines and installing the fuel pump and injectors. Double-check all connections to avoid fuel leaks. Proceed to the exhaust setup by mounting the exhaust manifold tightly and connecting it to the exhaust pipe. This step is essential for proper engine breathing and performance.
Finally, perform a thorough inspection of all bolts and connections. Tighten any loose parts and verify that no components interfere with each other. Your engine assembly is now complete and ready for the next steps.
Troubleshooting Tips to Get Your Engine Running
Although you’ve carefully assembled your engine, it might still refuse to start on the first try. Begin troubleshooting by checking the fuel mixture. If it’s too rich or too lean, the engine won’t ignite properly.
Adjust the carburetor settings or fuel injectors to guarantee the right balance. Next, inspect the exhaust system. Blockages or leaks can cause back pressure issues, preventing the engine from running smoothly.
Make sure the exhaust pipes and muffler are clear and properly connected. Also, verify the ignition timing and spark plugs, as faulty sparks can stop the engine from firing.
Don’t overlook the battery and wiring connections. Weak power or loose wires can disrupt the starting process. Finally, double-check oil levels and coolant to avoid overheating or damage.
Frequently Asked Questions
What Tools Do I Need to Start Building the Engine?
You’ll need basic hand tools like wrenches, screwdrivers, and pliers to start building the engine. A torque wrench is essential for proper engine tuning and ensuring bolts are tightened correctly.
Don’t forget a socket set and an oil can for part maintenance during assembly. Having a clean workspace and some rags will help you keep parts organized and avoid contamination, making your engine build smoother and more efficient.
How Do I Save My Game Progress During Assembly?
Saving your progress promptly prevents pesky problems! In My Summer Car, you save by hitting the ESC key, then selecting “Save Game” before you plunge deeper into engine tuning. This guarantees your hard work with part compatibility isn’t lost.
Can I Customize the Engine’s Performance in My Summer Car?
Yes, you can customize your engine’s performance in My Summer Car through engine tuning and performance upgrades. You’ll want to adjust components like the carburetor, ignition timing, and exhaust system to optimize performance.
Swapping parts such as camshafts, pistons, and turbochargers can also boost power. Keep experimenting with different setups to find the best balance between speed, reliability, and fuel efficiency for your driving style.
What Are the Best In-Game Locations to Source Engine Parts?
You might think engine tuning starts in the garage, but it actually begins where you source your parts. The best spots for part sourcing are the local junkyard and the village shop. They hold hidden gems for your engine.
Don’t overlook the scrapyard either. You’ll find rare components there. Each location offers unique parts that can boost your engine tuning, so investigate thoroughly before you plunge into building.
How Do Weather Conditions Affect Engine Building in the Game?
Weather conditions play a big role in engine building. If it’s hot, you’ll need to watch out for engine overheating, which can cause damage if you’re not careful.
Cold weather might make parts harder to fit or cause fuel efficiency issues when running the engine. You’ll want to build and test your engine in moderate conditions to avoid these problems and guarantee everything fits and runs smoothly without overheating or wasting fuel.
Conclusion
By now, you’ve gathered your parts, assembled the block, and installed the pistons just right, coincidentally right when your neighbor revs up his engine. It’s funny how building your engine aligns perfectly with that roar, reminding you that your hard work is about to pay off.
Keep those final checks sharp, and don’t let a small hiccup stop you. Soon enough, you’ll hear your engine purr, and all your effort will feel worth it when you finally build an engine in My Summer Car!