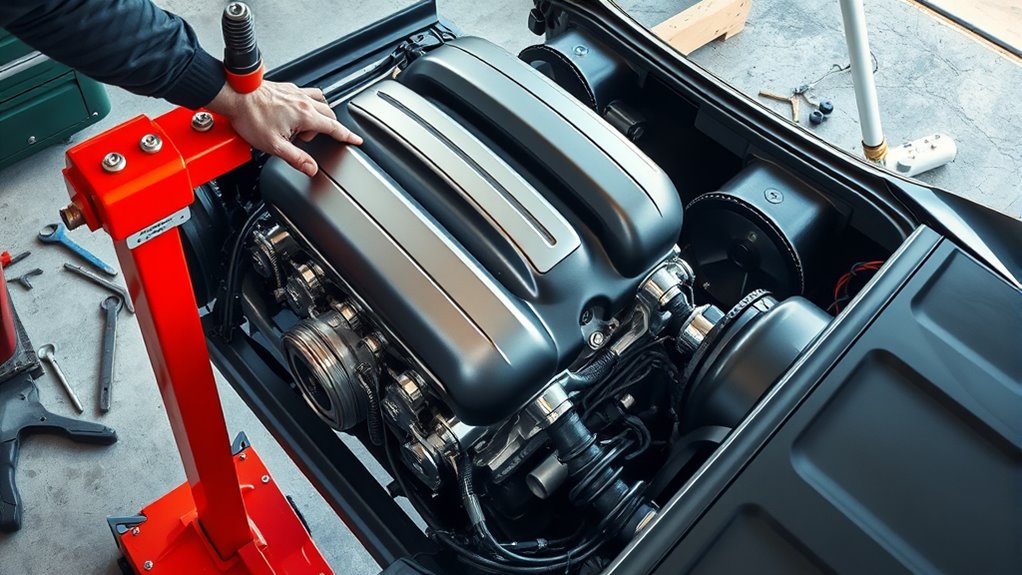
How to Take an Engine Out of a Car in 7 Easy Steps
If you’ve ever tried to remove an engine from your car, you know it can feel overwhelming and complicated. You’re not alone—many people struggle with where to start and how to do it safely without damaging parts.
Whether you’re a DIY enthusiast or just tackling this for the first time, having a clear, simple guide can make all the difference.
To take an engine out of your car in seven easy steps, start by gathering tools and prepping your workspace safely.
Next, disconnect the battery and drain all fluids. Remove engine accessories, wiring, exhaust, and cooling parts carefully.
Then, unbolt engine mounts and detach transmission linkages. Use an engine hoist to lift the engine out smoothly.
Finally, inspect and store components properly. Follow these steps closely, and you’ll gain a clear understanding of each essential part of the process.
Key Takeaways
- Prepare the workspace by gathering tools, clearing hazards, wearing safety gear, and ensuring good lighting.
- Disconnect the battery, drain all fluids like oil, coolant, and transmission fluid, and label hoses before you remove them.
- Remove accessories, wiring harnesses, exhaust parts, and unbolt engine mounts evenly to avoid misalignment.
- Use an engine hoist with secured chains to lift the engine carefully, guiding it clear of obstacles.
- Inspect, organize, and store all parts properly. Keep safety and cleanliness in mind throughout the process.
Gather Tools and Prepare Your Workspace Safely
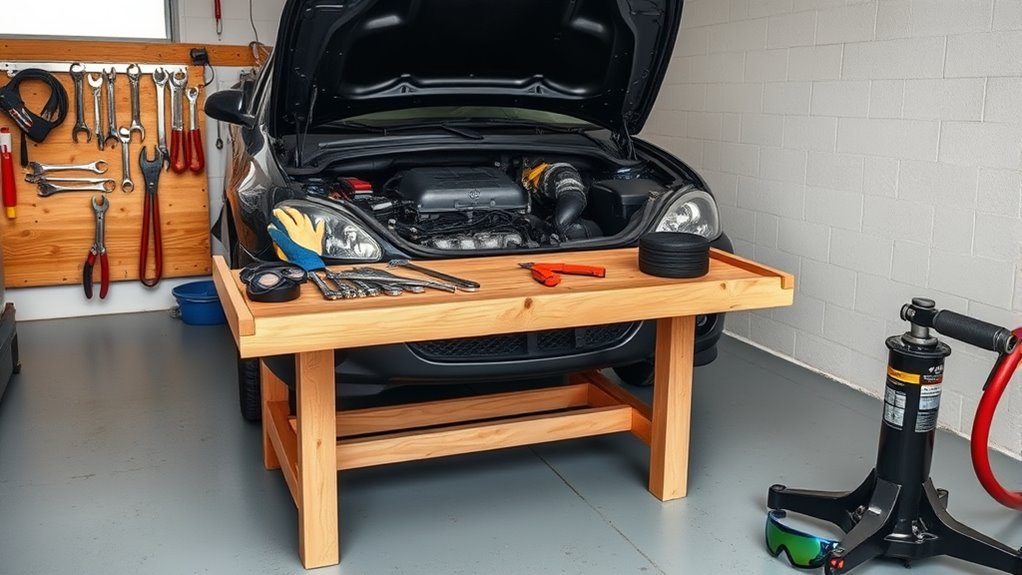
Before you begin removing the engine, gather all the necessary tools and clear your workspace to guarantee safety and efficiency. Start by organizing your tools in a way that makes them easily accessible. Lay them out on a clean surface or use a tool cart.
Gather your tools and clear your workspace for a safe and efficient engine removal process.
Proper tool organization helps you avoid wasting time searching for items and reduces the risk of accidents caused by clutter. Next, focus on workspace safety. Assure the area is well-lit and free of any spills or obstacles that could cause slips or trips.
Keep fire extinguishers and first aid kits nearby, just in case. Also, wear appropriate protective gear like gloves and safety glasses. By preparing your workspace with clear boundaries and securing loose parts, you prevent mishaps and maintain a smooth workflow.
Taking these steps before you start will save you time and keep you safe throughout the engine removal process.
Disconnect the Engine Battery and Drain Fluids
Before you start removing the engine, make sure to disconnect the battery to prevent any electrical shorts. It’s an important first step that helps keep you safe.
Next, go ahead and drain all the engine fluids like oil, coolant, and fuel. This helps avoid spills and any potential hazards. Doing these things will keep your workspace safe and make the whole engine removal process a lot smoother.
Battery Disconnection Procedures
Although it might seem straightforward, disconnecting the engine battery requires careful attention to avoid electrical shorts and guarantee safety. Prioritize battery safety by wearing gloves and eye protection. Always disconnect the negative terminal first to prevent sparks.
Use a multimeter for voltage measurement to confirm the battery is fully disconnected before proceeding.
| Step Number | Procedure |
|---|---|
| 1 | Turn off ignition and remove key |
| 2 | Put on safety gloves and goggles |
| 3 | Disconnect negative (-) terminal |
| 4 | Disconnect positive (+) terminal |
| 5 | Measure voltage to ensure zero |
Following these steps ensures a safe, efficient battery disconnection before you move on to draining engine fluids.
Engine Fluid Drainage Tips
Now that you’ve safely disconnected the battery to prevent electrical hazards, it’s time to focus on draining the engine fluids. Start by placing a drain pan beneath the oil pan and remove the oil drain plug to let the engine oil flow out completely.
Don’t forget to remove and replace the oil filter as it holds residual oil that could spill during engine removal. Next, drain the transmission fluid by locating its drain plug or pan, depending on your vehicle.
Allow the fluid to fully drain to avoid leaks later. Be sure to properly dispose of all fluids according to local regulations. Taking these steps carefully will keep your workspace clean and make engine removal safer and more efficient.
Remove Engine Accessories and Wiring Connections
Once you’ve secured the engine and cleared the workspace, start by disconnecting all wiring harnesses and removing accessories like the alternator, power steering pump, and air conditioning compressor. Carefully label and detach each connector in the engine wiring to avoid confusion during reassembly.
Use a ratchet or wrench to unbolt accessory mounts, making sure to support heavier parts to prevent damage. Keep track of bolts and small components by storing them in labeled containers. Removing these engine accessories early makes the subsequent steps smoother and prevents accidental damage to wiring or hoses.
Take your time to inspect the wiring harness for any clips or brackets securing it to the engine block. Gently free these to avoid tearing wires. Proper engine wiring disconnection and thorough accessory removal make certain you’re ready for the next phase of engine extraction without unnecessary setbacks or risks.
Detach Exhaust and Cooling Components From the Engine
Now, you’ll want to carefully remove the exhaust manifold—take your time to avoid any damage. Also, be sure to disconnect all the radiator hoses and coolant lines so you don’t end up with any leaks. Doing these steps first will get the engine ready for safe removal.
Removing Exhaust Manifold
How do you safely detach the exhaust manifold without damaging connected components? First, ensure the engine is cool to avoid burns. Disconnect any heat shields and sensors attached to the manifold.
Carefully unbolt the exhaust manifold from the engine block, keeping track of all hardware. Use penetrating oil if bolts are stuck, but don’t force them to avoid breaking studs.
Once removed, inspect the manifold and engine surface for damage or warping. Exhaust manifold removal often requires gasket replacement, so remove the old gasket residue thoroughly before installing the new one.
This step prevents leaks and ensures proper sealing. Handle the manifold gently to avoid bending or cracking it. Following these careful steps will make the exhaust manifold removal smooth and ready for reinstallation or replacement.
Disconnecting Radiator Hoses
Two radiator hoses connect your engine to the cooling system, and disconnecting them safely is essential before removing the engine. Start by draining the coolant from the radiator to avoid spills during hose removal.
Loosen the hose clamps with a screwdriver or pliers, then carefully twist and pull each hose off its fitting. This step ties directly into radiator maintenance and coolant replacement, ensuring your system remains intact for reassembly or future repairs.
| Step | Tool Needed | Tip |
|---|---|---|
| Drain Coolant | Drain Pan | Use proper disposal methods |
| Loosen Clamps | Screwdriver/Pliers | Avoid damaging hoses |
| Remove Hoses | Hands | Twist gently to free hoses |
Following these steps helps protect your cooling system components while preparing your engine for removal.
Detaching Coolant Lines
Before you can fully remove the engine, you’ll need to detach the coolant lines along with the exhaust and other cooling components connected to it. Start by draining the coolant to avoid spills, then carefully disconnect the coolant lines from the engine block and radiator.
Use pliers or a screwdriver to loosen clamps, and make sure to label each line for easier reassembly. This step is essential for proper coolant line maintenance, preventing leaks and ensuring a smooth coolant system repair later.
Don’t forget to inspect the hoses for cracks or wear while you’re at it. Replacing any damaged parts now saves trouble down the road. Detaching these components properly will help you safely remove the engine without damaging the cooling system.
Unbolt Engine Mounts and Separate Transmission Linkages
Once you’ve cleared the surrounding components, you’ll need to unbolt the engine mounts carefully to free the engine from the chassis. Make certain the engine is supported properly before loosening the bolts, as the engine’s weight can shift unexpectedly.
Keep engine alignment in mind; loosening mounts unevenly may cause damage or misalignment, complicating reinstallation. After unbolting the mounts, focus on separating the transmission linkages.
Disconnect any shift cables, clutch linkages, or wiring harnesses attached to the transmission. This step is essential for smooth transmission removal without causing damage to the connections. Take your time to label or photograph the linkages for easier reassembly.
With the engine mounts unbolted and transmission linkages detached, you’ve effectively isolated the engine and transmission assemblies, setting the stage for lifting the engine out safely. This preparation guarantees a clean separation and prevents unnecessary strain on components during removal.
Lift the Engine Using an Engine Hoist
Although it might seem intimidating at first, lifting the engine with an engine hoist becomes straightforward once you’ve properly secured the engine and positioned the hoist. Prioritizing engine hoist safety is key to a smooth lift. Use proper lifting techniques to avoid accidents or damage.
Here’s what you should do:
- Double-check all chains or straps are securely fastened to designated lifting points on the engine.
- Slowly pump the hoist’s hydraulic jack to lift the engine evenly, avoiding sudden jerks.
- Keep the area clear of obstacles and bystanders to maintain a safe workspace.
- Use a helper to guide the engine as it rises, ensuring it doesn’t catch on any components.
Inspect Engine Components and Store Them Safely
As you remove the engine from the car, it is essential to carefully inspect each component for wear or damage and store them properly to prevent loss or further issues. Start your engine component inspection by examining vital parts like belts, hoses, gaskets, and wiring for cracks, fraying, or leaks. Check bolts and brackets for any signs of corrosion or stripping. If you spot damaged items, set them aside for repair or replacement.
Next, organize all removed components systematically. Use labeled containers or bags to keep bolts and small parts together to avoid confusion during reassembly. Store larger parts on a clean, dry surface away from moisture and dust. Cover sensitive elements like the carburetor or intake manifold to protect them from contaminants. Prioritize safe storage to maintain the parts’ integrity and guarantee a smooth engine rebuild or installation later. This disciplined approach during engine component inspection and safe storage will save you time and frustration down the road.
Frequently Asked Questions
How Long Does It Typically Take to Remove an Engine?
It typically takes you about 6 to 10 hours to remove an engine, depending on your experience and tools. You’ll start by draining all fluids to avoid spills.
Using an engine hoist makes lifting the engine safer and easier. If you’re careful and organized, you can speed up the process.
What Are the Common Signs That an Engine Needs Removal?
You’ll know your engine needs removal if you spot cracked or broken engine mounts causing excessive vibration. Also, pay attention to coolant hoses; if they’re leaking or swollen, it could mean serious engine issues.
Strange noises, persistent overheating, or metal shavings in the oil are red flags too. Ignoring these signs risks further damage, so addressing them promptly by removing the engine can save you from costlier repairs later.
Can I Remove an Engine Alone or Is Help Necessary?
You shouldn’t try lifting a heavy storm alone; taking out an engine is like that. While you *can* use an engine hoist solo, having help guarantees safety and steadiness.
Don’t forget strict safety precautions. This isn’t just muscle work, it’s precision and care. A second pair of hands catches what you might miss, making the whole process safer and smoother.
What Are the Risks of Not Disconnecting the Battery First?
If you don’t disconnect the battery first, you risk serious electrical hazards like shorts or sparks that can cause injury or damage. Battery safety is essential because the battery powers the entire electrical system. Accidentally grounding a wire can lead to shocks or even fires.
Always disconnect the negative terminal first to prevent accidental current flow. This helps keep yourself and your vehicle safe during any work.
How Do I Dispose of Old Engine Fluids Properly?
Like a river returning to its source, you should take old engine fluids to a certified recycling center. This ensures fluid recycling keeps the environment safe. Don’t just dump them down drains or on the ground. That’s a shortcut to disaster.
Always use proper containers, wear gloves, and follow safety precautions to protect yourself and the planet. Think of it as paying respect to the cycle of life, preserving what’s essential for tomorrow.
Conclusion
Taking an engine out might sound tough, but following these steps makes it manageable. Did you know that over 70% of DIY mechanics feel more confident tackling engine work after just one successful removal?
By gathering your tools, disconnecting everything carefully, and using an engine hoist, you’ll get the job done safely and efficiently. Remember, taking your time and inspecting parts afterward keeps your project on track.
Keeping these tips in mind will ensure your engine is ready for its next adventure. Taking an engine out of a car doesn’t have to be intimidating when you follow the right steps.