How to Take Out a Car Engine in 5 Simple Steps
Taking out a car engine can feel overwhelming, especially if you’ve never tackled such a big job before. You’re not alone—many people struggle with where to start or worry about making costly mistakes. But with the right approach, removing your engine can be a manageable and even satisfying project.
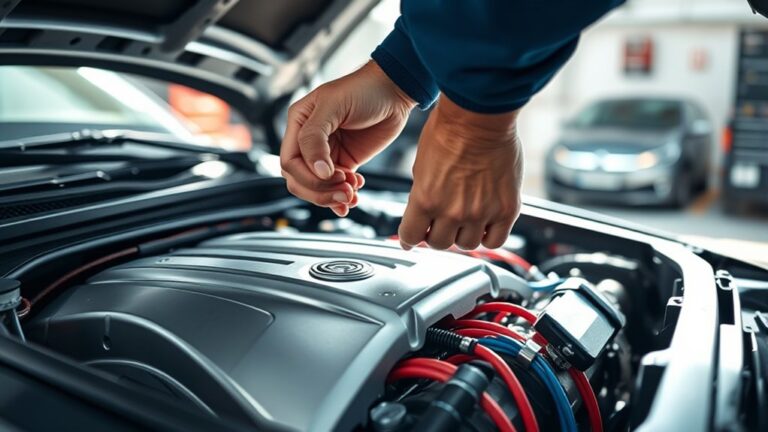
To take out your car engine in five simple steps, start by gathering all necessary tools and clearing your workspace for safety. Next, disconnect the battery and carefully label and detach electrical, fuel, and coolant lines. Remove belts, hoses, and any blocking accessories.
Then, unbolt the engine from the transmission and mounts while securing it properly. Finally, lift the engine out slowly, ensuring nothing is still connected. Keep following to uncover detailed tips and safety advice.
Key Takeaways
- Prepare your tools, clear the workspace, and securely lift the vehicle using jack stands and an engine hoist.
- Disconnect the battery, drain fluids, and label all electrical, fuel, and coolant lines before you start removing them.
- Carefully remove belts, hoses, and accessories that might be in the way, like the alternator and power steering pump.
- Unbolt the engine from the transmission and mounts, making sure to support the engine so it doesn’t shift.
- Attach lifting chains securely, then carefully lift the engine out while checking for any connections or obstructions you might have missed.
Gather Tools and Prepare Your Workspace for Engine Removal
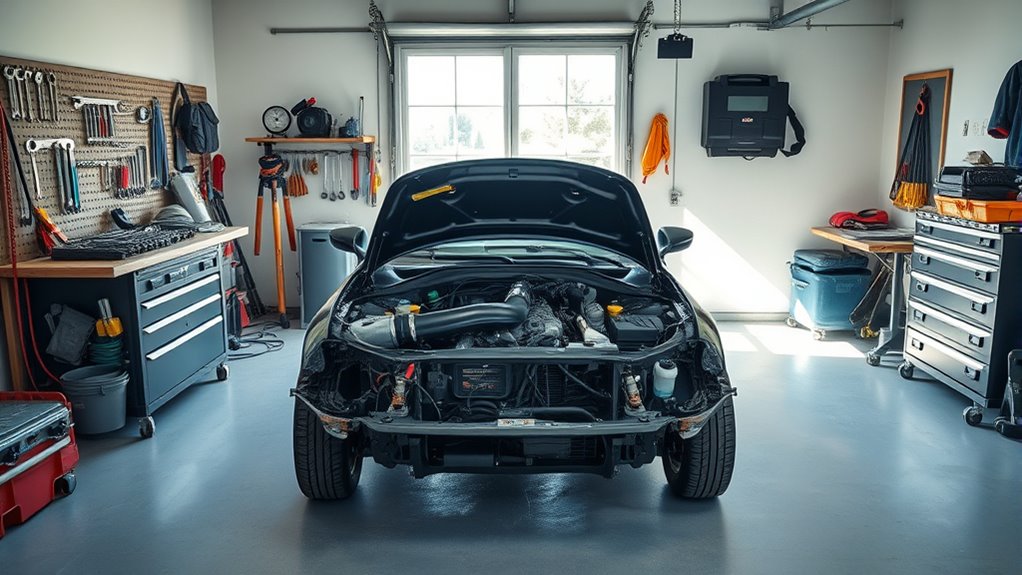
Before you begin removing the engine, make certain you have all the necessary tools on hand and a clean, organized workspace. Start by gathering essential equipment like an engine hoist, wrenches, sockets, and screwdrivers. Having everything ready prevents unnecessary trips and keeps the process smooth.
Clear your workspace of clutter to avoid accidents and improve mobility around the vehicle. Next, consider safety precautions seriously. Confirm the car is securely lifted and supported with jack stands before working underneath.
Double-check that the engine hoist is rated for your engine’s weight and inspect it for any damage. Wear gloves and safety glasses to protect yourself from sharp edges and debris. Adequate lighting is crucial so you can see all components clearly.
Preparing your workspace thoughtfully not only speeds up the job but also keeps you safe throughout the engine removal process. Taking these steps sets a solid foundation for a successful and hazard-free engine extraction.
Disconnect Engine Electrical, Fuel, and Coolant Lines Safely
Once your workspace is set and your tools are ready, start by carefully disconnecting the engine’s electrical connections, fuel lines, and coolant hoses. First, prioritize battery safety by disconnecting the negative terminal to prevent electrical shorts or shocks. Label each electrical connector to simplify reassembly later.
Next, address fluid drainage: place a drain pan under the engine to catch fuel and coolant as you carefully detach the fuel lines and coolant hoses. Use clamps or plugs to minimize spills once disconnected.
Take your time with each connection to avoid damaging fragile components or causing leaks. Remember, fuel lines can be pressurized, so relieve pressure by following your vehicle’s service manual instructions before disconnecting. Properly disposing of drained fluids is crucial for safety and environmental responsibility.
Remove Engine Belts, Hoses, and Accessories
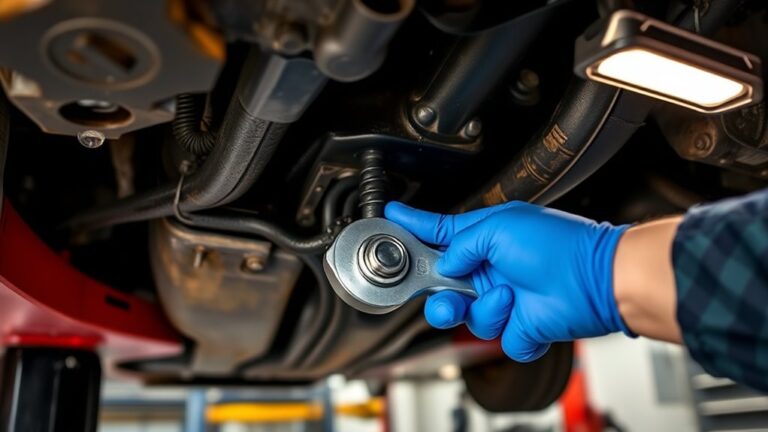
As you progress, start by loosening and removing the engine belts, then detach all hoses connected to the engine. This step ensures you clear the way for access to the engine mounting points later on. Pay close attention to belt tension; use a wrench or tensioner tool to release it safely without damaging the belts or pulleys.
Follow these steps:
- Use appropriate tools to loosen the belt tensioner and slide off each belt carefully.
- Label and disconnect all hoses, such as coolant, vacuum, and fuel lines, to avoid confusion during reassembly.
- Remove any attached accessories like the alternator, power steering pump, or air conditioning compressor if they block access.
- Inspect the engine mounting areas around the belts and hoses to ensure nothing remains connected.
Unbolt the Engine From the Transmission and Mounts
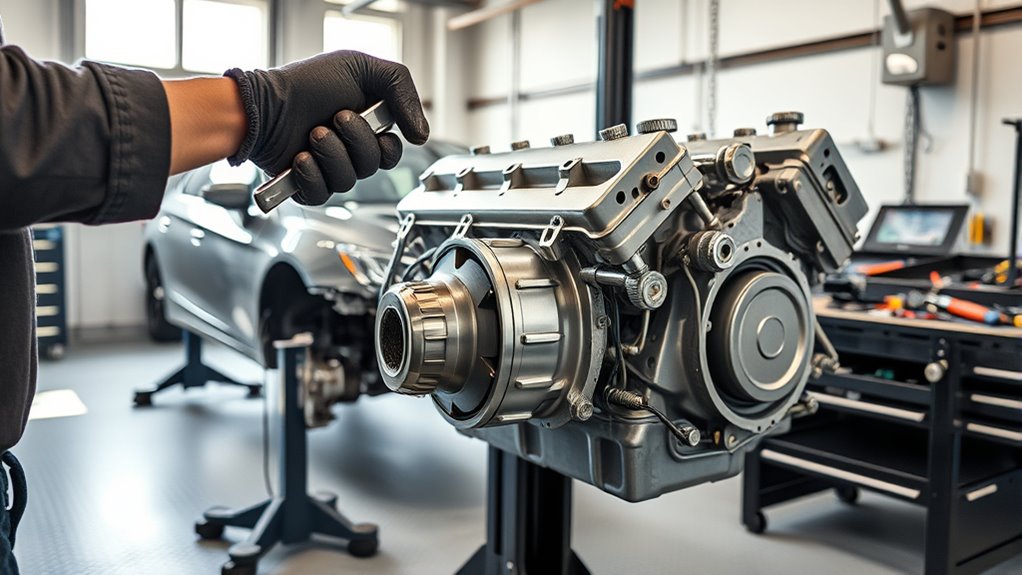
After removing the belts, hoses, and accessories, you can focus on unbolting the engine from the transmission and mounts. First, securely set up an engine support to hold the engine’s weight before loosening any bolts. This prevents any sudden drops or damage.
Then, carefully unbolt the engine from the transmission. These bolts often require a breaker bar for extra torque. Next, move to the engine mounts and unfasten them one by one while ensuring the engine remains stable.
| Step | Tool Needed | Tip |
|---|---|---|
| Support Engine | Engine support | Stabilize before unbolting |
| Unbolt Trans | Breaker bar | Loosen bolts evenly |
| Remove Mounts | Ratchet & socket | Keep engine balanced |
Using an engine hoist isn’t necessary yet. Just focus on disconnecting bolts safely. Once done, the engine will be ready for the next step without risk of shifting or damage.
Lift and Extract the Engine From the Car Safely
Before lifting the engine, make sure you’ve double-checked all connections are fully detached and the engine support is properly positioned. Using an engine hoist, follow these safety precautions to lift and extract the engine safely:
- Securely attach the hoist chains or straps to the designated lifting points on the engine.
- Slowly raise the engine a few inches and check for any overlooked connections or obstructions.
- Once clear, continue lifting steadily, keeping the engine balanced to prevent swinging.
- Guide the engine out of the bay carefully, ensuring nothing catches on the frame or wiring.
Always wear protective gear and keep bystanders clear of the work area. Never rush the lift, and use spotters if possible to help monitor clearance. By following these steps, you’ll remove the engine efficiently and safely, minimizing risks of damage or injury.
Frequently Asked Questions
What Safety Gear Should I Wear During Engine Removal?
You should wear essential protective equipment like safety goggles to shield your eyes from debris and gloves to protect your hands from sharp edges and chemicals. Steel-toed boots help prevent foot injuries, and a long-sleeve shirt and durable pants reduce skin exposure.
Following safety precautions, you might also consider a mechanic’s mask to avoid inhaling fumes or dust. Taking these steps keeps you safe throughout the engine removal process.
How Do I Store the Engine After Removal?
You’ll want to drain fluids, secure the engine with an engine hoist, and clean it thoroughly. Drain the oil, coolant, and fuel to prevent leaks.
Use the engine hoist to carefully lower the engine onto a sturdy stand or pallet. Cover it with a tarp or plastic to protect it from dust and moisture.
Store it in a dry, well-ventilated area to keep it safe until you’re ready to reinstall or work on it.
Can I Remove an Engine Alone or Do I Need Help?
You really shouldn’t remove an engine alone. Using an engine hoist is essential, and handling it solo can be dangerous and tricky. You’ll need someone to help guide the engine as you lift it out safely.
Plus, don’t forget fluid drainage before starting. Removing all fluids prevents spills and hazards. Having a buddy makes the process smoother, safer, and quicker, so don’t try to tackle it without help.
What Are Common Mistakes to Avoid When Taking Out an Engine?
Picture the engine hoist struggling under a sudden weight. Don’t let that be you. Common mistakes include skipping fluid drainage, which turns your workspace into a slippery mess.
Also, avoid rushing. Disconnect everything methodically to prevent snapped wires or crushed hoses. Don’t forget to secure the engine properly on the hoist before lifting, or you risk dangerous shifts. Taking your time and prepping thoroughly keeps you safe and your engine intact.
How Long Does the Entire Engine Removal Process Typically Take?
The entire engine removal process typically takes you anywhere from 6 to 12 hours, depending on your experience and tools. Using an engine hoist properly speeds things up, but you can’t skip fluid drainage first. That step is essential to avoid messes and damage.
If you’re organized and methodical, you might finish closer to 6 hours. Rushing increases mistakes, so take your time and follow each step carefully for a smooth removal.
Conclusion
Taking out a car engine might seem intimidating, but with the right steps, it’s surprisingly straightforward. While it feels like dismantling the heart of your vehicle, it’s really about careful preparation and patience.
You’re not just removing metal parts; you’re revealing the potential for renewal and repair. Remember, every bolt you loosen brings you closer to mastering your car’s inner workings.
By following these simple guidelines, you’ll gain confidence in your mechanical skills and successfully take out a car engine.